By default, services in a Container Service for Kubernetes (ACK) cluster are isolated from external networks. To expose these services to users, you can use an ALB Ingress, which leverages an Application Load Balancer (ALB) as the entry point to manage inbound traffic. ALB offers domain-based routing, security protection, and high availability.
How it works
|  |
Service type limits
When using the Flannel network plugin, the backend service of an ALB Ingress supports only the NodePort and LoadBalancer types.
Step 1: Install the ALB Ingress Controller
When creating a cluster
Log on to the ACK console and click Create Kubernetes Cluster.
In the Component Configurations step, find the Ingress section and select ALB Ingress.
Select the option to create a new ALB instance and follow the on-screen instructions to create the cluster.
ALB Instance
Description
New
Automatically creates an ALB instance,
AlbConfig, andIngressClass.ALB instance: A pay-as-you-go, standard ALB instance (either public or private) will be created within the cluster's virtual private cloud (VPC), with a default listener on port 80 (HTTP).
AlbConfig and IngressClass: The corresponding
AlbConfigandIngressClassresources will be automatically created in the cluster and associated with the new ALB instance.
Existing
This option is available only when you select an existing VPC for the cluster network.
Uses an existing ALB instance and automatically creates the associated
AlbConfigandIngressClass. The selected ALB instance must meet the following criteria:Edition: Must be standard or WAF-enabled.
Network: Must be in the same VPC as the cluster.
Association: Must not already be associated with another cluster.
None
Installs only the ALB Ingress Controller. You must manually create the AlbConfig and IngressClass resources later. This option is suitable for customizing ALB instance configurations.
For an existing cluster
Log on to the ACK console. In the left navigation pane, click Clusters.
On the Clusters page, find the one you want to manage and click its name. In the left navigation pane, click Add-ons.
On the Add-ons page, click the Networking tab. Find ALB Ingress Controller and click Install.
Select the option to create a new ALB instance and click OK.
ALB Instance
Description
New
Automatically creates an ALB instance,
AlbConfig, andIngressClass.ALB instance: A pay-as-you-go, standard ALB instance (either public or private) will be created within the cluster's virtual private cloud (VPC), with a default listener on port 80 (HTTP).
AlbConfig and IngressClass: The corresponding
AlbConfigandIngressClassresources will be automatically created in the cluster and associated with the new ALB instance.
Existing
Uses an existing ALB instance and automatically creates the associated
AlbConfigandIngressClass. The selected ALB instance must meet the following criteria:Edition: Must be standard or WAF-enabled.
Network: Must be in the same VPC as the cluster.
Association: Must not already be associated with another cluster.
None
Installs only the ALB Ingress Controller. You must manually create the AlbConfig and IngressClass resources later. This option is suitable for customizing ALB instance configurations.
Step 2: Deploy a sample application
This example deploys a sample Nginx application named coffee as a Deployment and exposes it internally with a Service named coffee-svc.
Console
On the Clusters page, find the cluster you want to manage and click its name. In the left navigation pane, choose .
Click Create from YAML. Set Sample Template to Custom, copy the following content into the template editor, and click Create.
In the dialog box that appears, click View and confirm that the pod status is
Running.
kubectl
Get a cluster kubeconfig and connect to the cluster using kubectl.
Create a file named
coffee-deployment-service.yamlwith the following content:Deploy the application.
kubectl apply -f coffee-deployment-service.yamlConfirm the pod is running.
kubectl get pod -l app=coffeeExpected output:
NAME                      READY   STATUS    RESTARTS   AGE
coffee-84bd6*****-*****   1/1     Running   0          4m22s
coffee-84bd6*****-*****   1/1     Running   0          4m22s
Step 3: Create an ALB Ingress
By configuring the domain name and path mapping for the ALB Ingress, you can route requests for ingress-demo.com/coffee to the internal coffee-svc service in the cluster.
To use an ALB Ingress in an ACK dedicated cluster, grant access permissions to the ALB Ingress Controller first.
Console
In the left navigation pane, choose . Select the
defaultnamespace and click Create Ingress.Configure the following and click OK.
Name:
coffee-ingressDomain Name:
ingress-demo.comMappings
Path:
/coffeeRule:
PrefixService:
coffee-svcPort:
80Matching rule (pathType)
Description
Prefix
Matches based on a URL path prefix. For example, a rule with the path
/coffeewill match requests for/coffee/1and/coffee/buy/1, but it will not match/cofor/coffeebuy/1.Exact
Matches the URL path exactly. For a rule with the path
/coffee, only requests for the exact path/coffeewill be matched.ImplementationSpecific
The matching behavior depends on the Ingress controller. For ALB Ingress Controller, this type is equivalent to an
Exactmatch.
Obtain the Endpoint.
The ALB Ingress takes about 10 seconds to take effect. Click the refresh button to obtain the endpoint information. If the endpoint information is not updated after a long time, click the Ingress name and go to the Events tab to troubleshoot.

Test the domain name and endpoint. If the HTTP status code is
200, the ALB Ingress is created.curl -H "Host:ingress-demo.com" http://<Endpoint address>/coffee -s -o /dev/null -w "%{http_code}\n"
kubectl
Create a file named
coffee-ingress.yaml.apiVersion: networking.k8s.io/v1 kind: Ingress metadata: name: coffee-ingress namespace: default spec: ingressClassName: alb rules: - host: ingress-demo.com http: paths: - path: /coffee backend: service: name: coffee-svc port: number: 80 pathType: PrefixMatching rule (pathType)
Description
Prefix
Matches based on a URL path prefix. For example, a rule with the path
/coffeewill match requests for/coffee/1and/coffee/buy/1, but it will not match/cofor/coffeebuy/1.Exact
Matches the URL path exactly. For a rule with the path
/coffee, only requests for the exact path/coffeewill be matched.ImplementationSpecific
The matching behavior depends on the Ingress controller. For ALB Ingress Controller, this type is equivalent to an
Exactmatch.Deploy the Ingress.
kubectl apply -f coffee-ingress.yamlGet the public endpoint of the Ingress from the
ADDRESSfield. It may take a moment for the address to be assigned.kubectl get ingress coffee-ingress -o jsonpath='{.status.loadBalancer.ingress[0].hostname}'Expected output:
alb-******************.cn-wulanchabu.alb.aliyuncsslb.comTest the domain name and endpoint. If the HTTP status code is
200, the ALB Ingress is created.curl -H "Host:ingress-demo.com" http://<Endpoint address>/coffee -s -o /dev/null -w "%{http_code}\n"
Billing
ALB Ingress Controller: This is a managed ACK component and does not incur charges.
ALB instance: Each
AlbConfigresource object creates a corresponding ALB instance. ALB instances are billed on a pay-as-you-go basis.
Apply in production
Configure DNS: Create a CNAME record in your DNS provider to point your business domain to the public endpoint of the ALB instance. This decouples the domain name from the instance endpoint and ensures high availability and flexible configuration for the service endpoint.
Enable HTTPS: Use Certificate Service to manage your certificates and reference them in your Ingress resource's
tlssection to secure your services with HTTPS.
Quotas and limits
The names of AlbConfig, Ingress, Service, and namespace resources cannot start with
aliyun.For ALB Ingress quota limits, see Methods to calculate ALB quotas.
For ALB availability, see Regions and zones in which ALB is available.
FAQ
Why am I getting a 503, 502, or 404 error when accessing my Ingress?
Causes
503 (Service Temporarily Unavailable) error
No matching routing rule: The request path does not match the routing rule configured in the Ingress.
No healthy backend pods: All pods associated with the service are not ready or do not exist. This results in an empty endpoint object.
502 (Bad Gateway) error
An HTTP or HTTPS listener receives a client connection request. If the ALB instance cannot forward the request to a pod or receive a response from a pod, the instance sends an HTTP 502 Bad Gateway status code to the client.
404 (Not Found) error
This usually means the request matched a routing rule defined in the Ingress, but does not match the actual service URL provided by the application in the pod.
For more HTTP error codes, see ALB Status Codes.
Solutions
Check the Ingress status
Run the command
kubectl describe ingress <ingress-name> -n <namespace>and inspect theEventssection for error messages. For example, if you see an event similar tolistener is not exist in alb, it means you need to create the listener required for the Ingress resource in theAlbConfig.... Events: Type Reason Age From Message ---- ------ ---- ---- ------- Warning FailedBuildModel **** ingress listener is not exist in alb, port: 443, protocol: HTTPS Warning FailedBuildModel **** ingress listener not found for (443/HTTPS), with ingresses 1 ...Check the backend endpoints
Run the command
kubectl get endpoints <service-name> -n <namespace>to confirm that theENDPOINTSfield contains at least one healthy pod IP address and port. If the field is empty, verify that the Service'sselectormatches thelabelson your pods, and ensure the pods are in theRunningstate.Check the pod status and logs
First, run the command
kubectl get pod -l <app=your-app> -n <namespace>to check the status of your application pods. Then, runkubectl logs <pod-name> -n <namespace>to inspect the logs of a specific pod for any startup failures or request processing errors.Test network connectivity
From within another pod or directly from a node, use
curlto access the backend Service's ClusterIP or a direct pod IP. This will verify that the service is reachable from within the cluster.
Why is HTTPS not working after I configured TLS for an Ingress?
Causes
Missing HTTPS listener
You have configured TLS in the Ingress, but the underlying ALB instance is not configured to listen on
HTTPS:443.Incorrect Secret configuration
The Secret referenced in your Ingress is not of type
kubernetes.io/tlsorIngressTLS, or thedatafield intls.crtandtls.keyare invalid or mismatched.Certificate update not synced
You updated a certificate in the Certificate Management Service, but the change has not propagated to the ALB instance. This can happen if the certificate ID in the
AlbConfigwas not updated or if the automatic discovery and reconciliation process has not completed. The ALB instance still references the old certificate.
Solutions
Verify the ALB listener configuration
Inspect your
AlbConfigresource to ensure an HTTPS listener on port 443 is defined.kubectl describe albconfig <alb-name> -n <namespace>Look for a listener entry with
spec.listeners.port: 443andspec.listeners.protocol: HTTPS.Check the Ingress annotations
Ensure your Ingress resource includes the following annotation to associate it with both the HTTP and HTTPS listeners:
alb.ingress.kubernetes.io/listen-ports: [{"HTTP": 80}, {"HTTPS": 443}]Validate the Secret configuration
Check the
spec.tlssection of your Ingress manifest to confirm that thesecretNamefield is referencing the correct Secret.Inspect the Secret itself to verify its type and data integrity:
kubectl get secret <secret-name> -n <namespace> -o yaml
Confirm that the type is
kubernetes.io/tlsand that thetls.crtandtls.keyfields contain valid, base64-encoded data.
How do I configure DNS for my Ingress?
In your DNS provider's management console, add a CNAME record that points your desired hostname to the Ingress endpoint address.
Example configuration:
Record type:
CNAMEHost:
@(This typically represents the root domain, such asingress-demo.com)Value: The endpoint address of your Ingress, such as the address of your ALB instance.
Verify the configuration.
After the DNS record has had time to propagate, open a web browser and navigate to your domain
http://ingress-demo.com/coffee. If the page loads successfully, the DNS resolution is working.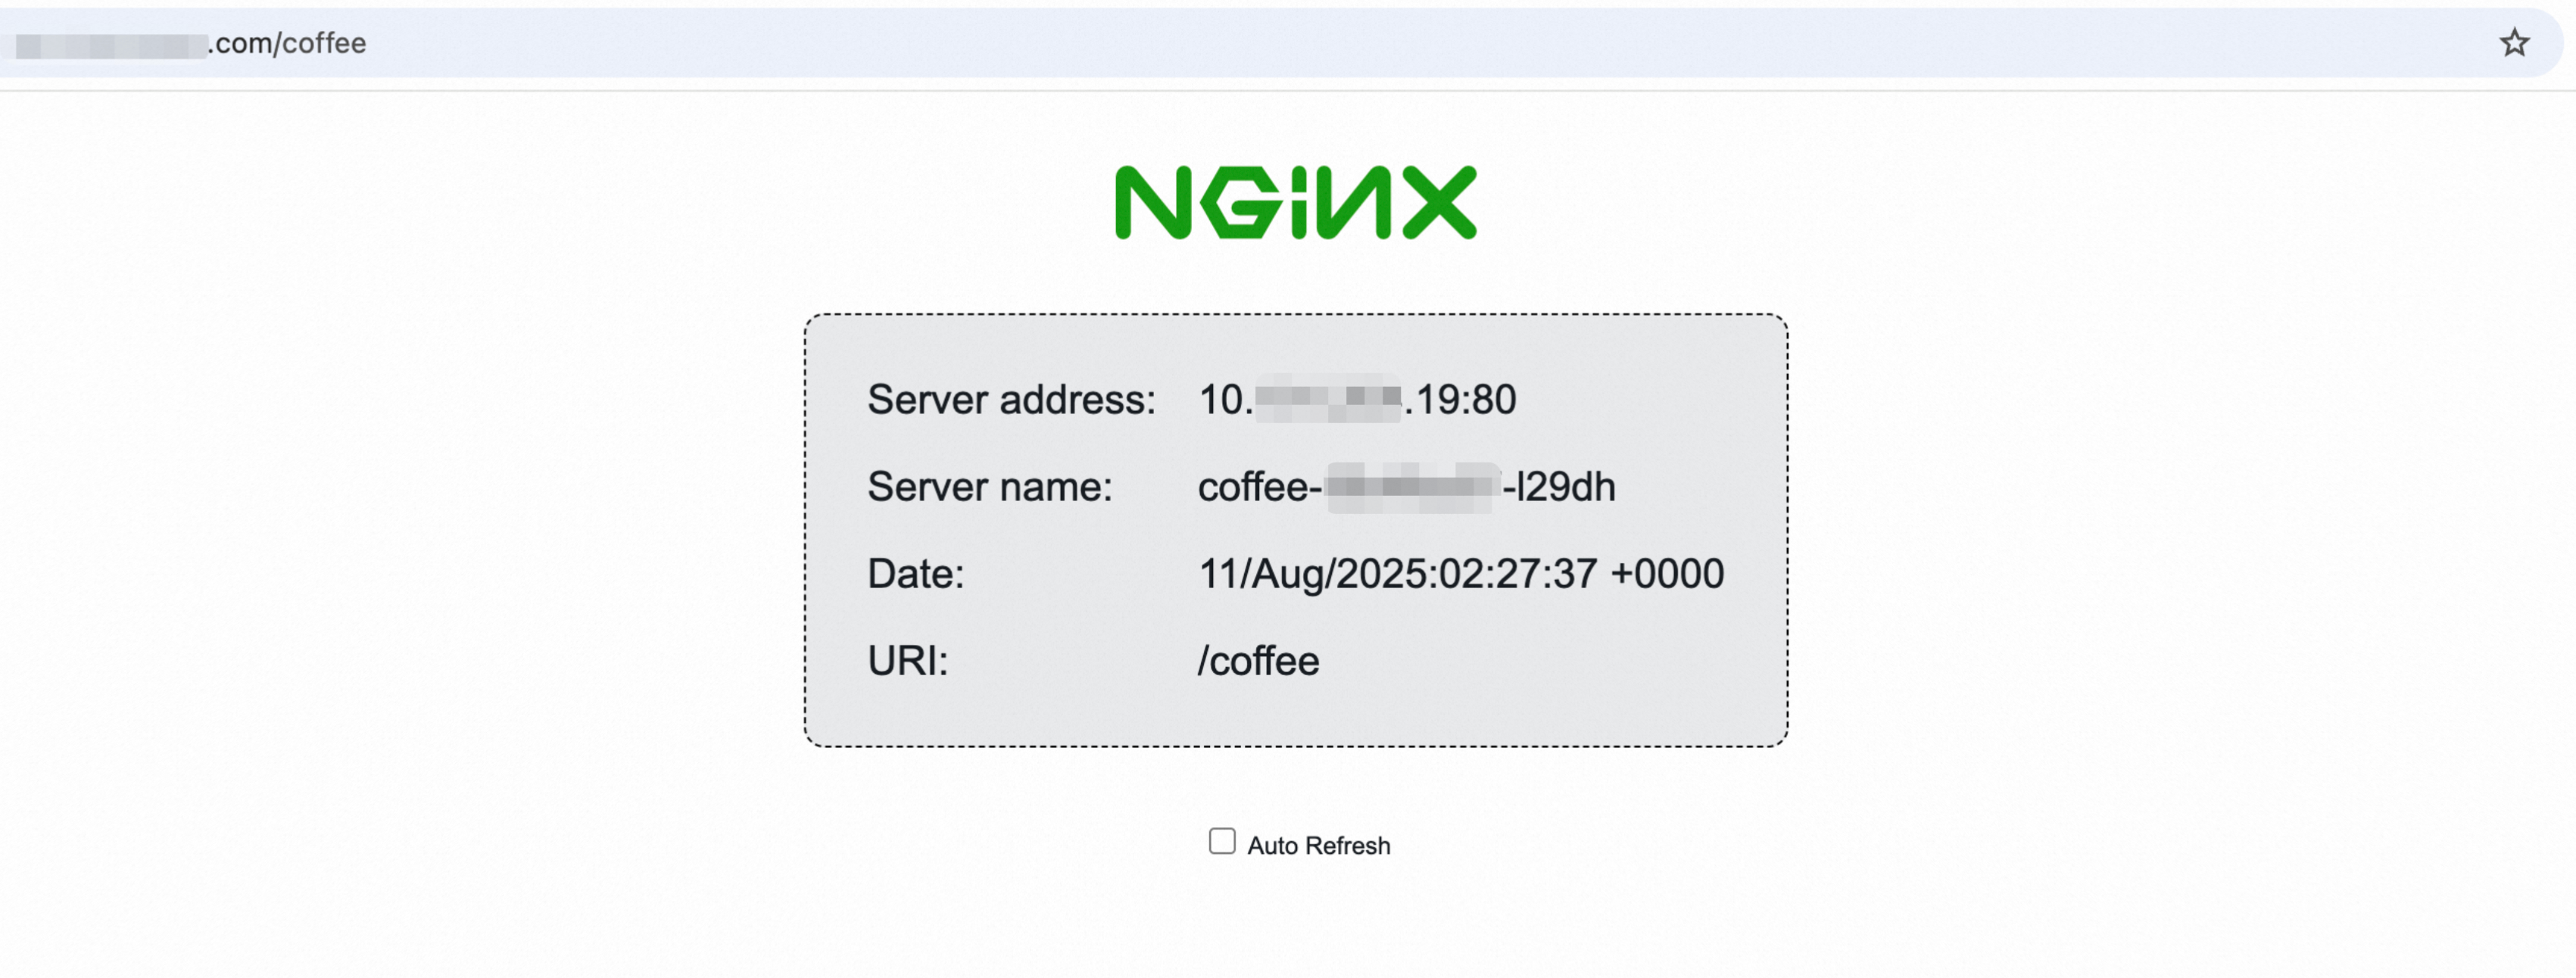
Use your actual registered domain name for verification. If the domain name resolution fails, see Quick troubleshooting for domain name resolution failures.
How do I configure HTTPS for an Ingress?
Submit an application to a certification authority (CA), purchase an official certificate, and confirm that your certificate is in the issued status.
This example shows how to download the PEM-formatted certificate file for the
ingress-demo.comdomain name. The server type is set to other.Create a Kubernetes Secret for the certificate. You must store your certificate and private key in a Kubernetes Secret so the Ingress controller can access them.
On the Clusters page, click the name of the one you want to change. In the left navigation pane, choose .
On the Secrets page, select the
defaultnamespace and click Create in the upper-left corner. Add the following configuration and click OK.Name:
ingress-tlsType: TLS Certificate
Certificates: Paste the full content of your certificate file (
.pem).Key: Paste the full content of your private key file (
.key).

Add an HTTPS listener to your
AlbConfig.In the left navigation pane, choose . On the Resource Objects tab, search for and click
AlbConfig.Locate your target
AlbConfigresource (such asalb). In the Actions column, click Edit YAML.Add a new listener for HTTPS on port 443 to the
spec.listenerssection: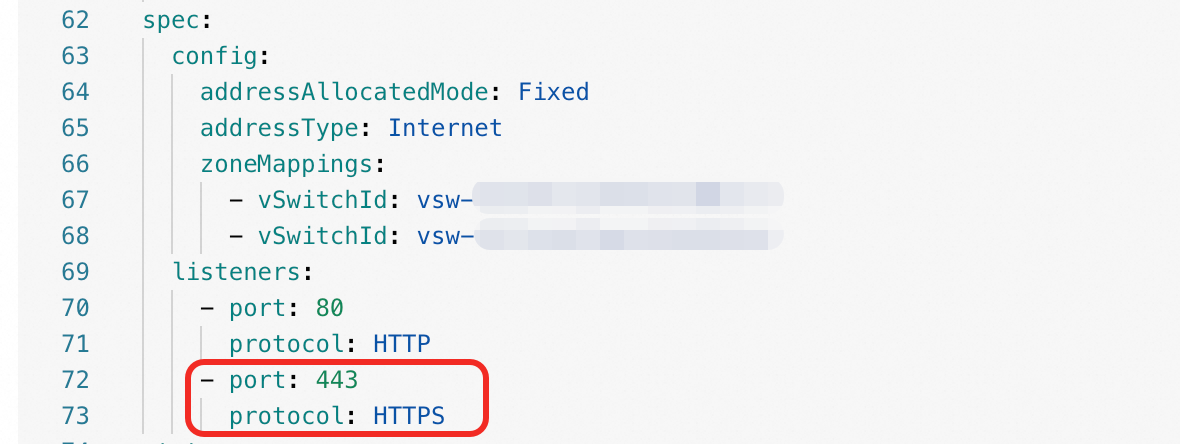
Click OK to apply the changes.
Update the Ingress to enable TLS.
In the left navigation pane, choose . In the Actions column of the target Ingress, click Update.
Add the following configuration and click OK.
Turn on TLS Settings
Domain Name:
ingress-demo.comSecret:
ingress-tls
Annotations:
alb.ingress.kubernetes.io/listen-ports: [{"HTTP": 80}, {"HTTPS": 443}]
Open a web browser and navigate to
https://ingress-demo.com/coffee. The connection should now be secure and use HTTPS.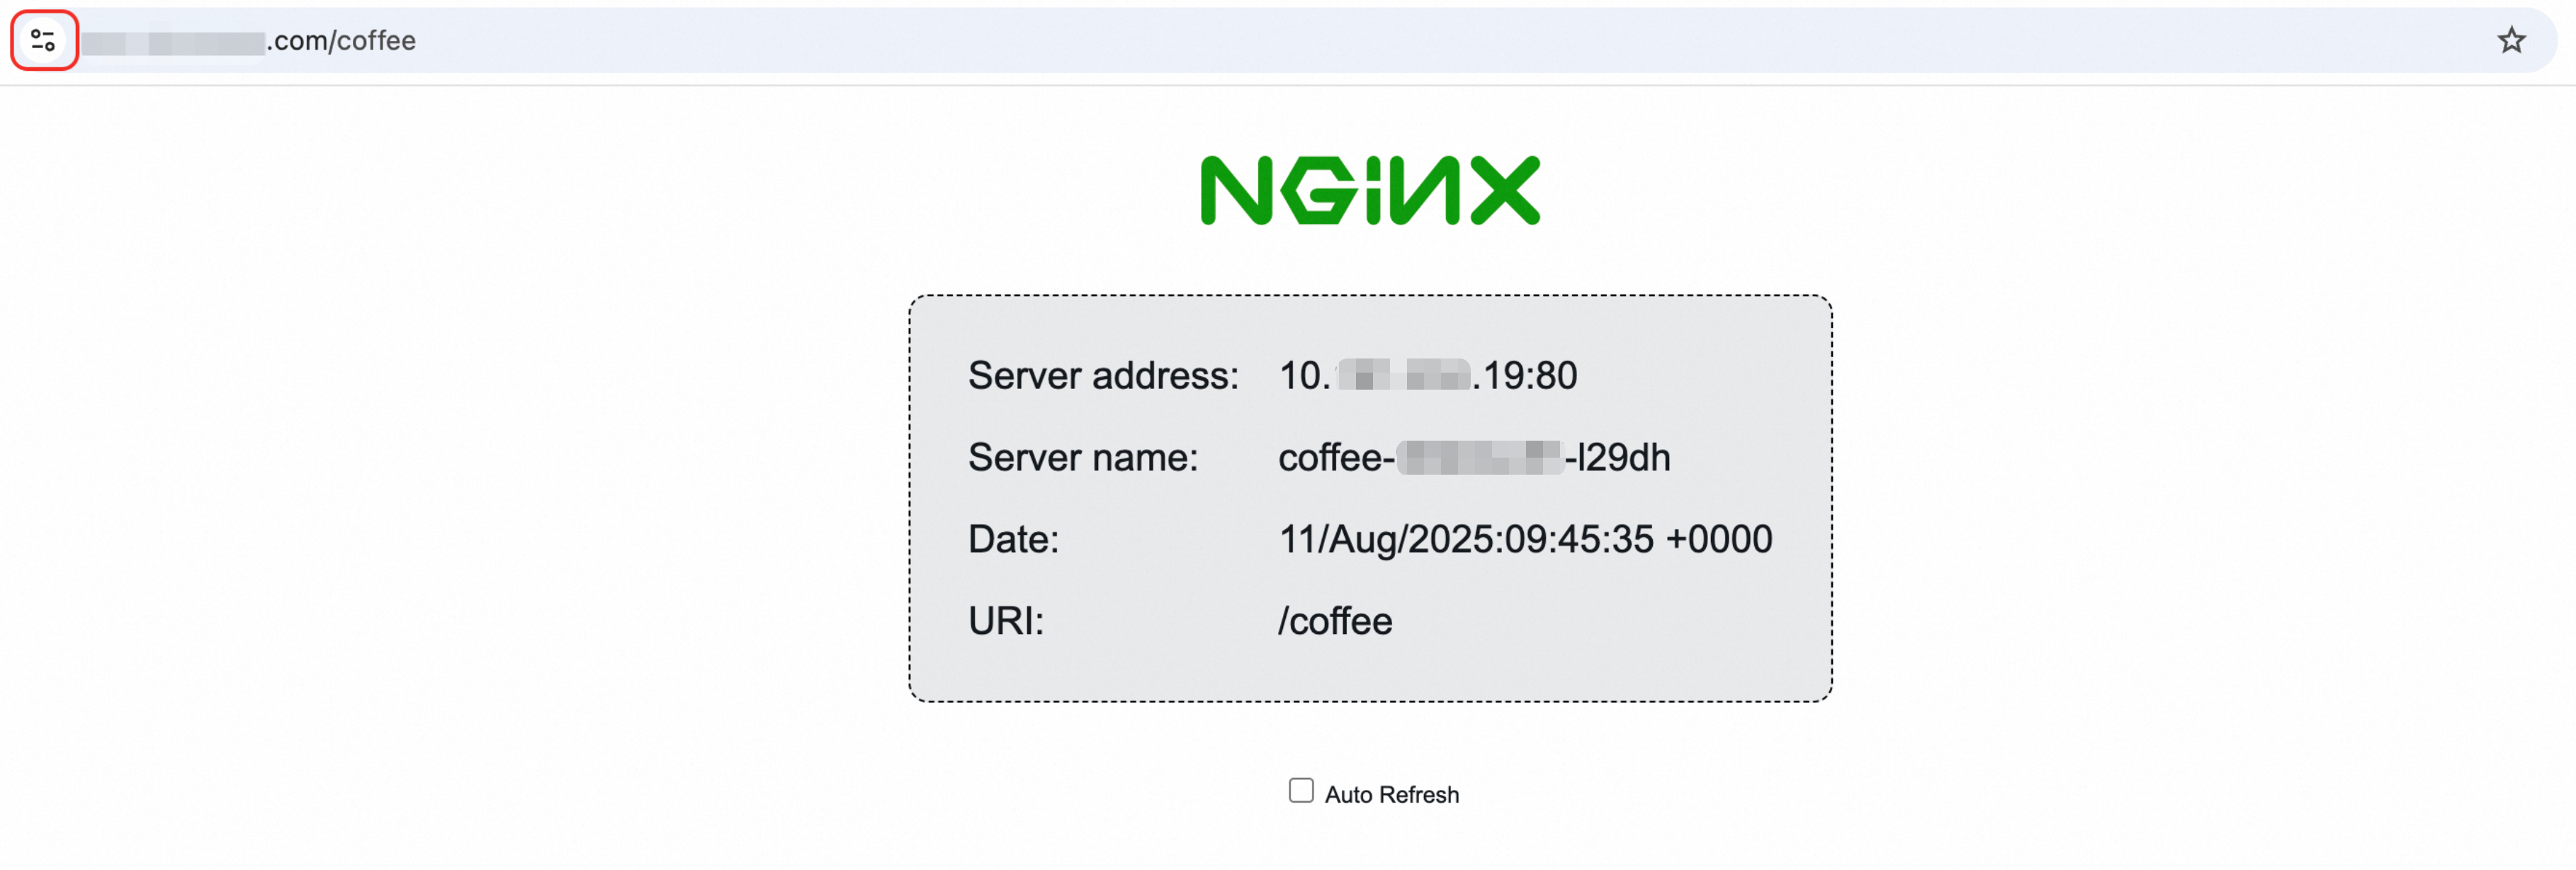
Use your own registered domain for verification.
For more information, see Configure HTTPS certificates for encrypted communication.
How do I manually create an AlbConfig and IngressClass?
Create an AlbConfig
Log on to the VPC console. Identify and record the IDs of at least two vSwitches that are in different availability zones within your cluster's VPC.
The Availability Zones of the selected vSwitches must be Regions and zones.
Create a file named
albconfig.yamlwith the following content. Replace the placeholderzoneMappings.vSwitchIdvalues with the actual IDs you recorded in the previous step.apiVersion: alibabacloud.com/v1 kind: AlbConfig metadata: name: alb # Do not create multiple AlbConfig resources with the same name (alb) spec: config: name: alb-test addressType: Internet zoneMappings: - vSwitchId: vsw-****cg2a9g71hx8go**** # Replace with your actual vSwitch ID - vSwitchId: vsw-****un9tql5t8nh15**** # Replace with your actual vSwitch ID listeners: - port: 80 protocol: HTTPRun the following command to create the
AlbConfigresource in your cluster:kubectl apply -f albconfig.yaml
For more detailed instructions, see Create an AlbConfig.
Create an IngressClass
The IngressClass resource associates an AlbConfig with your Ingress resources. By setting ingressClassName: alb in an Ingress manifest, you instruct the controller to use the configuration defined by the IngressClass named alb.
Create a file named
ingressclass.yamlwith the following content.The
spec.parameters.namefield must match themetadata.nameof yourAlbConfigresource (in this case,alb).apiVersion: networking.k8s.io/v1 kind: IngressClass metadata: name: alb spec: controller: ingress.k8s.alibabacloud/alb parameters: apiGroup: alibabacloud.com kind: AlbConfig name: alb # This must match the name of the AlbConfig resourceRun the following command to create the
IngressClass:kubectl apply -f ingressclass.yaml
For detailed guidance, see Use an IngressClass to associate an AlbConfig with an Ingress.
References
Advanced ALB Ingress configurations