By Jessie Angelica, Solution Architect
This overview guides you through the process of migrating your WordPress website from Simple Application Server (SAS) A to Simple Application Server B on Alibaba Cloud. SAS provides a lightweight and easy-to-use environment for deploying and managing applications, making it an ideal choice for individual developers and small to medium-sized enterprises. you can migrate the website data in the simple application server to another simple application server in the same region or another. This topic describes how to migrate data between simple application servers in the same region or across regions.
1) Log on to the Simple Application Server console. (https://swas.console.aliyun.com/?spm=a2c63.p38356.0.0.3304405aEBJpey#/servers)
2) In the left-side navigation pane, click Servers.
3) In the upper-right corner of the Servers page, click Create Server.
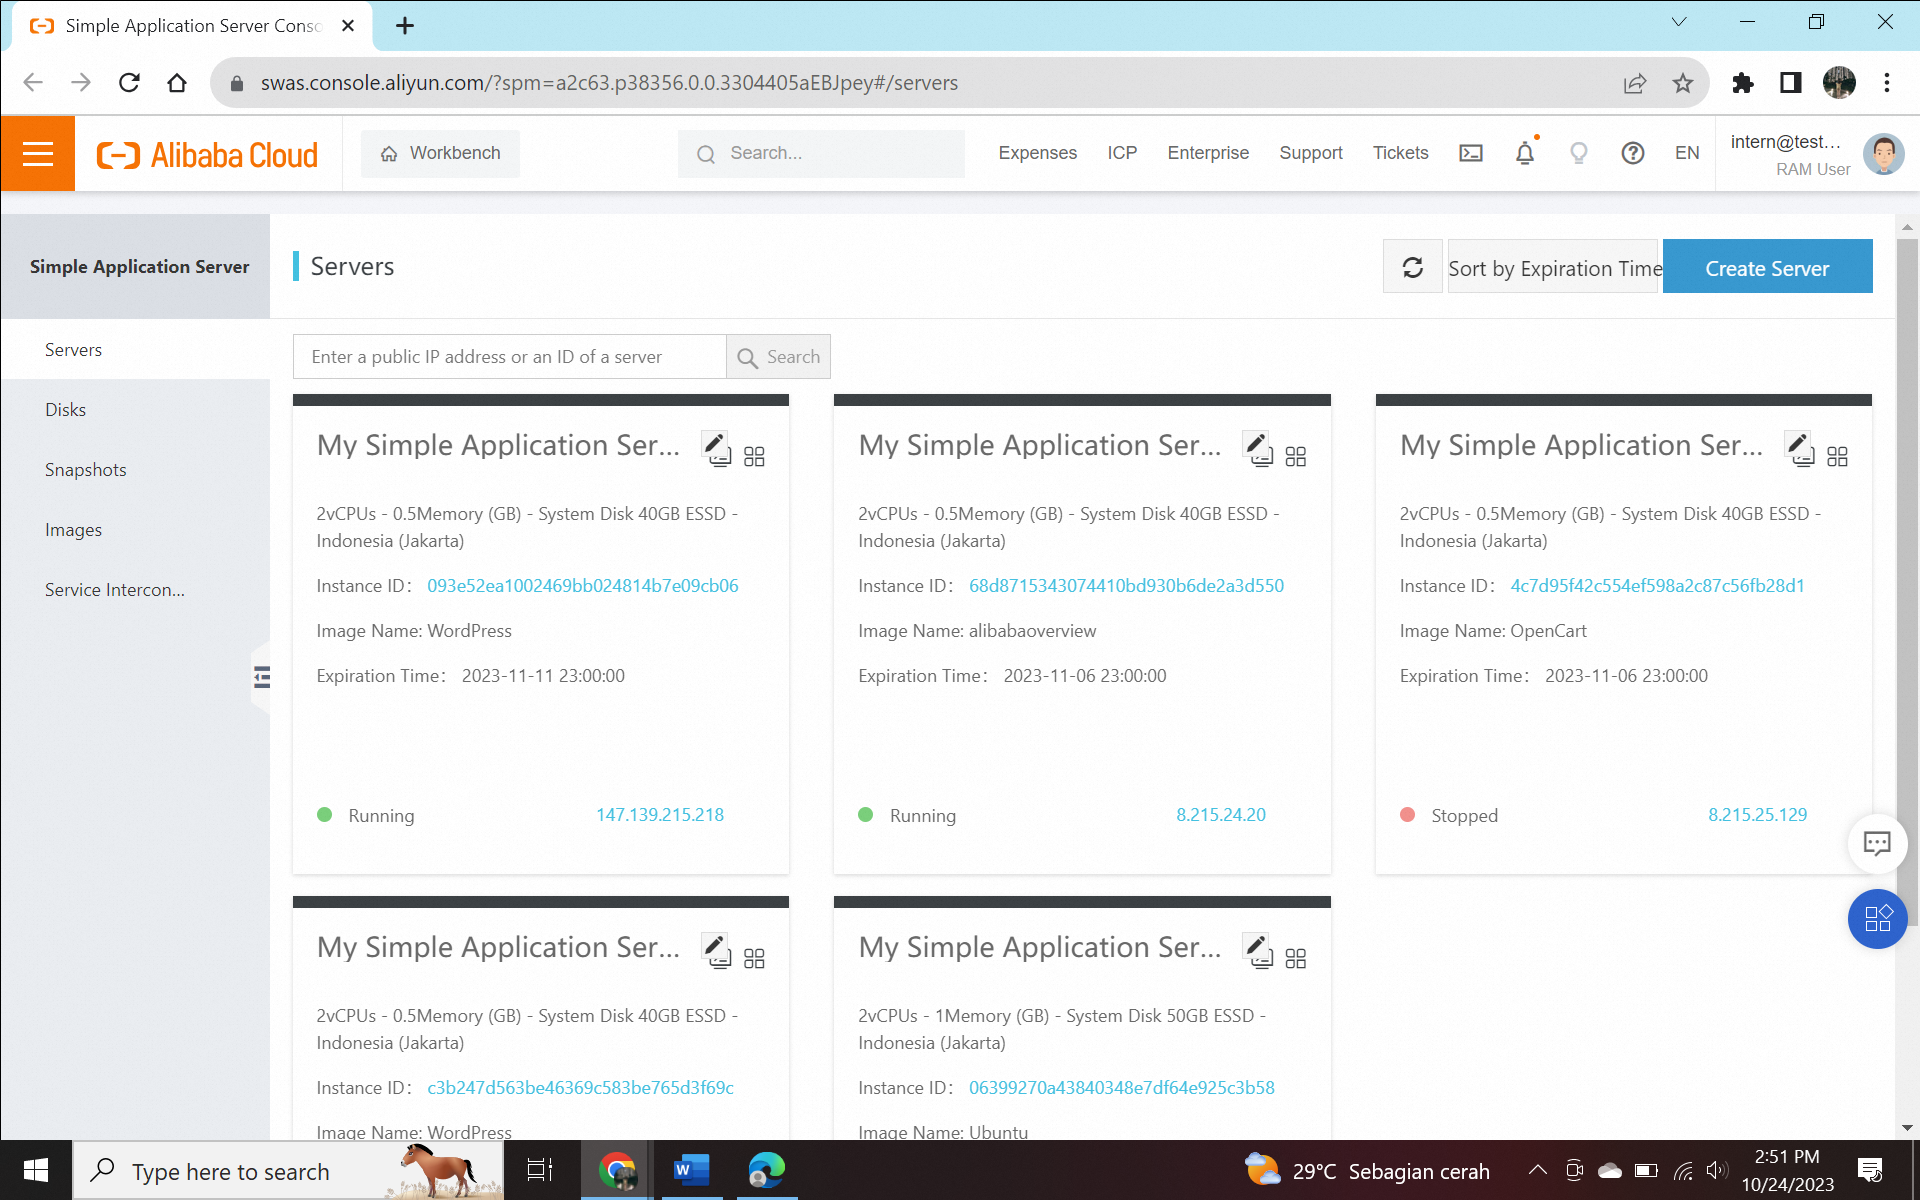
4) On the Simple Application Server page, configure the parameters.
a) In the Region section, select Indonesia.
b) In the Image section, select Wordpress.
c) Set Instance Plan, select a plan based on your business requirements.
d) Optional: Specify a size to create and attach a Data Disk of the specified size.
e) Set Subscription Period. You can set the subscription period of the simple application server to one month, three months, six months, one year, two years, or three years.
f) Set Quantity. The default value of this parameter is 1.
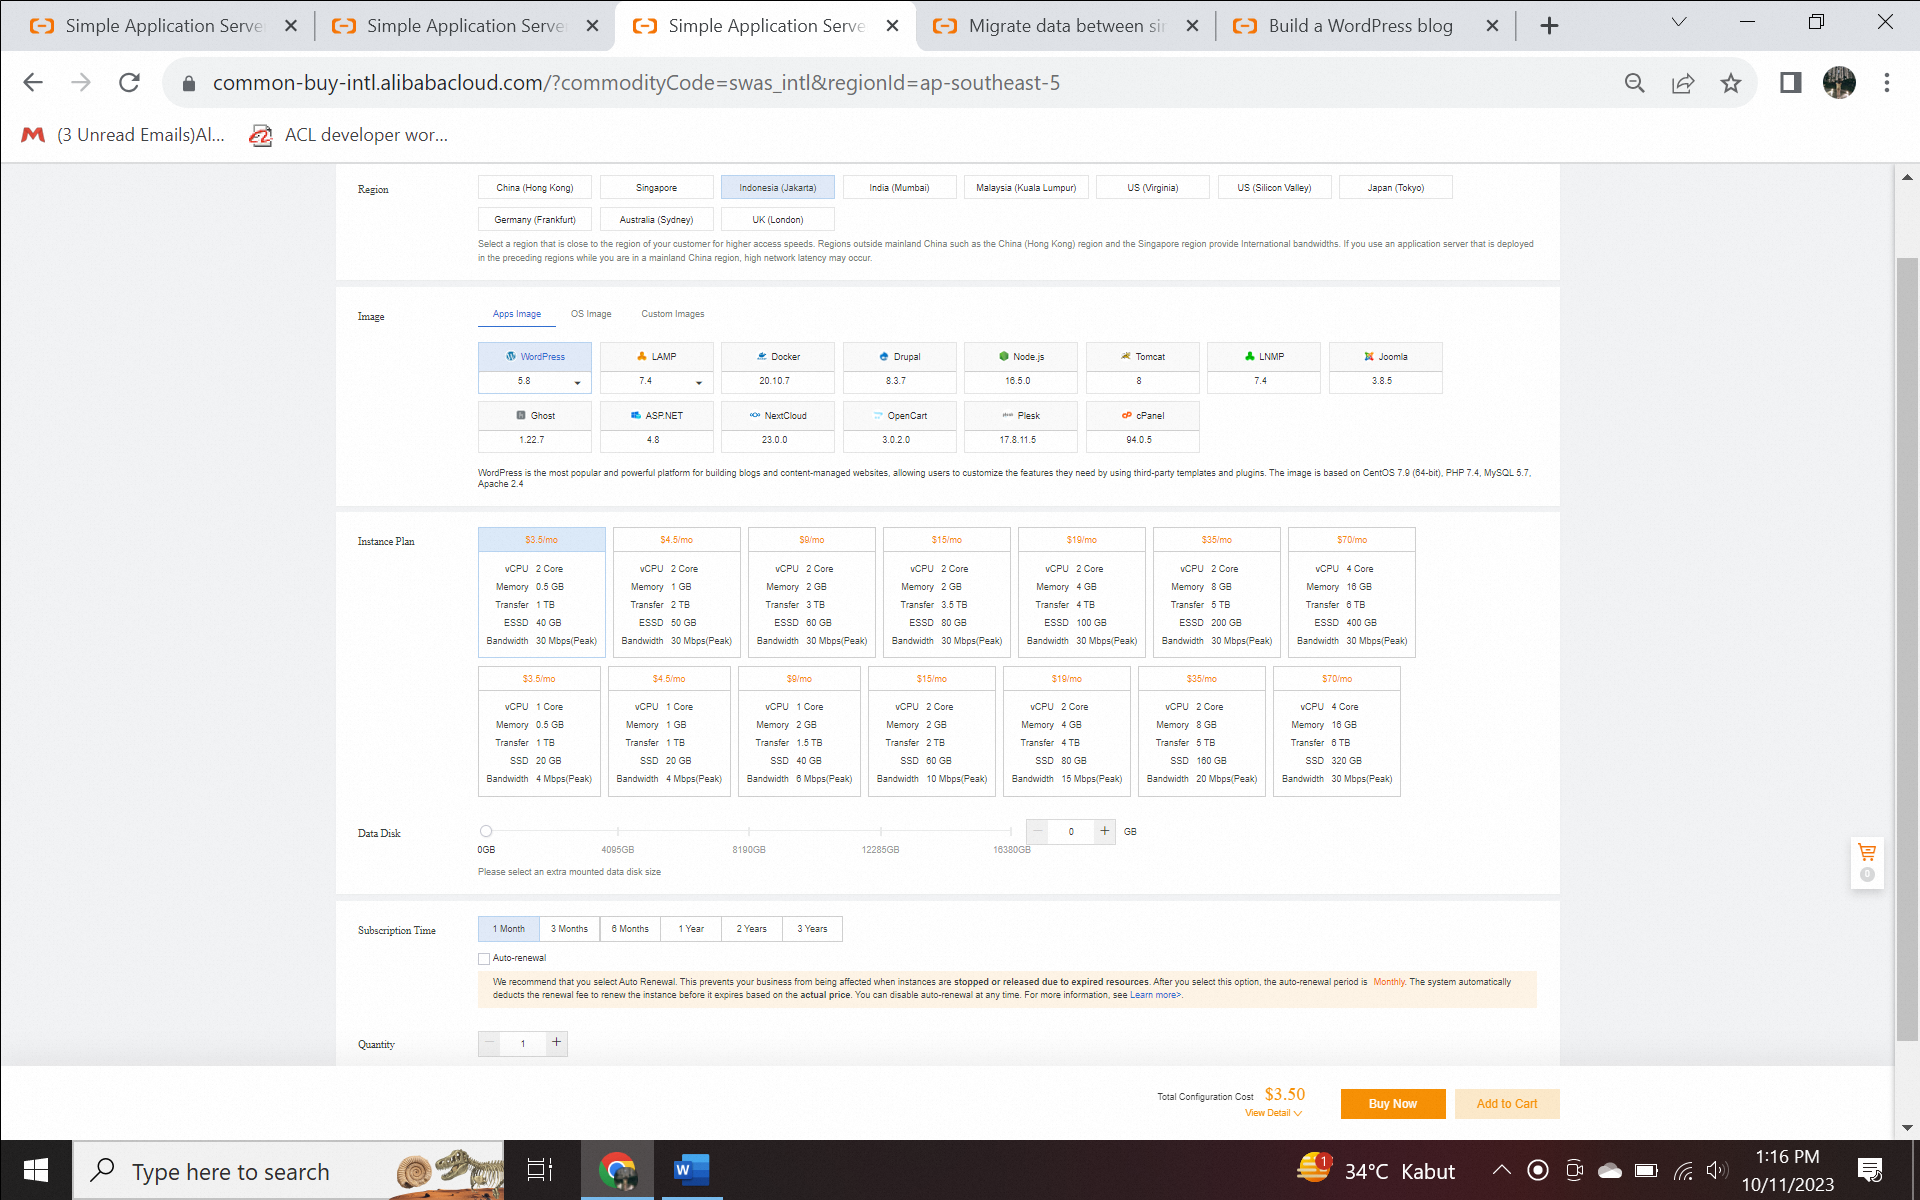
5) After you configure the parameters, click Buy Now.
6) On the Confirm Order page, verify the order information.
7) In the Terms of Service section, read the General Terms and End User License and select I have read and agree to General Terms, End User License.
8) Click Pay and follow the on-screen instructions to make a payment. On the Servers page, view the created server.
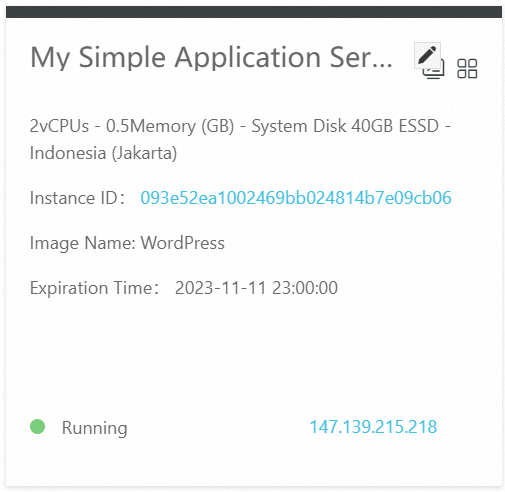
a) Server A
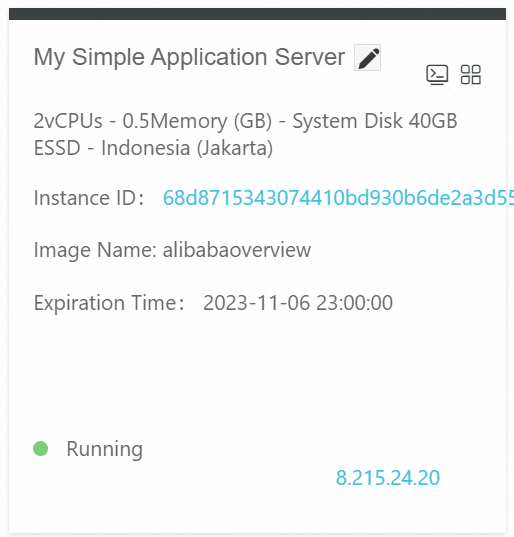
b) Server B
1) On the Servers page, find the created WordPress server and click the server card.
2) In the left-side navigation pane, choose Applications > Application Details.
3) In the WordPress Information section, click the URL next to Home Address.
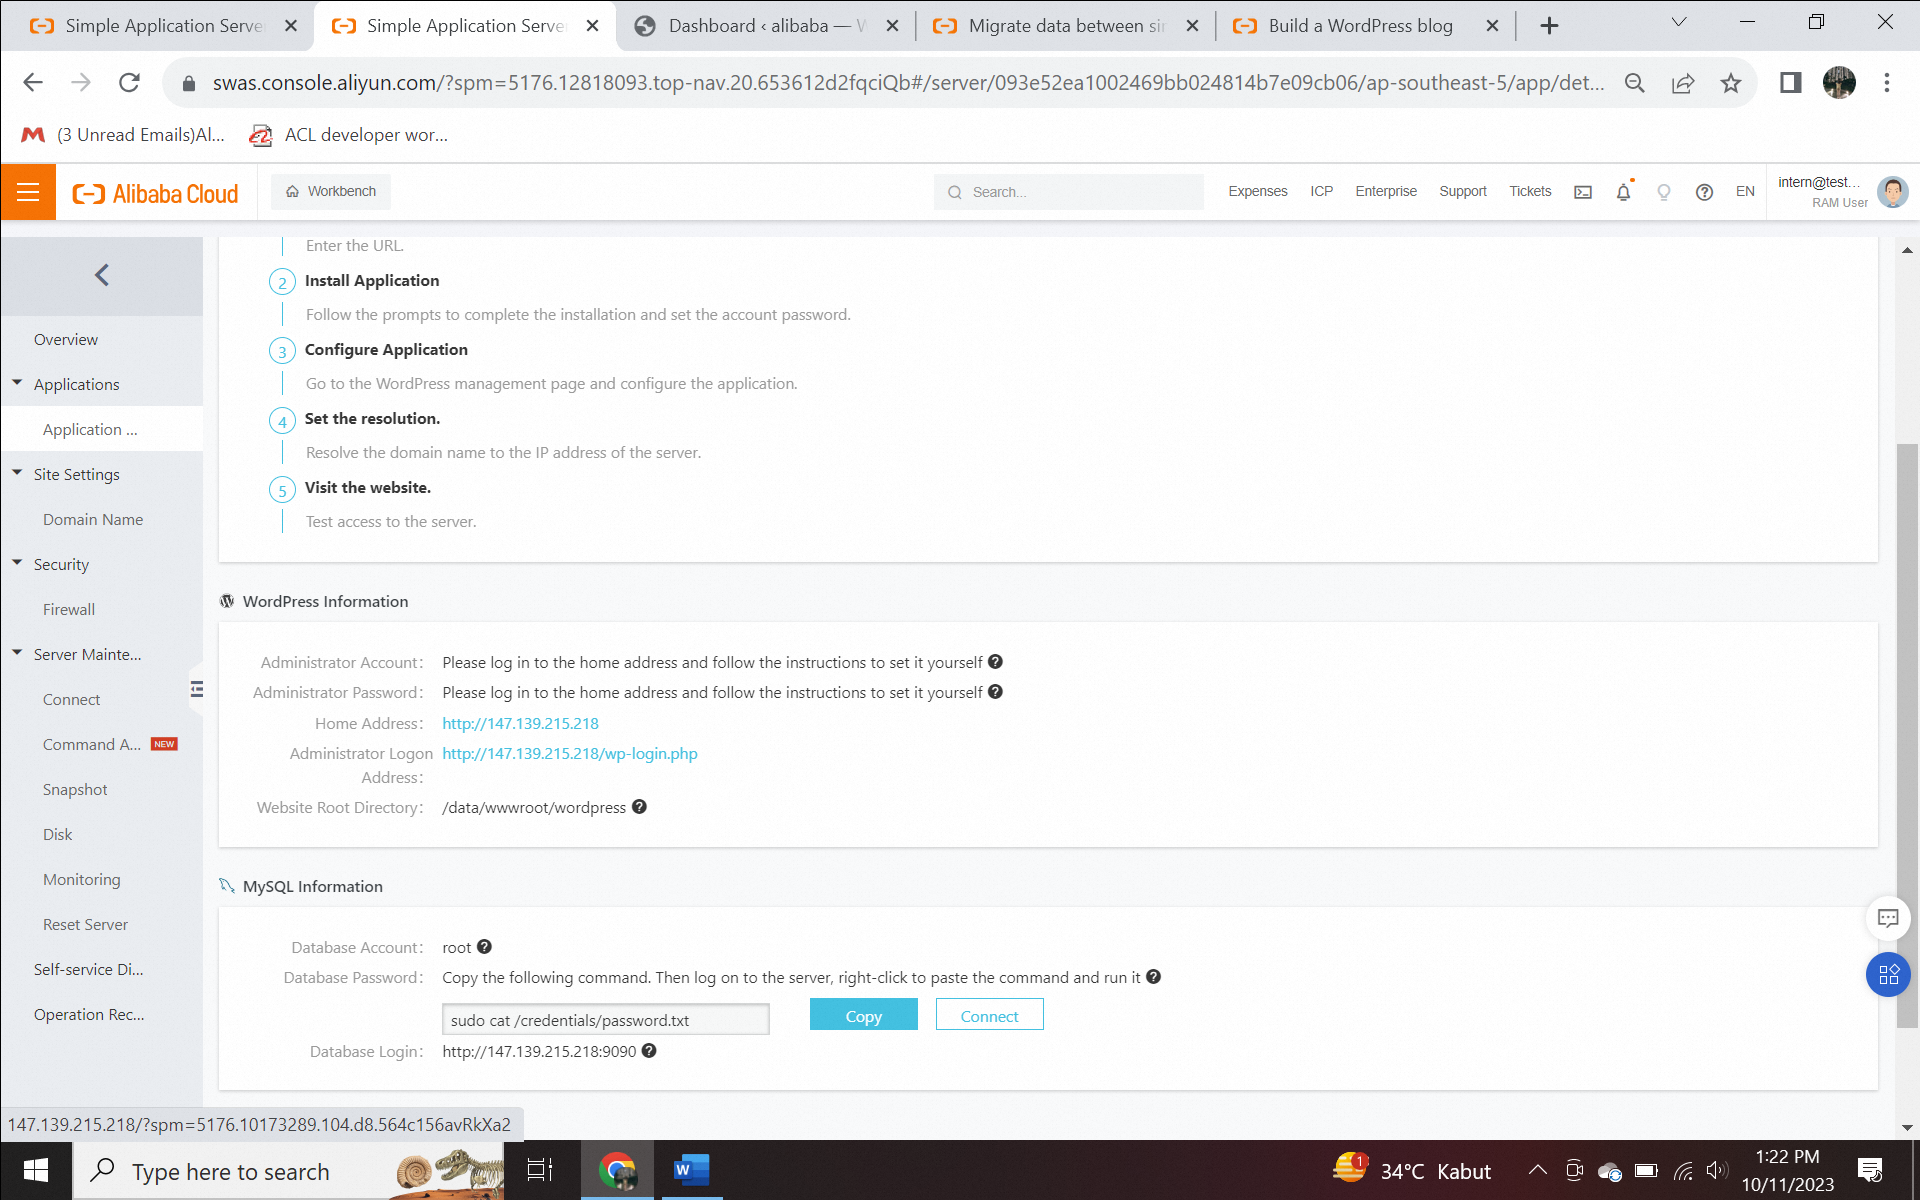
4) On the page that appears, click Log In. Enter the username and password on the logon page, and then click Log In.
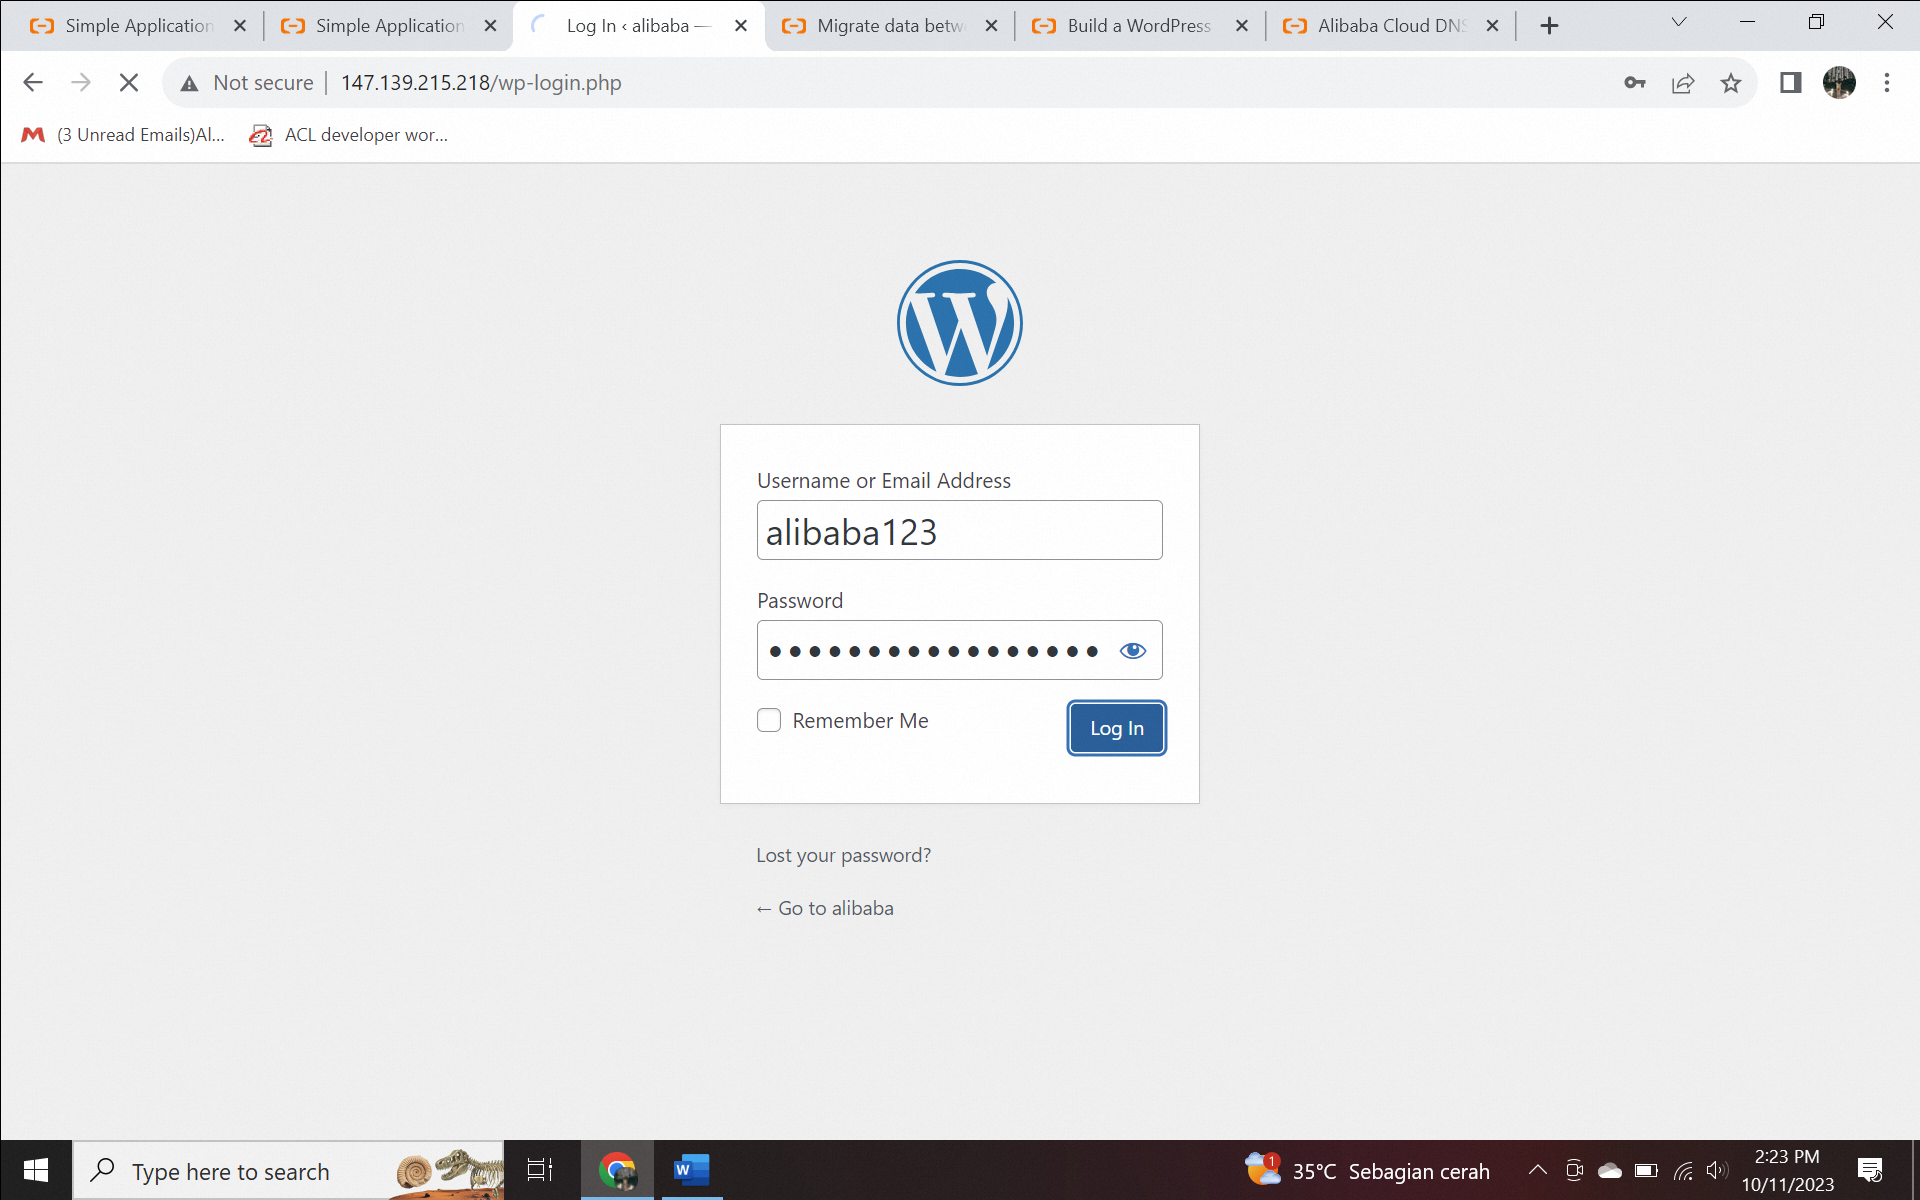
5) Create the blog in the wordpress.
The security of your server is compromised if you use the public IP address of the server to access the WordPress blog site deployed on the server. To ensure server security, we recommend that you access the blog site by using a domain name.
1) Register a domain name. For example, the domain name that you registered is jessiedemo.xyz
2) Go back to the details page of the WordPress server. In the left-side navigation pane, choose Site Settings > Domain Name.
3) Click Add Domain Name in the upper-right corner of the page.
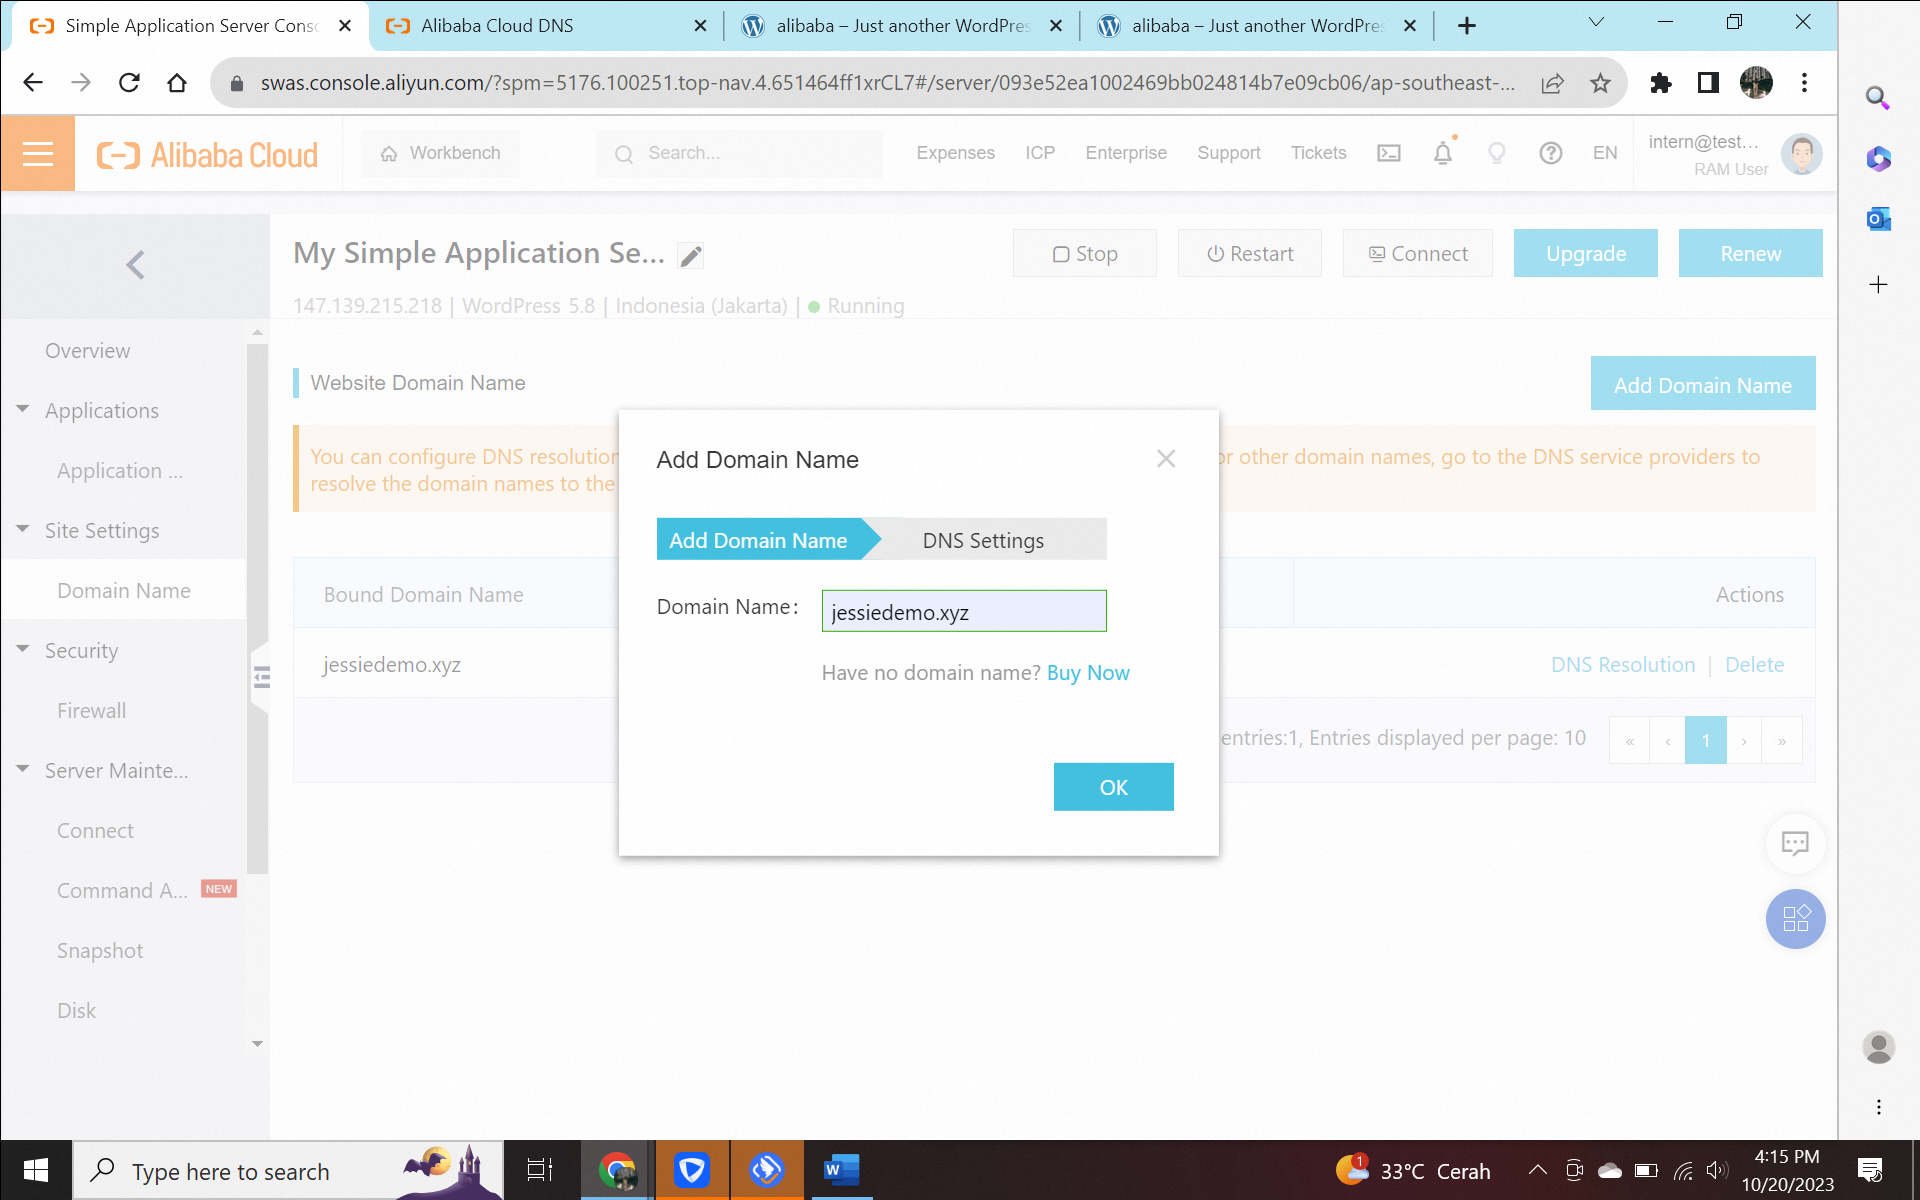
4) Enter the domain name of the WordPress blog site and click OK. After the domain name is bound to the server, the system checks whether the domain name is resolved.
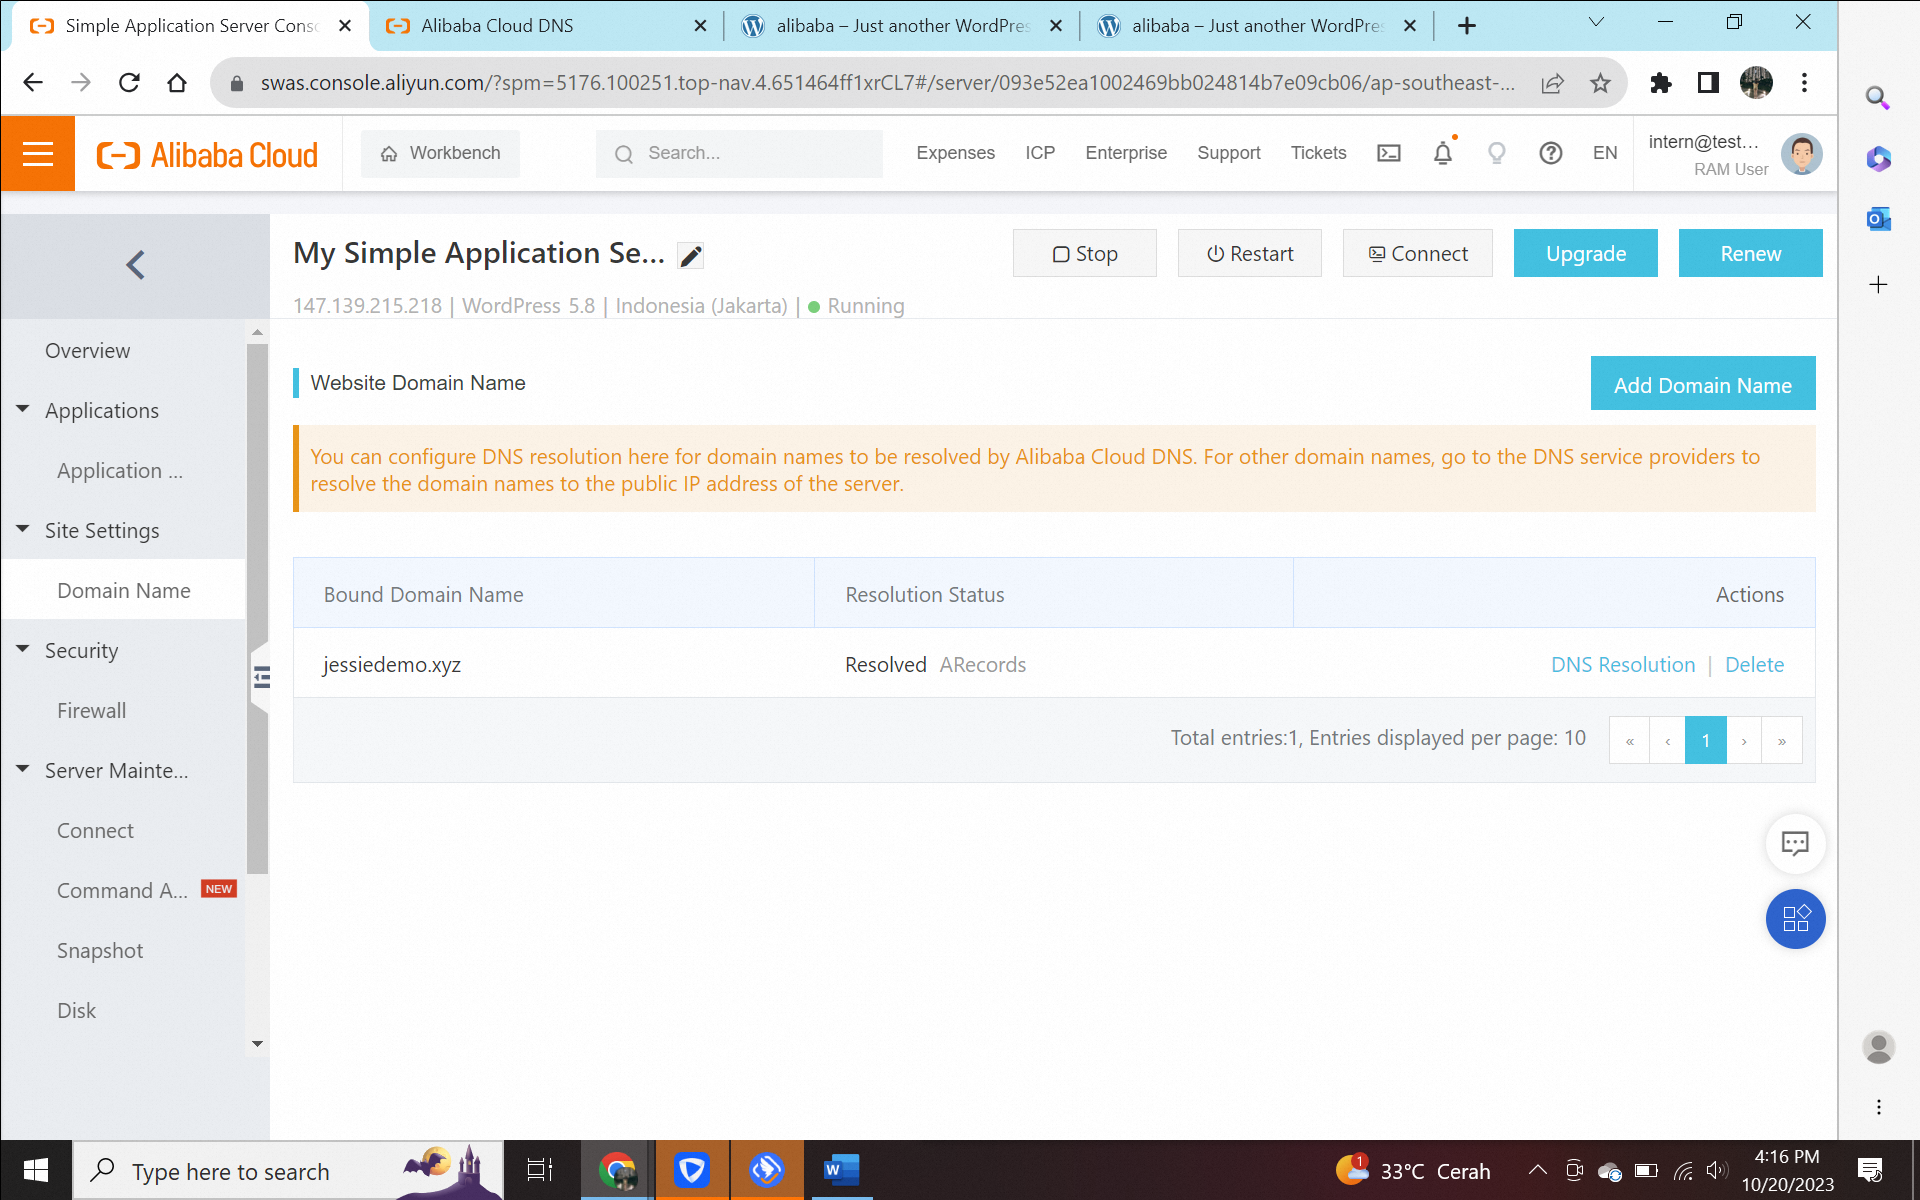
1) Optional: Configure the domain name on WordPress. If you have bound a domain name of the WordPress blog site to the WordPress server and resolved the domain name, you must configure the domain name on WordPress.
a) Log on to WordPress.
b) In the left-side navigation pane, choose Settings > General.
c) In the WordPress Address (URL) and Site Address (URL) fields, enter the domain name that you have bound and resolved. In this example, enter http://jessiedemo.xyz
d) Click Save Changes.
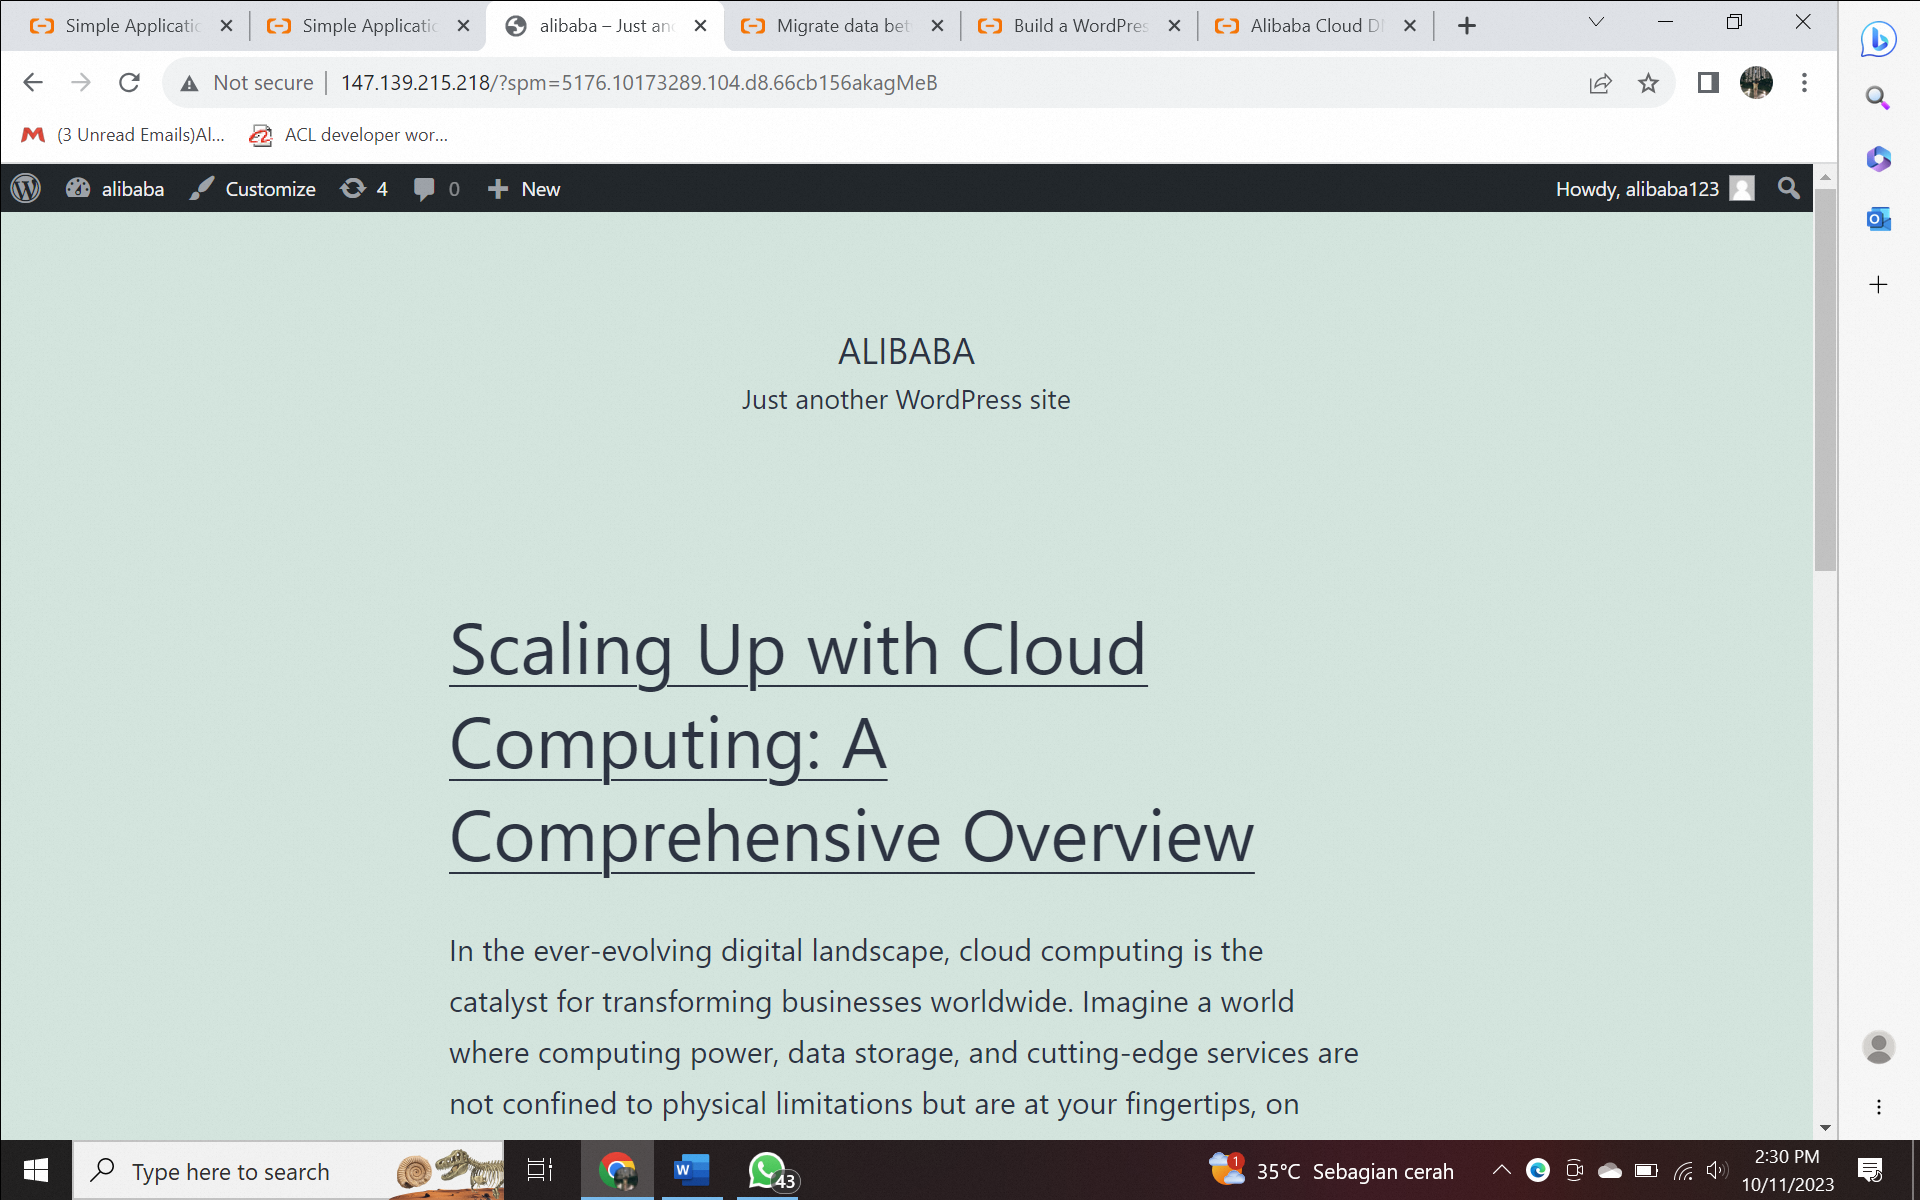
2) Use this following methods to check whether the WordPress blog site can be accessed:
a) On the Servers page, click the WordPress server card to go to the Overview page.
b) In the left-side navigation pane, choose Applications > Application Details.
c) In the WordPress Information section of the Application Details page, view and copy the IP Address in Home Address.
1) Create a snapshot from Server A.
a) Log on to the Simple Application Server console. (https://swas.console.aliyun.com/?spm=a2c63.p38356.0.0.3304405aEBJpey#/servers)
b) In the left-side navigation pane, click Servers.
c) On the Servers page, click the card of Server A.
d) In the left-side navigation pane, choose Server Maintenance > Disk.
e) Separately click Create Snapshot in the Actions column of the System Disk and Data Disk sections.
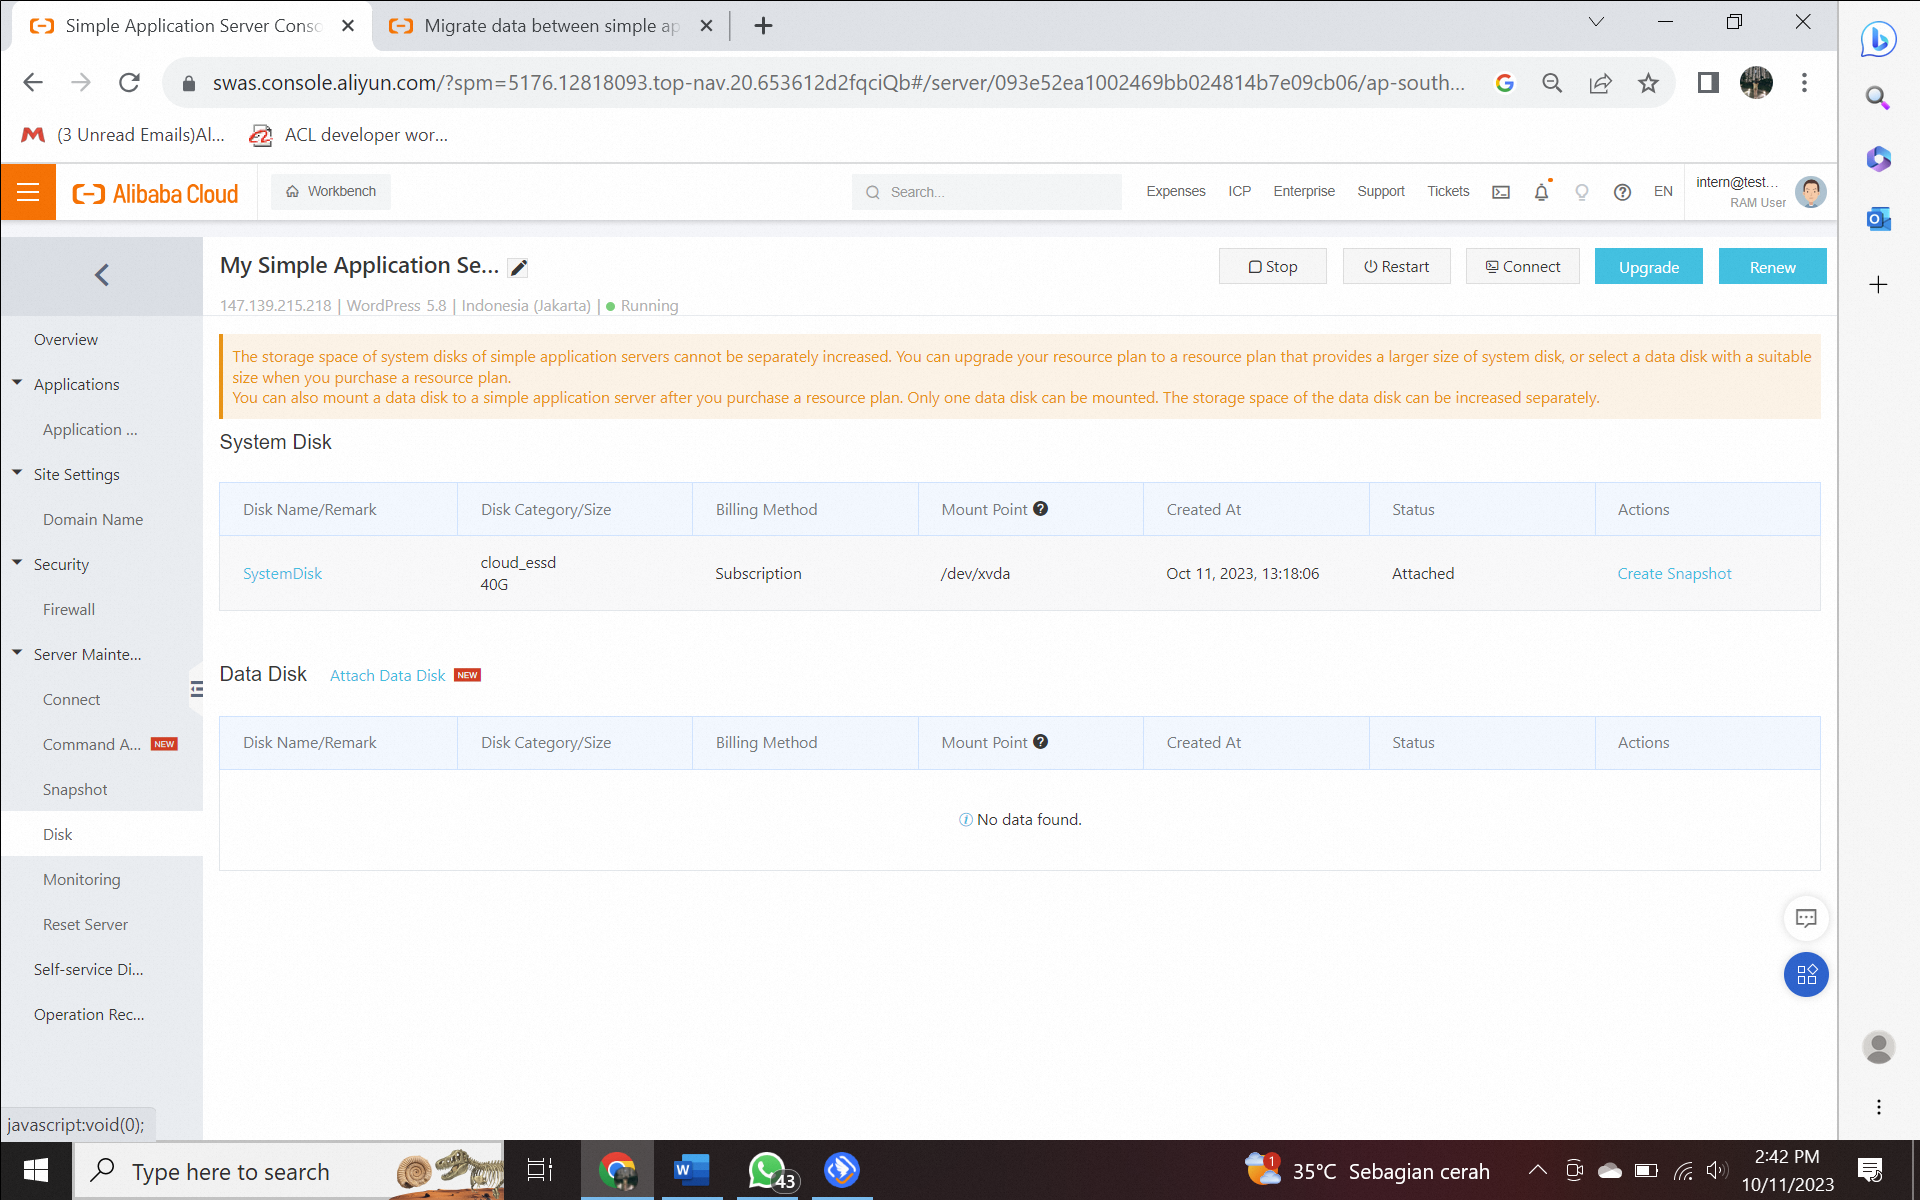
e) In the Create Snapshot dialog box, verify the information, enter a snapshot name, and then click OK.
f) In the left-side navigation pane, choose Server Maintenance > Snapshots to view the snapshot that you created.
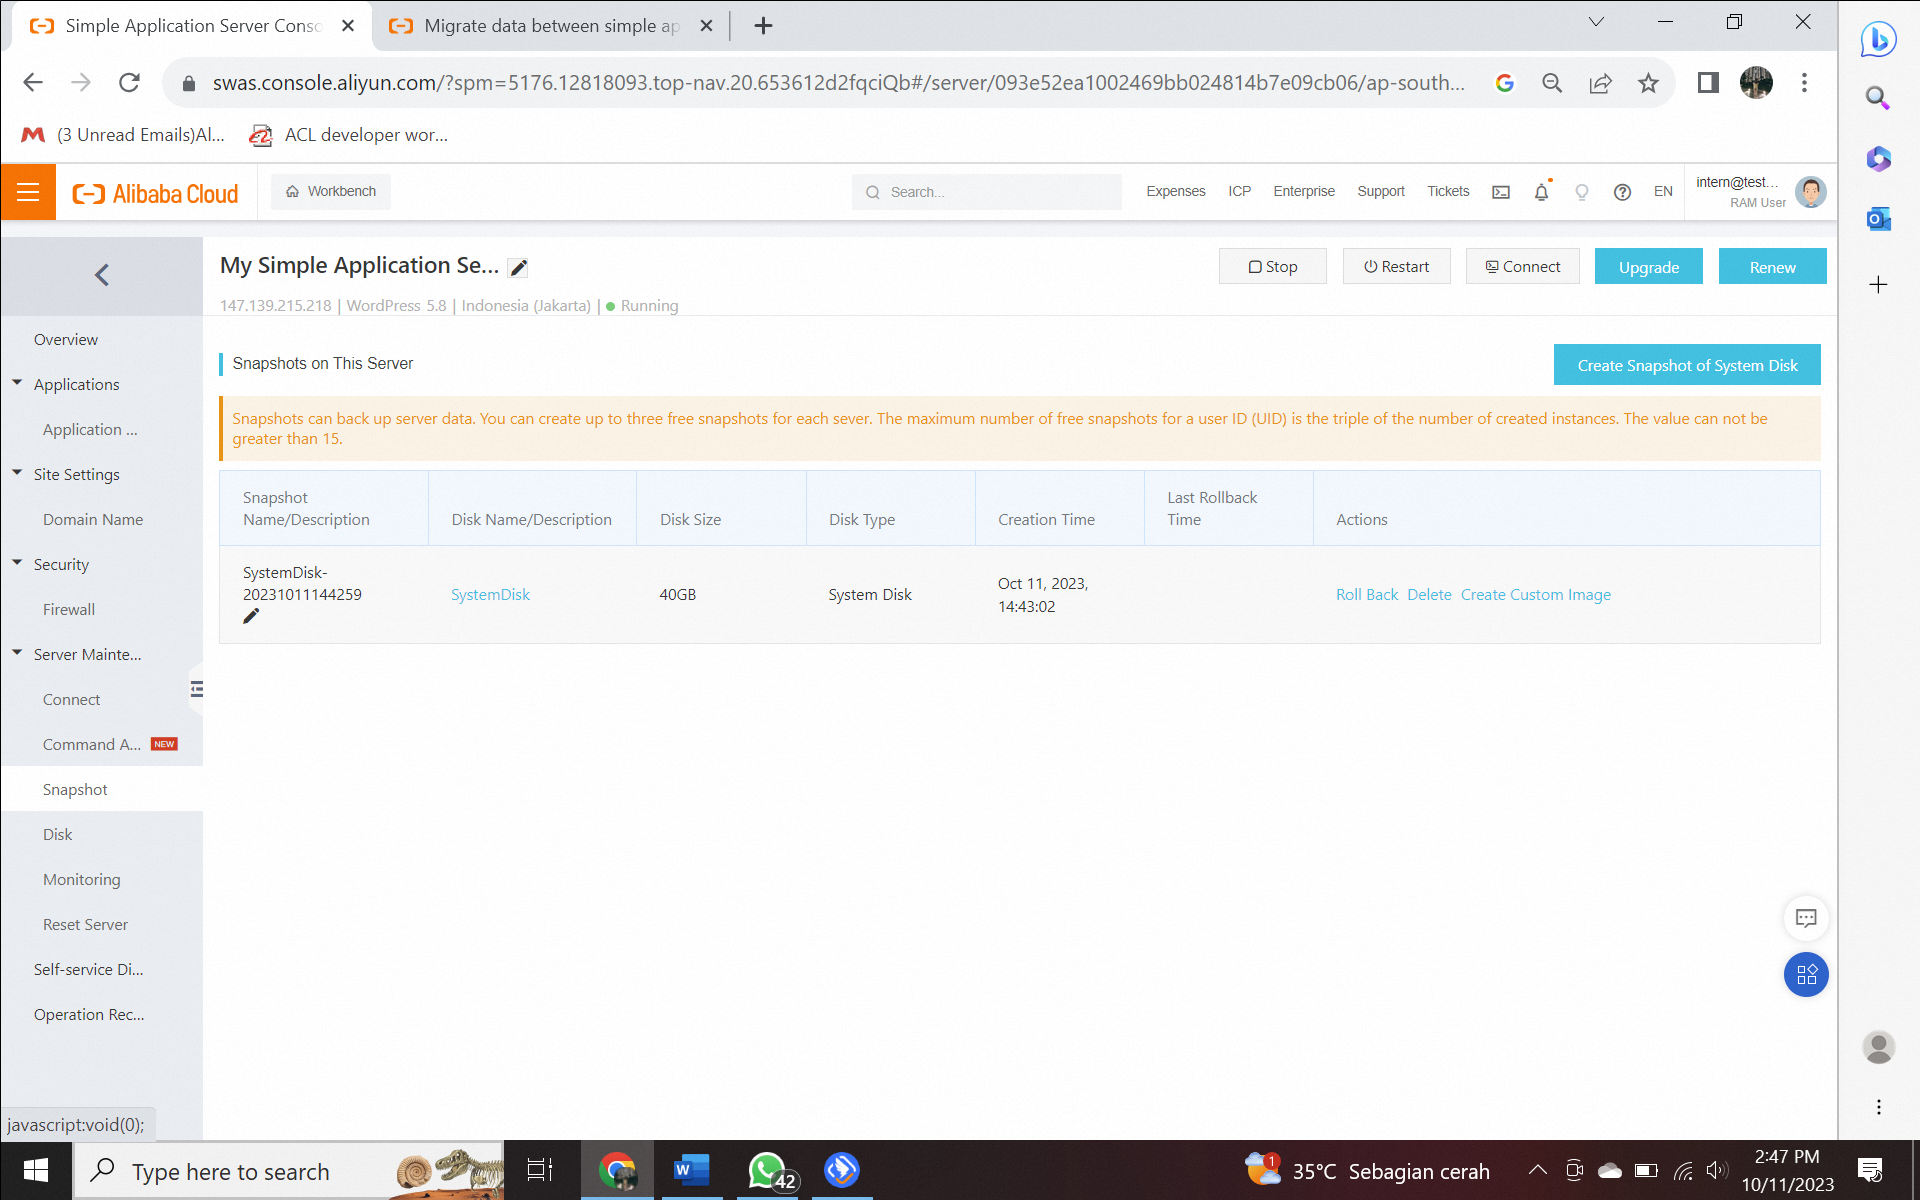
2) Create a custom image.
To create a custom image, perform the following operations.
a) Find the system disk snapshot that you created based on Server A and click Create Custom Image in the Actions column.
b) In the Create a custom image dialog box, configure the parameters.
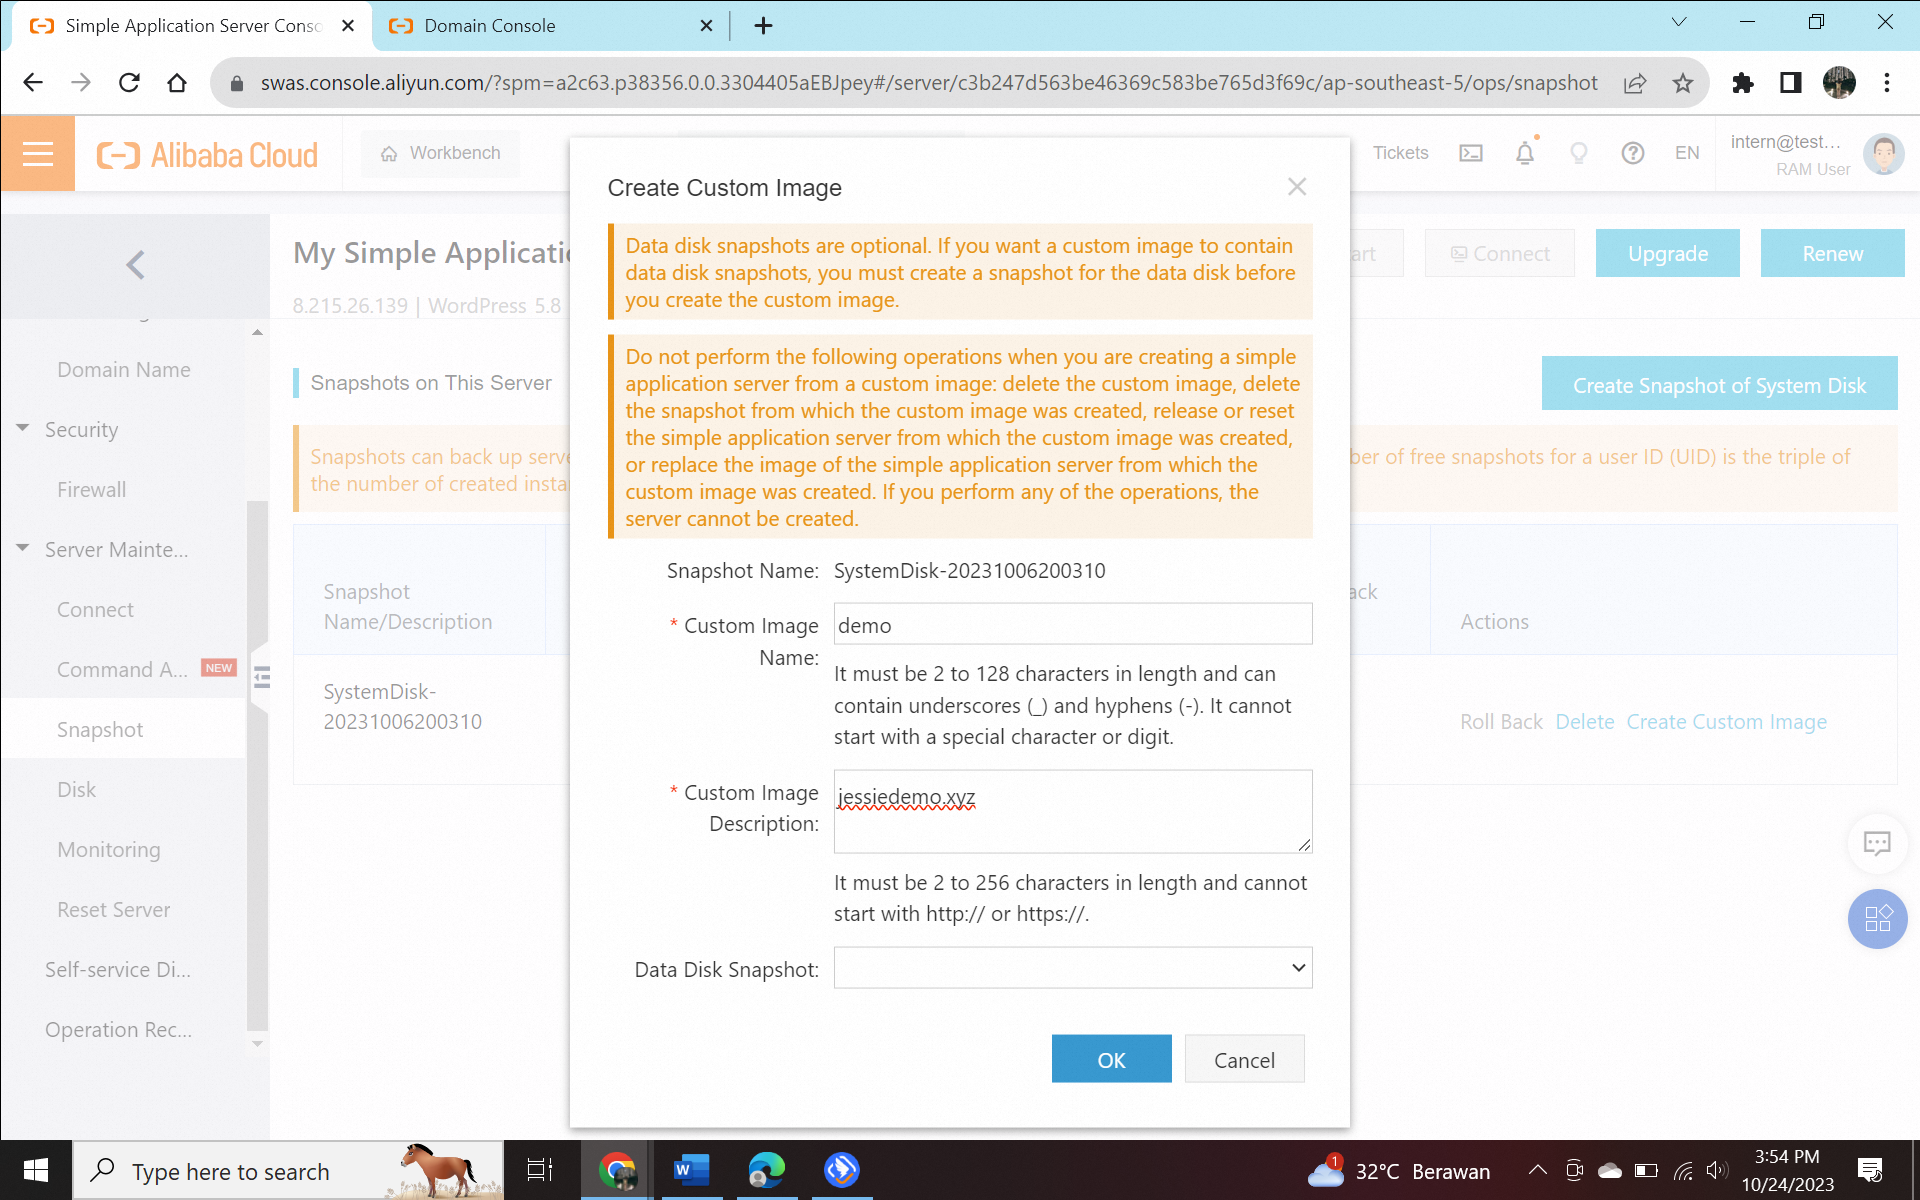
c) Click OK, and then click Go to View.
On the Images page, you can view the custom image that you created.
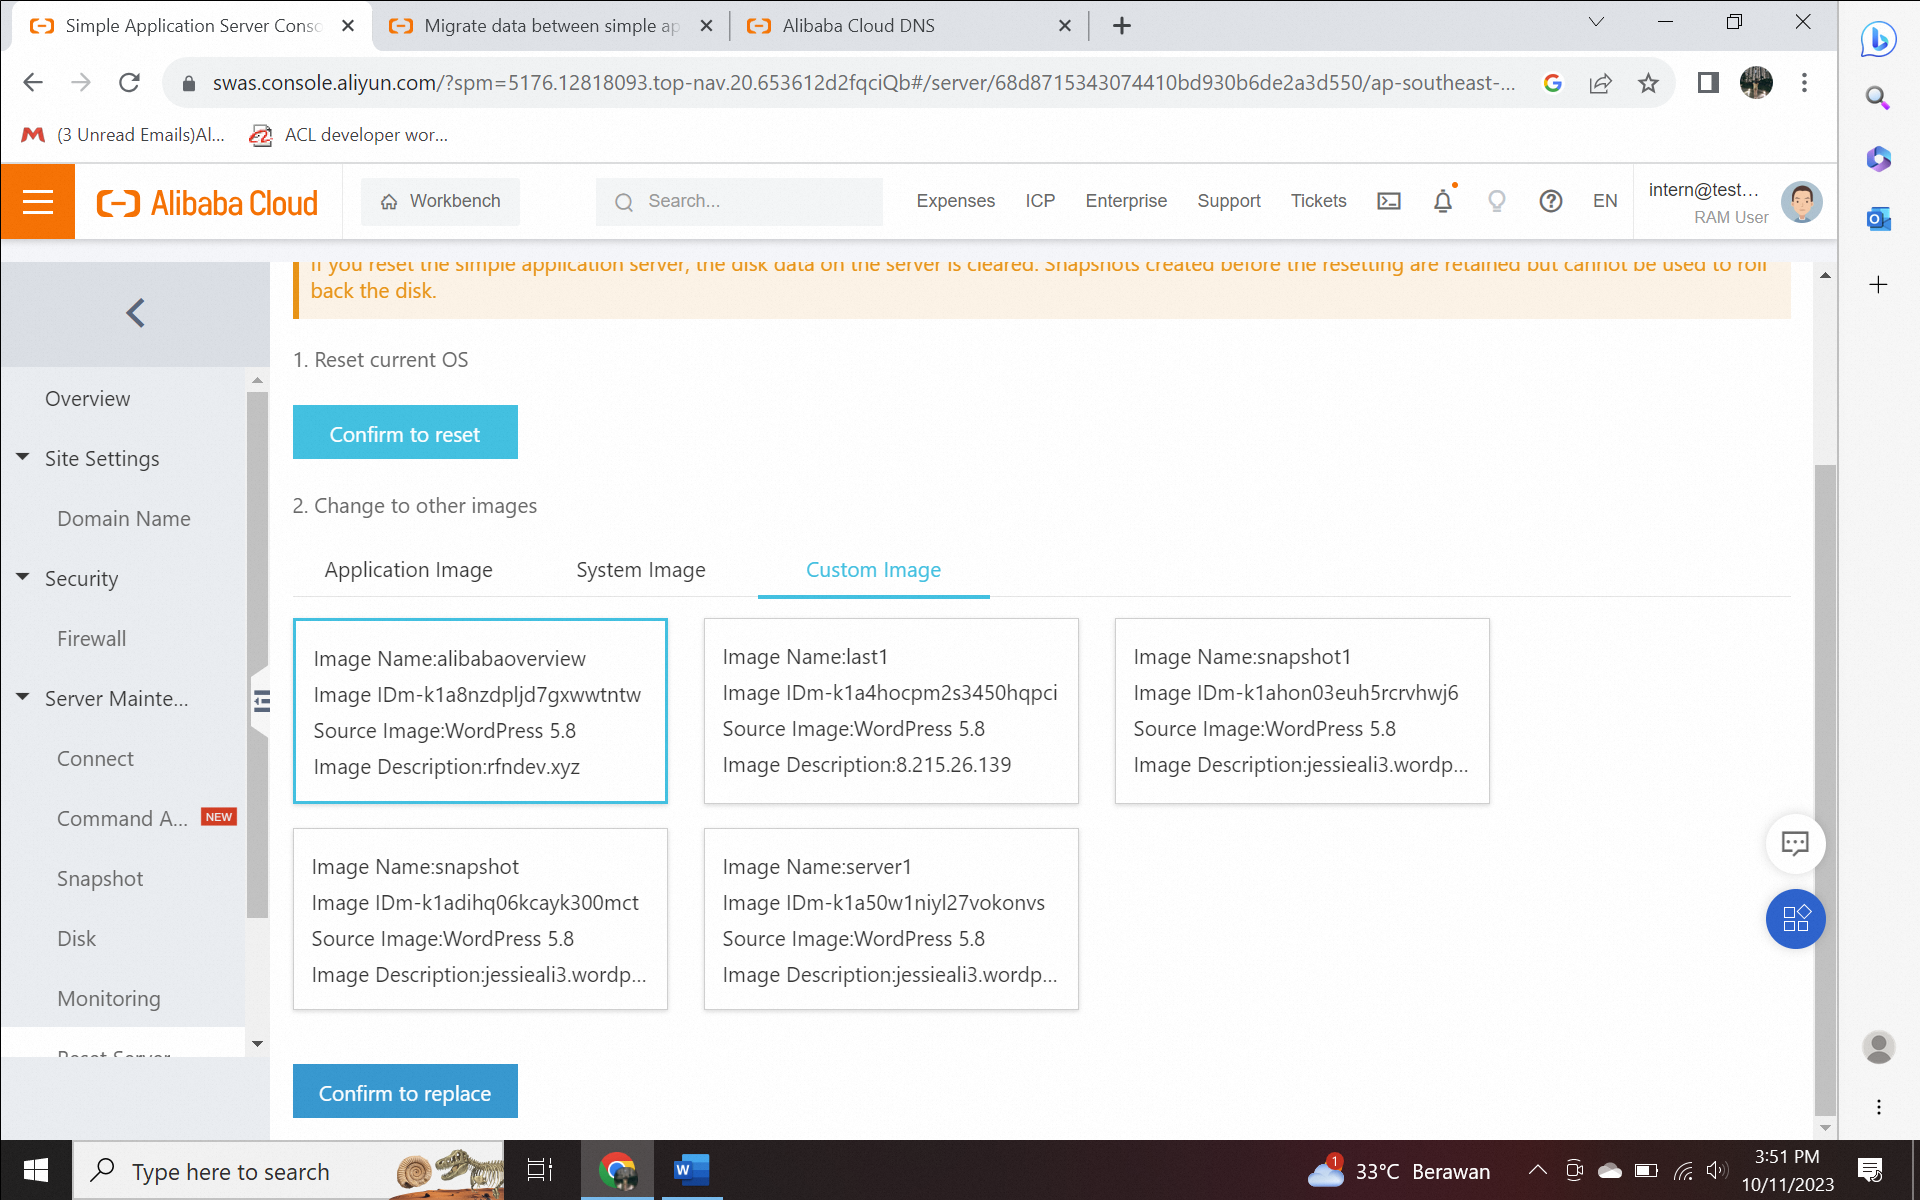
3) Check the Server B and perform the following operations to reset Server B.
a) On the Servers page, click the card of Server B.
b) In the left-side navigation pane, choose Server Maintenance > Reset Server.
c) In the Change to other images section, click the Custom Image tab.
d) Select the custom image that you created in step 1 and click Confirm Change.
e) In the Change Image message, click OK.
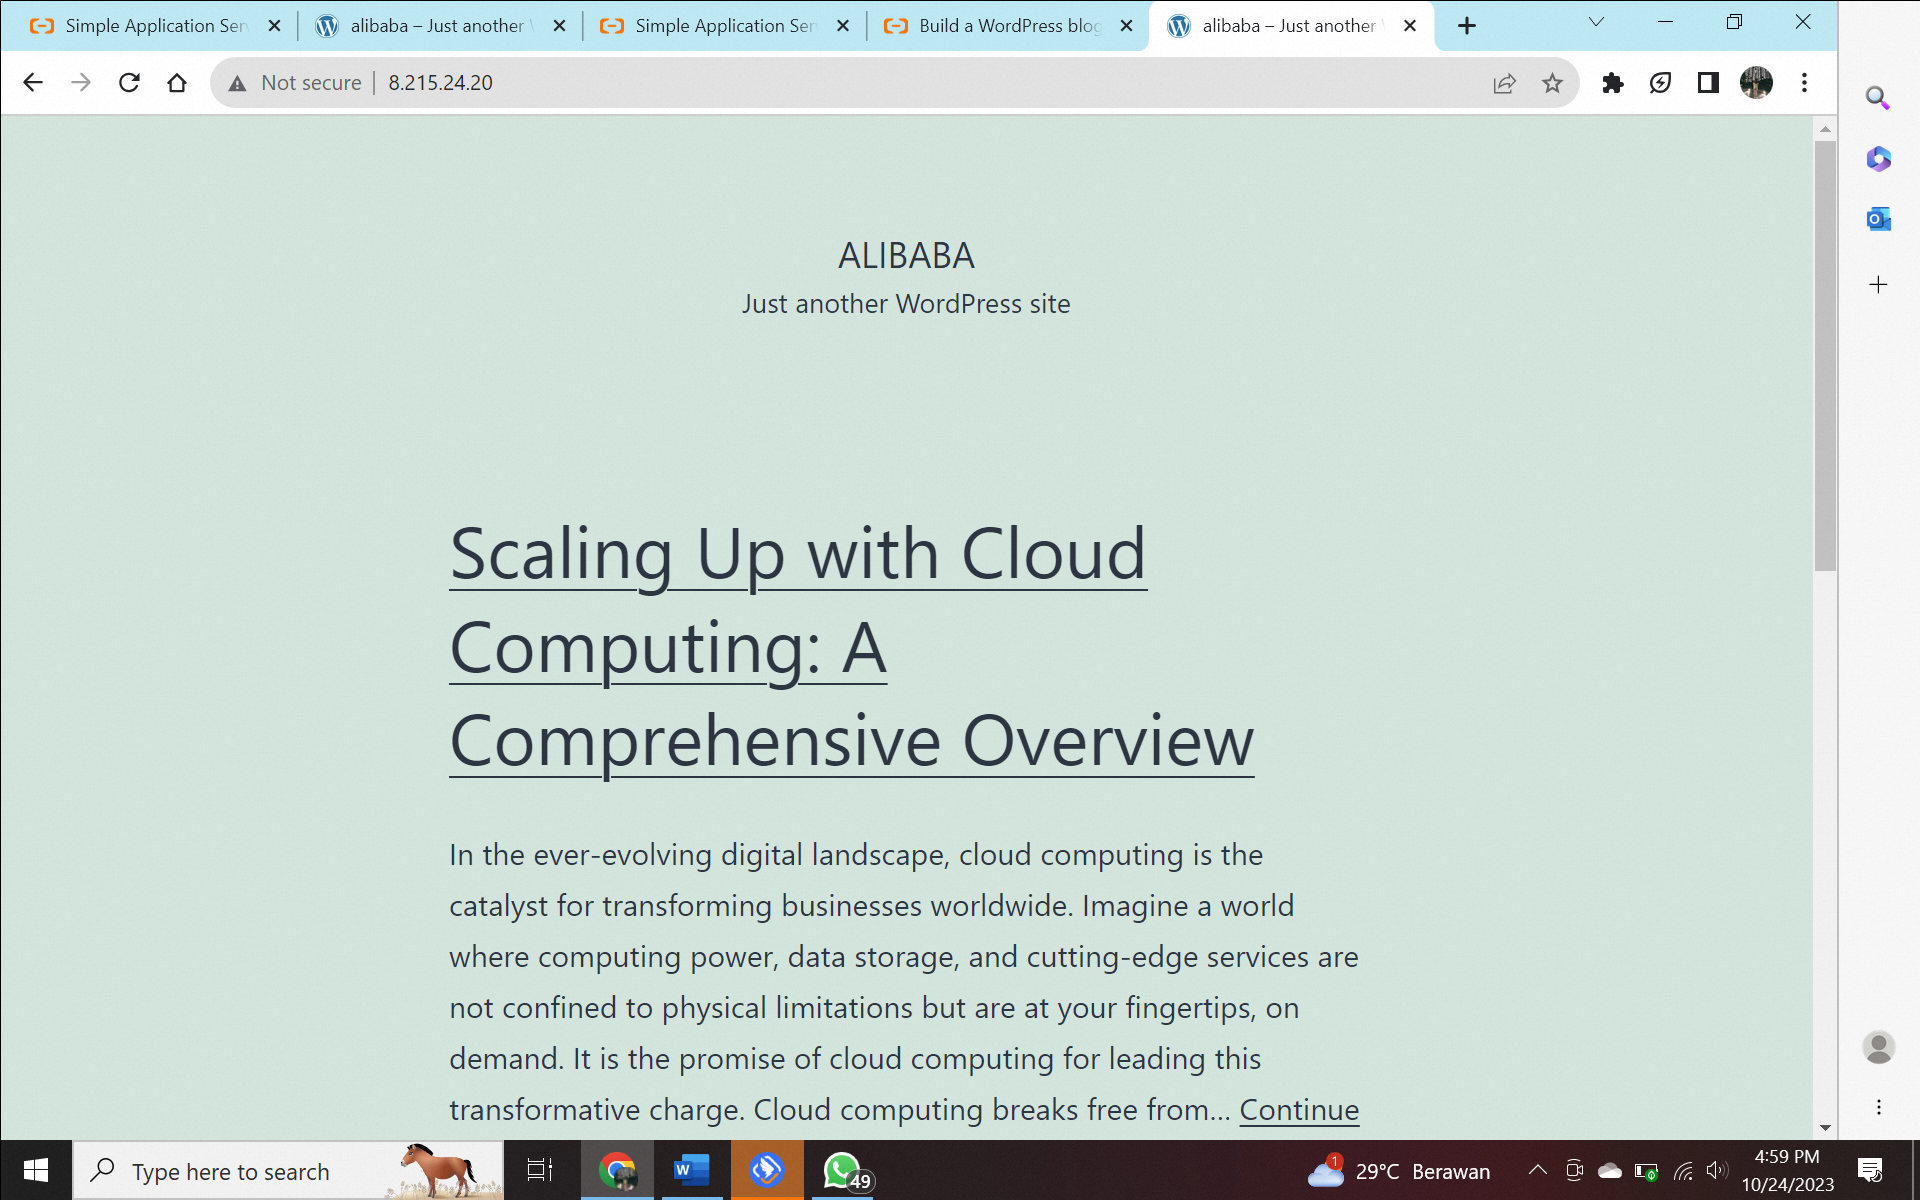
You can check by click the public IP address public in the Server Information on the card of Server B. If the results are as below then the WordPress migration from SAS A to SAS B is successful.
OpenSearch: A One Stop Solution to Easily Integrate LLM Generative AI in Your Application
Unleashing Creativity Exploring the Power of Generative AI on Cloud
117 posts | 21 followers
FollowAlibaba Clouder - July 2, 2019
Alibaba Cloud Community - October 25, 2021
Alibaba Clouder - August 22, 2018
Alibaba Cloud Serverless - June 28, 2022
Alibaba Clouder - August 15, 2018
Alibaba Clouder - June 8, 2020
117 posts | 21 followers
Follow Simple Application Server
Cloud-based and lightweight servers that are easy to set up and manage
Learn More Simple Log Service
An all-in-one service for log-type data
Learn More Global Application Acceleration Solution
This solution helps you improve and secure network and application access performance.
Learn More Cloud Migration Solution
Secure and easy solutions for moving you workloads to the cloud
Learn MoreMore Posts by Alibaba Cloud Indonesia