By Oliver Zhang, Solutions Architect
A lot of companies often face connectivity issues when connecting their China offices with their headquarters. Getting a fiber connected to China is an expensive and lengthy process. Instead, using Alibaba Cloud's Cloud Enterprise Network (CEN) is much easier and faster. In this article, we will have a look at how to do it in just 60 minutes to connect to China.
The figure below shows the architecture of our solution.
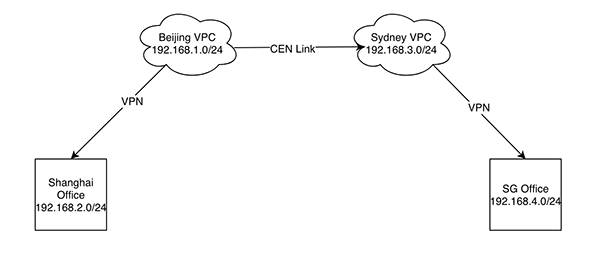
In this demo, we will be using Alibaba Cloud Virtual Private Clouds (VPCs) in Shanghai (SH) and Singapore (SG) to represent the offices in multiple regions. Let's begin.
First, we need to get aliyuncli. If you don't have it ready, please follow the instructions here here.
Configure the aliyuncli environment
aliyuncli configureCreate the VPCs using CLI. Create Beijing VPC.
aliyuncli ecs CreateVpc --CidrBlock '192.168.1.0/24' --RegionId cn-beijing --VpcName VPC-BJCreate Shanghai VPC.
aliyuncli ecs CreateVpc --CidrBlock '192.168.2.0/24' --RegionId cn-shanghai --VpcName Office-SHCreate Sydney VPC.
aliyuncli ecs CreateVpc --CidrBlock '192.168.3.0/24' --RegionId ap-southeast-2 --VpcName VPC-SYDCreate Singapore VPC.
aliyuncli ecs CreateVpc --CidrBlock '192.168.4.0/24' --RegionId ap-southeast-1 --VpcName Office-SG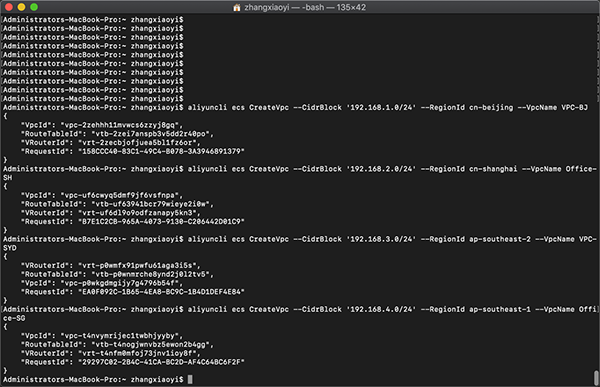
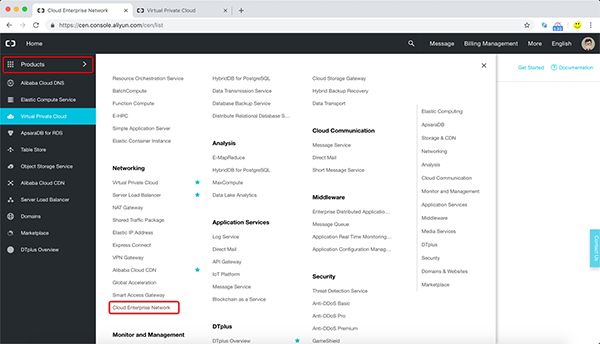
Login to the Alibaba Cloud console. Go to Products and navigate to CEN.
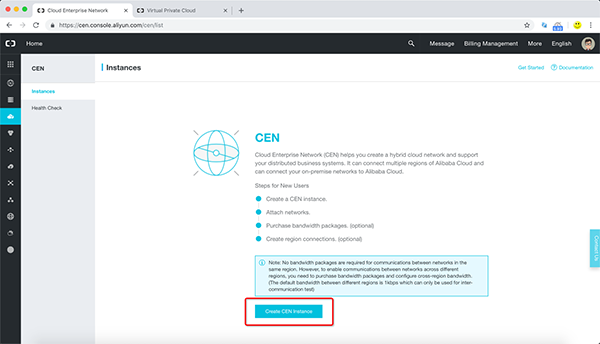
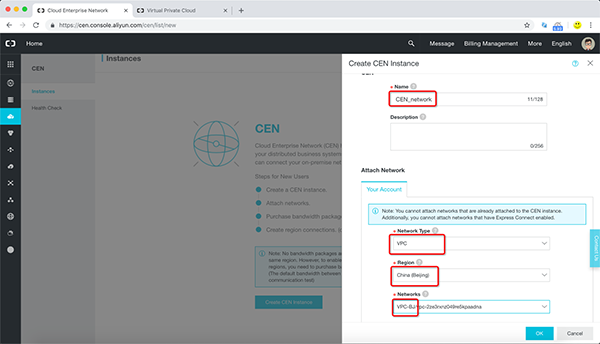
Click on "Create CEN Instance".
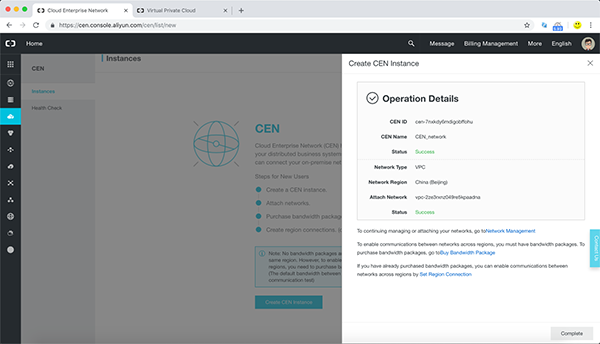
Give the CEN a name and add Beijing-VPC into the CEN.
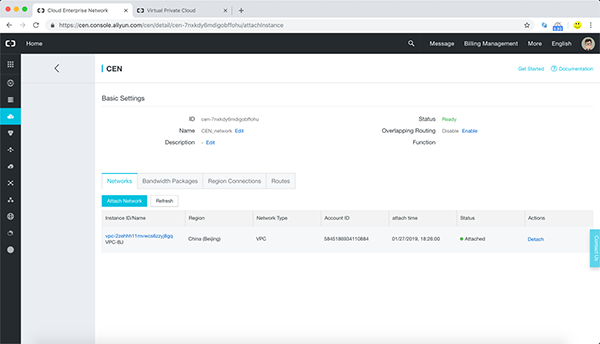
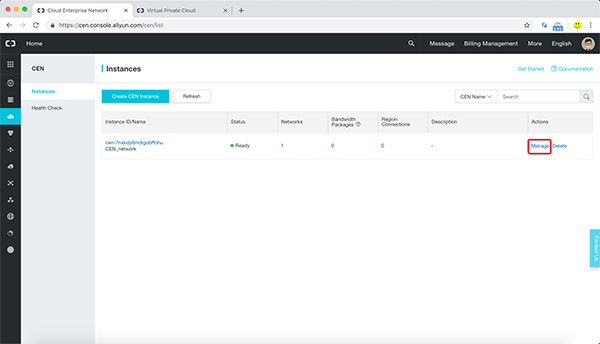
Click on Manage.
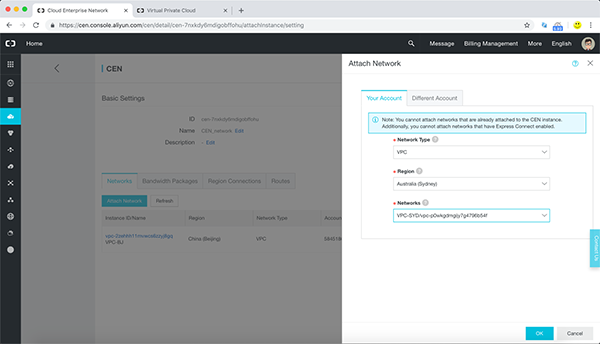
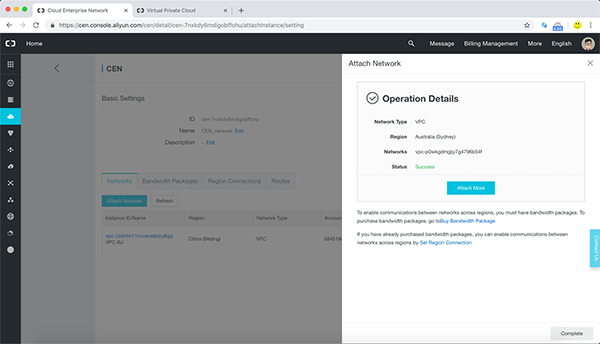
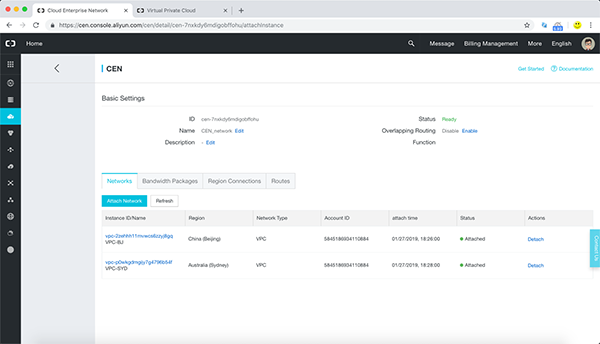
Attach the Sydney-VPC.
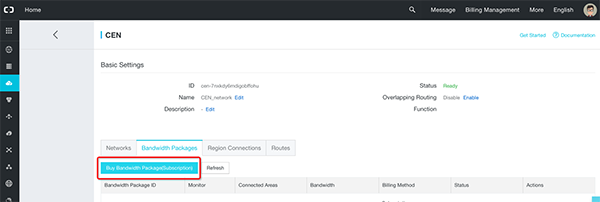
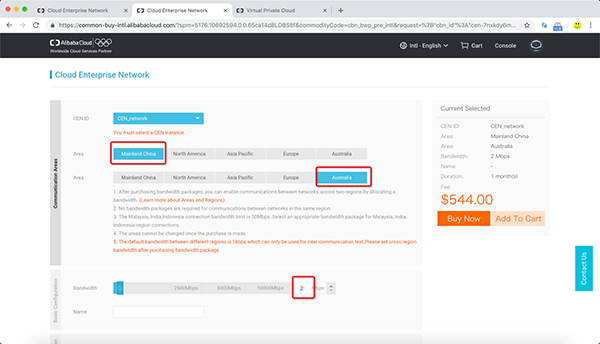
Purchase a Bandwidth Package.
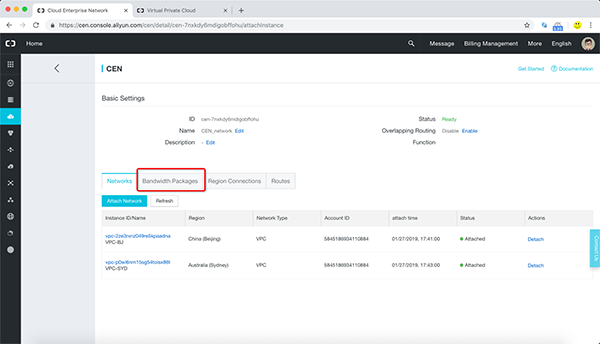
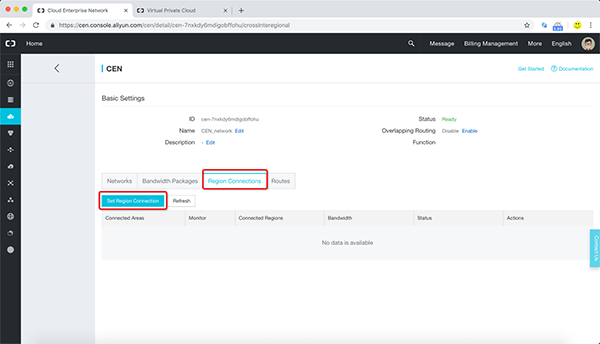
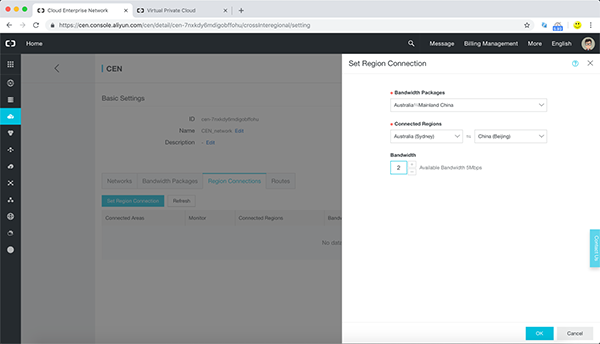
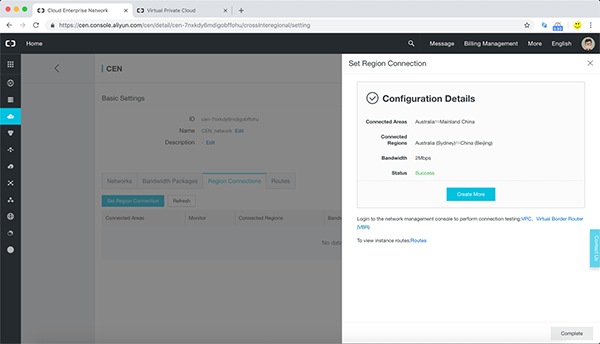
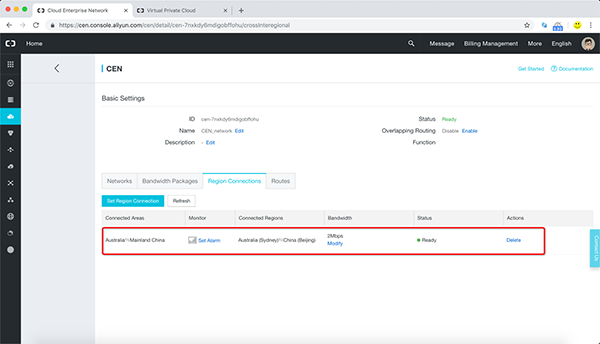
Go to "Region Connections" then "Set Region Connection".
Create VPN gateway in Beijing-VPC
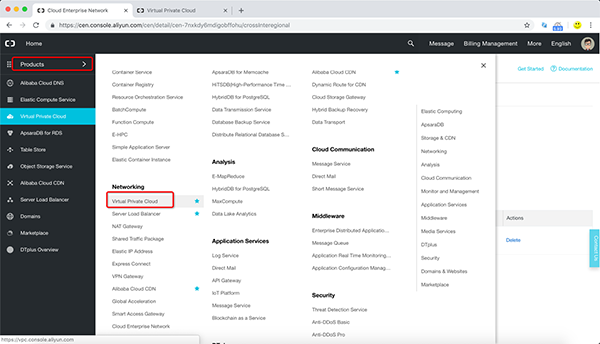
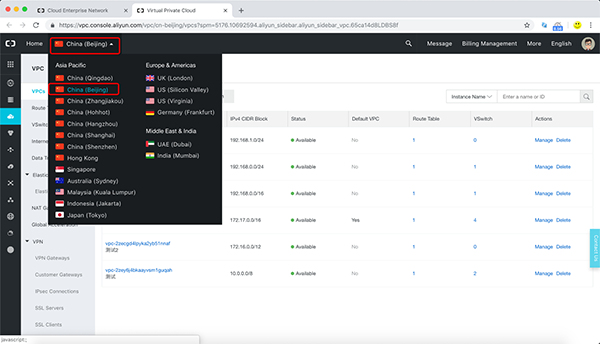
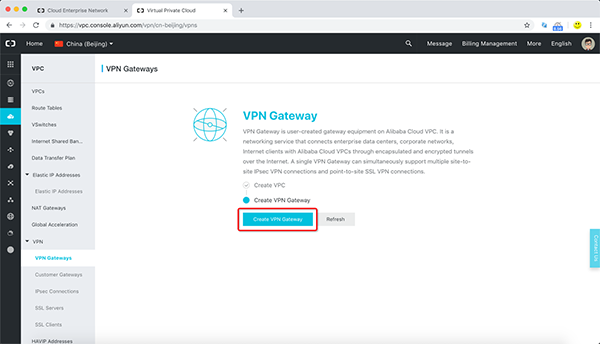
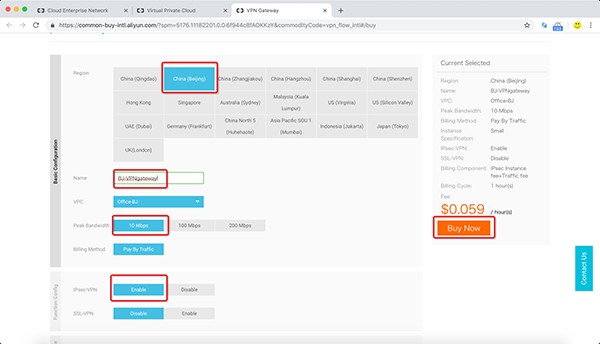
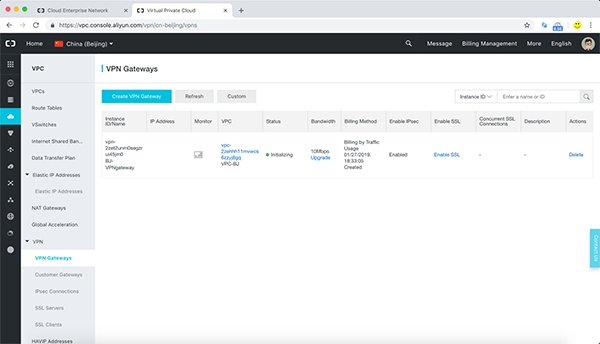
Follow the sequence of steps similar to the above and create VPN gateways in all 4 VPCs.
Create Customer Gateways in 4 regions. Below are the IP address for the VPN gateways.
AU: 47.91.47.220
SG: 47.88.219.64
BJ: 39.105.70.253
SH: 47.102.129.89
In this case, BJ will add SH's IP as customer gateway, while SH will add BJ's IP as customer gateway. AU will add SG's IP as customer gateway, while SG will add AU's IP as customer gateway.
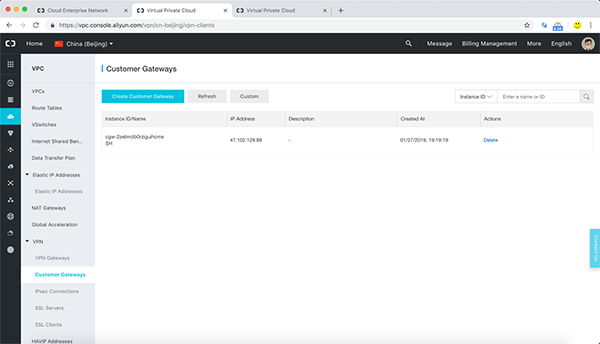
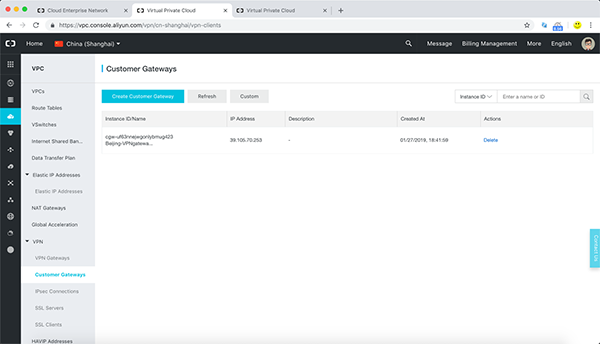
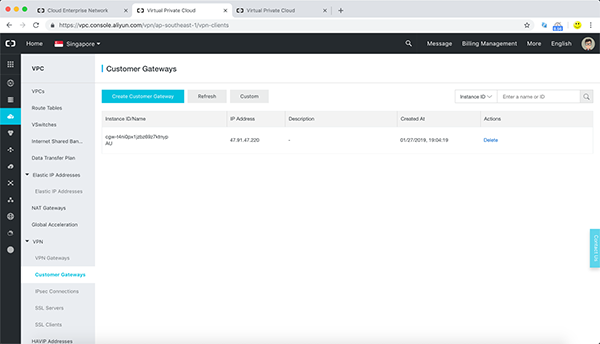
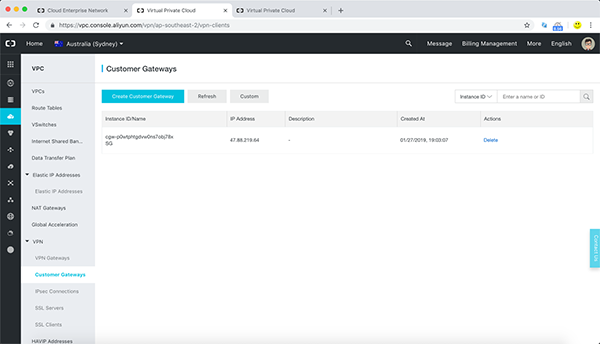
Configure BJ-SH VPN.
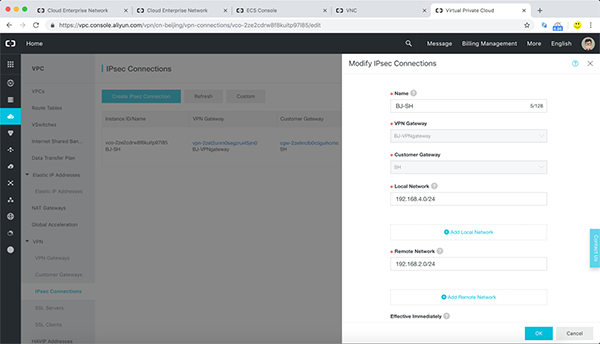
Configure SH-BJ VPN. Please make sure the preshared keys are the same and encryption protocols are the same.
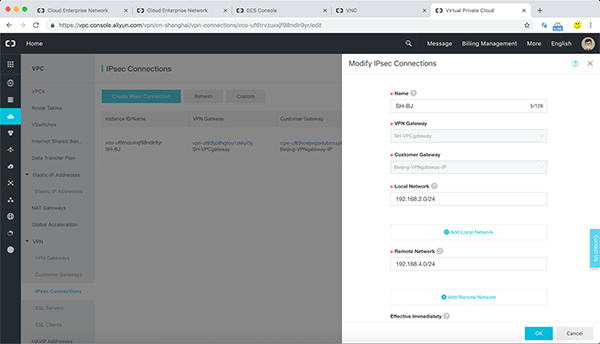
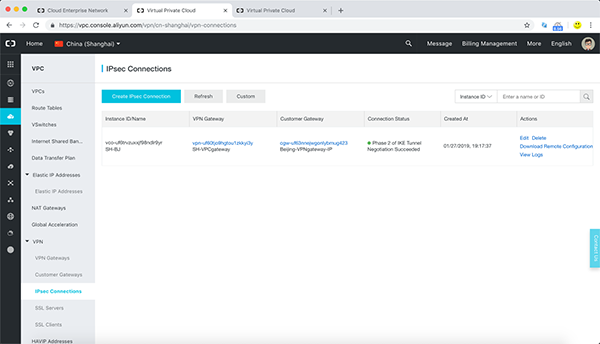
Now the BJ-SH VPN is up
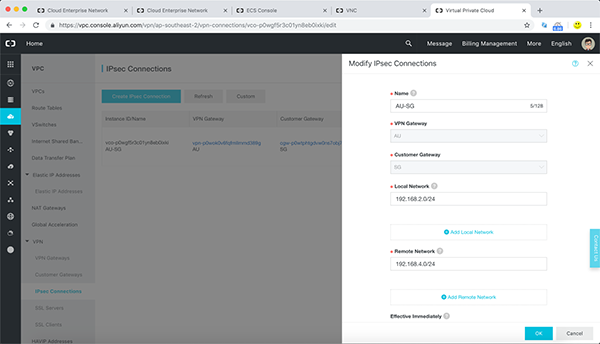
Configure the AU-SG VPN
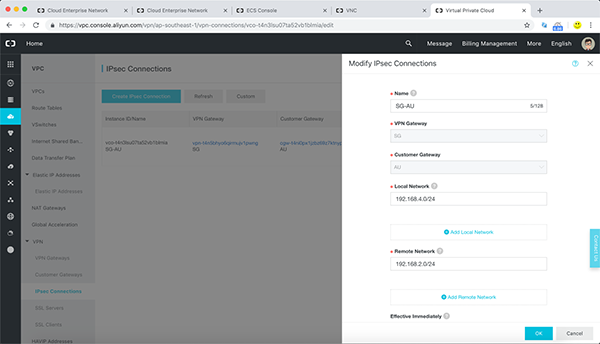
Configure the SG-AU VPN
The AU-SG VPN is up
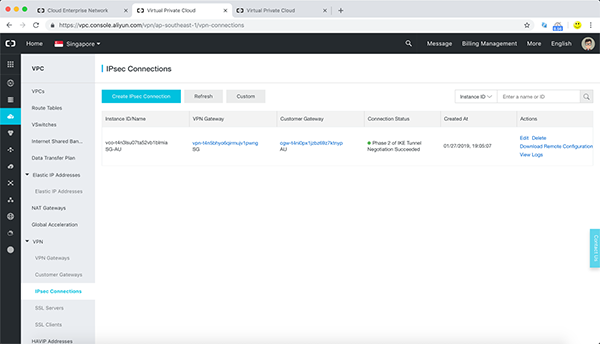
Create routes in all 4 VPC route tables. For BJ and AU, the routes need to be published into VPC.
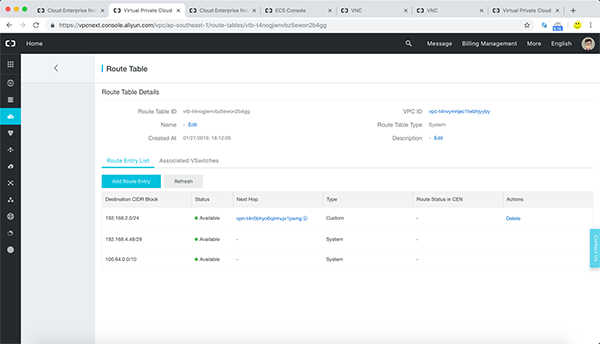
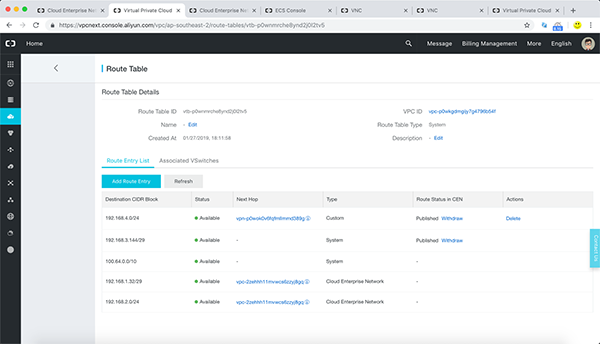
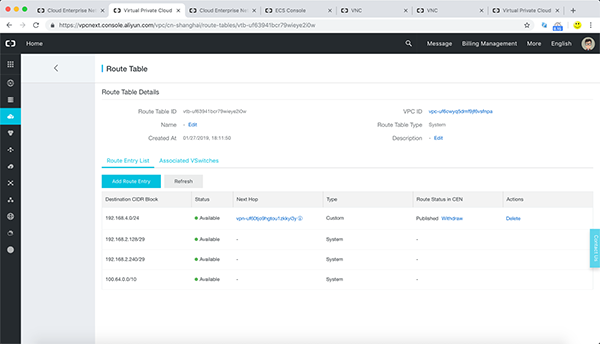
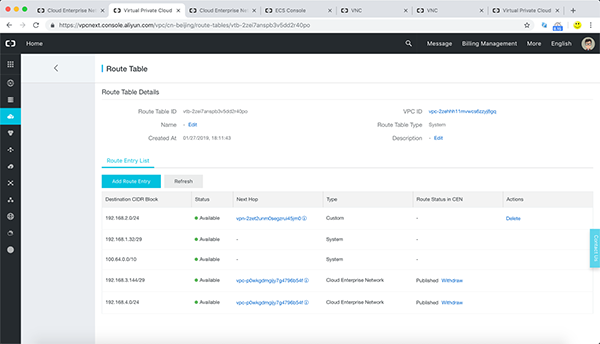
Build test ECS in SH and SG and allow ping in security groups
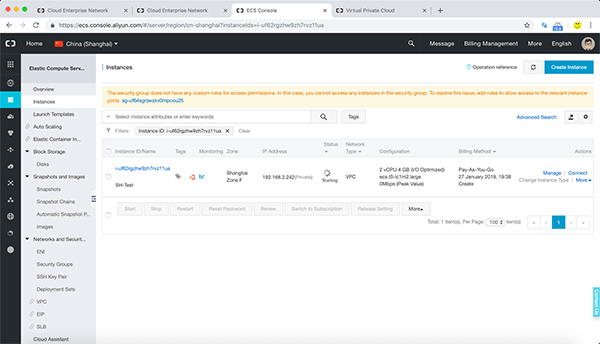
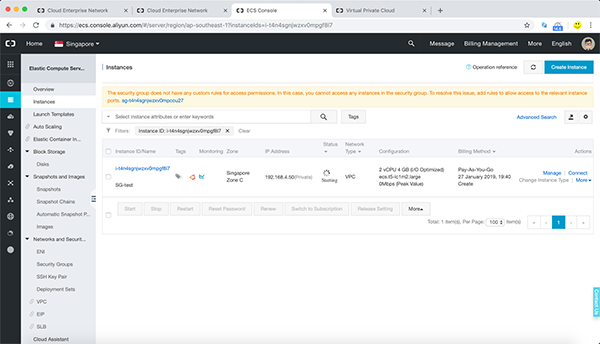
If the ping is working, you should see something similar to the following:
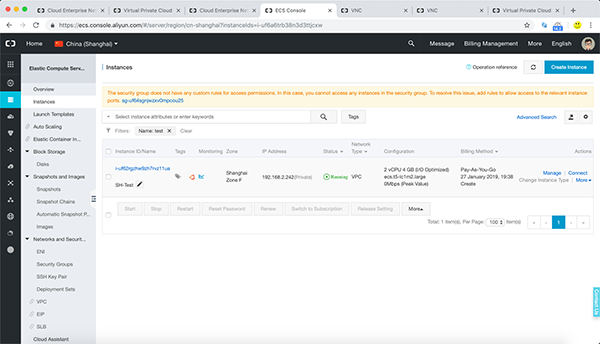
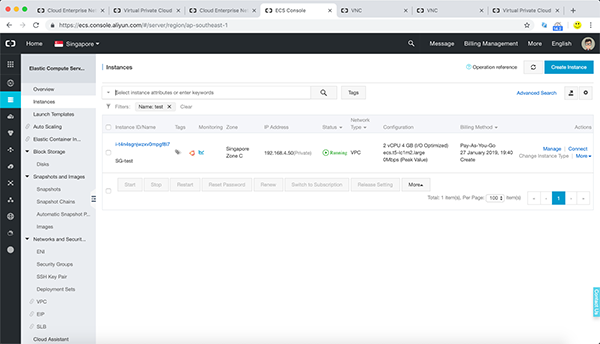
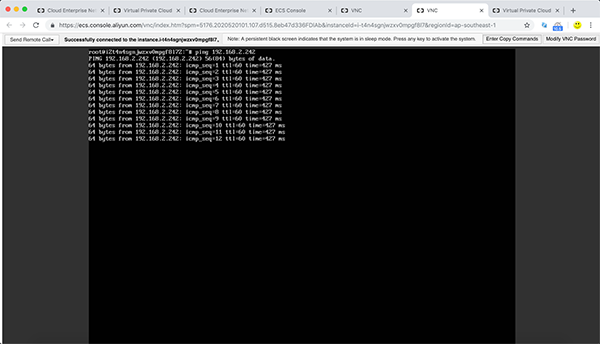
This Demo is only a reference for creating a link to China using Cloud Enterprise Network. It is not optimized to use the optimal route, and therefore the latency may be a bit high. If you are interested in setting up a cross-regional connection for your enterprise, please contact your local Alibaba Cloud team.
A Guide to Resolving the Cross-Database Query Problem with A Single SQL Statement
Supporting Pre-Peak Scale-up and Post-Peak Scale-Down with DBFS

2,605 posts | 747 followers
FollowAlibaba Clouder - January 14, 2021
JDP - April 22, 2022
Alibaba Clouder - March 26, 2018
Alibaba Clouder - June 5, 2020
Alibaba Clouder - December 8, 2020
Alibaba Clouder - March 9, 2021

2,605 posts | 747 followers
Follow CEN
CEN
A global network for rapidly building a distributed business system and hybrid cloud to help users create a network with enterprise level-scalability and the communication capabilities of a cloud network
Learn More Express Connect
A dedicated network connection between different cloud environments
Learn More CDN(Alibaba Cloud CDN)
A scalable and high-performance content delivery service for accelerated distribution of content to users across the globe
Learn MoreMore Posts by Alibaba Clouder
Raja_KT March 20, 2019 at 4:47 pm
Interesting to see aliyuncli configure . Commands are used rather than Buttons