This topic describes how to use the client-side protection and compliance feature of Web Application Firewall (WAF). This feature helps you meet the requirements of PCI DSS v4.0 for payment page script management and integrity monitoring. It provides full-lifecycle security management for frontend scripts through injection configuration, script authorization, detection rule configuration, and security event response.
Benefits
PCI DSS compliance: Provides script-level management to meet the new requirements 6.4.3 and 11.6.1 of PCI DSS 4.0.1. This helps your business meet compliance standards and secure payment card data.
Script authorization management: After you configure script injection, the feature automatically collects and maintains a list of scripts loaded on the page. This ensures that all scripts are authorized and that their business necessity is justified.
Malicious script and tamper detection: Verifies script integrity based on real-time user traffic. If an unauthorized change to an HTTP header or script content is detected, an alert is triggered immediately.
Request public preview access
The client-side protection and compliance feature is in public preview and is free to use during this period. To request access, follow these steps.
You must use your Alibaba Cloud account to request access.
The public preview is not available for subscription WAF instances of the Basic Edition.
-
Log on to the Web Application Firewall 3.0 console. From the top menu bar, select the resource group and region (Chinese Mainland or Outside Chinese Mainland) for the WAF instance.
In the navigation pane on the left, select .
Click Request Public Preview, and then complete and submit the application form. After your application is reviewed and approved, you can use this feature.
Procedure
Step 1: Inject a data collection script into a protected object
To enable the client-side protection and compliance feature, you must inject a WAF data collection script into a protected object that is added to WAF. This script collects information about the JavaScript loaded on the current page and sends it to WAF. To inject the script, follow these steps.
Before you begin, make sure that a protected object exists. This means you have added your web service to WAF. If you have not added your service, see Onboarding overview.
Go to the tab.
Click Add Injection and complete the following configurations.
Configuration Item
Description
Configuration Item
Enter a name that is easy to identify.
Status
The status of the injection configuration. Enabled by default.
Protected Object
Select the protected object to add to WAF.
Injected Domain and Injection Path
Enter the domain name and path for injection. You can configure multiple paths.
For example, if the business URIs for injection are
http://example.com/payandhttp://example.com/, then:Injected Domain Enter:
example.comInjection Path Enter:
/payand/
NoteWildcard characters are not supported. Enter an exact-match domain name and path.
Payment Page Configuration
Select whether the currently configured page is a payment page. If you select Designate paths as payment pages, the system will enable Response Header Tampering detection for all paths configured in the previous step and treat these paths as payment pages.
Injection Rate
Enter the percentage of pages that WAF injects scripts into.
During the testing phase, set this to 10% or another low percentage.
For production, set this to 100%.
Step 2: View and authorize scripts used on the page
After you inject the WAF information collection script into a protected object, the system identifies all scripts loaded on the target page and displays them in the tab. For business-critical scripts, you can perform authorization.
View overview information:
The top of the page displays Total Scripts, Payment Scripts, Authorized, and Unauthorized.
The lower part of the page lists the scripts used by the domain names of the protected objects for which injection is configured.
You can filter scripts by clicking the numbers in the Overview above or using the search box.
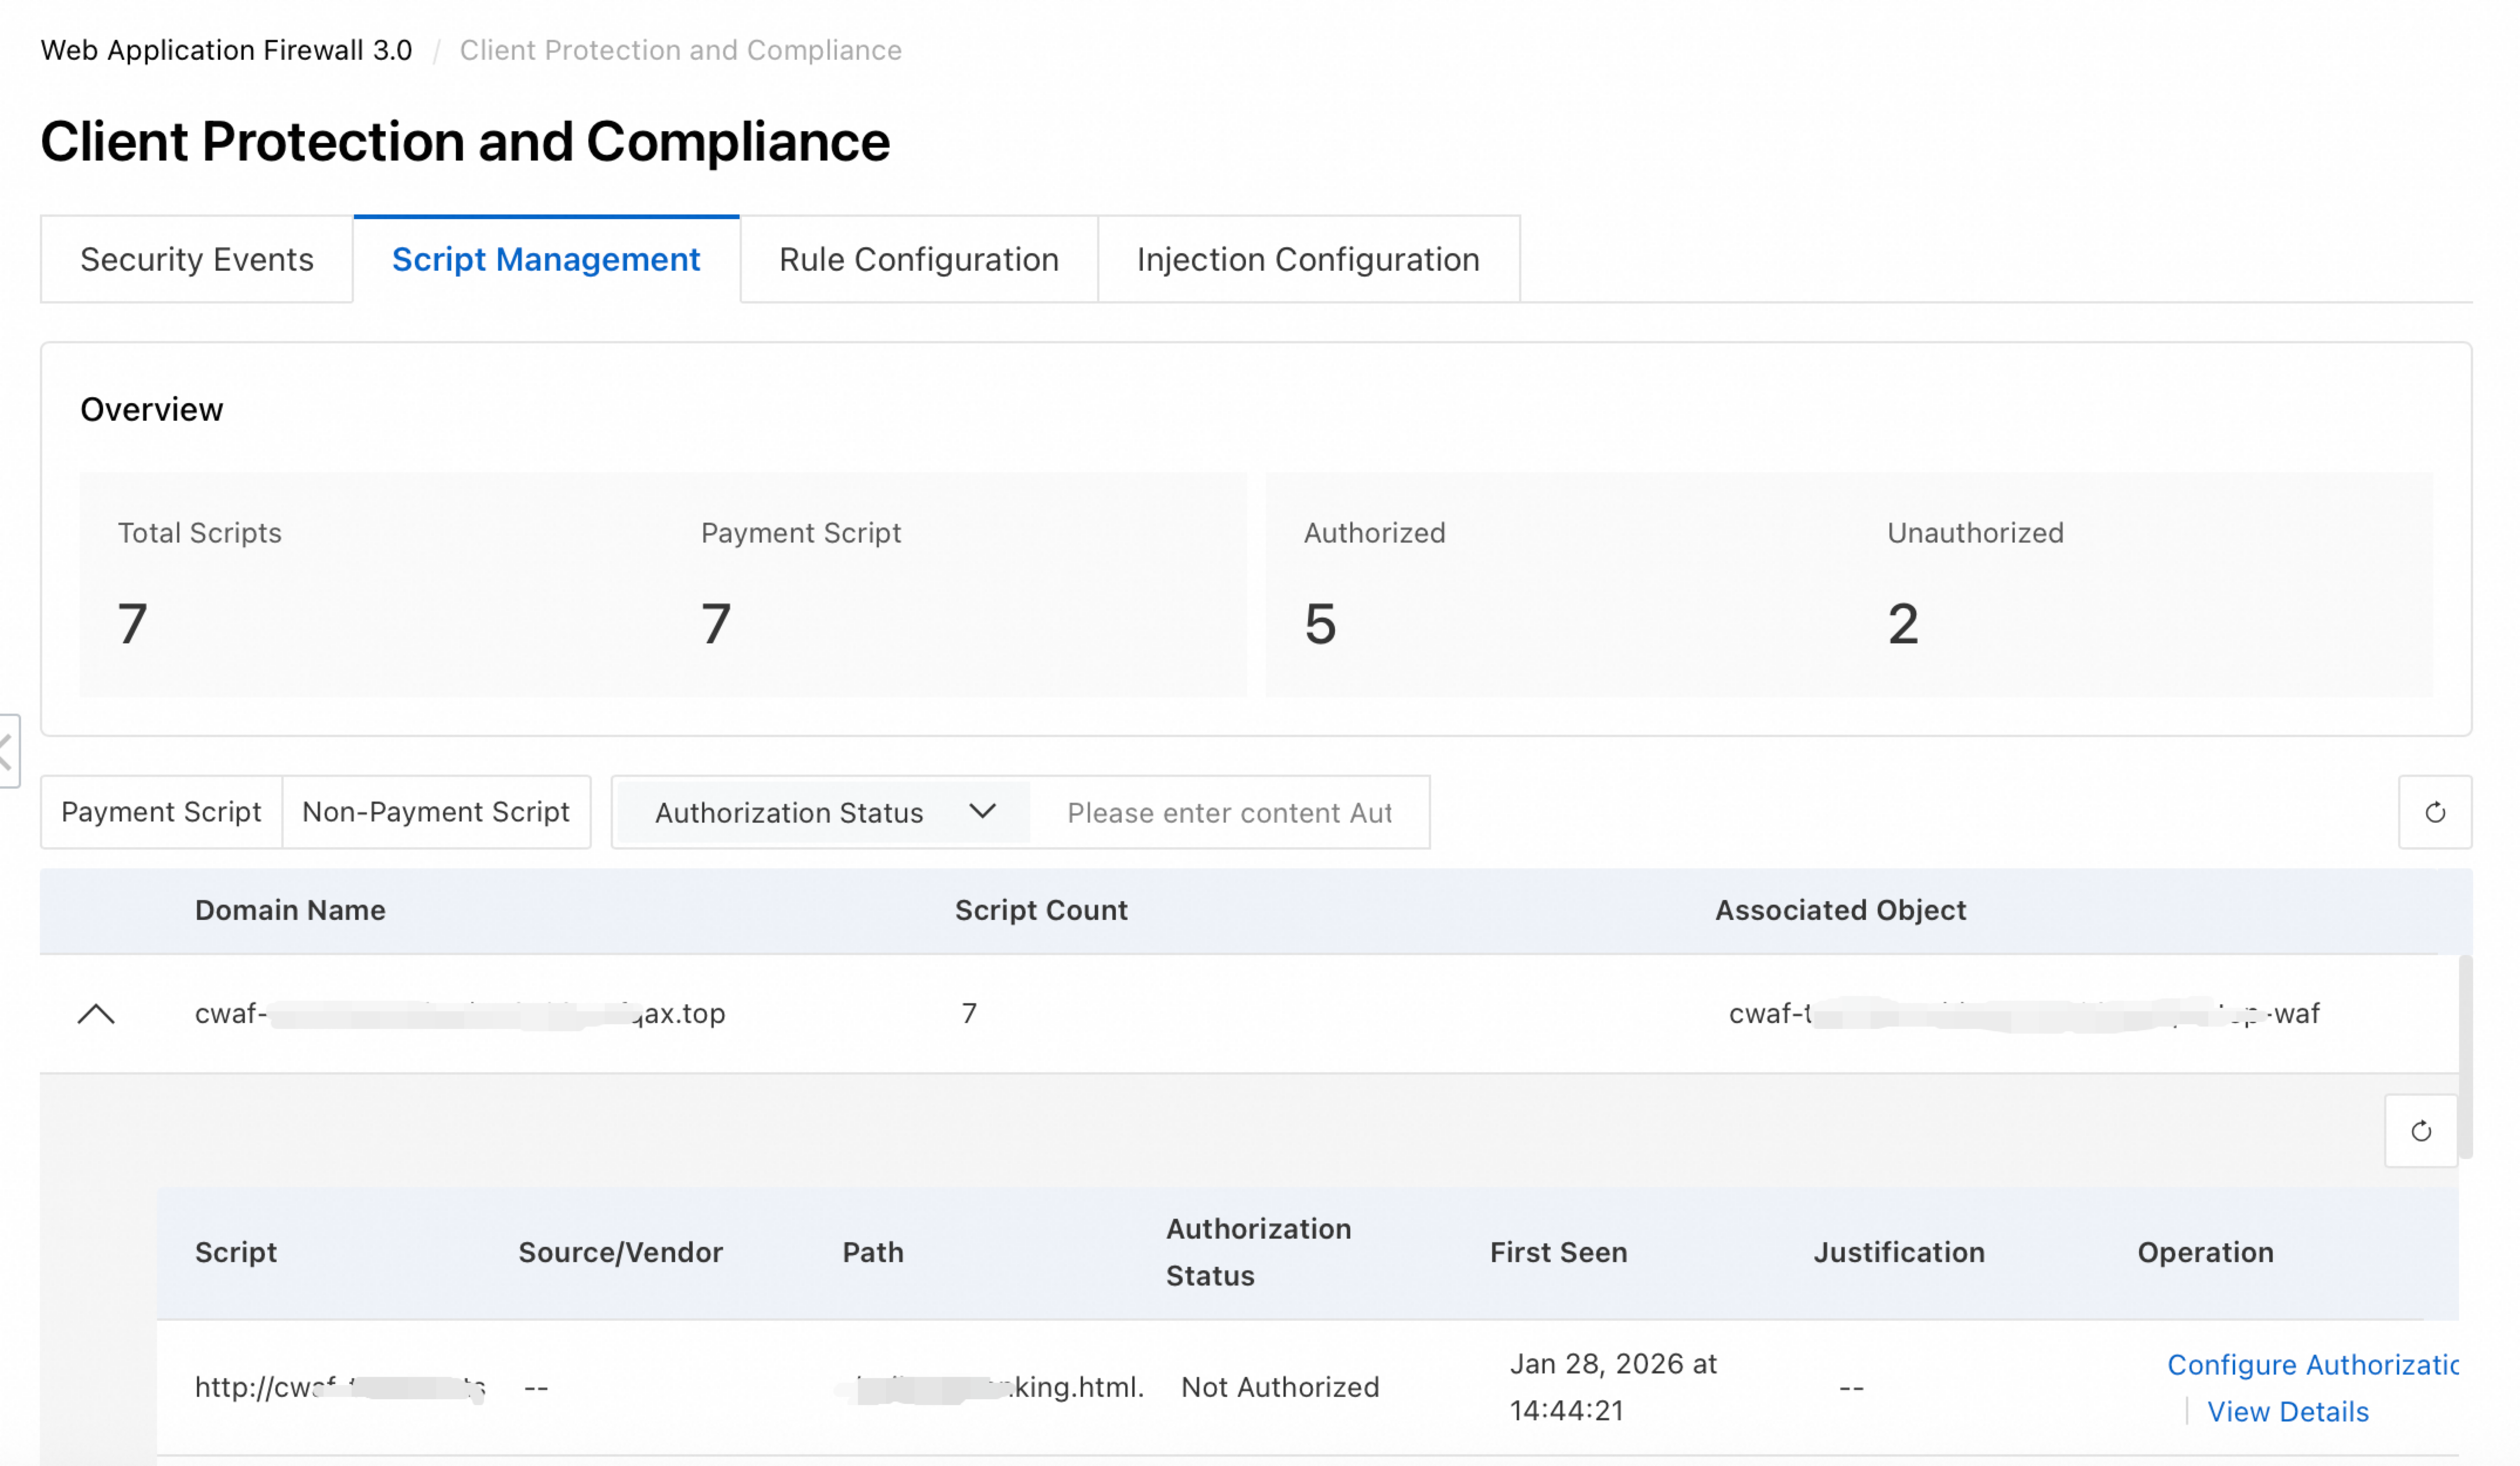
Authorize a script:
Navigate to the target domain name and click the
 expand icon to its left to view all the scripts under the domain name. By default, the Authorization Status for all scripts is Unauthorized. If a script is required, click Configure Authorization in the Actions column for the script. On the page that appears, change its Authorization Status to Authorized and enter a Justification.
View script details:
Navigate to the target domain name and click the
expand icon to the left of the domain name to display all scripts associated with it. Then, in the Actions column, click View Details for the target script. A page appears that displays information such as the associated Security Events and Script Hash.NoteWhen a script’s hash value changes, the system generates a script tampering event and displays multiple records in the Script Hash tab, showing the hash values before and after the change.
Step 3: Configure detection rules for risky script behaviors
By default, the Client Protection and Compliance feature enables the following detection rules for scripts. The Risk Level for all these rules is set to High Risk. If a rule is triggered, a corresponding Security Events is generated. You can adjust the Detection Status and Risk Level of each rule on the tab based on your requirements.
To use the Response Header Tampering detection rule, you must first enable Simple Log Service and select the optional field response_header.
After you manually adjust a rule's Detection Status or Risk Level, only newly generated events are affected. Existing events remain unaffected.
Detection Rule | Rule Description | Recommended Action |
Response Header Tampering | The HTTP header tamper-detection feature is designed for payment scenarios. It checks the integrity of HTTP response headers during payment page interactions to protect against tampering, injection, and forgery. This helps meet the PCI-DSS 11.6.1 compliance requirement. The feature uses predefined baselines and security policies to detect abnormal changes in header fields, such as `Content-Security-Policy` and `X-XSS-Protection`. This ensures that data is transmitted reliably during payments and reduces the risk of sensitive data leakage or business logic bypass. WAF can detect tampering in the following header fields:
| Review the alert details to check for unauthorized modifications to security headers. Investigate system risks and ensure that the response header configuration for the payment page meets compliance requirements. |
Unauthorized Script | This feature detects changes to the script list on a page to identify unexpected script injections, such as malicious third-party resources or unreviewed code. This ensures that only authorized scripts run in the browser, which helps meet the PCI-DSS 6.4.3 requirement for script source trustworthiness. It mitigates risks such as sensitive data collection and session hijacking from unauthorized scripts and provides a full audit trail for compliance. | Audit and authenticate new scripts. If a script is confirmed to be an unauthorized injection, immediately take the related page offline or block the script from loading. Investigate your code deployment process and vulnerabilities in third-party dependencies. Ensure that the script is managed by a whitelist. |
Script Tampering | WAF monitors authorized scripts in real time for tampering, such as code replacement or malicious logic injection. It compares the script against a trusted baseline to determine if it has been compromised before it reaches the user's browser. This helps meet the PCI-DSS 6.4.3 requirement for script integrity and protects against threats such as man-in-the-middle attacks and web skimming. This provides end-to-end tamper-proofing for your pages. | Review the alert details and compare the script with the trusted baseline to confirm if it was tampered with. If it was compromised, take the page offline, investigate the point of intrusion, and redeploy the legitimate script. Also, strengthen integrity checks. Complete the handling and review within 7 days. |
Malicious Script | WAF uses an intelligent detection engine to analyze script behavior and identify malicious intent, such as cryptocurrency mining, data theft, or session hijacking. This helps meet the PCI-DSS 6.4.3 requirement for script security. The feature uses a dynamic risk model to detect abnormal behaviors, such as unauthorized external calls or hidden data exfiltration. It triggers alerts and recommends actions to prevent malicious scripts from disrupting the payment process and to protect user data. | Review the alert details and investigate the script's source. After confirming it is a malicious script, block its execution. Also, review your script loading policy and strengthen whitelist controls. Complete the handling and review within 7 days. |
Step 4: View and handle script security events
On the tab, you can view and handle security events triggered by risk detection rules.
View event overview:
The top of the page displays Total Events, categorized by Event Type and Alert Status.
The lower part of the page lists all security events.
You can filter events by clicking the numbers in the Overview section above or using the search box.
Handle a security event:
Navigate to the target security event. In the Event Status column, click the
 icon, change the status to Confirmed, and then click the
  icon to confirm the change.
View event details:
Locate the target security event. In its Actions column, click View Details to view the event details in the pop-up page. If the event is associated with an unauthorized script, click Authorize to go to the Script Authorization page and perform authorization.
Daily O&M
Modify Injection Configuration: On the Injection Configuration tab, you can adjust the Injection Rate and enable or disable the Status of a configuration. If you no longer need WAF to provide client-side protection for a protected object, you can Delete its injection configuration.
Configure Cloud Monitor alerts: In the left navigation pane, choose . Then, in the More Alerting Methods column, click Client Protection and Compliance Alerts, and click CloudMonitor Notification to open the Cloud Monitor console and configure alerts. After you complete the configuration, you can receive alert notifications by text message or email when security events occur. For more information, see Configure Cloud Monitor Notifications.