This topic describes how to use asset mapping to quickly build samples and use AI to generate recommended rules. This process improves the efficiency of rule configuration.
Background
Secure Access Service Edge (SASE) provides a feature that intelligently generates rules to help administrators manage and protect sensitive enterprise data more efficiently. With this feature, SASE maps endpoint files to create an asset map. It then uses large model technology to learn from the reported files and automatically generate classification and categorization rules. These rules can be added to the Artificial Intelligence Recommendation library. This lets you use them directly when you configure outbound file detection policies, which simplifies the configuration process.
Purpose: To improve the efficiency and accuracy of sensitive data management and reduce the manual configuration workload.
Principle: SASE analyzes numerous sample files using machine learning algorithms. It then extracts features to create rules that automatically detect similar files.
Scenarios: This feature is suitable for enterprise environments that require strict control over outbound files. It is especially useful for enterprises that handle large amounts of sensitive information, such as those in the finance and healthcare industries.
Step 1: Create a mapping task
You can create a mapping task to have SASE scan endpoint files based on the task settings. SASE supports immediate and scheduled mapping tasks. To quickly verify this feature, this topic uses an immediate mapping task as an example.
Scheduled mapping task: You can create a scheduled mapping task to regularly scan office endpoints.
Immediate mapping task: You can create an immediate mapping task to immediately scan office endpoints. An immediate mapping task is valid for 72 hours. If an employee does not log on to the SASE App during this period, the files on that employee's office endpoint cannot be scanned. For more information, see Configure a mapping task.
Log on to the Secure Access Service Edge console.
In the navigation pane on the left, choose .
On the Asset Mapping page, click Start Asset Mapping.
In the Start Asset Mapping pane, configure the task according to the parameters in the following table, and then click OK.
Configuration Item
Description
Example
Task Name
Set the name for the immediate mapping task.
Immediate Mapping Task
Report by Sensitivity Level
Set the sensitivity level for reported files. The mapping task categorizes mapped files based on the detection rules in Classification and Categorization. Only files of the specified sensitivity levels are reported.
L2, L3, L4
Scan Mode
Set the system scan mode.
Quick Scan: Scans critical system paths. This includes services, drivers, startup items, running processes, and the download, desktop, and document folders.
Custom Scan: Scans custom paths. You can add multiple scan paths.
Full Disk Scan: Scans all files.
Excluded Scan Path: Specifies paths that are not scanned.
Quick Scan
Perf Preference
Set the performance resource consumption mode for the mapping task at runtime. You can select one of the following modes:
Experience First: Consumes fewer resources to ensure a smooth user experience for employees. In extreme cases, the scan task may be paused or canceled.
Balanced Mode: Balances the resources consumed by work and security tasks. The scan task is completed without affecting the user experience.
Security First: Consumes more performance resources to prioritize the completion of the scan task. This ensures enterprise security.
User Experience First
Applicable User
Set the user groups to scan.
All Users: Scans all users in the enterprise who have the SASE client installed.
Certain Users: Select the user groups to scan.
All Users
Step 2: View the asset mapping task
Log on to the Secure Access Service Edge console.
In the left-side navigation pane, choose .
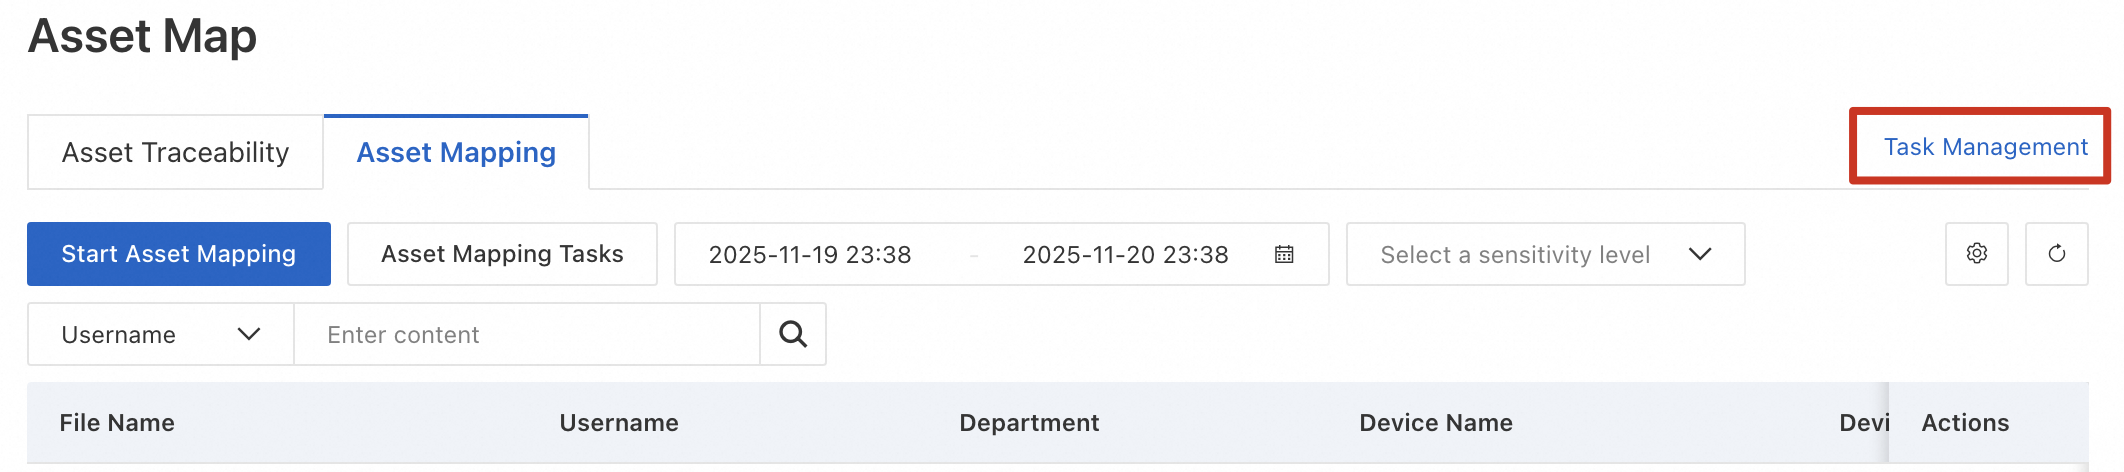
On the Asset Mapping tab, click Task Management.
On the Task Management page, view the immediate and scheduled asset mapping tasks that are created.
You can filter tasks by Scan Mode, Perf Preference Mode, and Task Status.
Click Cancel Task in the Actions column to cancel a task.

Step 3: View the reported files
The system runs an asset mapping task to scan the files on terminals and report files of the specified sensitivity level. You can view the file information in the file list.
Log on to the Secure Access Service Edge console.
In the left-side navigation pane, choose .
On the Asset Map page, view the file information.
You can filter files by time range, sensitivity level, file name, username, department, device name, device IP address, and device Media Access Control (MAC) address.
Click Preview in the Actions column to preview file content.
Step 4: Intelligently generate rules
Filter the files reported by the mapping task and select data files with higher usability for the large model to learn from. This process generates classification and categorization rules that are then added to the Artificial Intelligence Recommendation library to simplify your configuration.
When you use the large model intelligent learning feature for the first time, SASE provides three free learning opportunities. After you use the free opportunities, you will receive one additional opportunity each month.
Log on to the Secure Access Service Edge console.
In the left-side navigation pane, choose .
On the Asset Map page, click Intelligently Generate Rule.

In the Intelligently Generate Rule panel, click Start New Learning Task. Configure the parameters for the intelligent learning task and click Start. The following table describes the parameters.
Parameter
Description
Files for Learning
The number of files that are used for learning. If you want to obtain more effective and precise rules, make sure that the files for learning are no less than 5,000.
Detected At
The time period when the files are detected. The system uses the files that are reported within the time period for learning.
File Size
The size of the files that are used for learning. Files that are 10 KB or larger in size can be filtered.
File Format
Documents in the following formats are supported: .ppt, .pptx, .pptm, .keynote, .key, .pages, .page, .dps, .xls, .xlsx, .xlsm, .xlam, .xlsb, .csv, .numbers, .lbx, .et, .doc, .docx, .docm, .dotm, .wps, .pdf, and .ofd.
Step 5: Enable recommended rules
After the large model learns from the mapped files, it automatically generates detection rules based on file types. You can enable these recommended rules from the Artificial Intelligence Recommendation library and add them to built-in or custom data classifications. This process simplifies the configuration.
In the navigation pane on the left, choose .
On the Intelligent Recommendation Library tab, select the recommended detection rules, and then click Enable Recommended Rule.
In the Enable Recommended Rule dialog box, assign the detection rule to a data classification. After you enable the rule, you can edit the rule or change its classification.
References
For more information about how to apply classification and categorization rules in an outbound file detection policy, see Configure an outbound file detection policy.