When a notification policy's matching rule triggers, Serverless App Engine (SAE) sends alert notifications to the contacts you specified. This page explains how to set up contacts, contact groups, DingTalk chatbots, and custom webhooks for alert delivery.
Recommendation: Configure multiple notification methods for each contact — phone, email, and a chat channel. If one delivery channel fails, SAE can still reach the contact through another.
Contact
A contact is a person who receives alert notifications. SAE notifies contacts by phone call, text message, email, or chat platform.
Create a contact
Navigate to the contact management page first: log in to the SAE console, go to Applications > Applications, select your region and namespace, click an application name, and then choose Notifications and Alerts > Contact Management in the left-side navigation pane.

On the Notification Objects page, go to the Contacts tab and click Create Contact.
In the Create Contact dialog box, fill in the contact details and click OK.
Specify at least one of Phone number or Email. Each phone number and email address can belong to only one contact. To set up a DingTalk chatbot, use the DingTalk/Lark/WeCom tab instead.
Parameter Description Name The name of the contact. Phone number Enables phone call and text message notifications. Only verified phone numbers can be used in a notification policy. See Verify phone numbers. Email Enables email notifications. Contact group The contact group to add this contact to. See Create a contact group. Method to resend notifications if phone notifications fail The fallback method when a phone call fails. Set a global default for all contacts under More > Contact Default Configuration on the Contacts tab. User ID An identifier used for data processing and queries.
After creating a contact, search for, edit, or delete it on the Contacts tab.
Verify phone numbers
Phone numbers must be verified before they can be used in a notification policy. The verification code is sent to the phone number being verified — contacts must have access to that number to complete verification.
On the Contacts tab of the Notification Objects page, select the contacts whose numbers you want to verify: SAE sends a text message with a verification link to each selected number.
To verify a single number, find the contact and click Not Verified next to the phone number.
To verify multiple numbers at once, select the contacts and click Batch Verify.
Each contact opens the URL from the text message in a browser.
On the verification page, the contact checks the number and clicks Verify.
Set the default fallback method
When a phone notification fails, SAE uses a fallback method to resend the alert. Set a global default for all contacts:
On the Contacts tab of the Notification Objects page, choose More > Contact Default Configuration.
Select the fallback method and click OK.
Individual contacts can override this default using the Method to resend notifications if phone notifications fail parameter when creating or editing a contact.
Contact group
A contact group lets you bundle contacts together and use them as a single notification object in a notification policy. When a matching rule triggers, SAE notifies all members by phone call, text message, email, or DingTalk chatbot.
Contact groups can be reused across multiple notification policies — you don't need to create a separate group for each policy.
Prerequisites
At least one contact must exist. See Create a contact.
Create a contact group
On the Contacts tab of the Notification Objects page, click Create Contact Group.
In the Create Contact Group dialog box, enter a name in Group Name, select contacts from the Alert Contacts list, and click OK.
The contact group appears in the All Contacts list on the Contacts tab.
Manage a contact group
After creating a contact group, manage it from the Contacts tab:
| Action | Steps |
|---|---|
| Edit | Click |
| View members | Click the |
| Delete | Click |
Before deleting a contact group, make sure it is not assigned to any notification policy. Deleting an active group causes those alerts to fail. You can only delete contact groups created by the current account.
DingTalk chatbot
After configuring a DingTalk chatbot in SAE, you can route alerts to a DingTalk group. When a matching rule triggers, SAE automatically sends alert notifications to the group, where you can view and manage them directly.
Prerequisites
A DingTalk group with a custom chatbot added, and the chatbot's webhook URL. See Get the webhook URL of a DingTalk chatbot.
Add a DingTalk chatbot
On the Notification Objects page, click the DingTalk/Lark/WeCom tab, then click DingTalk.
In the Create DingTalk chatbot panel, configure the parameters and click OK.
To receive alerts in a DingTalk group, set Notification methods to DingTalk in the notification policy. See Configure a notification policy.
Parameter Description Name A name for the DingTalk chatbot. Signature key Optional. If specified, DingTalk authenticates requests using the signature key. If left blank, authentication uses a whitelist with the keyword Alert. Chatbot webhook URL The webhook URL of the DingTalk chatbot. Whether DingTalk chatbot sends daily statistics If enabled, enter the times to send daily summaries. Format: HH:SS, comma-separated. Each summary includes the total alerts generated that day, resolved alerts, and outstanding alerts.Card content configuration Customize the style and content of the alert notification card.
Manage alerts in a DingTalk group
After receiving alert notifications in the DingTalk group, view and manage them directly in the group. For details, see Handle alerts in the specified group chat.
Get the webhook URL of a DingTalk chatbot
Before configuring a DingTalk chatbot in SAE, get the chatbot's webhook URL from the DingTalk client.
Open DingTalk on a PC, go to the target group, and click the Group settings icon in the upper-right corner.
In the Group settings panel, click Bot. In the Robot Management panel, click Add Robot
In the Robot dialog box, click Add Robot and select Custom.
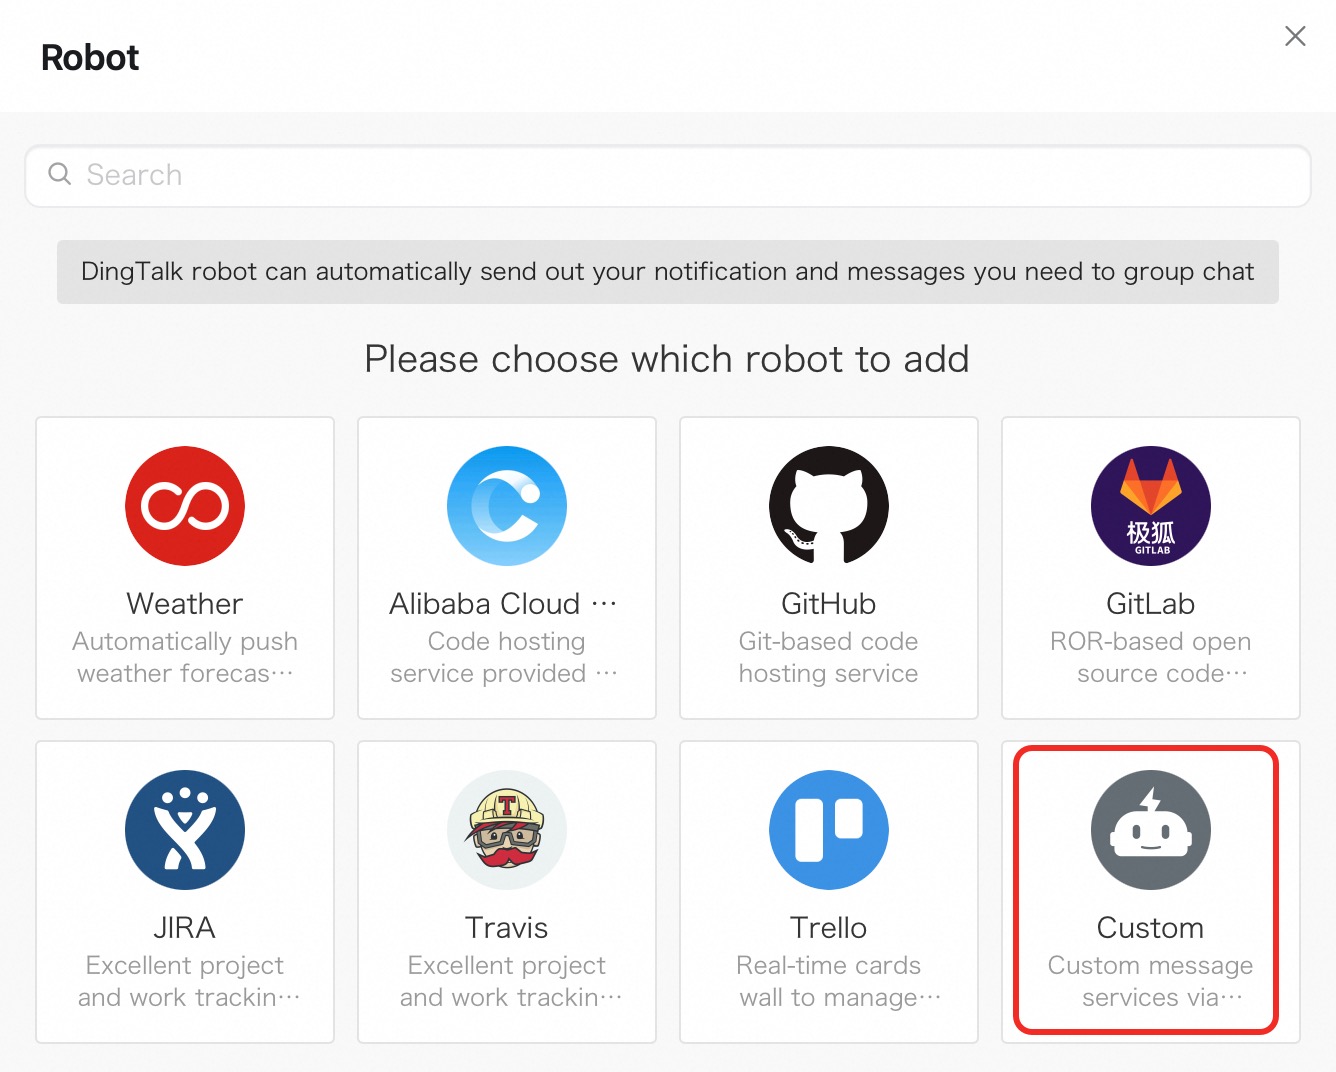
In the Robot dialog box, click Add Robot, then select Custom.
In the Robot details dialog box, click Add.
In the Add Robot dialog box:
Set a profile picture and name for the chatbot.
For Security settings, select Custom keywords and enter SAE as the keyword.
Read the terms of service and select I have read and accepted <<DingTalk Custom Robot Service Terms of Service>>.
Click Finished.
For more information about DingTalk chatbots, see Custom chatbot.
Copy the webhook URL and click Finished.
Use a webhook to send alert notifications
Use a custom webhook to route alerts to Lark, WeChat, and DingTalk groups. The following example sets up a Lark webhook.
Step 1: Get a webhook URL
Open Lark and log in.
Click + > New group to create a group for receiving alerts.
Open Group settings, go to the BOTs tab, and click Add Bot.
Select Custom Bot, set a name and description, and click Add.
Copy the webhook URL. Under Set keywords, enter Alert and click Save.
Step 2: Create a webhook in SAE
On the Notification Objects page, go to the Webhook Integration tab and click Create Webhook.
In the Create Webhook panel, configure the parameters. Notification template example (Lark):
Parameter Description Webhook name A name for the webhook. Post/Get The request method. The URL cannot exceed 100 characters. For Lark, select Post and paste the webhook URL from Step 1. Header/Param Additional request headers or parameters. Maximum 6 entries total; maximum 200 characters combined. The default header is Content-Type: text/plain; charset=UTF-8. For Lark, addArms-Content-Type: jsonandContent-Type: application/json.Notification template The message body sent when an alert fires (POST only). Use $contentas a placeholder for alert content. Maximum 500 characters. See Configure a notification template and a webhook template.Template to clear alerts The message body sent when an alert resolves (POST only). Maximum 500 characters. { "msg_type": "text", "content": { "text": "Alert name: {{ .commonLabels.alertname }}\n{{if .commonLabels.clustername }}Cluster name: {{ .commonLabels.clustername }}\n{{ end }}{{if eq \"app\" .commonLabels._aliyun_arms_involvedObject_kind }}Application name: {{ .commonLabels._aliyun_arms_involvedObject_name }}\n{{ end }}Notification policy: {{ .dispatchRuleName }} \nAlert time: {{ .startTime }} \nNotification content: {{ for .alerts }} {{ .annotations.message }}\n {{ end }}" } }Template to clear alerts example (Lark):
{
  "msg_type": "text",
  "content": {
    "text": "Alert name: {{ .commonLabels.alertname }}\n{{if .commonLabels.clustername }}Cluster name: {{ .commonLabels.clustername }}\n{{ end }}{{if eq \"app\" .commonLabels._aliyun_arms_involvedObject_kind }}Application name: {{ .commonLabels._aliyun_arms_involvedObject_name }}\n{{ end }}Time when the alert is resolved: {{ .endTime }} \nNotification policy: {{ .dispatchRuleName }} \nNotification content: {{ for .alerts }} {{ .annotations.message }}\n {{ end }}"
  }
}
Click Send Test to verify the webhook is working, then click OK.
The webhook has a 5-second timeout. If no response is received within 5 seconds, the notification fails.
Step 3: Attach the webhook to a notification policy
When creating or editing a notification policy, set Notification object to Universal Webhook and select your webhook. For details, see Configure a notification policy.