To enable collaboration within a namespace in the Realtime Compute for Apache Flink Development Console, grant permissions by adding members and assigning them roles. This topic describes common authorization scenarios, role types, and the authorization procedure.
Scenarios
Scenario | Console | Description |
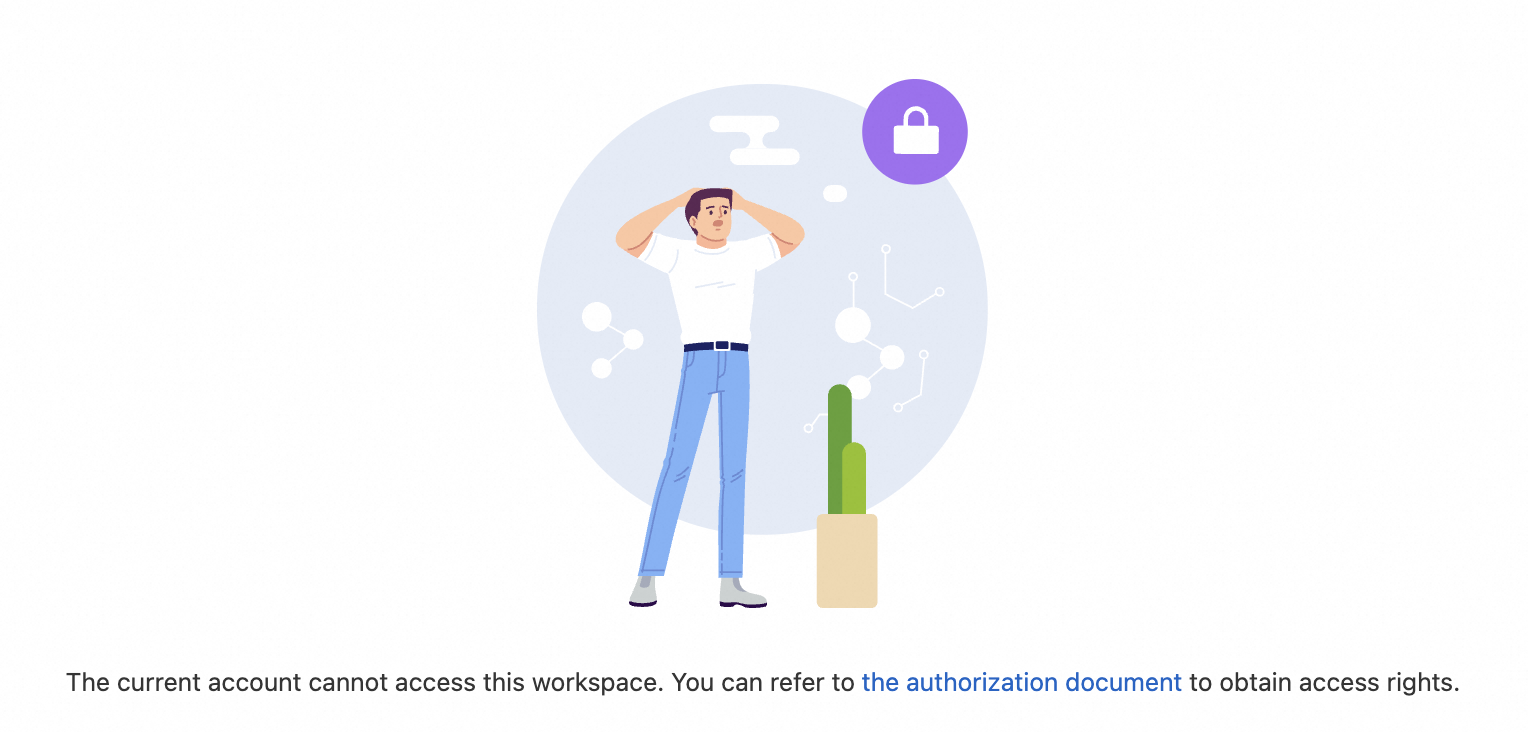
Cannot access the current namespace |
| You do not have permission to access this namespace. Contact a member with the owner role or member management permissions to request the viewer role or a role with higher privileges. For more information, see Procedure. Once you have the necessary permissions, re-enter the namespace or refresh the page to gain access. |
Cannot use a specific feature or perform an action |
| Your account lacks the required permissions for this action. Contact a member with the owner role or role management permissions and ask them to modify your assigned custom role to grant you the necessary access. |

Role types
A role is a collection of permissions. The Development Console provides two types of roles: system roles and custom roles. The following table describes each type.
Role type | Description | Notes |
system role | Realtime Compute for Apache Flink provides three built-in system roles: owner, editor, and viewer. For information about the permissions of each system role, see Granular permission list. |
|
custom role | If system roles do not meet your fine-grained access control needs, create a custom role. You can build upon the viewer or editor role to add the required permissions. |
|
Prerequisites
You have read the authorization notice.
Procedure
Step 1: (Optional) Create a custom role
Create a custom role if the default system roles do not meet your needs. If you want to use a system role, skip this step.
Log on to the Realtime Compute for Apache Flink Development Console as a member with the owner role or with role management permissions.
At the top of the page, select the target namespace.
In the navigation pane on the left, click , and then click the Role Management tab.
Click Add Role and configure the parameters.
Parameter
Description
Role name
The name of the custom role. The name must start with a letter, contain only letters, digits, and hyphens (-), and be 64 characters or less.
Role notes
A description of the role's purpose and scope. Maximum 256 characters.
Role permissions
To ensure permission integrity, some permissions depend on others. The system automatically selects these dependencies for you. For details about permission dependencies, see Granular permission list.
Click OK. You can then view, edit, or delete the custom role you added.
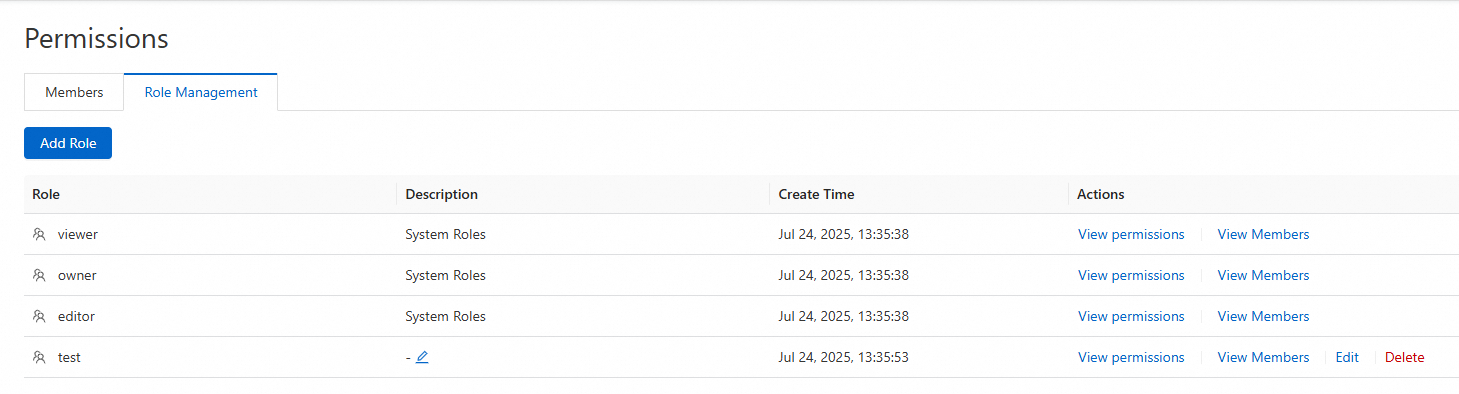
View permissions: View the permissions included in the role.
View Members: View the members who are assigned this role.
Edit: Members with permission to edit roles can add or remove permissions as needed.
Delete: To mitigate security risks, first remove all members from the custom role or reassign them. Once the role has no assigned members, a member with role deletion permissions can delete it.
To remove a default dependency, create a custom role based on the viewer role. Add the target permission and its dependencies, then remove the unwanted dependency.
Step 2: Assign a role to a member
Assign a role to a member to grant the necessary permissions.
Log on to the Realtime Compute for Apache Flink Development Console as a member with permission to create members, such as an owner.
At the top of the page, select the target namespace.
In the navigation pane on the left, click , and then click the Members tab.
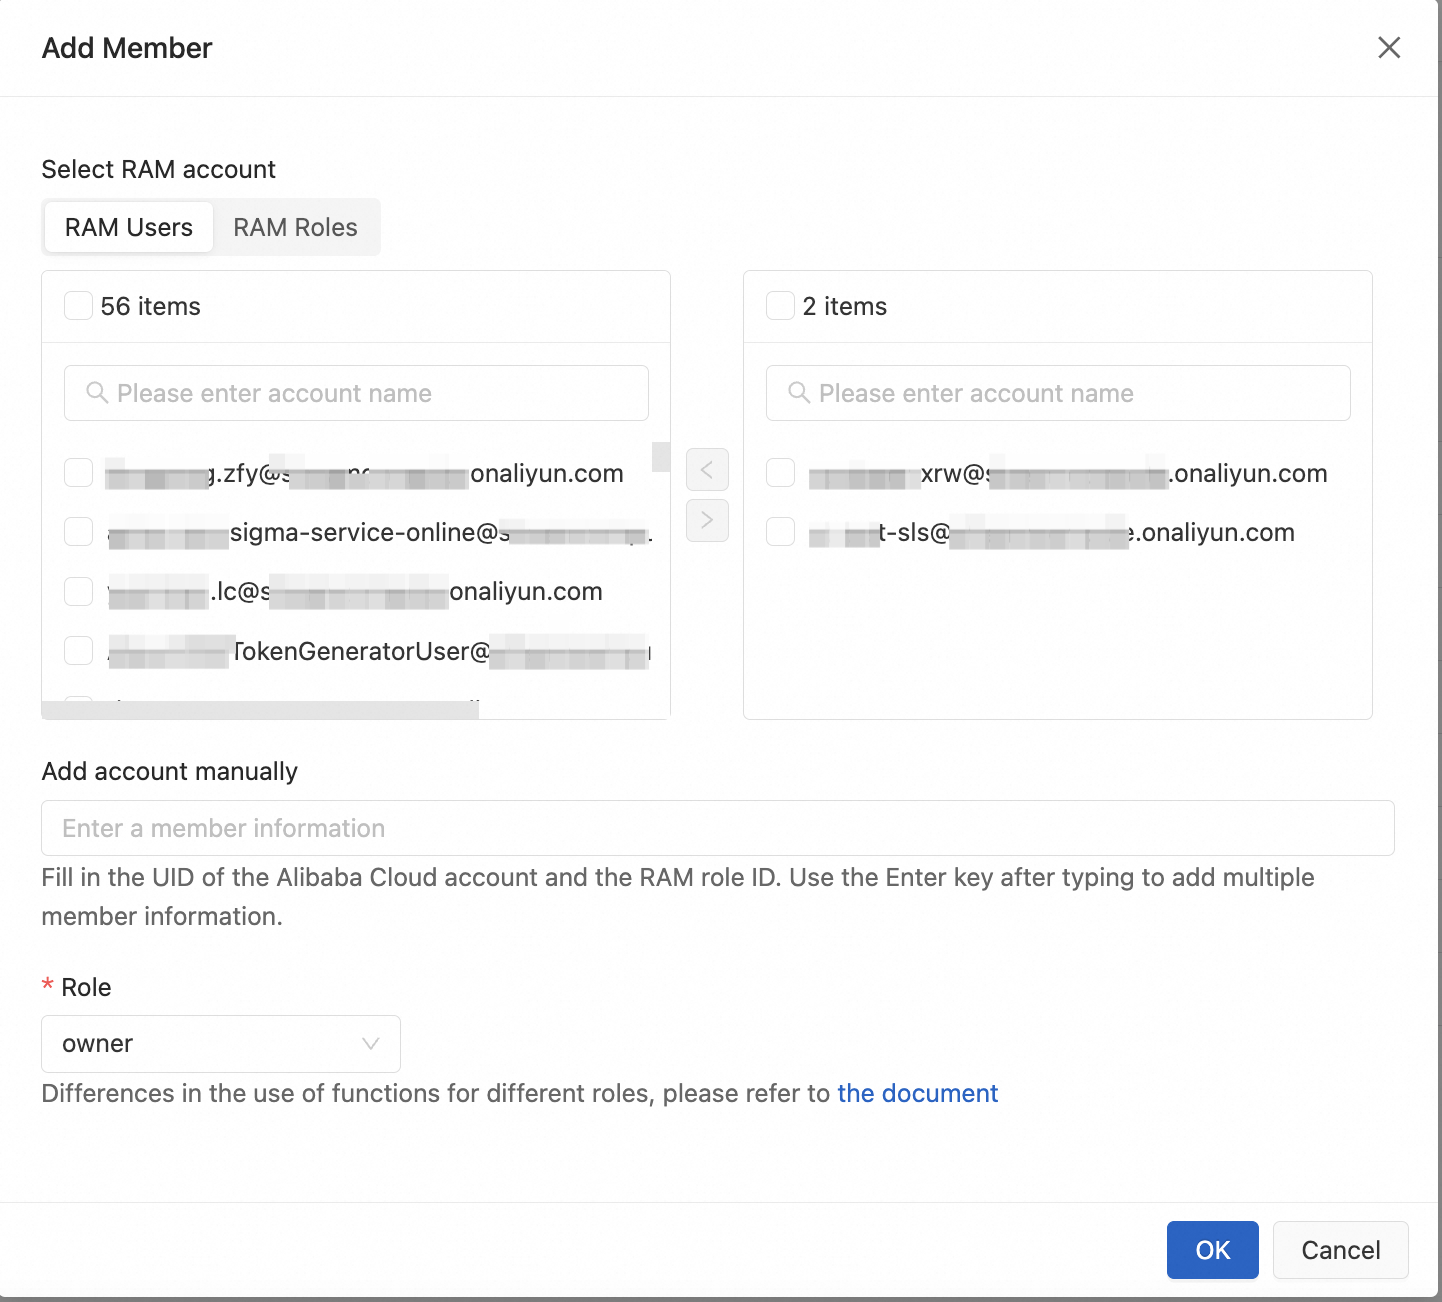
Click Add Member, add a member, and select a Role for the member.
Parameter
Description
Select RAM account
Displays the RAM users and RAM roles under the Alibaba Cloud account associated with the namespace. You can select multiple RAM users and RAM roles.
Add account manually
Enter the ID of another Alibaba Cloud account, RAM user, or RAM role. To find the ID:
Alibaba Cloud account ID: Click your profile picture in the upper-right corner of the console. On the Account Center page, go to the Security Settings page to view the Account ID.
RAM user ID (UID): For more information, see Manage RAM user details.
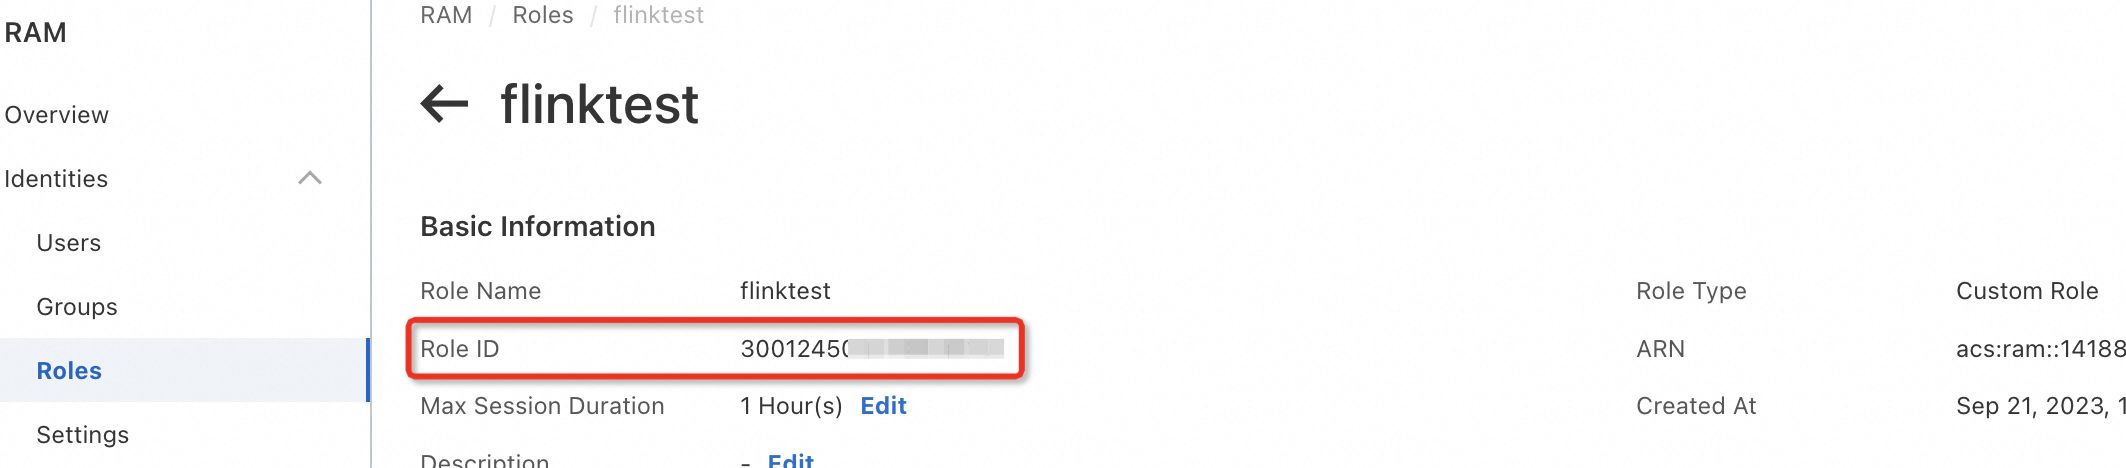
RAM role ID: For more information, see View RAM roles.
Role
You can select a system role or a custom role. Before selecting a role, you can review its permissions on the Role Management tab by clicking Actions > View permissions.
Click OK.
Step 3: Log on after authorization
Once authorized, the new member can log on to the Realtime Compute for Apache Flink Development Console and use the granted features.
If the member is already logged on: Refresh the page to access the target namespace.
If not logged on, the member can use the namespace URL to access it directly.
Granular permission list
To remove a default dependency, create a custom role based on the viewer role. Add the target permission and its dependencies, then remove the unwanted dependency.
Feature | Permission | owner | editor | viewer |
ETL & Data Ingestion | View SQL/YAML job drafts | √ | √ | √ |
Create and modify SQL/YAML job drafts | √ | √ | ||
Debug SQL job drafts | √ | √ | ||
Validate SQL/YAML job drafts | √ | √ | ||
Delete SQL/YAML job drafts | √ | √ | ||
Deploy SQL/YAML job drafts | √ | √ | ||
Unlock SQL/YAML job drafts | √ | √ | ||
View UDF JAR list | √ | √ | √ | |
Upload UDF | √ | √ | ||
Update UDF | √ | √ | ||
Delete UDF | √ | √ | ||
Scripts | View scripts | √ | √ | √ |
Create, modify, and delete scripts | √ | √ | ||
Execute scripts | √ | √ | ||
Deployments | View deployments | √ | √ | √ |
View deployment log details | √ | √ | √ | |
Create JAR and Python deployments | √ | √ | ||
Update deployment configurations | √ | √ | ||
Delete deployments | √ | √ | ||
Start/stop job deployments | √ | √ | ||
Catalogs | View materialized tables | √ | √ | √ |
View metadata | √ | √ | √ | |
View tables | √ | √ | √ | |
Create materialized tables | √ | √ | ||
Create catalog | √ | √ | ||
Create tables | √ | √ | ||
Delete materialized tables | √ | √ | ||
Delete catalog | √ | √ | ||
Delete tables | √ | √ | ||
Update materialized tables | √ | √ | ||
Artifacts | View artifacts | √ | √ | √ |
Upload artifacts | √ | √ | ||
Delete artifacts | √ | √ | ||
Download artifacts | √ | √ | ||
Session Clusters | Delete session clusters | √ | √ | |
View session clusters | √ | √ | √ | |
Create session clusters | √ | √ | ||
Update session cluster configurations | √ | √ | ||
Start/stop session clusters | √ | √ | ||
Security | View members | √ | √ | √ |
Create members | √ | √ | ||
Modify members | √ | |||
Delete members | √ | |||
View roles | √ | √ | √ | |
Create roles | √ | |||
Modify roles | √ | |||
Delete roles | √ | |||
View variables | √ | √ | √ | |
Create variables | √ | √ | ||
Delete variables | √ | √ | ||
Configurations | View job templates | √ | √ | √ |
Edit job templates | √ | √ | ||
Git Configuration | Connect to a Git repository | √ | ||
Pull code changes | √ | √ | ||
Push code changes | √ | √ | ||
Disconnect a Git repository | √ |
Related documents
You must grant permissions to a RAM user or RAM role before they can access the Realtime Compute for Apache Flink Management Console to manage workspaces (for example, to purchase, view, or delete a workspace). For more information, see Authorize access to the Management Console.