This topic describes how to search for, delete, and rename a dataset. It also explains how to grant specified workspace members permissions on a dataset, how to apply for permissions on a dataset, and how to transfer a dataset to another workspace member.
Prerequisites
You have entered the dataset edit page. For more information, see Create a dataset.
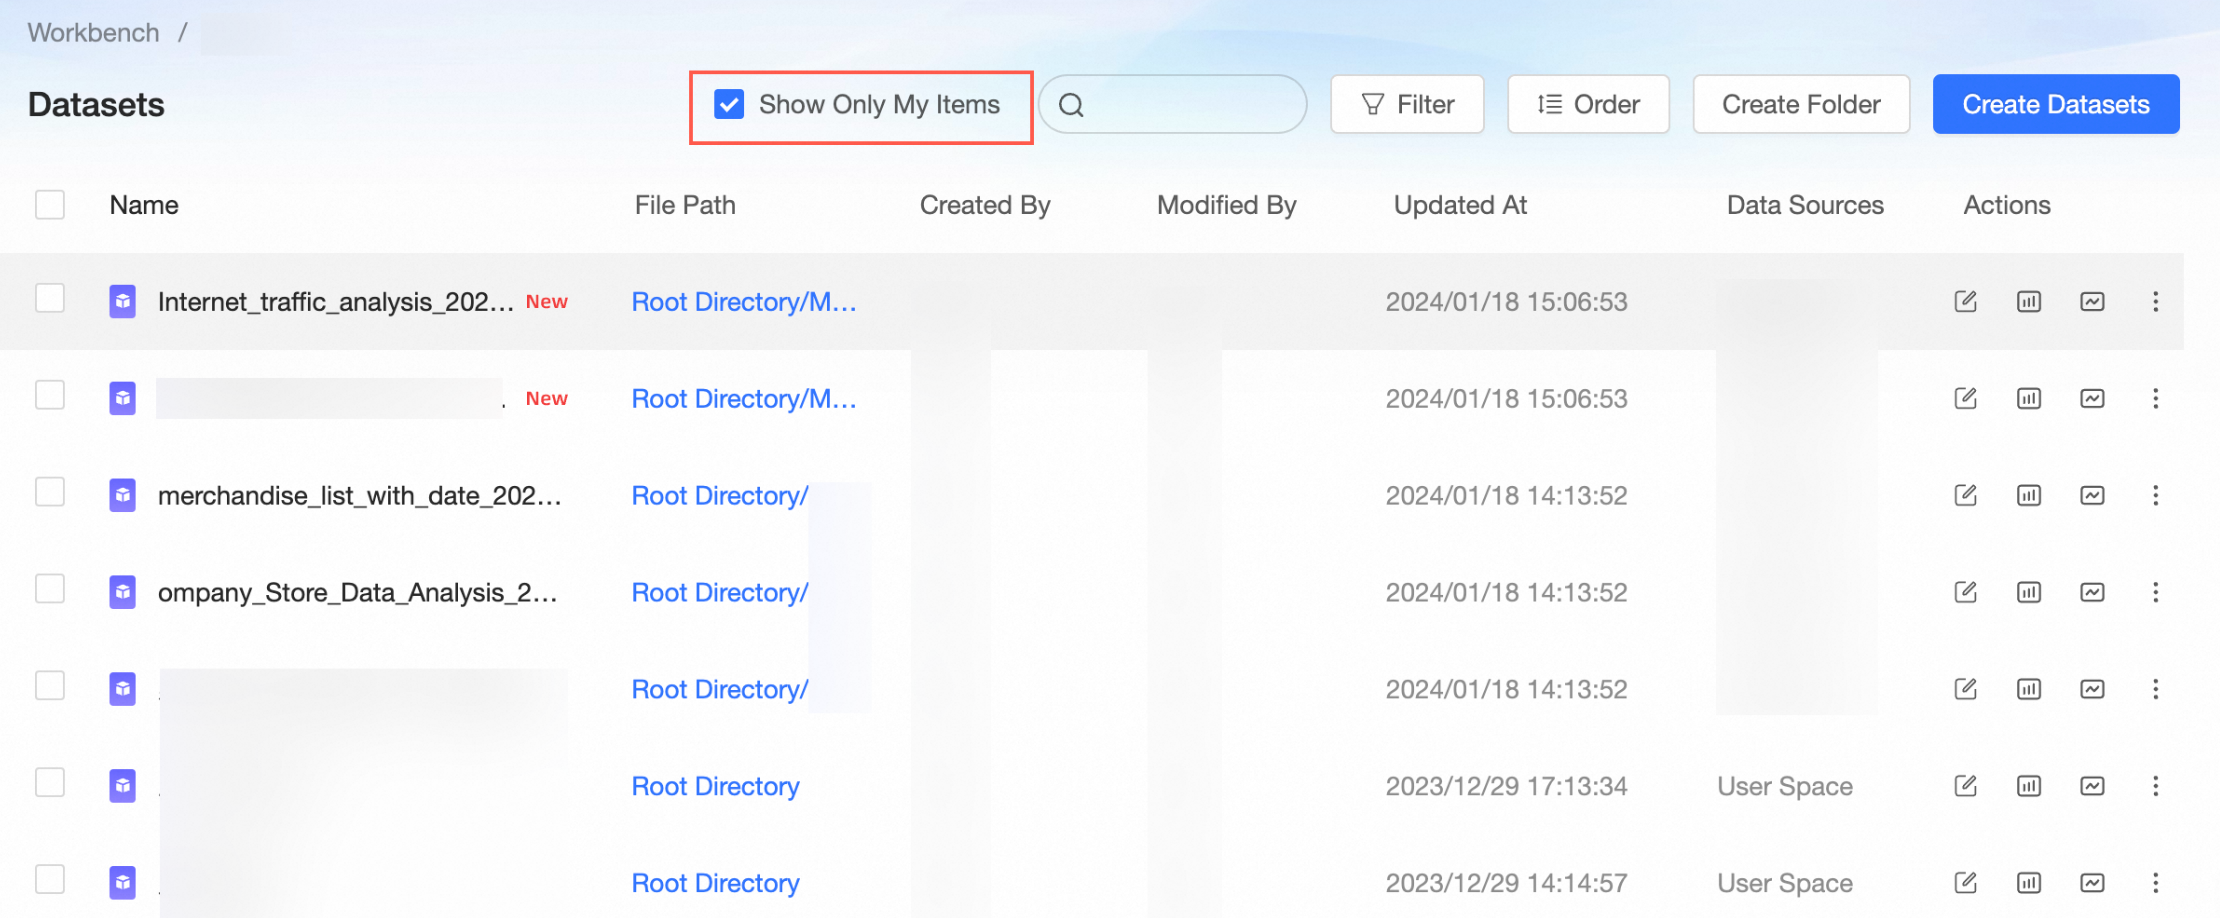
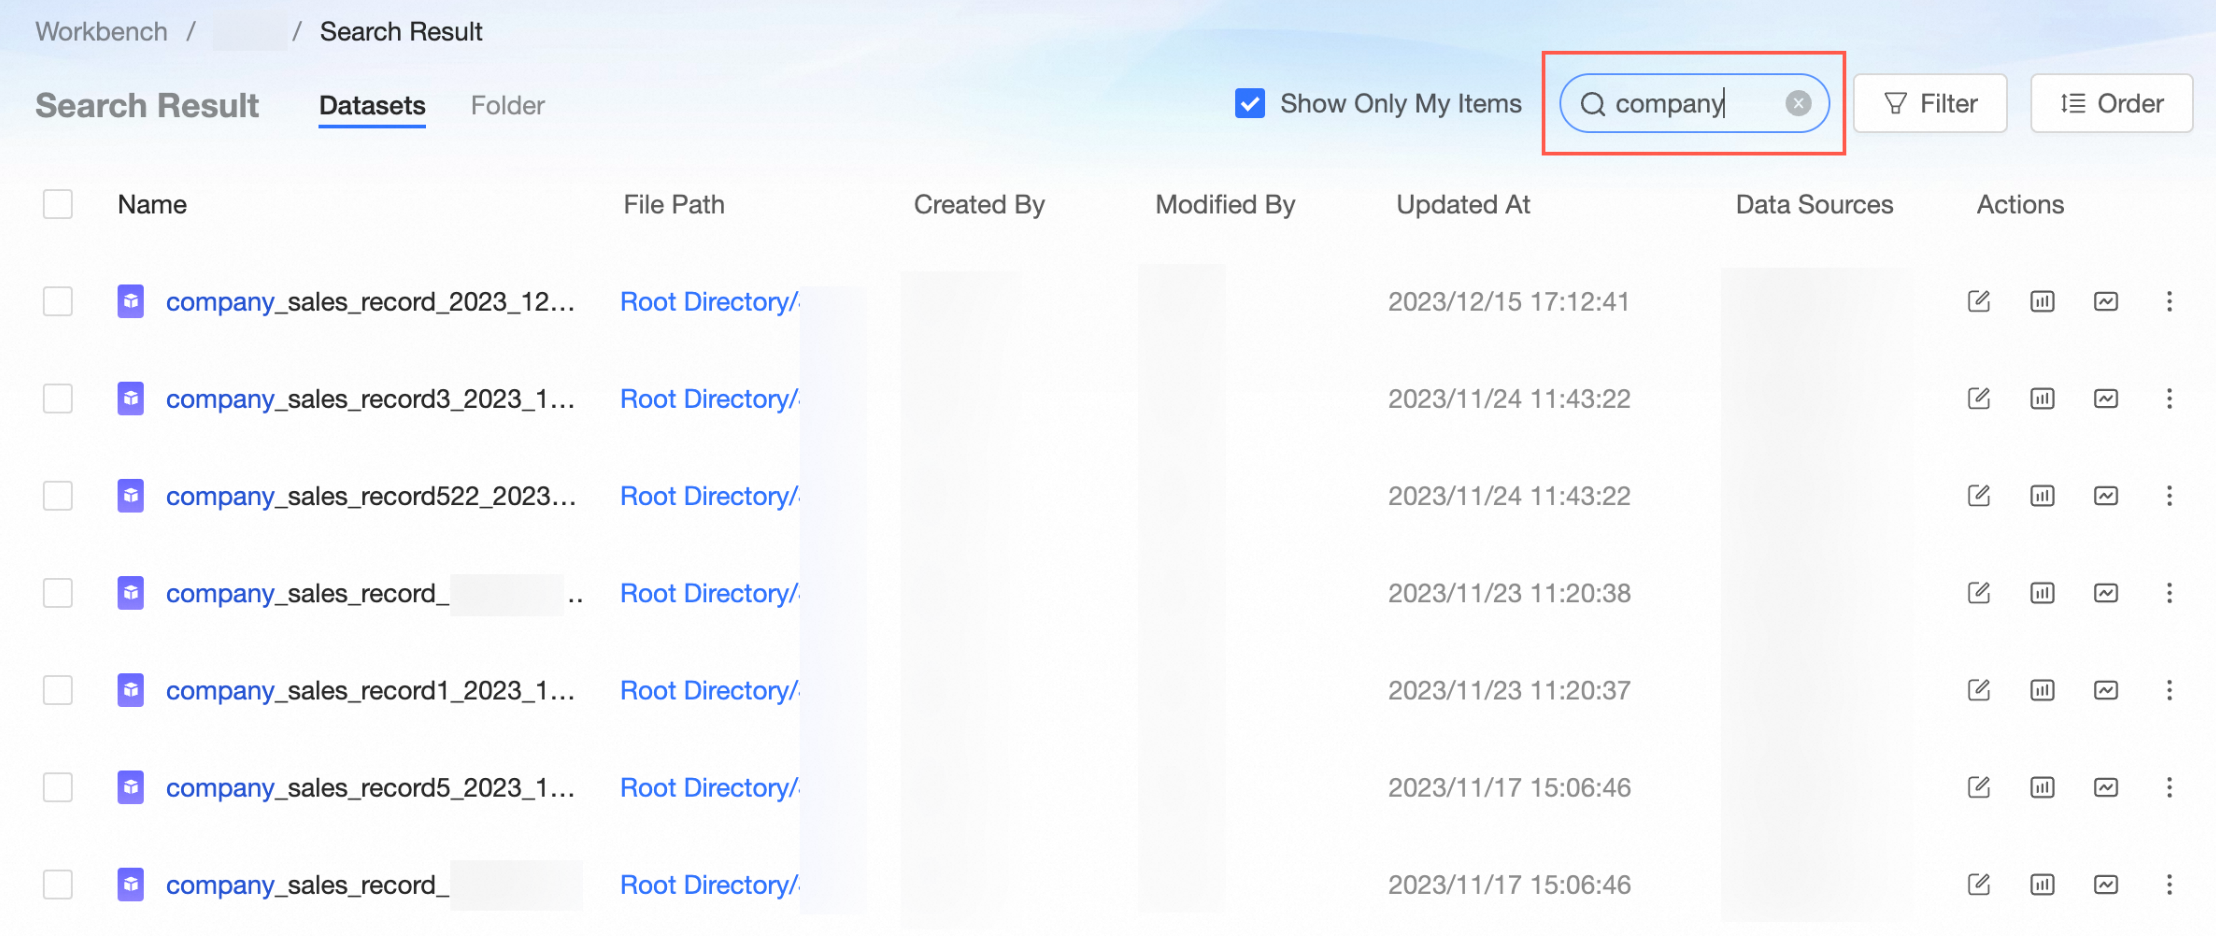
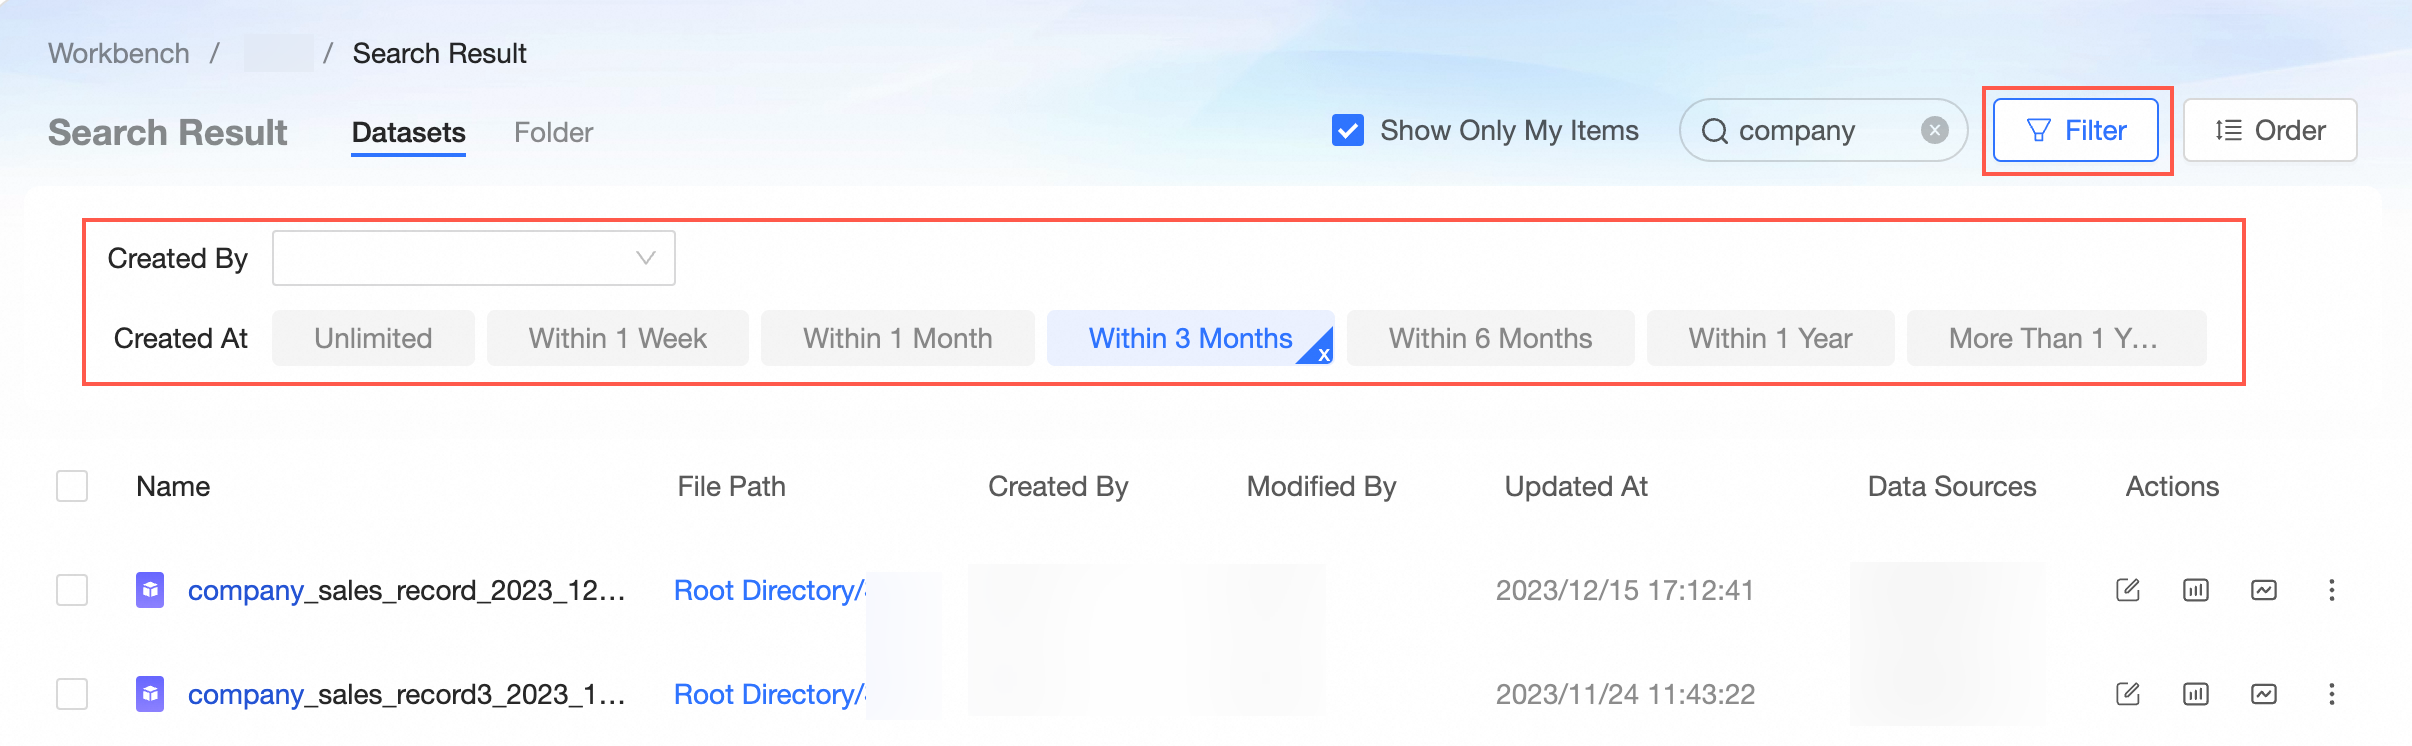
Search for a Dataset
On the Dataset management page, you can use the following three search methods.
Search for only the datasets that you created.
Search for datasets by name.
Search for datasets by filtering creation time and creator.
Apply for the Permissions to Edit a Dataset
If you have the development permissions on the workspace, you can view and use all datasets in the workspace. You can edit only the datasets that you created. If you want to edit a dataset that is created by another user, you must apply for the permissions to edit the dataset.
On the Dataset management page, follow the instructions in the following figure to apply for the permissions to edit a dataset.
On the Apply For Permission page, Select An Approver and enter the Reason For Application, and then click Submit Application.

Apply for the Permissions to Use a Dataset
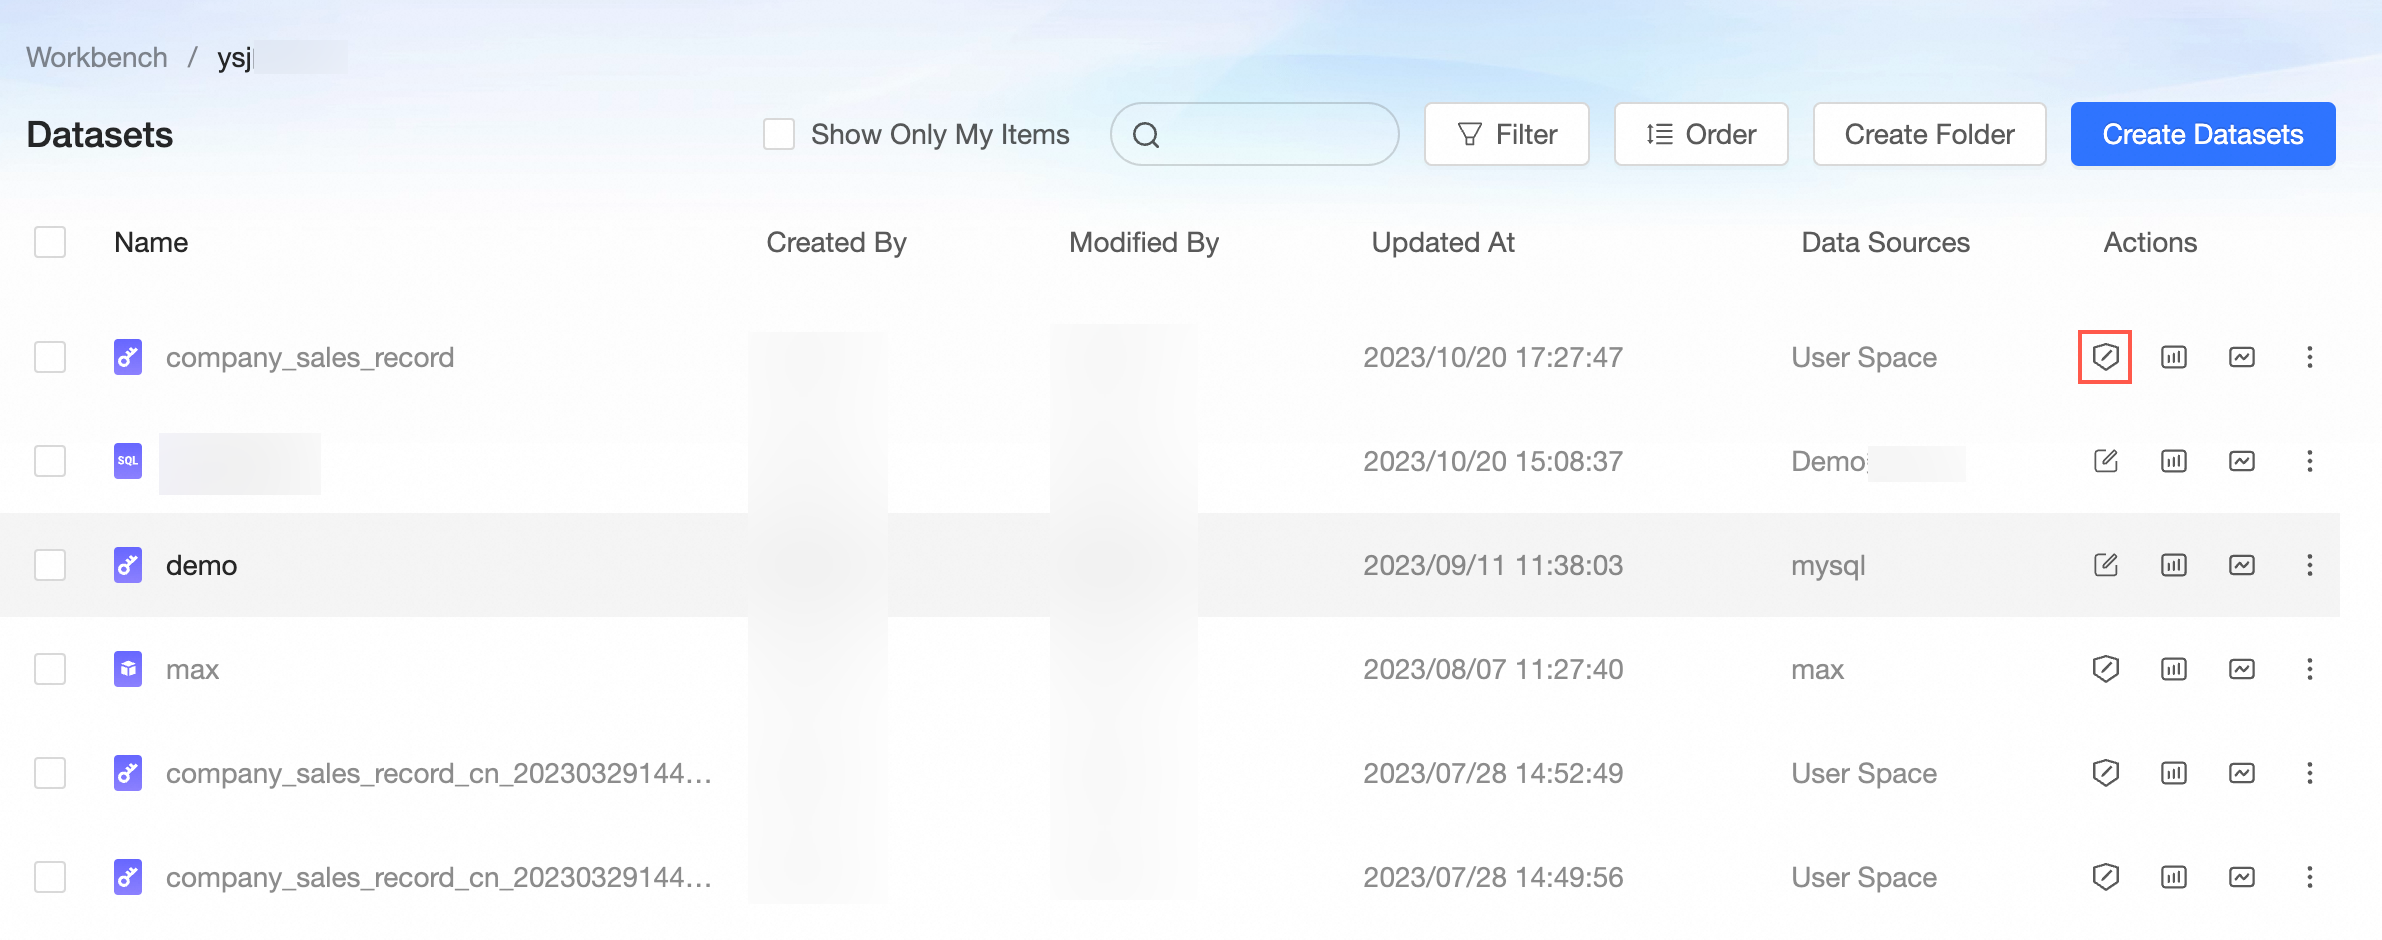
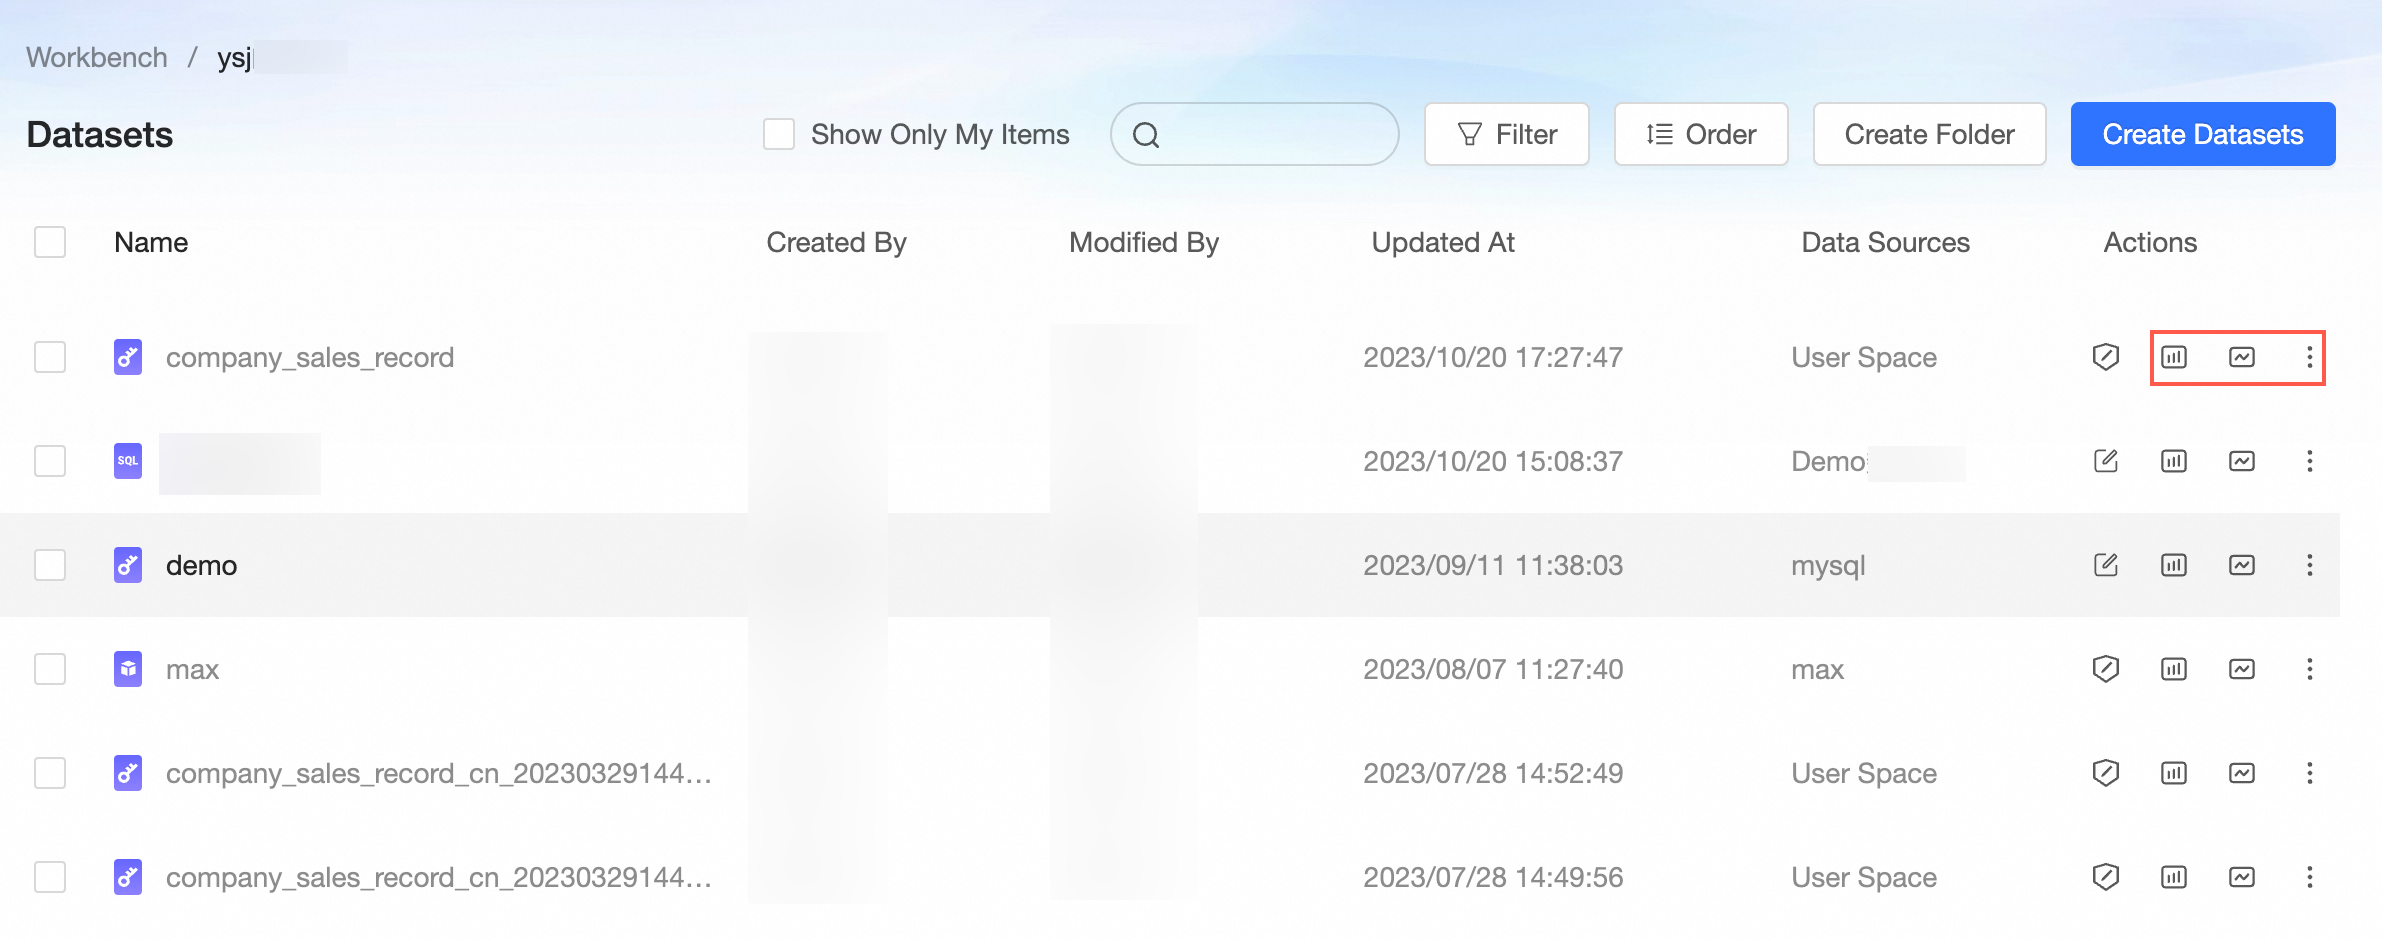
If you have the analysis permissions on the workspace, you can view all datasets in the workspace. If you need to use a dataset, you must apply for the permissions to use the dataset.
If a workspace member cannot use a dataset, the dataset is displayed in gray in the dataset list, as shown in the following figure.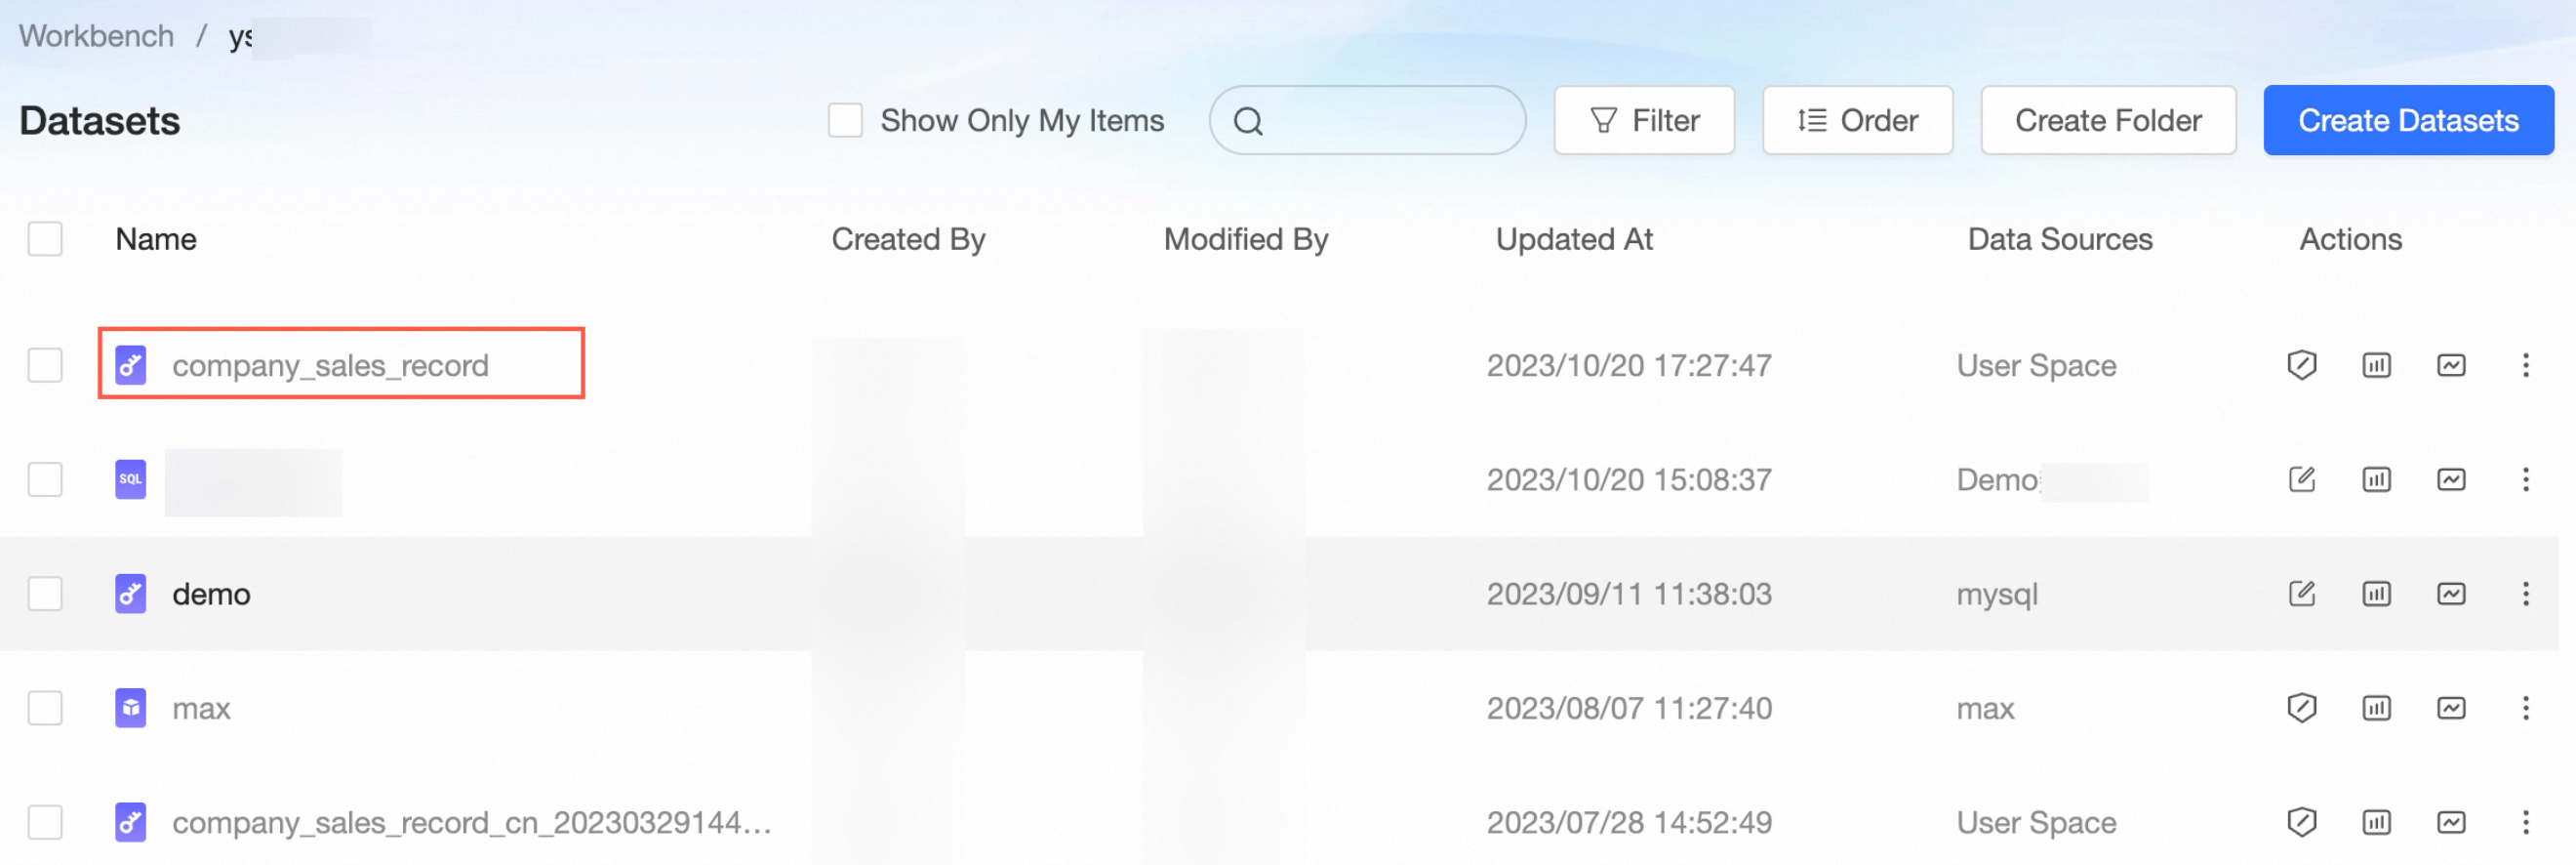
On the Dataset management page, find the dataset that you want to use, and select a data analysis method based on your business requirements. You can select Dashboard, Data Dashboard, Workbook, Ad Hoc Analysis, Downloads, or Data Preparation.
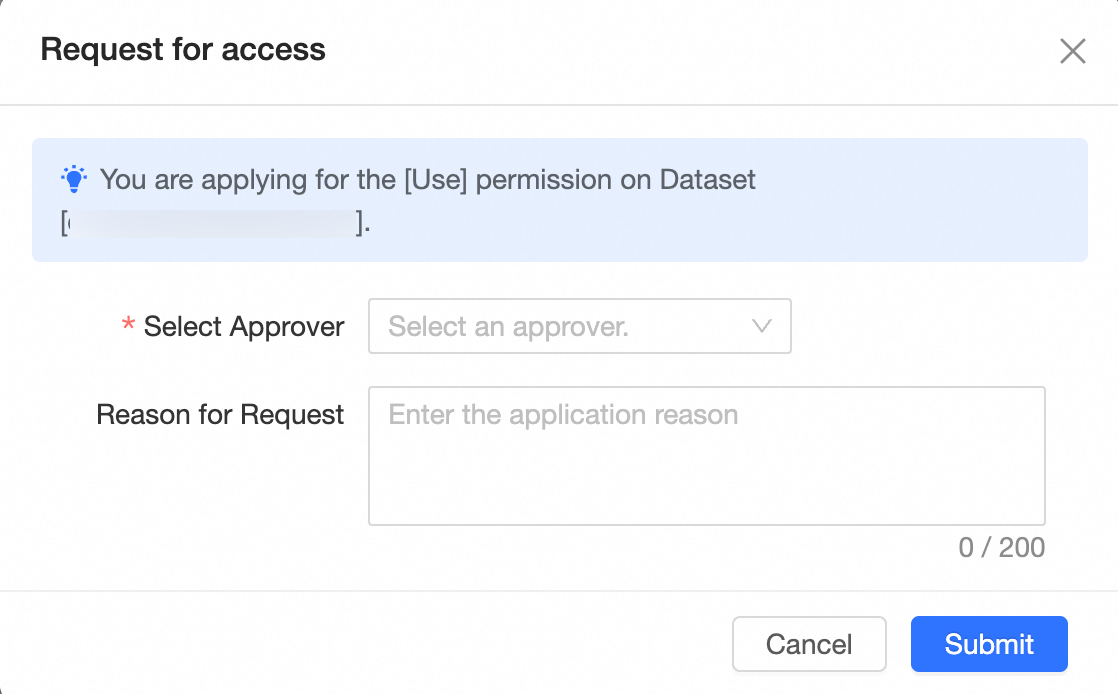
In the Apply For Permission dialog box, Select An Approver and enter the Reason For Application, and then click Submit Application.
NoteAfter you apply for the permissions to use a dataset, you do not need to apply for the permissions again when you use other types of data analysis methods.
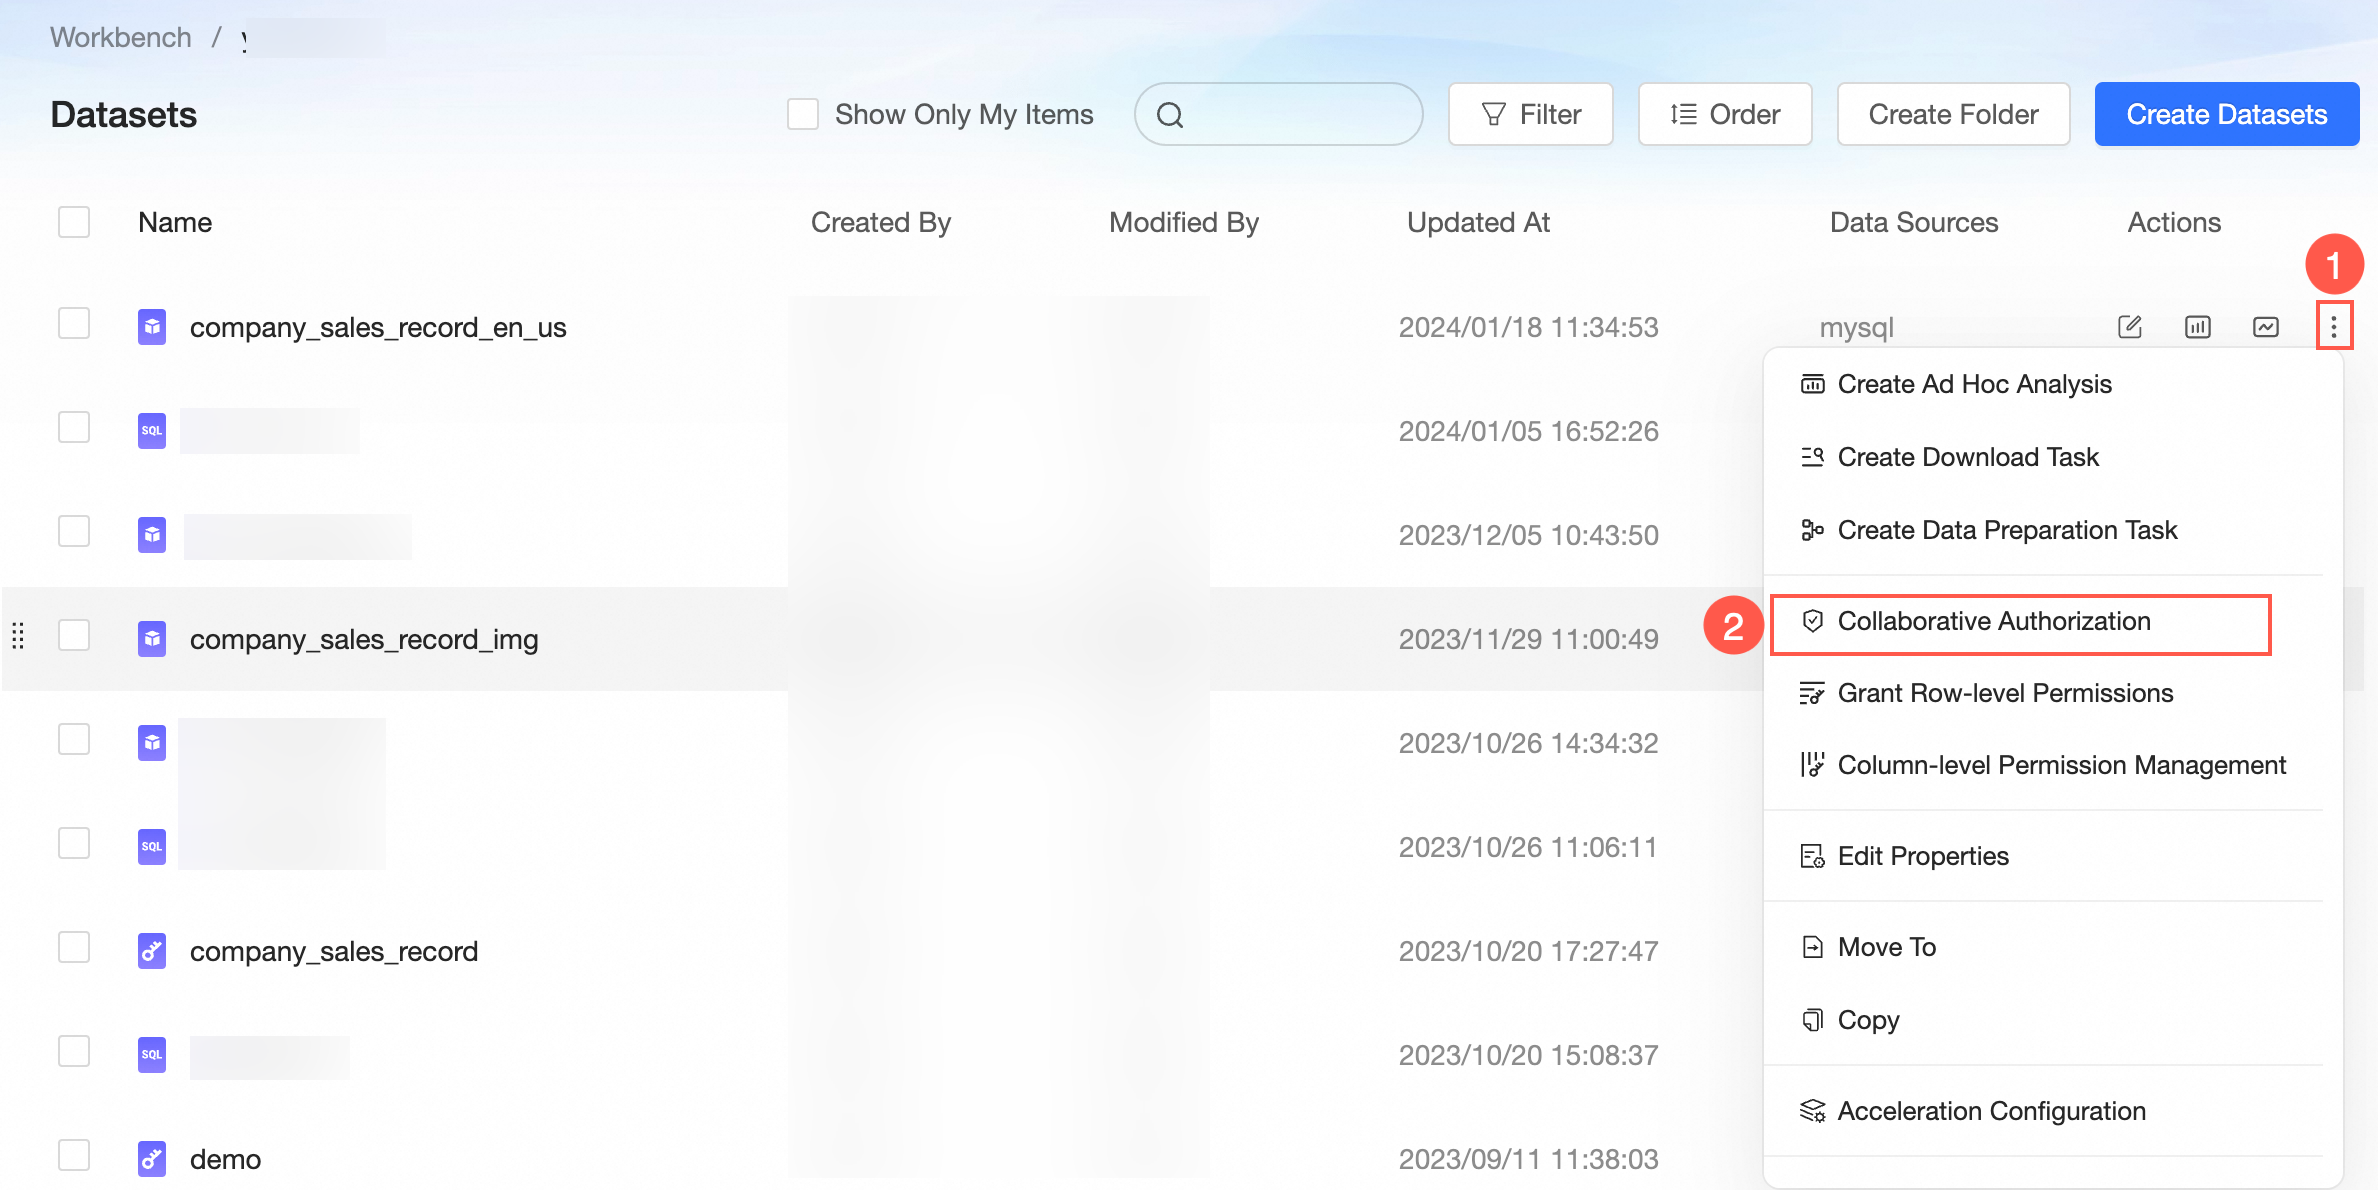
Collaborative authorization
Organization administrators, permission administrators, workspace administrators, and resource owners can grant permissions to users.
On the Dataset management page, configure collaborative authorization as shown in the following figure. For more information, see Grant Users the Permissions on Datasets.
Copy a Dataset
You can copy the current dataset by using the Save As operation.
On the Dataset management page, click the target dataset.
On the dataset edit page, click the
 icon and select Save As.
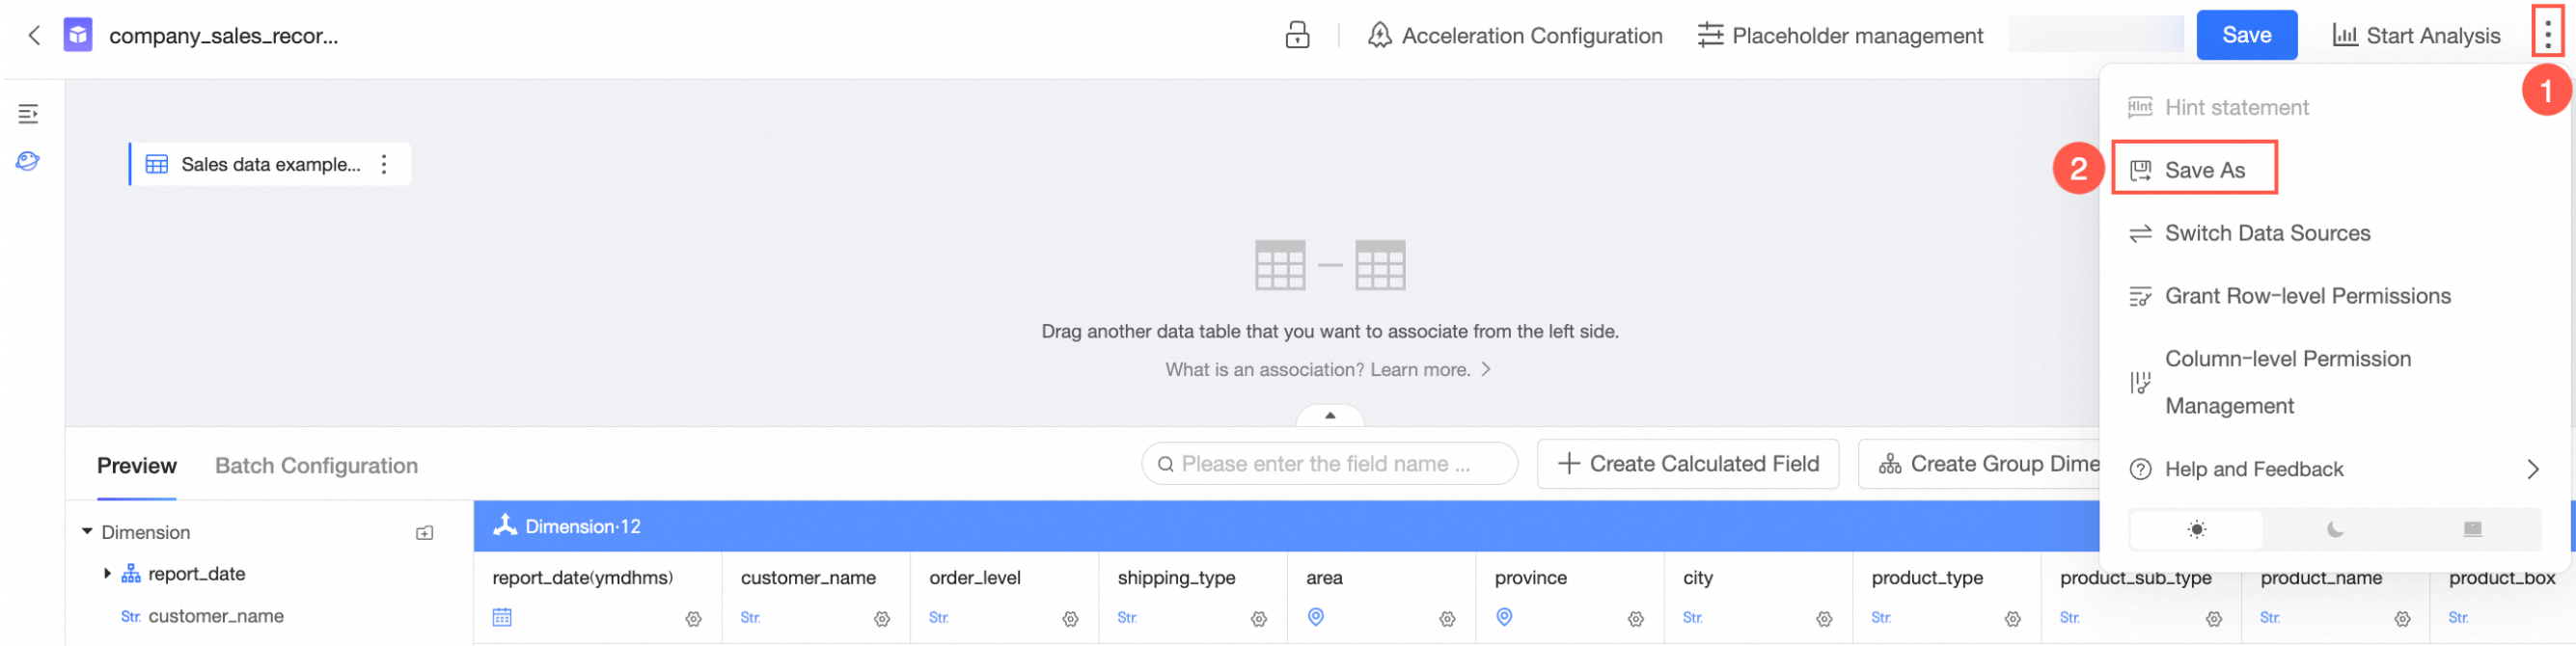
In the Save As Dataset dialog box, enter the dataset name and storage location, and then click OK.
Rename and Transfer a Dataset
You can edit the properties of a dataset. You can also rename and transfer the dataset.
On the Dataset management page, follow the instructions in the following figure to transfer or rename a dataset.

On the Properties edit page, perform the following operations on the dataset.
Parameter
Description
Name
Enter a new name for the dataset.
NoteDatasets in the same folder cannot have the same name. Datasets in different folders can have the same name.
Owner
Click the drop-down icon and select the user to whom you want to transfer the dataset.
Description
Enter the information about the dataset.
Full Table Scan
If you select this option, the system scans the entire table.
NoteOnly datasets that are created based on MaxCompute data sources support this feature.
Click OK.
Delete a Dataset
On the Dataset management page, follow the instructions in the following figure to delete a dataset.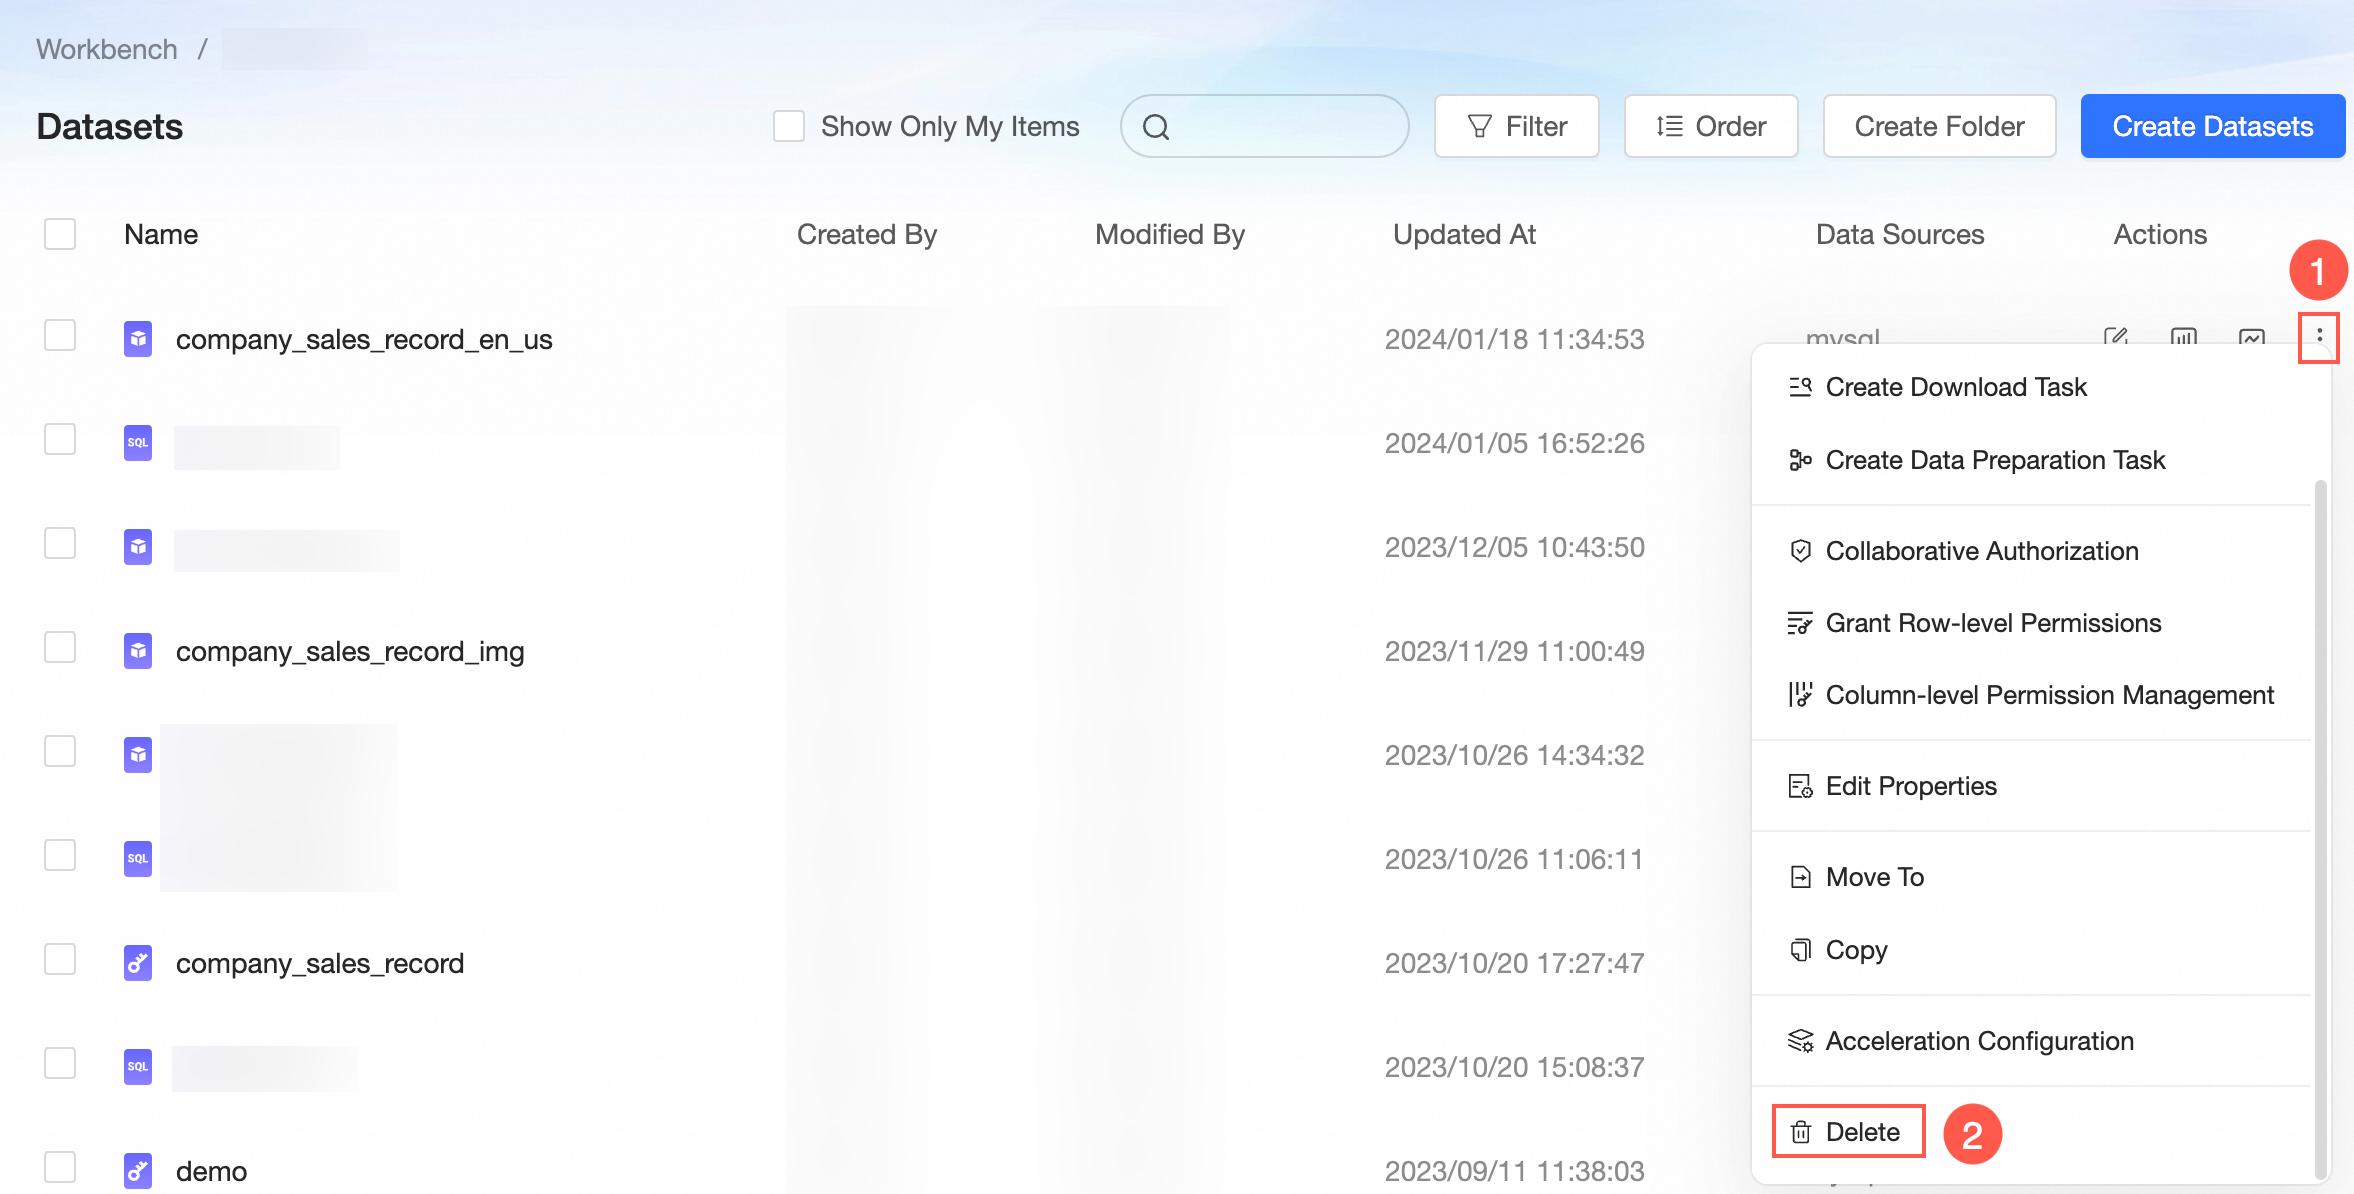
If you have created dashboards, downloads, workbooks, data dashboards, ad hoc analysis, or data entry forms based on the dataset, the system displays information about the published resources that are affected by the deletion, including the resource name, owner, modifier, and modification time. You can click the resource name to view the resource details.

Batch Management of Datasets
You can batch transfer owners, batch move resources, batch purge caches, and batch delete datasets.
You can follow the instructions in the following figure to batch transfer owners.

You can follow the instructions in the following figure to batch move resources.

You can follow the instructions in the following figure to batch purge caches.

After you click OK, if the cache is successfully purged, you will receive a "Cache purged successfully" notification.

You can follow the instructions in the following figure to batch delete datasets.

If the datasets to be deleted have been used to create dashboards, downloads, workbooks, data dashboards, ad hoc analysis, or data entry forms, the confirmation dialog box displays the published resources that are affected by the deletion. You can switch between different datasets in the Delete Resource list to view the affected resources and their names, owners, modifiers, and modification times. You can also click a resource name to go to the resource edit page and view the detailed information about the resource.
