When your HTTP(S) API accepts Protocol Buffers (Protobuf) binary payloads, you need a way to load-test it with real .pb files rather than text-based request bodies. Performance Testing (PTS) runs Apache JMeter-based tests at scale, so you can build and verify the test plan locally, then upload it to PTS for full-scale performance testing.
This guide covers sending Protobuf over HTTP(S). If your service uses gRPC (which transmits Protobuf over HTTP/2), the configuration differs and is not covered here.
How the request is sent
JMeter's HTTP Request sampler has a Files Upload tab that can send a binary file as the raw request body. The key: leave the Parameter Name field blank. This tells JMeter to send the file content directly as the body instead of wrapping it in a multipart form upload. Combined with the application/x-protobuf Content-Type header, the Protobuf binary payload reaches your server exactly as expected.
The workflow has two phases:
Build and verify locally -- Configure and debug the JMeter test plan on your machine.
Run at scale on PTS -- Upload the test plan and binary files to PTS, then start the performance test.
Prerequisites
Before you begin, ensure that you have:
Apache JMeter
5.6.3installed locally (PTS supports JMeter5.0and5.6.3)A Protobuf binary file (
.pb) to use as the request body
Build the JMeter test plan
Configure the HTTP Request sampler
Add an HTTP Request sampler to your test plan. On the Basic tab, configure the target endpoint:
Field Description Example Protocol httporhttpshttpsServer name or IP API hostname or IP address localhostPort Number Service port 9889Method HTTP method GET
Attach the Protobuf binary file
Switch to the Files Upload tab and add the
.pbfile:Field Value Why File Path test.pb(filename only, no local path)JMeter resolves the file relative to the test plan Parameter Name *(leave blank)* An empty parameter name tells JMeter to send the file as the raw request body, not as a multipart form upload MIME Type application/octet-streamIdentifies the file as binary data 
Set the Content-Type header
Add an HTTP Header Manager to the HTTP Request sampler. Set the
Content-Typeheader toapplication/x-protobufso the server knows the body contains Protobuf-encoded data.
Verify the request locally
Run the test plan and check the results in View Results Tree. Confirm that:

The request body contains the binary Protobuf data.
The
Content-Typeheader isapplication/x-protobuf.The server returns the expected response.
After debugging succeeds, save and export the test plan (for example,
test.jmx).
Configuration summary
Verify your JMeter settings before uploading to PTS:
| Component | Setting | Value |
|---|---|---|
| HTTP Request > Basic | Protocol | http or https |
| HTTP Request > Basic | Server name or IP | Your API hostname |
| HTTP Request > Basic | Port Number | Your service port |
| HTTP Request > Basic | Method | GET (or your target method) |
| HTTP Request > Files Upload | File Path | test.pb (filename only) |
| HTTP Request > Files Upload | Parameter Name | *(blank)* |
| HTTP Request > Files Upload | MIME Type | application/octet-stream |
| HTTP Header Manager | Content-Type | application/x-protobuf |
Create and run the performance test on PTS
Upload the test plan
Log on to the PTS console. Go to Performance Test > Create Scenario, then click JMeter.
Enter a scenario name on the Scenario Settings page. Upload both the
.jmxtest plan file and the.pbbinary file exported in the previous section.
Select the Jmeter Version that matches the version used to create your script (for example,
5.6.3).ImportantThe JMeter version in PTS must match the version used to create the test plan. A version mismatch can cause script parsing errors or unsupported function calls.

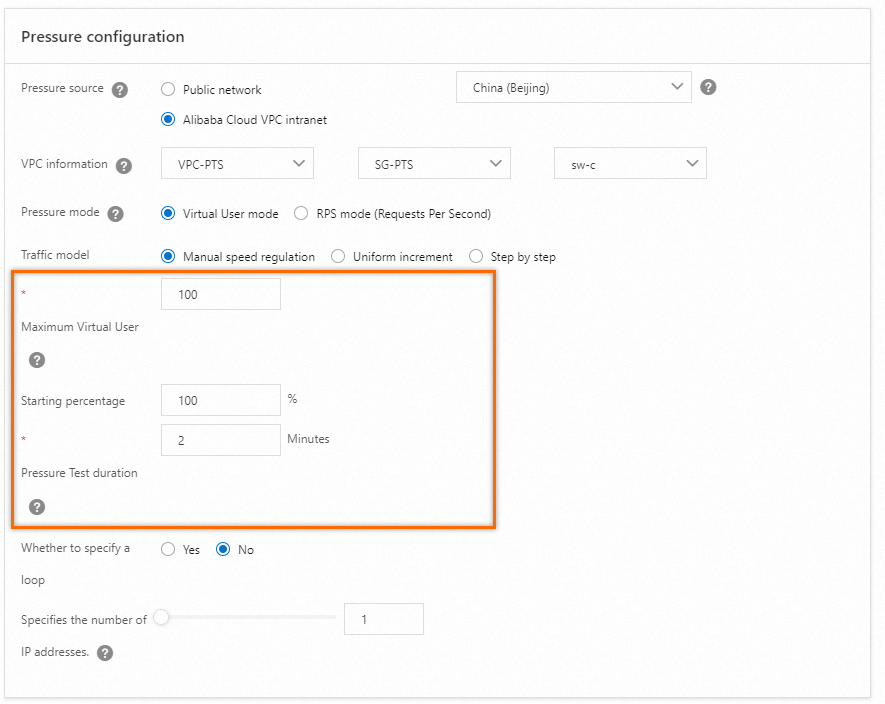
Configure the stress testing model
Set the stress source and parameters. This example uses Alibaba Cloud VPC as the stress source. Set the concurrency level, ramp-up period, and test duration based on your requirements. For details, see Configure the stress testing model and level and Billing overview.
Debug and start the test
Debug the stress testing scenario before running a full test. Debugging catches configuration issues early and avoids wasted runs.
After debugging succeeds, click Save and Test. On the Tips page, select Trigger Now and Make sure that the test is approved and complies with local laws, then click Start Testing.
Analyze the results
After the test completes, PTS generates a performance report that includes:
Scenario metrics -- throughput, response time, and error rate
Business details -- per-API performance breakdown
Monitoring details -- resource utilization during the test
API sampling logs -- request and response samples
For a full walkthrough, see View a JMeter performance testing report.