When your infrastructure triggers a Prometheus alert, you need the right people to see it immediately. Managed Service for Prometheus integrates with Lark to deliver alert notifications directly to a group chat, so your team can triage and resolve issues without switching tools.
After you complete this setup, you can:
Receive real-time Prometheus alert notifications in a Lark group
View daily alert statistics at scheduled times
Manage and resolve alerts directly from the group chat
Customize the alert notification card layout and content
Prerequisites
Before you begin, make sure that:
The Application Real-Time Monitoring Service (ARMS) Intelligent Alerting application is added to your Lark organization's application directory. If it has not been added, members of the Lark organization can send a request to the administrator to obtain the application.
You have access to the Managed Service for Prometheus console
Step 1: Create a Lark chatbot and obtain the webhook URL
Set up a custom bot in a Lark group chat and copy its webhook URL. Managed Service for Prometheus uses this URL to send notifications to your Lark group.
Open and log on to Lark.
(Optional) Click the + icon and then click New group to create a group chat. Skip this step if you already have a Lark group for alert notifications.
In the group chat, click the settings icon
 on the right side and then click BOTs.
On the BOTs tab, click Add Bot and select Custom Bot.
Enter a bot name and description, and then click Add.
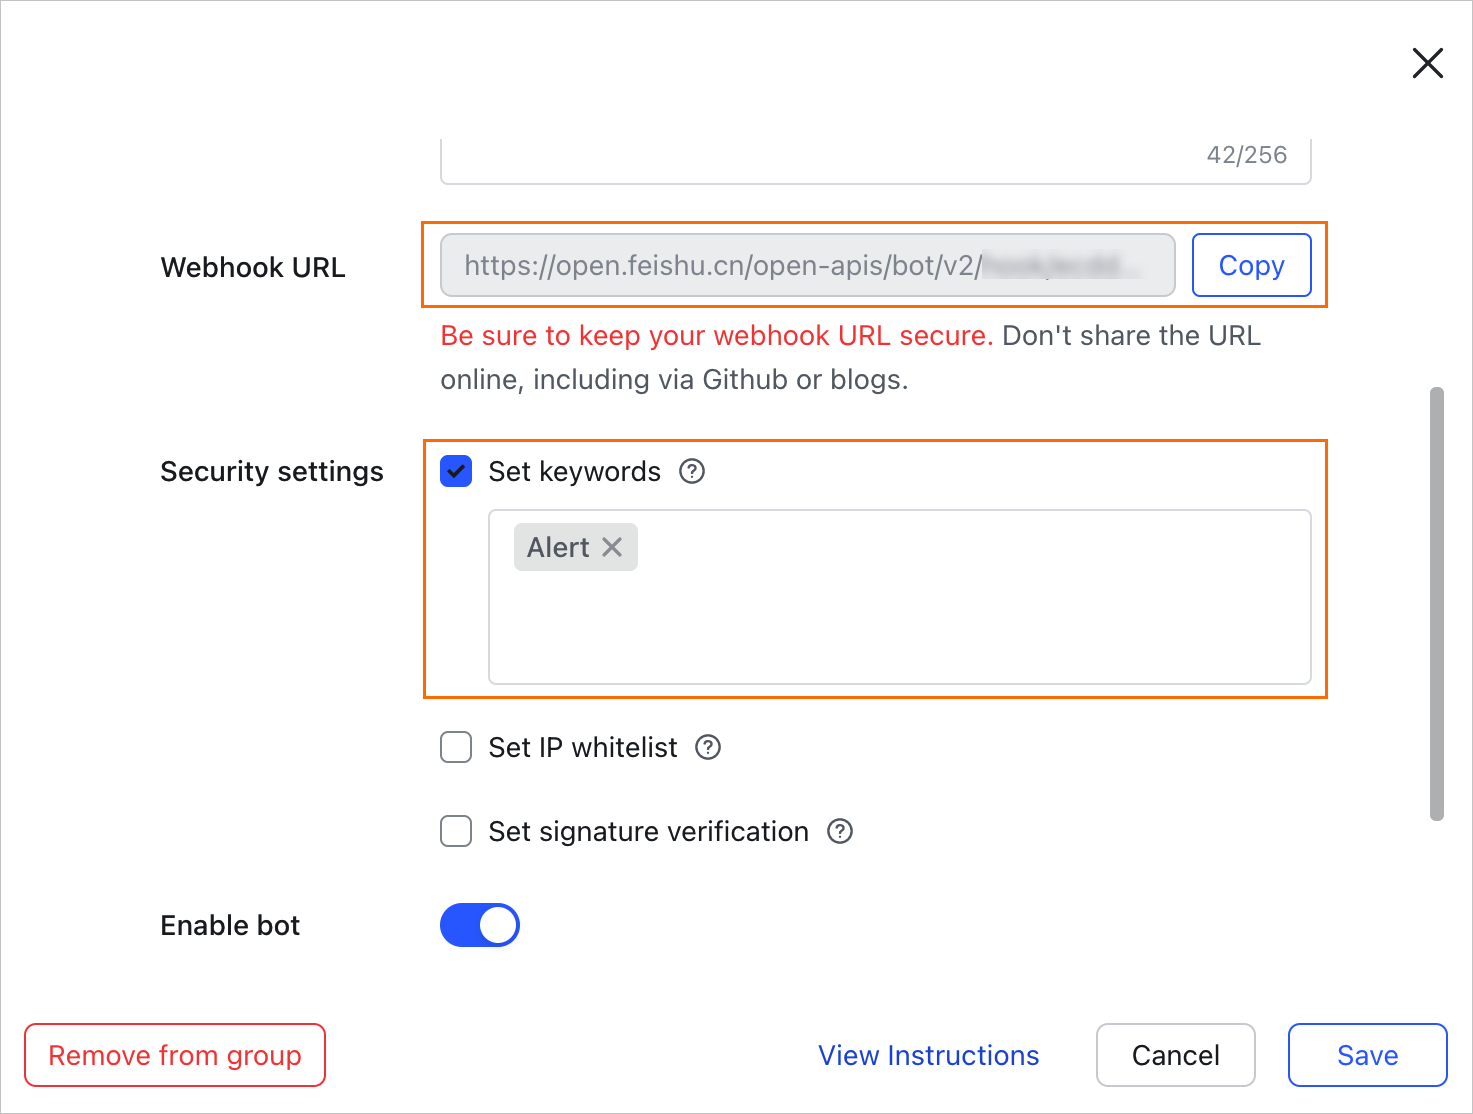
Copy the webhook URL. Under security settings, select Set keywords and enter the keyword
alert.ImportantSave the webhook URL before closing this dialog. You need it in the next step.
Click OK.
Step 2: Configure the chatbot in the Managed Service for Prometheus console
Add the Lark chatbot webhook URL to the Managed Service for Prometheus console so the service can send alert notifications to your Lark group.
Log on to the Managed Service for Prometheus console.
In the left-side navigation pane, choose Alert Management > Notification Objects.
Click the DingTalk/Lark/WeCom tab, and then click Lark.
In the Create Lark Chatbot panel, configure the following parameters and click OK.
Parameter Description Name A descriptive name for the Lark chatbot, such as prod-alerts-lark.Chatbot Webhook URL The webhook URL copied from Step 1. Whether the Chatbot Sends Daily Statistics Turn on to receive a daily alert summary at specified times. Enter one or more times in HH:SSformat, separated by commas. The summary includes the total number of alerts for the day, the number of resolved alerts, and the number of unresolved alerts.Card Content Configuration Customize the style and content of the alert notification card.
Step 3: Link the chatbot to a notification policy
A notification policy defines which alerts are sent to which notification objects. To route alerts to your Lark group, link the chatbot you created to a notification policy.
Create or modify a notification policy. For detailed instructions, see Create and manage a notification policy.
In the Notification Objects step, set the notification object type to DingTalk/Lark/WeCom and select the Lark chatbot you created in Step 2.
Verify the integration
After you link the chatbot to a notification policy, wait for an alert to fire and confirm that the notification card appears in your Lark group. If no notification arrives, verify the following:
The webhook URL is correct and the security keyword
alertis set.The notification policy matching rules cover the expected alert.
The ARMS Intelligent Alerting application is active in your Lark organization.
Manage alerts in the group chat
After alerts start arriving in the Lark group, team members can view and manage alerts directly from the chat. For more information, see Handle alerts in a group chat.
Manage notification objects
After you create a notification object, you can search, edit, or delete it on the DingTalk/Lark/WeCom tab:
Search: Enter a keyword in the search box and click the search icon
 .
.Edit: Find the notification object and click Edit in the Actions column. Modify the settings and click OK.
Delete: Click Delete in the Actions column of the notification object. Click OK to confirm.