Transfer knowledge from large teacher models to smaller student models using model distillation while preserving performance.
Model distillation reduces LLM size and compute requirements while maintaining performance. This guide covers data augmentation and distillation using Qwen2 models.
Workflow
-
Prepare training dataset according to required format and strategies.
-
Optional: Augment instructions
Use Qwen2-1.5B-Instruct-Exp or Qwen2-7B-Instruct-Exp to generate semantically similar instructions. Augmentation improves generalization during distillation.
-
Optional: Optimize instructions
Use Qwen2-1.5B-Instruct-Refine or Qwen2-7B-Instruct-Refine to enrich instructions—including augmented ones—to improve text generation quality.
-
Generate responses with teacher model
Use Qwen2-72B-Instruct to generate responses for instructions in your training dataset, transferring teacher knowledge.
-
Use completed instruction-response dataset to train a smaller student model suitable for production.
Prerequisites
Complete these prerequisites:
-
Activate Deep Learning Containers (DLC) and EAS of PAI on a pay-as-you-go basis and create a default workspace. For more information, see Activate PAI and create a default workspace.
-
Create an OSS bucket to store training data and model files. For more information, see Quick Start.
Prepare instruction data
Prepare instruction data following the data preparation strategy and data format requirements:
Data preparation strategy
To improve model distillation effectiveness and stability, prepare data using these strategies:
-
Prepare at least several hundred data points. More data improves model performance.
-
Ensure broad and balanced distribution: diverse task scenarios, varied input and output lengths (both short and long examples), and balanced language distribution for multilingual datasets.
-
Process abnormal data. Even small amounts can impact fine-tuning results. Use rule-based methods to clean and filter invalid entries.
Data format requirements
Training dataset must be a JSON file with a single field: instruction. This field contains the input instruction. Example:
[
    {
        "instruction": "What major measures did governments take to stabilize financial markets during the 2008 financial crisis?"
    },
    {
        "instruction": "What important actions have governments taken to promote sustainable development amid worsening climate change?"
    },
    {
        "instruction": "What major measures did governments take to support economic recovery during the 2001 tech bubble burst?"
    }
]
Optional: Augment instructions
Instruction augmentation expands user-provided instruction datasets to increase diversity and coverage.
-
For example, given this input:
How do I cook fish-flavored shredded pork? How do I prepare for the GRE exam? What should I do if a friend misunderstands me? -
The model outputs something like this:
Teach me how to cook mapo tofu.
Provide a detailed guide for preparing for the TOEFL exam.
If you face setbacks at work, how do you adjust your mindset?
Instruction diversity affects LLM generalization. Augmenting instructions improves student model performance. PAI provides two proprietary instruction augmentation models based on Qwen2: Qwen2-1.5B-Instruct-Exp and Qwen2-7B-Instruct-Exp. Deploy either as an EAS online service:
Deploy model service
Deploy the instruction augmentation model as an EAS online service.
-
Go to Model Gallery page.
-
Log on to the PAI console.
-
In the top-left corner, select your region.
-
In the left-side navigation pane, choose Workspaces, then click your workspace name.
-
In the left-side navigation pane, choose .
-
-
On Model Gallery page, search for Qwen2-1.5B-Instruct-Exp or Qwen2-7B-Instruct-Exp, then click Deploy.
-
In the Deploy panel, review default values for Model Service Information and Resource Deployment Information. Modify as needed, then click Deploy.
-
In the Billing Notice dialog, click OK.
System opens the Deployment Task page. When Status shows Running, deployment succeeds.
Call model service
After deployment, use the API to run inference. See Deploy large language models. Example client request:
-
Get the service endpoint and token.
-
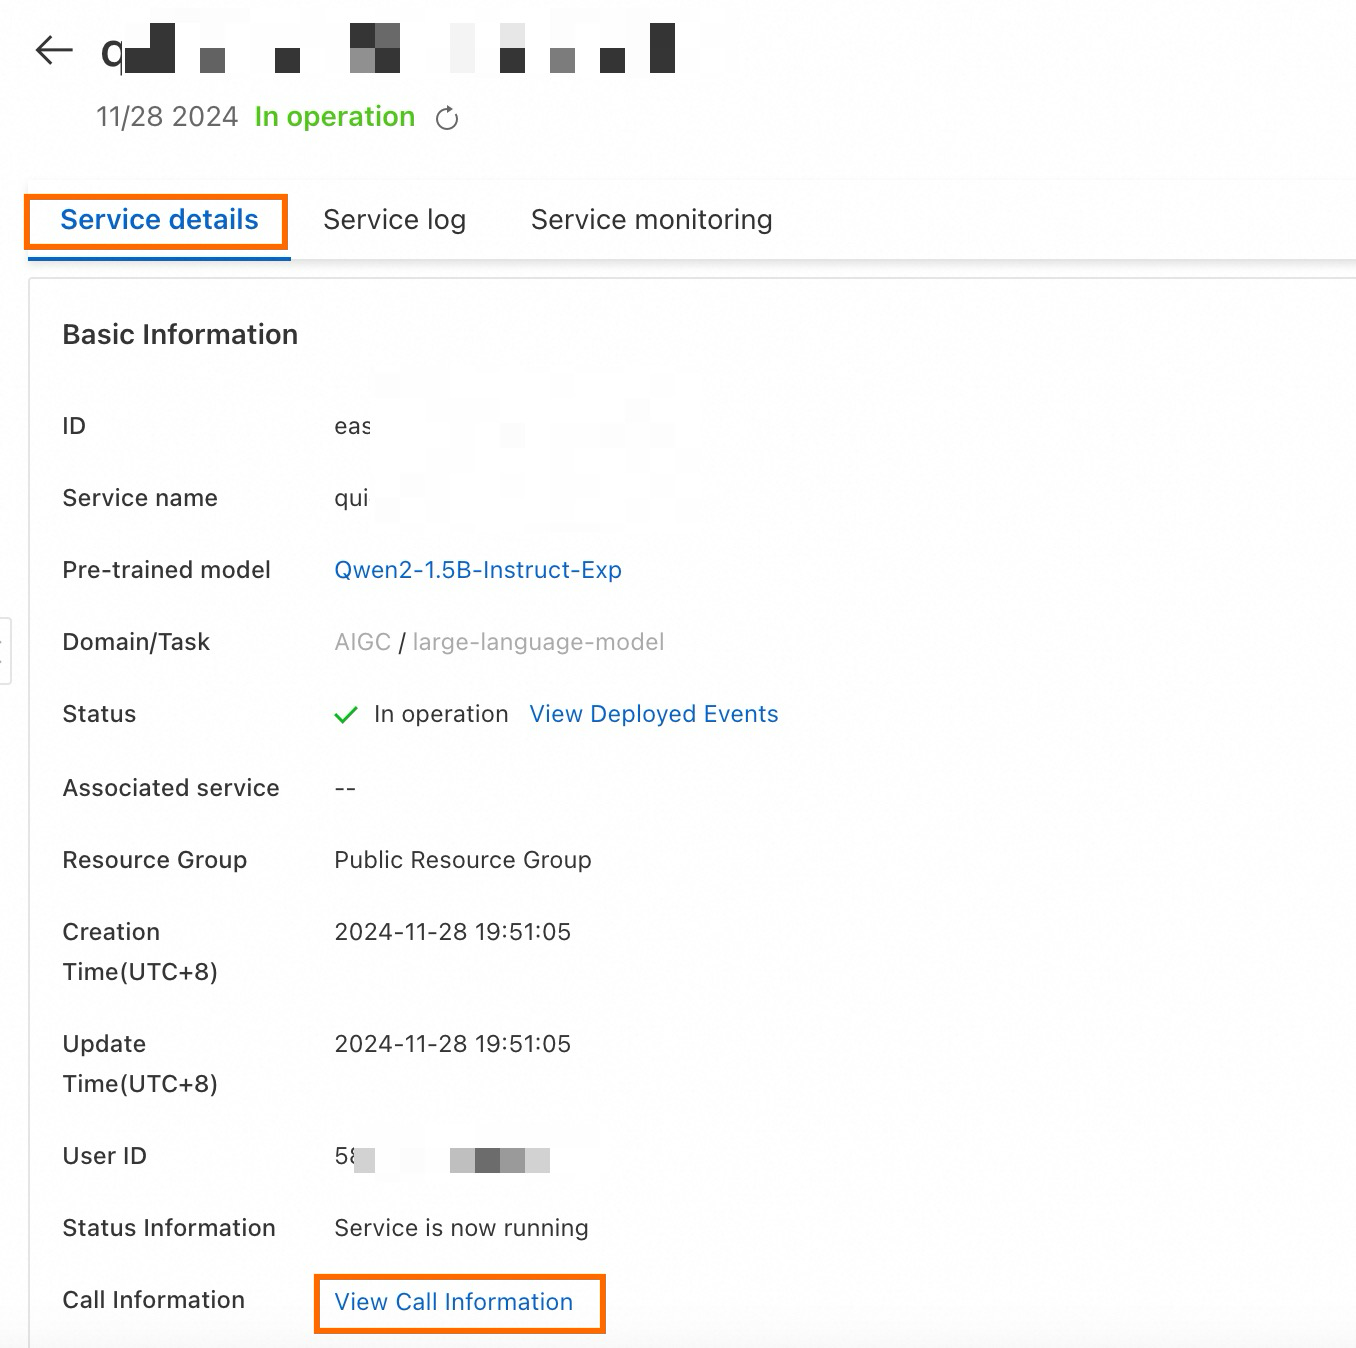
On the Service Details page, click Basic Information, then click View Endpoint Information.
-
In the Endpoint Information dialog, find the endpoint and token. Save them locally.
-
-
Create and run this Python script:
import argparse
import json
import requests
from typing import List

def post_http_request(prompt: str,
                      system_prompt: str,
                      host: str,
                      authorization: str,
                      max_new_tokens: int,
                      temperature: float,
                      top_k: int,
                      top_p: float) -> requests.Response:
    headers = {
        "User-Agent": "Test Client",
        "Authorization": f"{authorization}"
    }
    pload = {
        "prompt": prompt,
        "system_prompt": system_prompt,
        "top_k": top_k,
        "top_p": top_p,
        "temperature": temperature,
        "max_new_tokens": max_new_tokens,
        "do_sample": True,
        "eos_token_id": 151645
    }
    response = requests.post(host, headers=headers, json=pload)
    return response

def get_response(response: requests.Response) -> List[str]:
    data = json.loads(response.content)
    output = data["response"]
    return output

if __name__ == "__main__":
    parser = argparse.ArgumentParser()
    parser.add_argument("--top-k", type=int, default=50)
    parser.add_argument("--top-p", type=float, default=0.95)
    parser.add_argument("--max-new-tokens", type=int, default=2048)
    parser.add_argument("--temperature", type=float, default=1)
    parser.add_argument("--prompt", type=str, default="Sing me a song.")

    args = parser.parse_args()
    prompt = args.prompt
    top_k = args.top_k
    top_p = args.top_p
    temperature = args.temperature
    max_new_tokens = args.max_new_tokens

    host = "EAS HOST"
    authorization = "EAS TOKEN"

    print(f" --- input: {prompt}\n", flush=True)
    system_prompt = "You are an instruction creator. Your goal is to create a new instruction inspired by the [given instruction]."
    response = post_http_request(
        prompt, system_prompt,
        host, authorization,
        max_new_tokens, temperature, top_k, top_p)
    output = get_response(response)
    print(f" --- output: {output}\n", flush=True)
Parameters:
-
host: Service endpoint.
-
authorization: Service token.
-
Batch augmentation
Use the EAS service to batch-process instructions. This example reads a custom JSON dataset and calls the model API to augment instructions. Create and run this Python script:
import requests
import json
import random
from tqdm import tqdm
from typing import List

input_file_path = "input.json"  # Input filename
with open(input_file_path) as fp:
    data = json.load(fp)

total_size = 10  # Target total number of samples after expansion
pbar = tqdm(total=total_size)

while len(data) < total_size:
    prompt = random.sample(data, 1)[0]["instruction"]
    system_prompt = "You are an instruction creator. Your goal is to create a new instruction inspired by the [given instruction]."
    top_k = 50
    top_p = 0.95
    temperature = 1
    max_new_tokens = 2048

    host = "EAS HOST"
    authorization = "EAS TOKEN"

    response = post_http_request(
        prompt, system_prompt,
        host, authorization,
        max_new_tokens, temperature, top_k, top_p)
    output = get_response(response)
    temp = {
        "instruction": output
    }
    data.append(temp)
    pbar.update(1)
pbar.close()

output_file_path = "output.json" # Output filename
with open(output_file_path, 'w') as f:
    json.dump(data, f, ensure_ascii=False)
Parameters:
-
host: Service endpoint.
-
authorization: Service token.
-
file_path: Replace with the local path to your dataset file.
-
The
post_http_requestandget_responsefunctions match those defined in the Call model service Python script.
Alternatively, use the LLM-Instruction Expansion (DLC) component in PAI-Designer without code. See Custom pipelines. 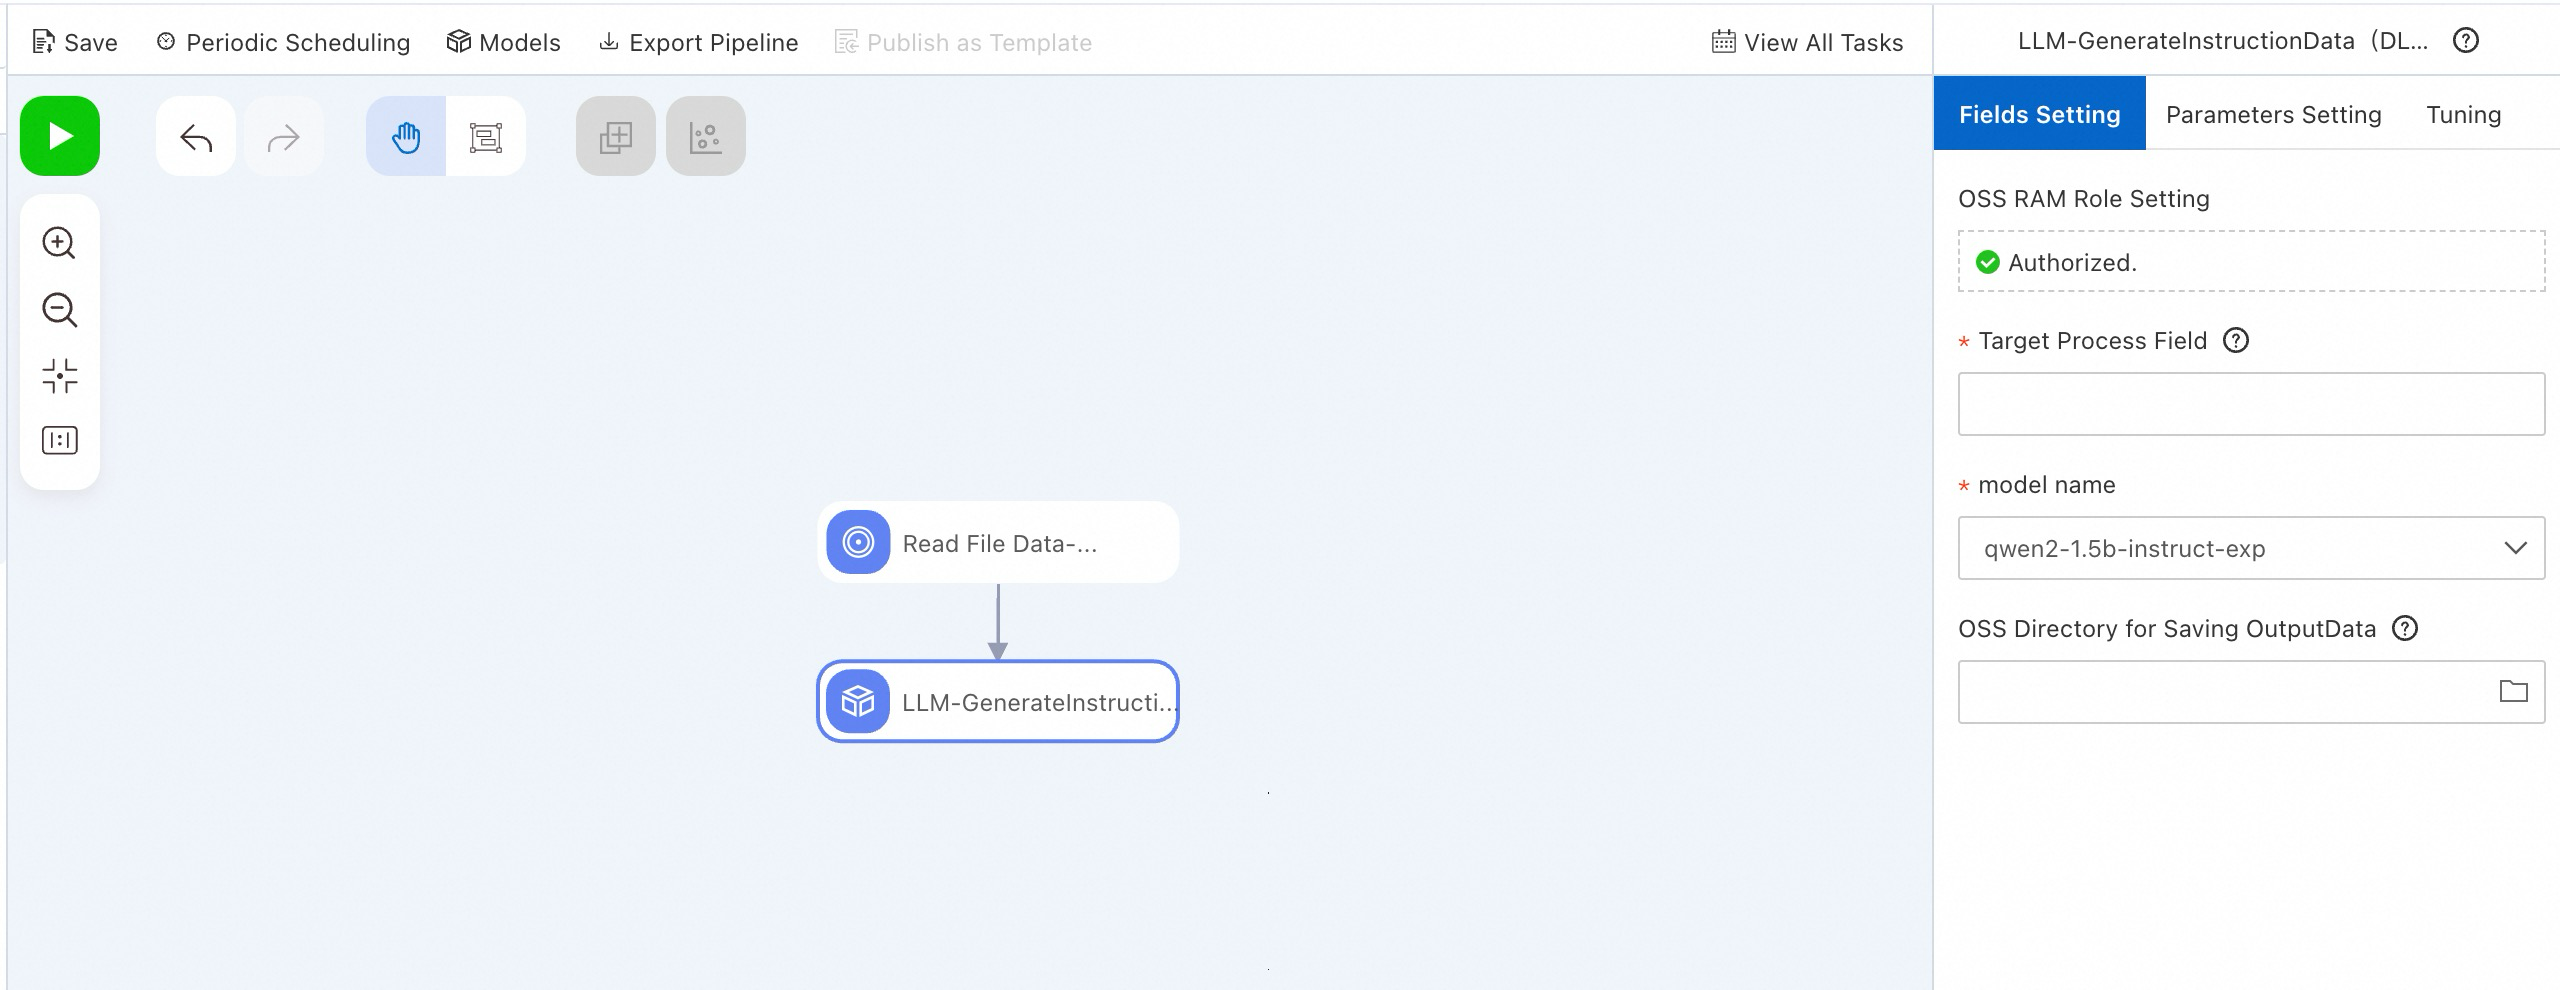
Optional: Optimize instructions
Instruction optimization refines user-provided instruction datasets to generate more detailed, structured instructions, leading to richer LLM responses.
-
For example, given this input to the instruction optimization model:
How do I cook fish-flavored shredded pork? How do I prepare for the GRE exam? What should I do if a friend misunderstands me? -
The model outputs something like this:
Provide a detailed Sichuan-style recipe for fish-flavored shredded pork. Include a specific ingredient list—vegetables, pork, and seasonings—along with step-by-step cooking instructions. Also recommend suitable side dishes and staple foods to serve with it.
Provide a comprehensive guide covering GRE registration, required documents, study strategies, and recommended review materials. Also suggest effective practice questions and mock exams to help me prepare.
Provide a detailed guide on staying calm and rational when misunderstood by a friend—and communicating effectively to resolve it. Include practical advice—for example, how to express your thoughts and feelings, how to avoid escalating misunderstandings, and specific dialogue scenarios and situations for practice.
Instruction detail affects LLM output quality. Optimizing instructions improves student model performance. PAI provides two proprietary instruction optimization models based on Qwen2: Qwen2-1.5B-Instruct-Refine and Qwen2-7B-Instruct-Refine. Deploy either as an EAS online service:
Deploy model service
-
Go to Model Gallery page.
-
Log on to the PAI console.
-
In the top-left corner, select your region.
-
In the left-side navigation pane, choose Workspaces, then click your workspace name.
-
In the left-side navigation pane, choose .
-
-
On Model Gallery page, search for Qwen2-1.5B-Instruct-Refine or Qwen2-7B-Instruct-Refine, then click Deploy.
-
In the Deploy panel, review default values for Model Service Information and Resource Deployment Information. Modify as needed, then click Deploy.
-
In the Billing Notice dialog, click OK.
System opens the Deployment Task page. When Status shows Running, deployment succeeds.
Call model service
After deployment, use the API to run inference. See Deploy large language models. Example client request:
-
Get the service endpoint and token.
-
On the Service Details page, click Basic Information, then click View Endpoint Information.
-
In the Endpoint Information dialog, find the endpoint and token. Save them locally.
-
-
Create and run this Python script:
import argparse
import json
import requests
from typing import List


def post_http_request(prompt: str,
                      system_prompt: str,
                      host: str,
                      authorization: str,
                      max_new_tokens: int,
                      temperature: float,
                      top_k: int,
                      top_p: float) -> requests.Response:
    headers = {
        "User-Agent": "Test Client",
        "Authorization": f"{authorization}"
    }
    pload = {
        "prompt": prompt,
        "system_prompt": system_prompt,
        "top_k": top_k,
        "top_p": top_p,
        "temperature": temperature,
        "max_new_tokens": max_new_tokens,
        "do_sample": True,
        "eos_token_id": 151645
    }
    response = requests.post(host, headers=headers, json=pload)
    return response


def get_response(response: requests.Response) -> List[str]:
    data = json.loads(response.content)
    output = data["response"]
    return output


if __name__ == "__main__":
    parser = argparse.ArgumentParser()
    parser.add_argument("--top-k", type=int, default=2)
    parser.add_argument("--top-p", type=float, default=0.95)
    parser.add_argument("--max-new-tokens", type=int, default=256)
    parser.add_argument("--temperature", type=float, default=0.5)
    parser.add_argument("--prompt", type=str, default="Sing me a song.")

    args = parser.parse_args()
    prompt = args.prompt
    top_k = args.top_k
    top_p = args.top_p
    temperature = args.temperature
    max_new_tokens = args.max_new_tokens

    host = "EAS HOST"
    authorization = "EAS TOKEN"

    print(f" --- input: {prompt}\n", flush=True)
    system_prompt = "Optimize this instruction to make it more detailed and specific."
    response = post_http_request(
        prompt, system_prompt,
        host, authorization,
        max_new_tokens, temperature, top_k, top_p)
    output = get_response(response)
    print(f" --- output: {output}\n", flush=True)
Parameters:
-
host: Service endpoint.
-
authorization: Service token.
-
Batch optimization
Use the EAS service to batch-process instructions. This example reads a custom JSON dataset and calls the model API to optimize instructions. Create and run this Python script:
import requests
import json
import random
from tqdm import tqdm
from typing import List

input_file_path = "input.json"  # Input filename

with open(input_file_path) as fp:
    data = json.load(fp)

pbar = tqdm(total=len(data))
new_data = []

for d in data:
    prompt = d["instruction"]
    system_prompt = "Optimize the following instruction."
    top_k = 50
    top_p = 0.95
    temperature = 1
    max_new_tokens = 2048

    host = "EAS HOST"
    authorization = "EAS TOKEN"

    response = post_http_request(
        prompt, system_prompt,
        host, authorization,
        max_new_tokens, temperature, top_k, top_p)
    output = get_response(response)
    temp = {
        "instruction": output
    }
    new_data.append(temp)
    pbar.update(1)
pbar.close()

output_file_path = "output.json"  # Output filename
with open(output_file_path, 'w') as f:
    json.dump(new_data, f, ensure_ascii=False)
Parameters:
-
host: Service endpoint.
-
authorization: Service token.
-
file_path: Replace with the local path to your dataset file.
-
The
post_http_requestandget_responsefunctions match those defined in the Call model service Python script.
Alternatively, use the LLM-Instruction Optimization (DLC) component in PAI-Designer without code. See Custom pipelines. 
Generate responses with teacher model
Deploy model service
After optimizing your instruction dataset, deploy a teacher LLM to generate responses:
-
Go to Model Gallery page.
-
Log on to the PAI console.
-
In the top-left corner, select your region.
-
In the left-side navigation pane, choose Workspaces, then click your workspace name.
-
In the left-side navigation pane, choose .
-
-
On Model Gallery page, search for Qwen2-72B-Instruct, then click Deploy.
-
In the Deploy panel, review default values for Model Service Information and Resource Deployment Information. Modify as needed, then click Deploy.
-
In the Billing Notice dialog, click OK.
System opens the Deployment Task page. When Status shows Running, deployment succeeds.
Call model service
After deployment, use the API to run inference. See Deploy large language models. Example client request:
-
Get the service endpoint and token.
-
On the Service Details page, click Basic Information, then click View Endpoint Information.
-
In the Endpoint Information dialog, find the endpoint and token. Save them locally.
-
-
Create and run this Python script:
import argparse
import json
import requests
from typing import List


def post_http_request(prompt: str,
                      system_prompt: str,
                      host: str,
                      authorization: str,
                      max_new_tokens: int,
                      temperature: float,
                      top_k: int,
                      top_p: float) -> requests.Response:
    headers = {
        "User-Agent": "Test Client",
        "Authorization": f"{authorization}"
    }
    pload = {
        "prompt": prompt,
        "system_prompt": system_prompt,
        "top_k": top_k,
        "top_p": top_p,
        "temperature": temperature,
        "max_new_tokens": max_new_tokens,
        "do_sample": True,
    }
    response = requests.post(host, headers=headers, json=pload)
    return response


def get_response(response: requests.Response) -> List[str]:
    data = json.loads(response.content)
    output = data["response"]
    return output


if __name__ == "__main__":
    parser = argparse.ArgumentParser()
    parser.add_argument("--top-k", type=int, default=50)
    parser.add_argument("--top-p", type=float, default=0.95)
    parser.add_argument("--max-new-tokens", type=int, default=2048)
    parser.add_argument("--temperature", type=float, default=0.5)
    parser.add_argument("--prompt", type=str)
    parser.add_argument("--system_prompt", type=str)

    args = parser.parse_args()
    prompt = args.prompt
    system_prompt = args.system_prompt
    top_k = args.top_k
    top_p = args.top_p
    temperature = args.temperature
    max_new_tokens = args.max_new_tokens

    host = "EAS HOST"
    authorization = "EAS TOKEN"

    print(f" --- input: {prompt}\n", flush=True)
    response = post_http_request(
        prompt, system_prompt,
        host, authorization,
        max_new_tokens, temperature, top_k, top_p)
    output = get_response(response)
    print(f" --- output: {output}\n", flush=True)
Parameters:
-
host: Service endpoint.
-
authorization: Service token.
-
Batch teacher model instruction annotation
This example reads a custom JSON dataset and calls the model API to annotate instructions. Create and run this Python script:
import json
from tqdm import tqdm
import requests
from typing import List

input_file_path = "input.json"  # Input filename

with open(input_file_path) as fp:
    data = json.load(fp)

pbar = tqdm(total=len(data))
new_data = []

for d in data:
    system_prompt = "You are a helpful assistant."
    prompt = d["instruction"]
    print(prompt)
    top_k = 50
    top_p = 0.95
    temperature = 0.5
    max_new_tokens = 2048

    host = "EAS HOST"
    authorization = "EAS TOKEN"

    response = post_http_request(
        prompt, system_prompt,
        host, authorization,
        max_new_tokens, temperature, top_k, top_p)
    output = get_response(response)
    temp = {
        "instruction": prompt,
        "output": output
    }
    new_data.append(temp)
    pbar.update(1)
pbar.close()

output_file_path = "output.json" # Output filename
with open(output_file_path, 'w') as f:
    json.dump(new_data, f, ensure_ascii=False)
Parameters:
-
host: Service endpoint.
-
authorization: Service token.
-
file_path: Replace with the local path to your dataset file.
-
The
post_http_requestandget_responsefunctions match those defined in the Call model service script.
Train student model
Train the model
After obtaining teacher model responses, train a student model in Model Gallery. This solution uses Qwen2-7B-Instruct:
-
Go to Model Gallery page.
-
Log on to the PAI console.
-
In the top-left corner, select your region.
-
In the left-side navigation pane, choose Workspaces, then click your workspace name.
-
In the left-side navigation pane, choose .
-
-
On Model Gallery page, search for and click Qwen2-7B-Instruct card to open its details page.
-
On model details page, click Fine-tune in the upper-right corner.
-
In the Fine-tune panel, set these key parameters. Leave others at defaults.
Parameter
Description
Default value
Dataset configuration
Training dataset
Select OSS file or directory from dropdown, then select your dataset’s OSS path:
-
Click
 and select your OSS bucket.
 -
Click Upload file. Upload your dataset file to OSS directory.
-
Click OK.
None
Training output configuration
model
Click
 , then select your OSS storage directory.
None
tensorboard
Click
, then select your OSS storage directory.None
Compute resource configuration
Job resources
Select a resource specification. The system recommends suitable options.
None
Hyperparameter configuration
learning_rate
Learning rate. Type: Float.
5e-5
num_train_epochs
Number of training epochs. Type: INT.
1
per_device_train_batch_size
Number of training samples per GPU per iteration. Type: INT.
1
seq_length
Text sequence length. Type: INT.
128
lora_dim
LoRA dimension. Type: INT. If lora_dim>0, use LoRA/QLoRA lightweight training.
32
lora_alpha
LoRA weight. Type: INT. Takes effect only if lora_dim>0 and LoRA/QLoRA lightweight training is used.
32
load_in_4bit
Whether to load the model in 4-bit mode. Type: bool. Valid values:
-
true
-
false
If lora_dim>0, load_in_4bit is true, and load_in_8bit is false, use 4-bit QLoRA lightweight training.
true
load_in_8bit
Whether to load the model in 8-bit mode. Type: bool. Valid values:
-
true
-
false
If lora_dim>0, load_in_4bit is false, and load_in_8bit is true, use 8-bit QLoRA lightweight training.
false
gradient_accumulation_steps
Number of gradient accumulation steps. Type: INT.
8
apply_chat_template
Whether to combine training data with the default chat template. Type: bool. Valid values:
-
true
-
false
For Qwen2 series models, the format is:
-
Question:
<|im_end|>\n<|im_start|>user\n + instruction + <|im_end|>\n -
Answer:
<|im_start|>assistant\n + output + <|im_end|>\n
true
system_prompt
System prompt for training. Type: String.
You are a helpful assistant
-
-
After setting parameters, click Train.
-
In the Billing Notice dialog, click OK.
System opens training task page.
Deploy model service
After training, deploy the model as an EAS service.
-
On training task page, click Deploy on the right side.
-
In the deployment panel, system sets default values for Model Service Information and Resource Deployment Information. Modify as needed and click Deploy.
-
In the Billing Notice dialog, click OK.
System opens the Deployment Task page. When Status shows Running, deployment succeeds.
Call model service
After deployment, use the API for inference. See Deploy large language models.
References
-
See EAS overview.
-
PAI-Model Gallery supports deploying and fine-tuning models for many scenarios, including Llama-3, Qwen1.5, and Stable Diffusion V1.5. See Scenario-specific practices.