This tutorial shows you how to build a Deep Structured Semantic Model (DSSM) two-tower vector recall pipeline using PAI's visual pipeline designer. By the end, you will have:
Created a DSSM recall pipeline from a preset template
Trained a model using negative sampling on 30-day behavioral data
Generated user and item vectors for recall
Evaluated recall quality using hit_rate@top200
Prerequisites
Before you begin, complete the feature engineering workflow to generate the following datasets:
rec_sln_demo_user_table_preprocess_all_feature_v2rec_sln_demo_item_table_preprocess_all_feature_v2rec_sln_demo_behavior_table_preprocess_v2
Open Machine Learning Designer
Log on to the Machine Learning Platform for AI (PAI) console.
In the left-side navigation pane, click Workspaces, then click the name of the workspace you want to use.
In the left-side navigation pane, choose Model Development and Training > Visualized Modeling (Designer).
Create the pipeline
On the Visualized Modeling (Designer) page, click the Preset Templates tab.
In the Recommended Solution - Vector Recall section, click Create.
In the Create Pipeline dialog box, configure the parameters. You can keep the default values.
The Pipeline Data Path parameter specifies an Object Storage Service (OSS) bucket path where the pipeline stores temporary data and model artifacts during runtime.
Click OK.
Pipeline creation takes about 10 seconds. When Recommended Solution - Vector Recall appears in the pipeline list, the pipeline is ready.
Double-click Recommended Solution - Vector Recall to open the pipeline on the canvas.
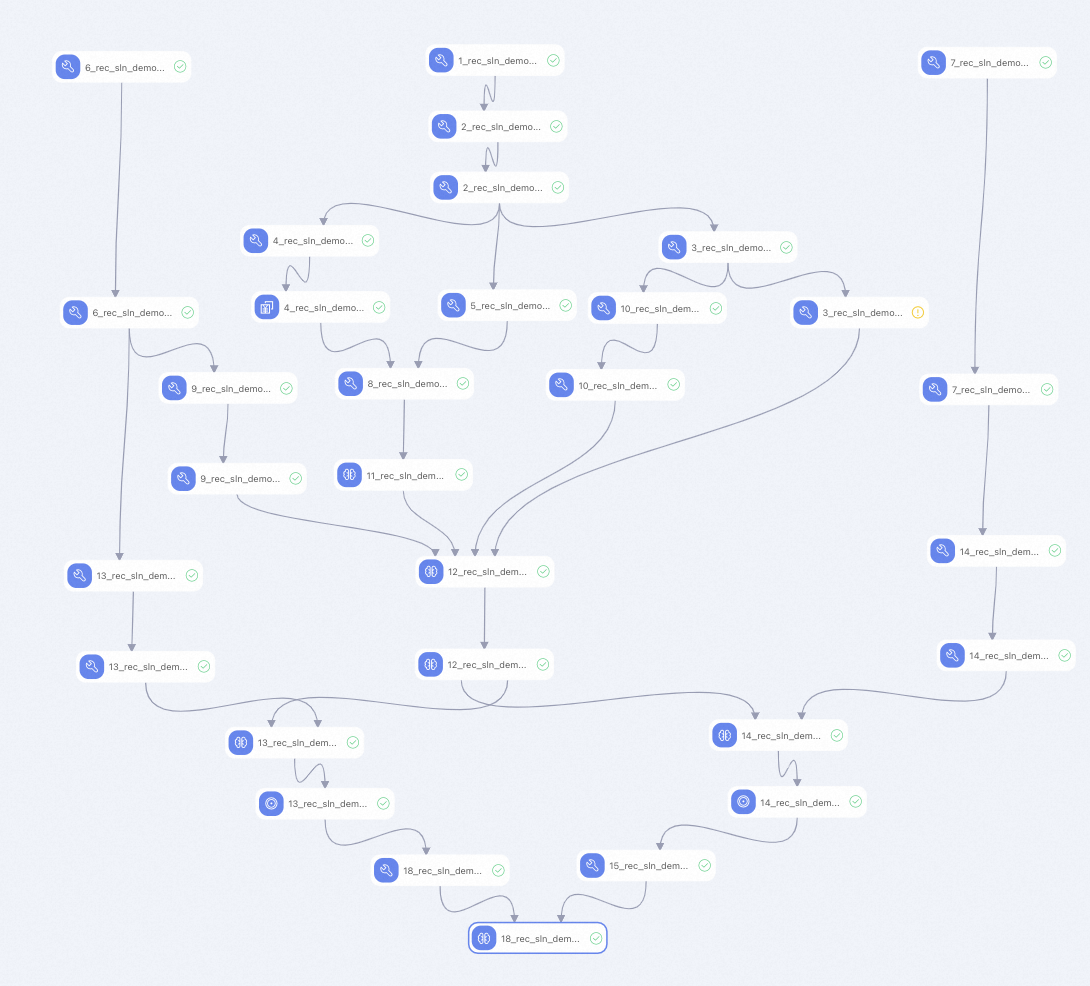
Understand the pipeline components
The preset template creates a complete DSSM recall pipeline. The components run in the following order:
| Component | What it does |
|---|---|
| 1 | The sample model DSSM_Recall for vector recall |
| 2 | Applies feature generation (FG) to the sample model |
| 3 | Creates a positive sample table and uses it for negative sampling training |
| 4 | Applies equal frequency binning to numerical features to set the model's boundaries parameter |
| 5 | Counts unique values of enumeration features to set the model's embedding_dim and hash_bucket_size parameters |
| 6 | Applies FG to item features |
| 7 | Applies FG to user features |
| 8 | Aggregates results from rec_sln_demo_dssm_recall_30d_binning_v1 and rec_sln_demo_dssm_recall_30d_count_v1 to calculate feature configuration and step configuration |
| 9 | Creates an item table for negative sampling |
| 10 | Discretizes 30-day sample data from the DSSM_Recall model to generate training samples |
| 11 | Specifies the EasyRec configuration file based on the output of component 8 |
| 12 | You need to run component 11 to generate the EasyRec configuration file before model training |
| 13 | Runs inference with the split item model on rec_sln_demo_dssm_recall_item_feature_fg_encoded_v1 to produce item vectors |
| 14 | Runs inference with the split user model on rec_sln_demo_dssm_recall_user_feature_fg_encoded_v1 to produce user vectors |
| 15 | Creates a sequence table and evaluates recall quality using hit_rate |
| 18 | Calculates the final evaluation metric: hit_rate@top200 |
Component 12 requires component 11 to complete first, because the EasyRec configuration file must exist before model training starts.
The hit_rate evaluation in components 15 and 18 excludes new users and new items that appear on the evaluation day, because there is no historical data to recall for them.
Run the pipeline and view results
In the top toolbar of the canvas, click Run.
The pipeline runs all components in dependency order. Monitor progress by watching each component's status on the canvas. When all components show a completed status, the pipeline has finished.
Right-click component 18 (
18_rec_sln_demo_recall_total_hit_rate_v1_2) and choose View Data > hit_rate_detail to see recall hit rate by segment.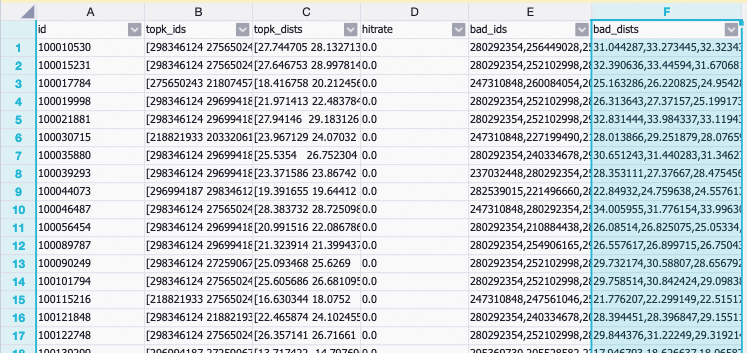
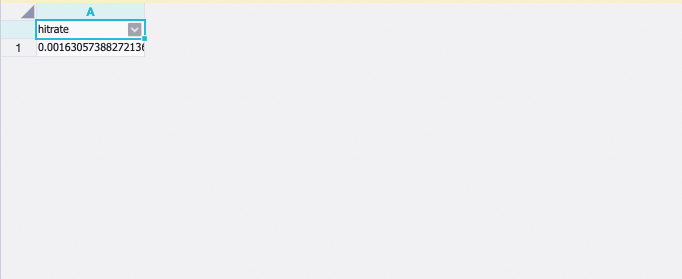
Right-click component 18 and choose View Data > total_hit_rate to see the overall recall hit rate.