Publish a custom extension as a public extension
Publishing commonly used custom extensions as public extensions allows other users to utilize the feature directly, eliminating the need for redundant development. This topic describes the steps to publish a custom extension as a public extension. Upon initial publication, the system automatically creates the v1 version of the public extension, with subsequent updates following the same versioning pattern.
Procedure
Log on to the CloudOps Orchestration Service (OOS) console.
In the left-side navigation pane, select .
On the Extensions page, click the Custom Extensions tab.
Select the custom extension you want to publish, and click Publish As Public Extension.

In the dialog box that appears, configure the relevant parameters as prompted by the page, and then click Submit.
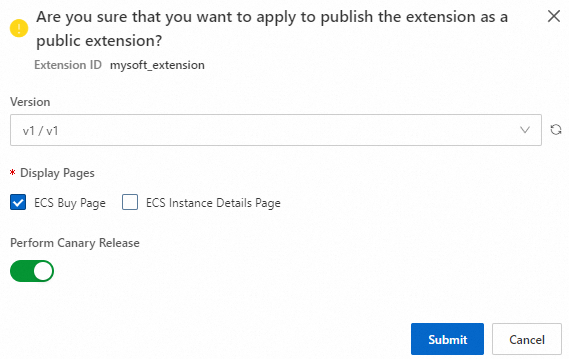
The following table describes the parameters:
Parameter item
Description
Version
Specify the version of the custom extension to be published.
NoteThe version number of the custom extension does not need to correspond one-to-one with the version number of the public extension after it is published. For example, it is supported to publish the v3 version of a custom extension as the v1 version of a public extension.
Display Pages
Select the page display after publishing as a public extension. You can choose between ECS Buy Page and ECS Instance Details Page.
Perform Canary Release
Enable canary release feature: After the approval procedure for publishing the custom extension as a public extension is completed, you need to perform a canary release in the console.
Disable canary release feature: After the request procedure for publishing the custom extension as a public extension is completed, it is automatically published after OOS approval.
NoteIf a file in OSS has not been authorized for the official CloudOps Orchestration Service account, navigate to the Object Storage Service (OSS) console and grant the official CloudOps Orchestration Service account the GetObject permission for the file. For detailed instructions, see CloudBox bucket policy.
Click View Application Progress to monitor the approval status of your publication request.

When the Status displays Approved, it signifies that the request has been approved.
(Optional) On the Application Progress page, click the Actions column corresponding to the request, and select Canary Release. Choose the desired region for publication, and click OK.
NoteIf the canary release feature is not enabled, you may skip this step.
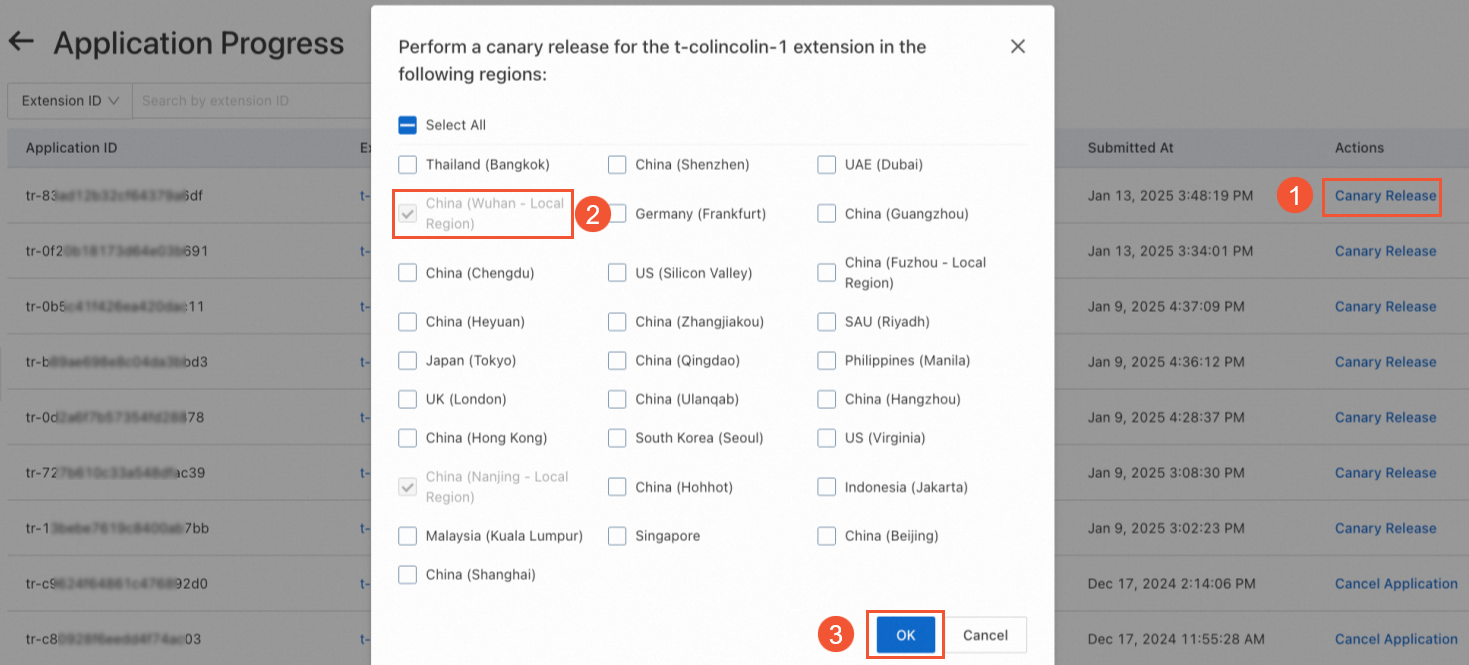
Once the Status indicates Published, the canary release has been successfully completed.
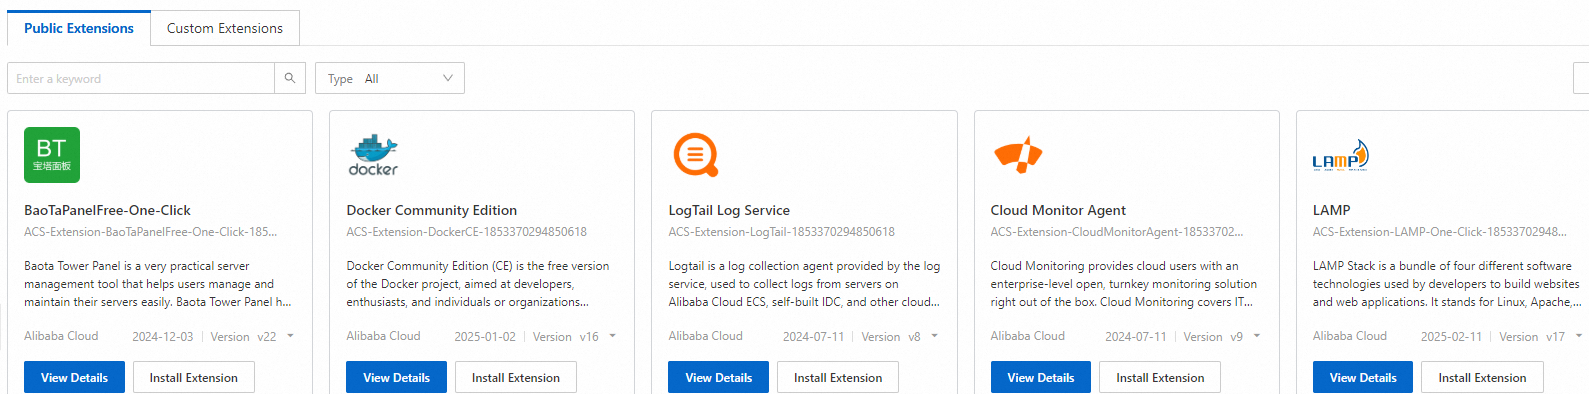
Click the Public Extensions tab to view the newly published public extension.
Public extensions are named using the format
ACS-Extension-{Custom extension name}-{Publisher UID}. The system automatically appends prefixes and suffixes during the publishing process. You can locate the newly published public extension using keywords and click View Details for further information.