This topic describes how to mount a Server Message Block (SMB) file system on a Windows client by using an Active Directory (AD) domain account. This topic also describes how to view and configure the access control lists (ACLs) of files and directories in the SMB file system by using an AD domain account.
Prerequisites
The mount target of an SMB file system is joined to an AD domain. For more information, see Add the mount target of an SMB file system to an AD domain.
Background information
Before you join the mount target of an SMB file system to an AD domain, you can mount and use the SMB file system only as an anonymous user. After you join the mount target of an SMB file system to an AD domain, you can specify whether to allow anonymous access to the SMB file system.
If the SMB file system still allows anonymous access, you can use an AD domain account to access the SMB file system based on Kerberos authentication. You can also use an account that belongs to the Everyone group to access the SMB file system based on New Technology LAN Manager (NTLM) authentication.
If the SMB file system no longer allows anonymous access, you must use an AD domain account to mount the SMB file system on a Windows client that is authenticated by using Kerberos.
Method 1: Join a Windows client to an AD domain and then mount an SMB file system on the Windows client
The following steps describe how to join a Windows client to an AD domain and mount an SMB file system on the Windows client. In this example, Windows Server 2012 is used.
Configure the IP address of the DNS server for the Windows client.
Log on to the Windows client.
In the lower-left corner of the desktop, click Start.
In the Start menu, click Control Panel.
In the Control Panel window, choose .
In the View your active networks section of the Network and Sharing Center dialog box, click Ethernet.
In the Ethernet Status dialog box, click Properties.
In the This connection uses the following items section of the Ethernet Properties dialog box, select Internet Protocol Version 4 (TCP/IPv4), and click Properties.
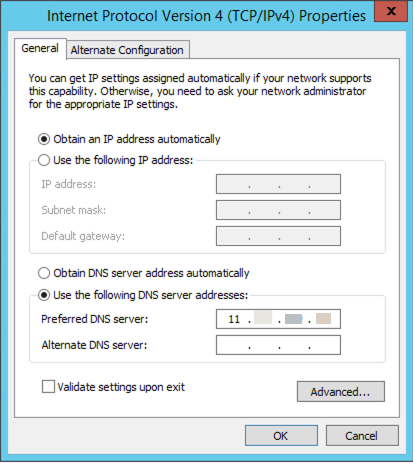
In the Internet Protocol Version 4 (TCP/IPv4) Properties dialog box, select Use the following DNS server addresses and set the DNS server address to the IP address of the AD domain server.
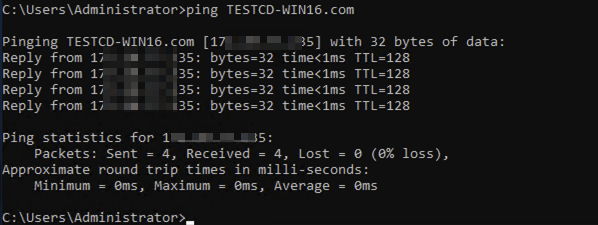
Run the ping command in Command Prompt. Ping the IP address to verify the connectivity between the Windows client and the AD domain.
Join the Windows client to the AD domain.
In the Control Panel window, choose .
In the Computer name, domain, and workgroup settings section of the System dialog box, click Change settings.
On the Computer Name tab of the System Properties dialog box, click Change.
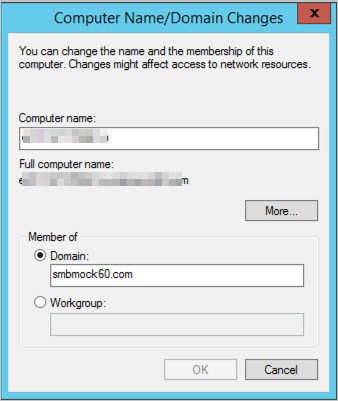
In the Member of section of the Computer Name/Domain Changes dialog box, enter the AD domain name. Click OK to complete the configurations.
Restart the Windows client for the modified settings to take effect.
Mount an SMB file system on the Windows client.
Log on to the Windows client as an AD domain user. Run the following command in Command Prompt to mount the SMB file system on the Windows client:
net use z: \\nas-mount-target.nas.aliyuncs.com\myshare
Method 2: Connect a Windows client to an AD server and mount an SMB file system on the Windows client
The following steps describe how to configure a DNS server for a Windows client, connect the client to an AD server, and mount an SMB file system on the client. In this example, Windows Server 2012 is used.
Configure the IP address of the DNS server for the Windows client.
Log on to the Windows client.
In the lower-left corner of the desktop, click Start.
In the Start menu, click Control Panel.
In the Control Panel window, choose .
In the View your active networks section of the Network and Sharing Center dialog box, click Ethernet.
In the Ethernet Status dialog box, click Properties.
In the This connection uses the following items section of the Ethernet Properties dialog box, select Internet Protocol Version 4 (TCP/IPv4), and click Properties.
In the Internet Protocol Version 4 (TCP/IPv4) Properties dialog box, select Use the following DNS server addresses and set the DNS server address to the IP address of the AD domain server.
Run the ping command in Command Prompt. Ping the IP address to verify the connectivity between the Windows client and the AD domain.
Mount an SMB file system on the Windows client.
Run the following command in Command Prompt on the Windows client to mount the SMB file system as an AD domain user:
net use z: \\nas-mount-target.nas.aliyuncs.com\myshare /user:EXAMPLE.com\USERNAME PASSWORDIn the preceding command,
EXAMPLE.comis the name of the AD domain that you have built.
Manage the ACLs of the SMB file system
After you enable the ACL feature and mount the SMB file system as an AD domain user, you can view and edit the ACLs of files and directories by using the following methods:
Run the mklink command to mount the SMB file system
You can run the mklink command to create a symbolic link for the mount target of the SMB file system on a local disk of the Windows client. You can also view and edit the ACLs of files and directories.
Use Command Prompt to create mappings for the file system.
mklink /D c:\myshare \\nas-mount-target.nas.aliyuncs.com\myshareIn the preceding command,
\myshareis the file system path to which the symbolic link points andnas-mount-target.nas.aliyuncs.com\myshareis the mount target of the SMB file system.Grant common users the permissions to use symbolic links.
If you use the Administrator account, skip this step.
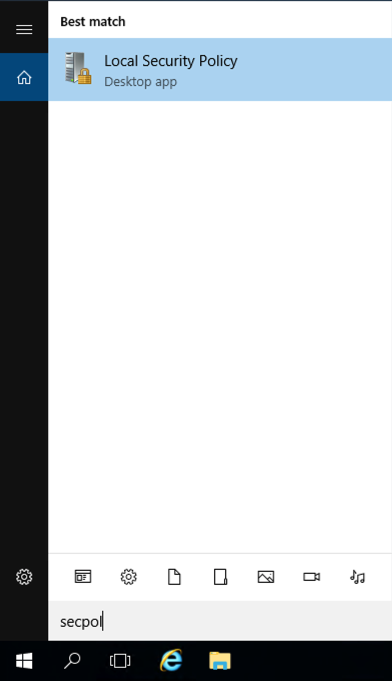
Search for and run secpol.msc as a system administrator.
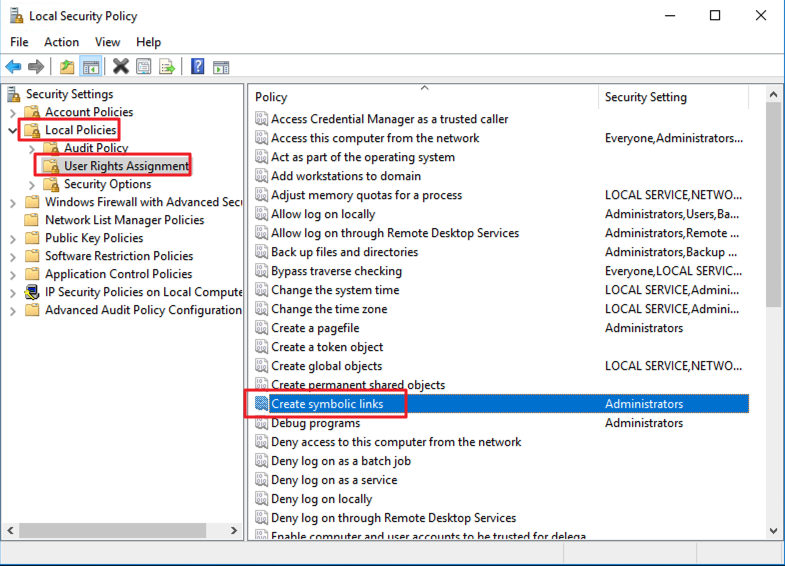
In the Local Security Policy window, choose Local Policies > User Rights Assignment. Add the specified user to the Create Symbolic Links permission group as prompted.
Log on to the Windows client again as a common user.
Access the SMB file system and view the ACLs of files and directories.
After a symbolic link is created, you can access the SMB file system the same way you access a subdirectory of a local disk in Windows. You can also view and edit the ACLs of files and directories.
Use the Windows File Explorer to view and edit the ACLs of files and directories
After you create a symbolic link for the mount target of the SMB file system on a local disk of the Windows client, you can view and edit the ACLs of files and directories by using the Windows File Explorer.
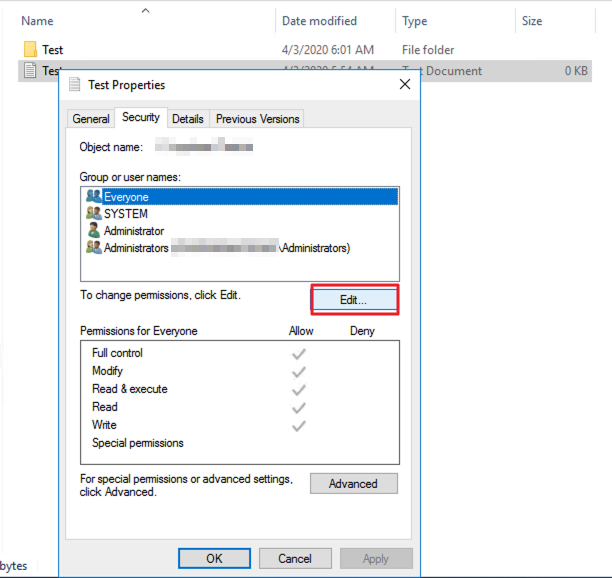
Right-click the file or directory, and then select Properties.

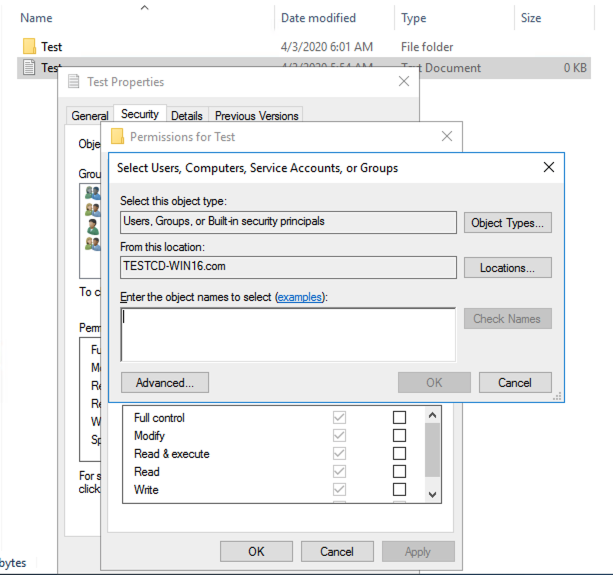
In the Properties dialog box, click the Security tab, and then click Edit.

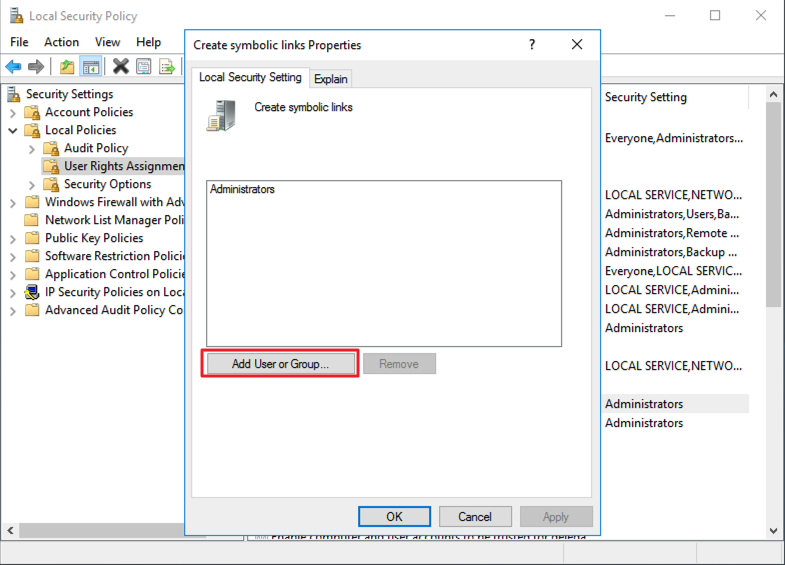
In the Create symbolic links Permissions dialog box, click Add User or Group and specify the information as prompted.
If you need to go back to the directory of your local disk, click the Back icon (1 in the figure) or the Up icon (2 in the figure). Do not click a section of a path in the path bar (3 in the figure).
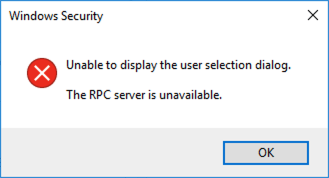
When you use the File Explorer to access the SMB file system, the SMB file system is not joined to the AD domain. If you use a network path (for example, \nas-mount-point.nas.aliyuncs.com\myshare) instead of a path of your local disk (for example, C:\myshare) to access the SMB file system, an error occurs. When you configure an ACL, the client cannot determine whether the mount target is joined to the AD domain. This error occurs because the Remote Procedure Call (RPC) server is unavailable.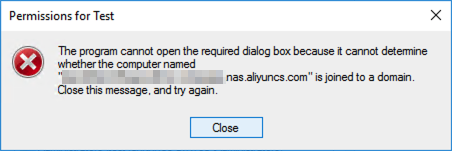
If you use the Windows File Explorer to modify the permissions on C:\myshare, the new permissions are not applied to the root directory of the file system. To modify the permissions on a root directory, you must run the Set-Acl Powershell or icacls command in PowerShell.
PowerShell commands
You can run the Get-Acl and Set-Acl commands in PowerShell to view and edit the ACLs of files and directories in the SMB file system.
$value = Get-Acl -Path "Z:"# Set properties
$value.Access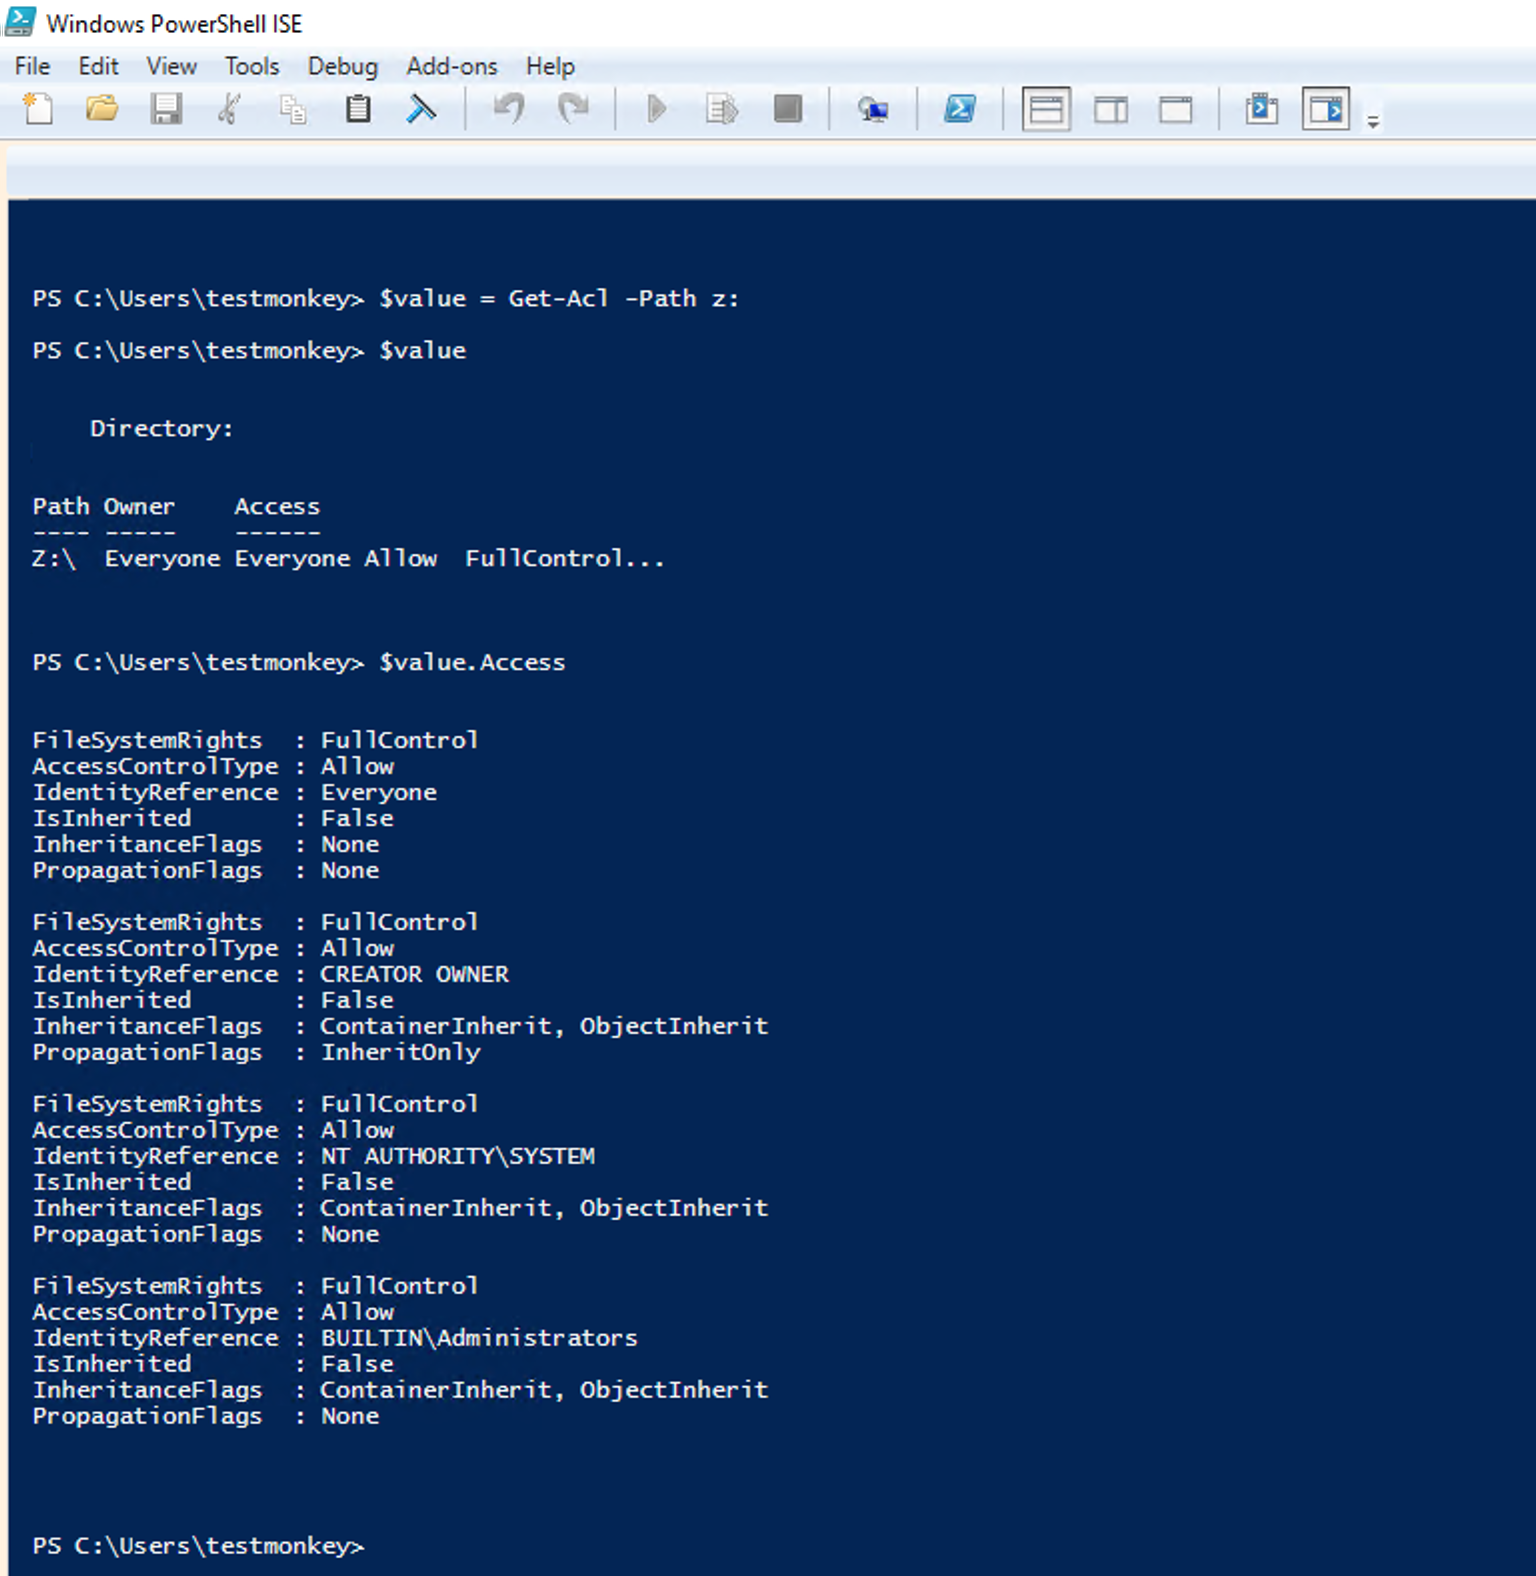
Set properties
$identity = "Administrator"
$fileSystemRights = "FullControl"
$type = "Allow"
# Create new rule
$fileSystemAccessRuleArgumentList = $identity, $fileSystemRights, $type
$fileSystemAccessRule = New-Object -TypeName System.Security.AccessControl.FileSystemAccessRule -ArgumentList $fileSystemAccessRuleArgumentList
# Apply new rule
$value.SetAccessRule($fileSystemAccessRule)
$value.Access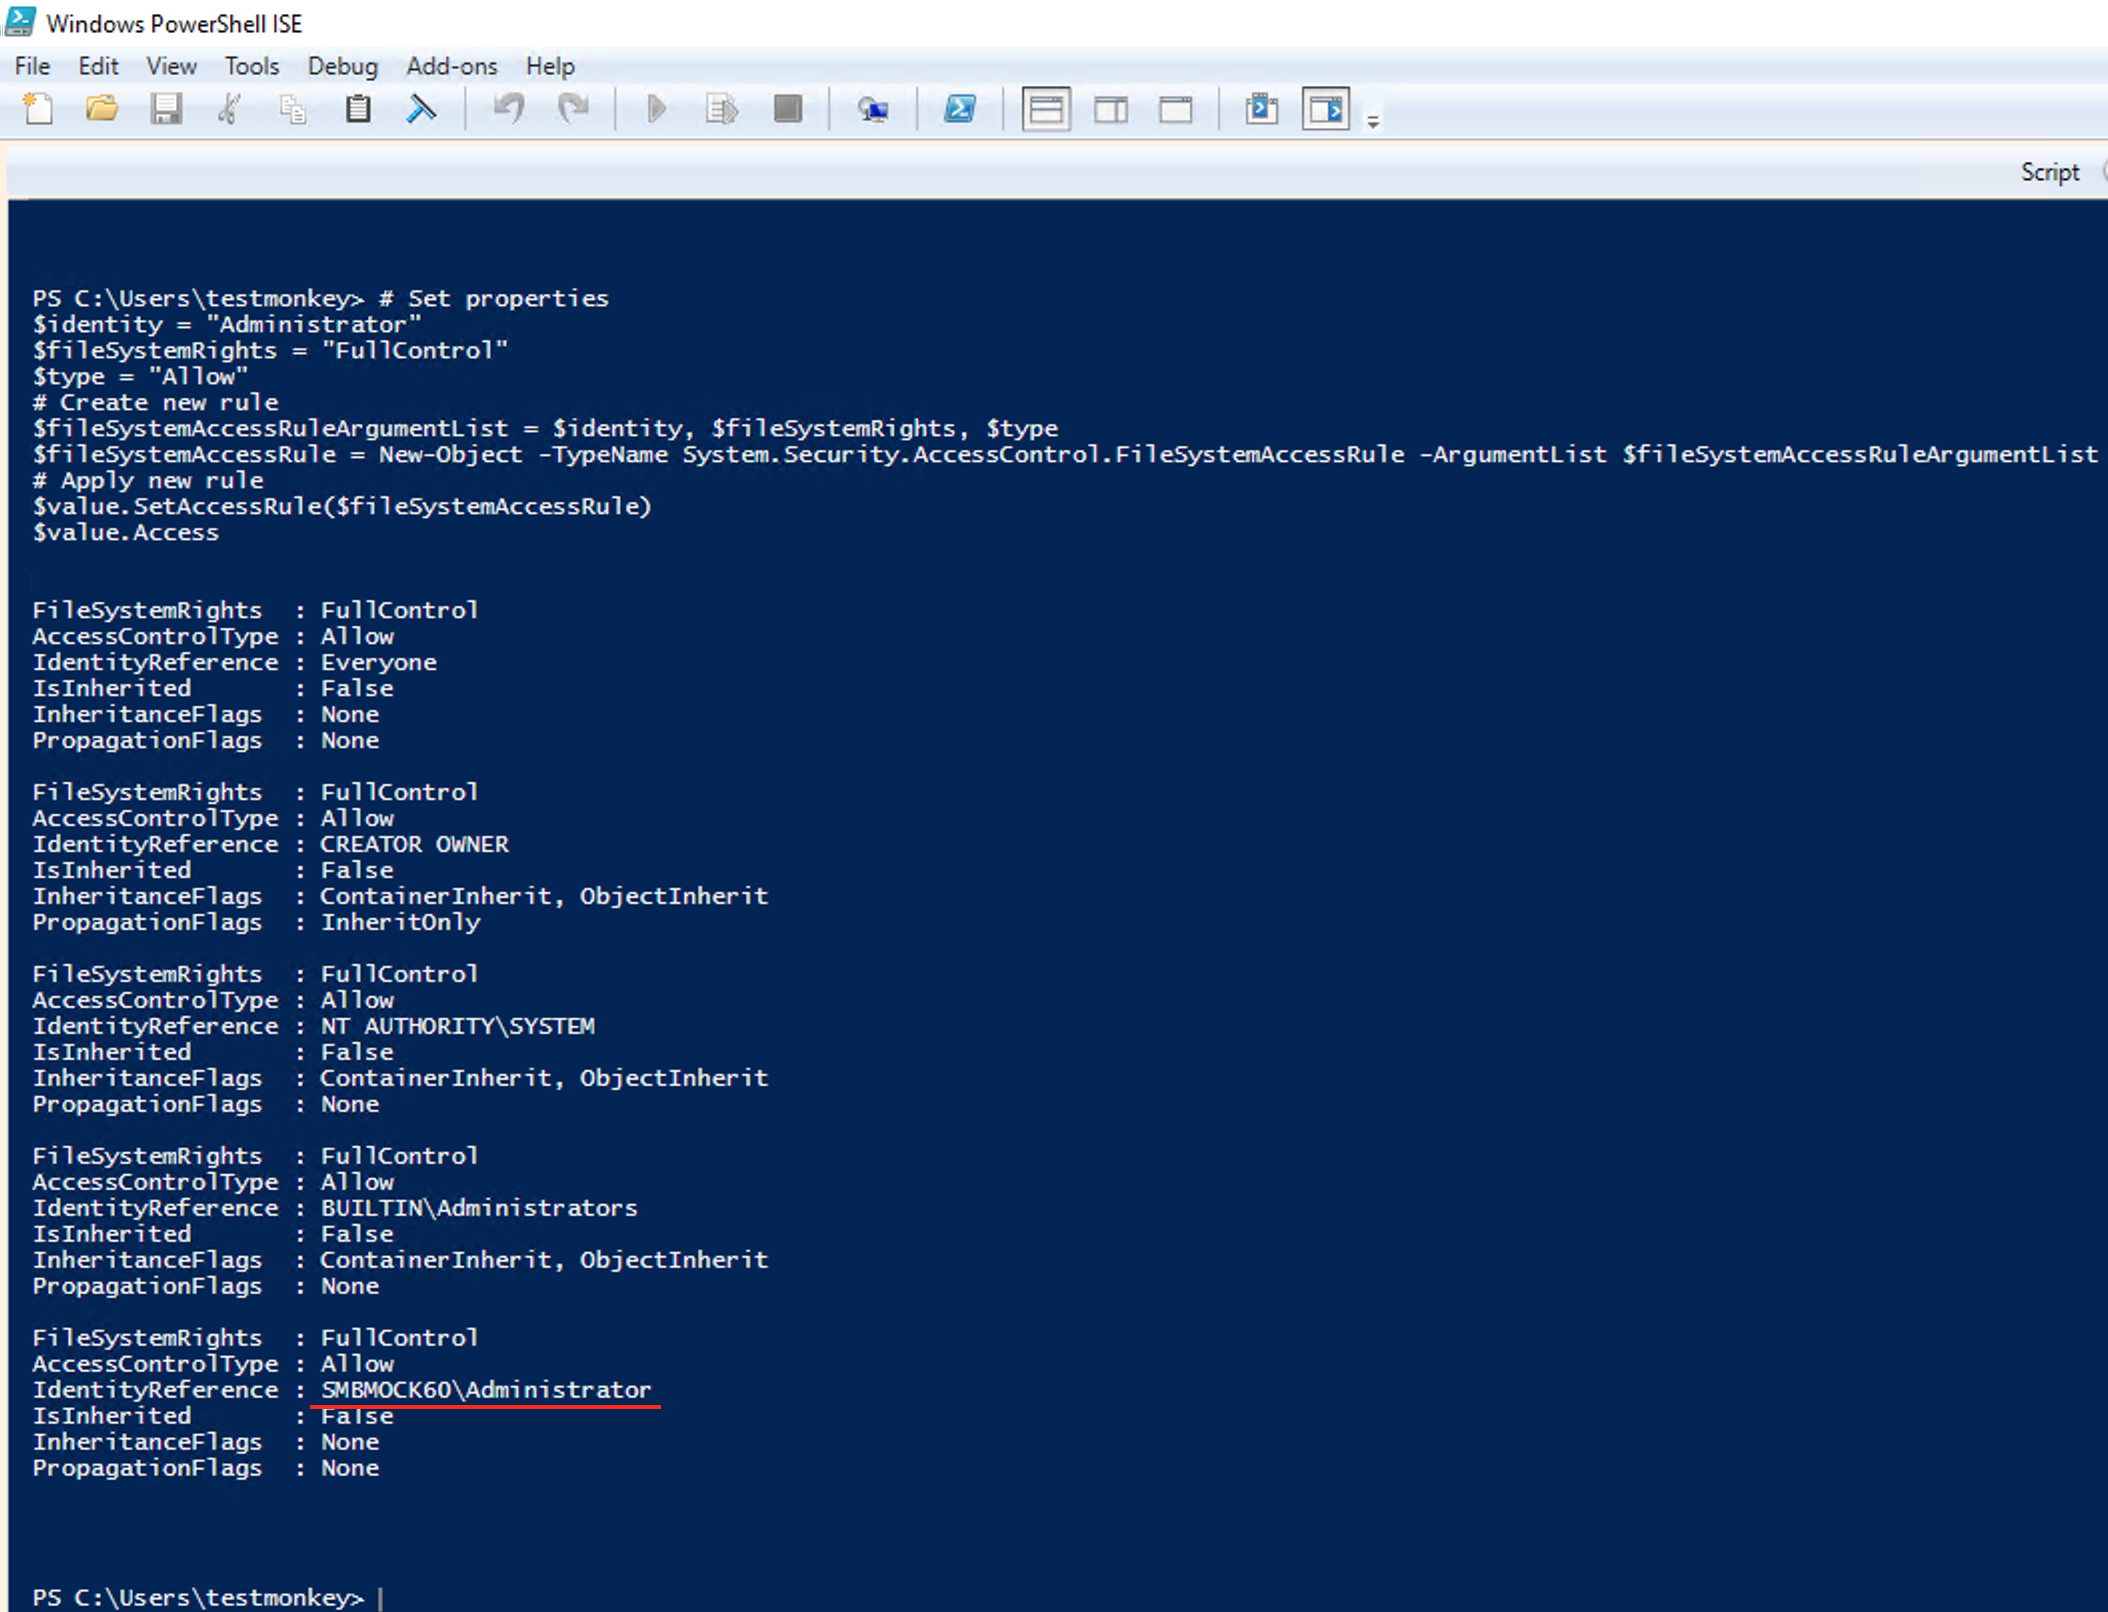
icacls command
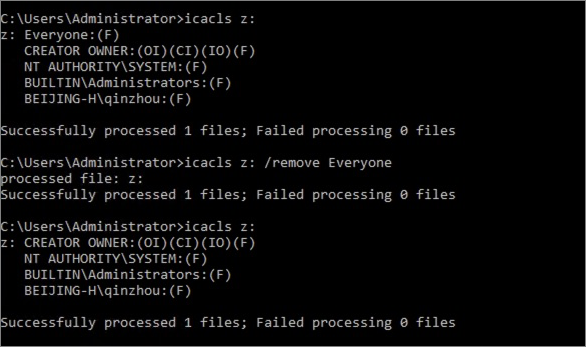
You can run the icacls command in Command Prompt to manage ACLs. You can run the icacls command to view and edit the ACLs of files and directories.
Example:
icacls z:
#Grant full control permissions to a user.
icacls z: /grant <username>:(F)
#Grant full control permissions to the administrator.
icacls z: /grant administrator:(F)
icacls z:
#Revoke all permissions from a user.
icacls z: /remove <username>
#Revoke all permissions from all users.
icacls z: /remove <username>
icacls z: