In the MSE console for XXL-JOB, you can create instances, query for instance information, modify instance names, change instance types, and release instances that you no longer need. This topic describes how to manage XXL-JOB instances in the MSE console.
Create an instance
Log on to the MSE XXL-JOB console.
Click Create Instance and configure the parameters on the purchase page.
Configuration item
Description
Product Type
Select XXL-JOB Edition (Pay-as-you-go) or XXL-JOB Edition (Subscription). For more information about billing, see Billing of XXL-JOB instances.
Region
Select the region where the instance resides.
Engine Type
Only the XXL-JOB engine is supported.
Engine Version
Select an engine version as needed.
Instance Name
Enter a custom instance name.
Product Specifications
For more information, see Instance selection and version comparison.
VPC
The VPC must be the same as the VPC where your application resides.
Zone
This parameter specifies the zones where the XXL-JOB server is deployed. The Developer edition supports only one zone. For other instance types, you must select two zones.
VSwitch
Select a vSwitch in the VPC where your application resides.
Service-linked Role
You must associate a service-linked role to allow MSE to access other Alibaba Cloud services.
Confirm the information and click Buy Now. Then, on the Confirm Order page, click Activate Now to create the instance.
After the instance is created, wait about 2 minutes for it to enter the Running state. A globally unique instance ID is then generated.
Query an instance
You can search for an XXL-JOB instance using an exact match for the instance ID or a fuzzy match for the instance name.
To search for an exact match of an instance ID, select Instance ID from the drop-down list and click the
 icon.
icon.
To perform a fuzzy search by instance name, select Instance Name from the drop-down list and click the
icon.
Modify an instance name
You can modify the instance name for easier identification.
The instance ID cannot be modified. Only the instance name can be modified.
Log on to the MSE XXL-JOB console, and select a region in the top navigation bar.
In the left navigation bar, select .
In the instance list, hover over the target instance to display the edit icon
 . Click the icon, edit the instance name, and then click OK.
Change an instance type
Changing the instance type of an XXL-JOB instance takes about 4 to 5 minutes. During this time, you cannot perform any operations on the instance in the console.
The Developer edition uses a single-node deployment. Therefore, seamless migration is not supported during an upgrade. For other editions, nodes are upgraded using rolling deployments to ensure a seamless upgrade process.
Perform upgrades during off-peak hours to avoid affecting your business.
Log on to the MSE XXL-JOB console, and select a region in the top navigation bar.
In the left navigation bar, select .
In the Operation column for the target instance, click More and select Upgrade or Downgrade.
ImportantThe XXL-JOB Developer edition is deployed on a single node and does not support instance type upgrades or downgrades. To change the instance type, you must create a new instance of the required type on the .
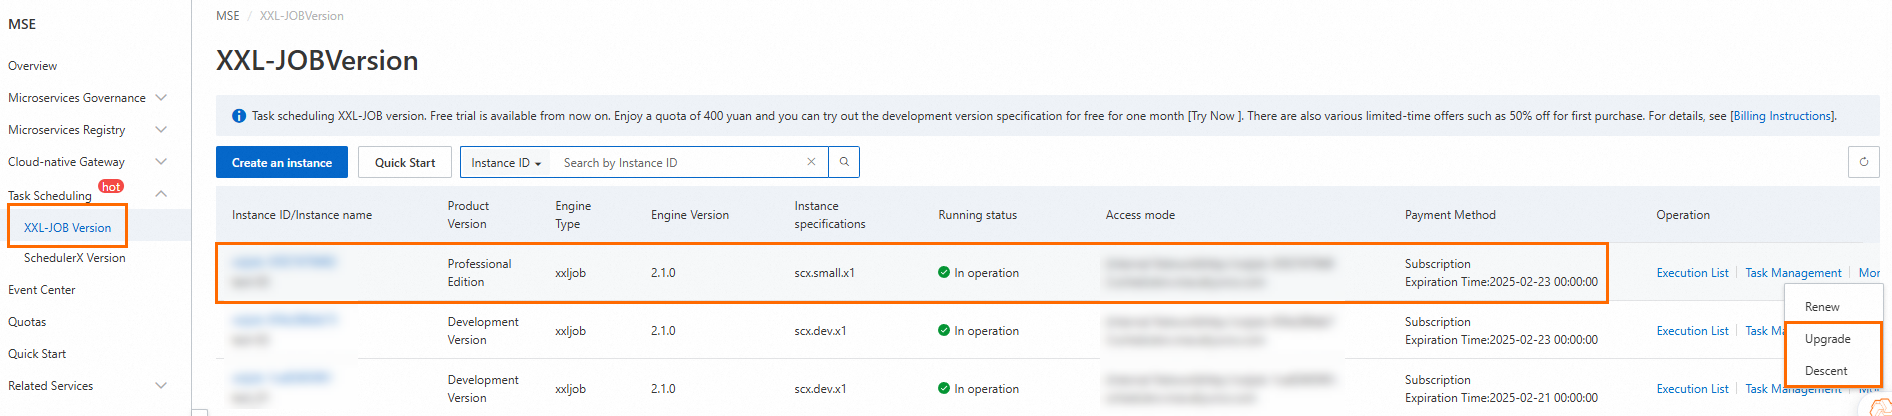
On the Task Scheduling XXL-JOB Edition (Subscription) | Upgrade/Downgrade page, you can change the Instance Type configuration.
Click Buy Now. On the Payment page, click Purchase.
Return to the XXL-JOB Edition page and confirm that the Instance Type has been changed to the new type.
Release an instance
You can manually release pay-as-you-go instances.
Storage resources used by the instance are retained for two weeks before being released. This delay helps prevent data loss from accidental deletions.
After an instance is released, both the instance and its data are permanently deleted. Perform this operation with caution.
Log on to the MSE XXL-JOB console, and select a region in the top navigation bar.
In the left navigation bar, select .
In the instance list, find the target instance. In the Operation column, choose . In the dialog box, click Confirm.
