OpenClaw is a self-hosted, open-source AI assistant with multi-channel messaging. Connect it to Qwen models on Model Studio to access high-performance language models through an OpenAI-compatible API. Follow the steps to install, configure Model Studio, and start your first conversation.
OpenClaw was formerly known as Moltbot and Clawdbot. Some commands have not been migrated yet. If a new command like openclaw dashboard returns command not found: openclaw, use the legacy command instead (clawdbot dashboard or moltbot dashboard).
Supported models
OpenClaw connects to Model Studio through an OpenAI-compatible interface and supports the following models:
|
Category |
Models |
|
Qwen (proprietary) |
|
|
Qwen (open source) |
|
|
Third-party |
Third-party text generation models are available only in China (Beijing). Use that region's base URL and API key. See Step 3: Configure a Model Studio model.
For frequent use, the Coding Plan offers a monthly subscription with up to 90,000 requests.
Prerequisites
Before you begin, make sure you have:
-
An Alibaba Cloud account with identity verification completed
-
Node.js 22 or later installed (download)
-
Model Studio activated (see Step 1)
Configuration steps
Step 1: Activate Model Studio
-
Log on to the Model Studio console with your Alibaba Cloud account.
-
Read and agree to the Terms of Service to activate Model Studio. If they don't appear, you've already activated it.
-
Claim your free quota for new users (valid for 90 days).
After the free quota expires or runs out, standard billing applies. Turn on Free quota only to prevent unexpected charges. Check the console for current pricing.
Step 2: Install OpenClaw
Check your Node.js version:
node --versionIf you have a version below 22, upgrade Node.js before proceeding.
Installation methods
macOS and Linux
Use the installation script:
curl -fsSL https://openclaw.ai/install.sh | bashOr install with npm:
npm install -g openclaw@latestWindows
Run in PowerShell:
iwr -useb https://openclaw.ai/install.ps1 | iexOr install with npm:
npm install -g openclaw@latestComplete the setup wizard
OpenClaw starts a configuration wizard after installation. To run it manually later, use openclaw onboard.
Select the following to skip provider configuration for now and to set it up in the next step:
|
Prompt |
Select |
|
I understand this is powerful and inherently risky. Continue? |
Yes |
|
Onboarding mode |
QuickStart |
|
Model/auth provider |
Skip for now |
|
Filter models by provider |
All providers |
|
Default model |
Keep current |
|
Select channel (QuickStart) |
Skip for now |
|
Configure skills now? (recommended) |
No |
|
Enable hooks? |
Press Space to select, then press Enter |
|
How do you want to hatch your bot? |
Do this later |
Step 3: Configure a Model Studio model
Set "reasoning": false for every model. If reasoning is true or omitted, all responses will be empty.
Connecting OpenClaw to Model Studio requires three parameters from the same region:
|
Parameter |
Description |
|
Base URL |
The API endpoint for your region (see table below) |
|
API key |
Model Studio access credential for authentication and billing |
|
Model ID |
The model to use, such as |
Base URLs and API key management by region
|
Region |
Base URL |
API key management |
|
China (Beijing) |
|
|
|
Singapore |
|
|
|
US (Virginia) |
|
Supported models vary by region. For example, US (Virginia) doesn't currently support qwen3-coder-next, and third-party text generation models are available only in China (Beijing). For the full list, see Model list.
Method 1: Web console (recommended)
-
Start the web console:
openclaw dashboardThe browser opens
http://127.0.0.1:18789. If it doesn't open automatically, navigate to this address.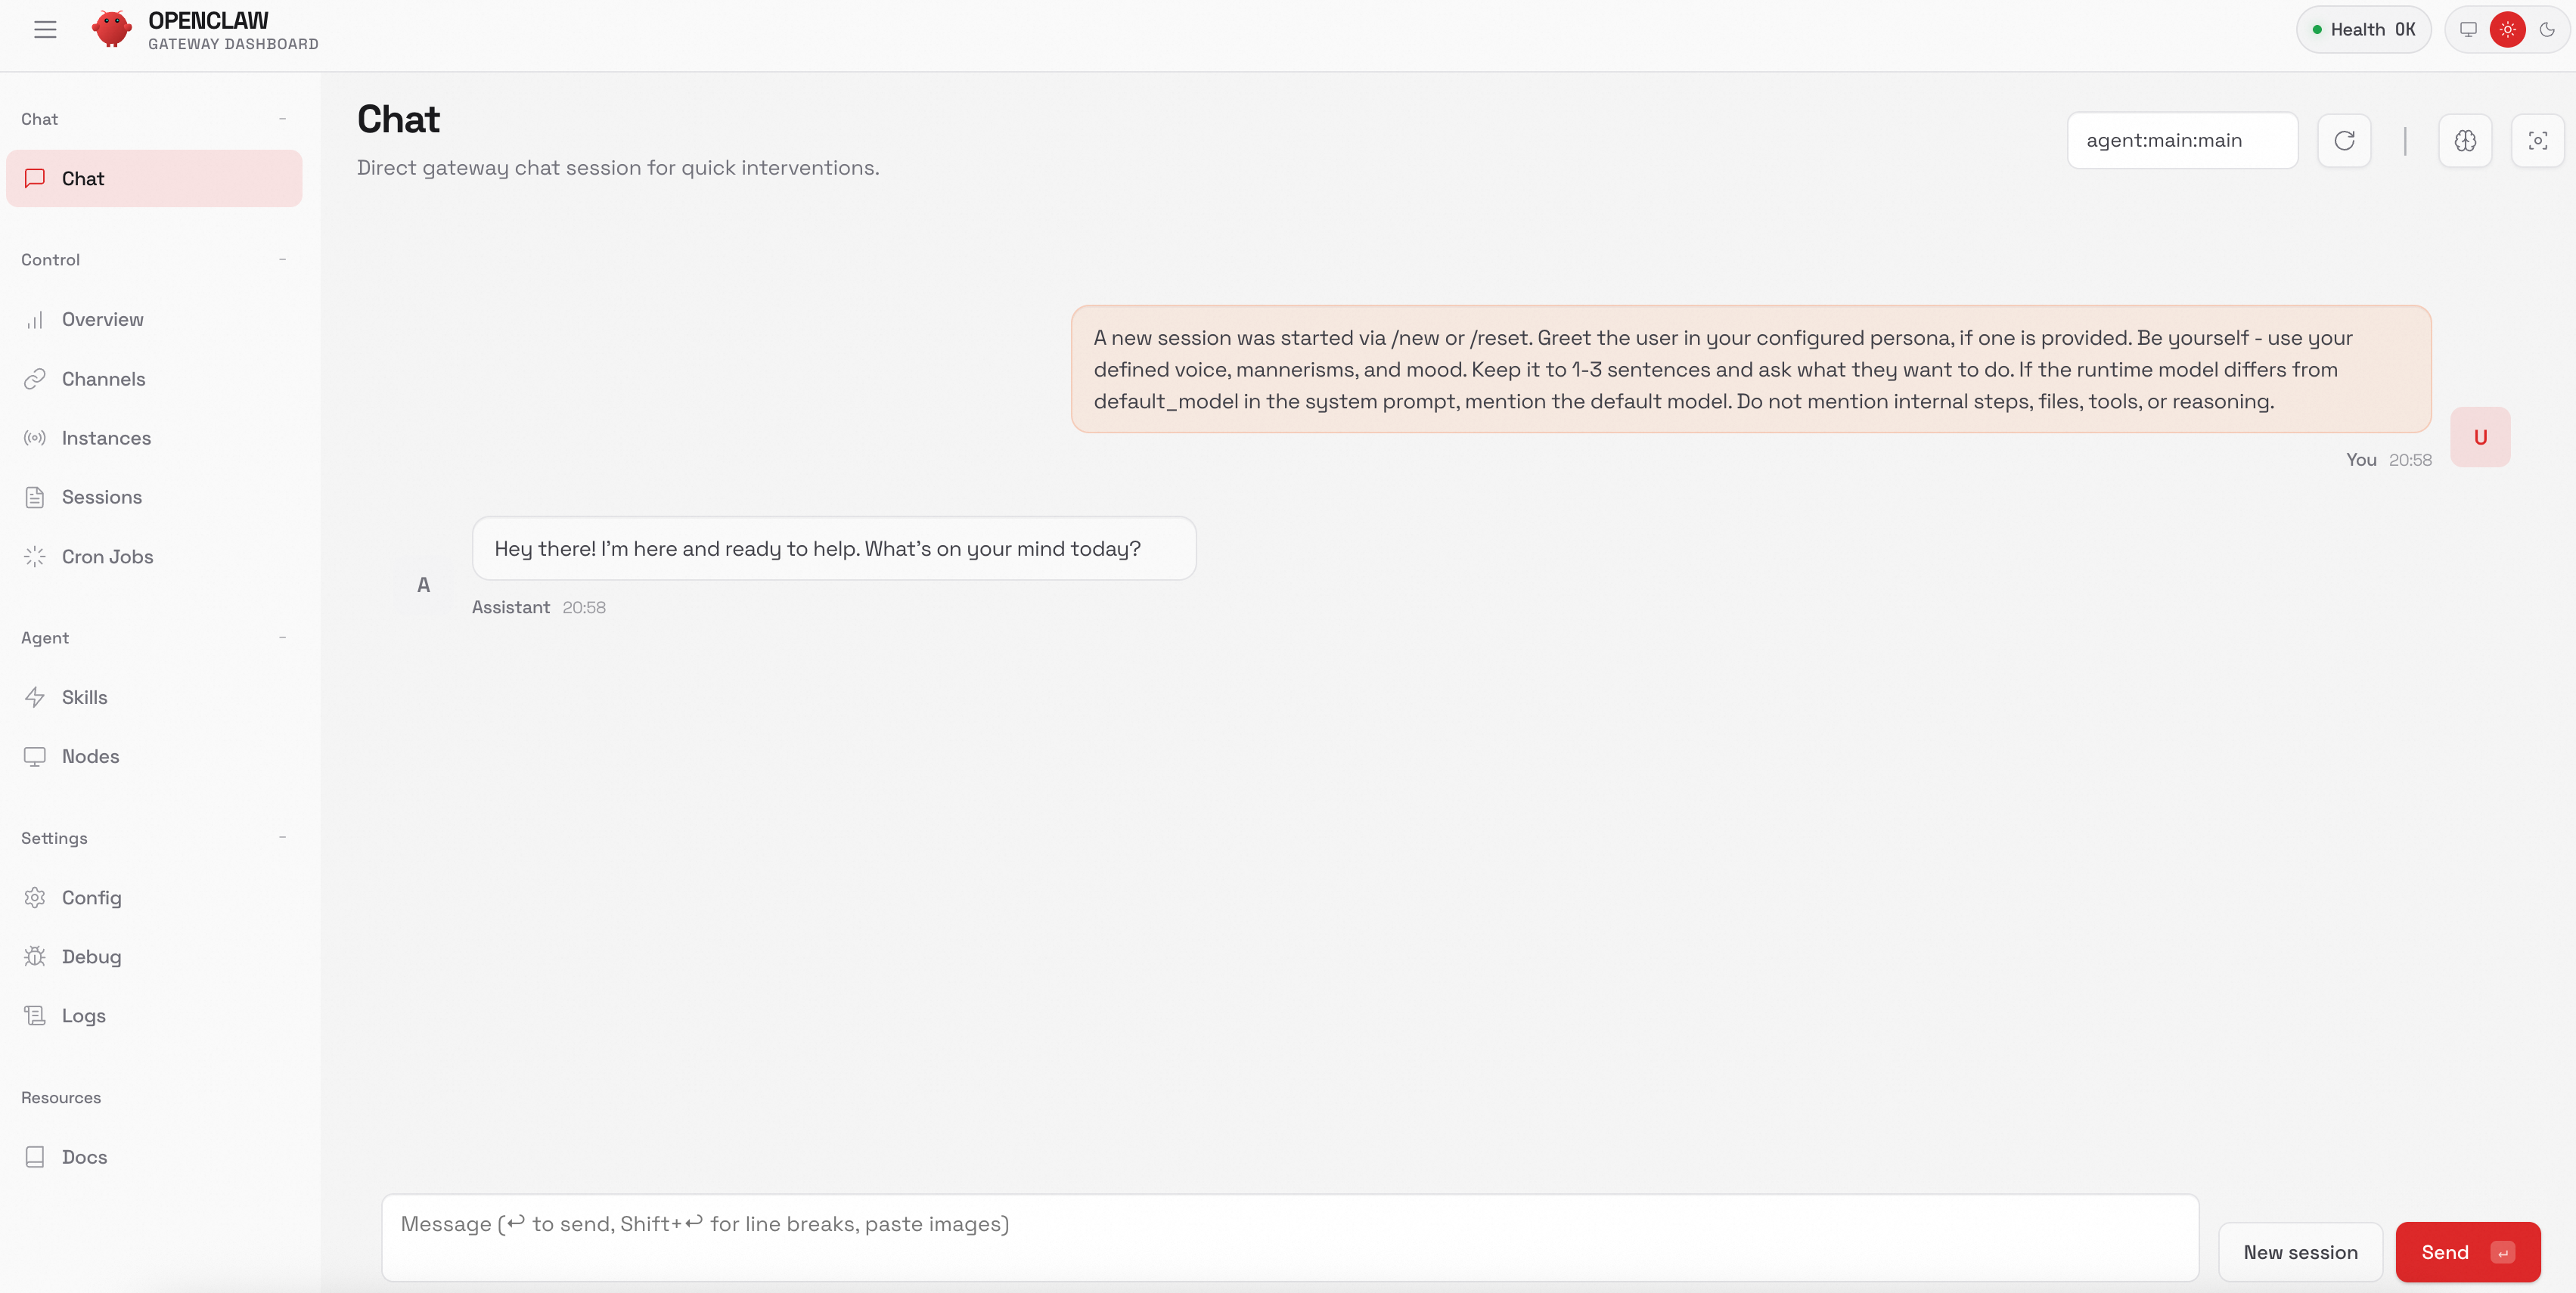
-
In the navigation pane, choose Config > RAW.
-
Replace the
"agents": {...},section with the configuration below. ReplaceDASHSCOPE_API_KEYwith your actual API key.ImportantThis configuration is for pay-as-you-go billing. If you use the Coding Plan, see Coding Plan for OpenClaw for plan-specific settings.
This example uses
qwen3.5-plusandqwen3-coder-nextin Singapore. The base URL, API key, and models must belong to the same region.To add other models, define them in
providers.bailian.models(setreasoningtofalse) and add a"bailian/<Model ID>": {}entry toagents.defaults.models. See Model list for supported models per region."models": { "mode": "merge", "providers": { "bailian": { "baseUrl": "https://dashscope-intl.aliyuncs.com/compatible-mode/v1", "apiKey": "DASHSCOPE_API_KEY", "api": "openai-completions", "models": [ { "id": "qwen3.5-plus", "name": "qwen3.5-plus", "reasoning": false, "input": ["text", "image"], "contextWindow": 1000000, "maxTokens": 65536 }, { "id": "qwen3-coder-next", "name": "qwen3-coder-next", "reasoning": false, "input": ["text"], "contextWindow": 262144, "maxTokens": 65536 } ] } } }, "agents": { "defaults": { "model": { "primary": "bailian/qwen3.5-plus" }, "models": { "bailian/qwen3.5-plus": {}, "bailian/qwen3-coder-next": {} } } }, -
Click Save, then click Update to apply.
Method 2: Edit the config file
OpenClaw stores its configuration in ~/.openclaw/openclaw.json, which it reads at startup.
-
Open the config file in a text editor:
nano ~/.openclaw/openclaw.json -
Paste the configuration below. Replace
DASHSCOPE_API_KEYwith your actual API key.ImportantThis configuration is for pay-as-you-go billing. If you use the Coding Plan, see Coding Plan for OpenClaw for plan-specific settings.
This example uses
qwen3.5-plusandqwen3-coder-nextin Singapore. The base URL, API key, and models must belong to the same region.To add other models, define them in
providers.bailian.models(setreasoningtofalse) and add a"bailian/<Model ID>": {}entry toagents.defaults.models. See Model list for supported models per region.{ "meta": { "lastTouchedVersion": "2026.2.1", "lastTouchedAt": "2026-02-03T08:20:00.000Z" }, "models": { "mode": "merge", "providers": { "bailian": { "baseUrl": "https://dashscope-intl.aliyuncs.com/compatible-mode/v1", "apiKey": "DASHSCOPE_API_KEY", "api": "openai-completions", "models": [ { "id": "qwen3.5-plus", "name": "qwen3.5-plus", "reasoning": false, "input": ["text", "image"], "contextWindow": 1000000, "maxTokens": 65536 }, { "id": "qwen3-coder-next", "name": "qwen3-coder-next", "reasoning": false, "input": ["text"], "contextWindow": 262144, "maxTokens": 65536 } ] } } }, "agents": { "defaults": { "model": { "primary": "bailian/qwen3.5-plus" }, "models": { "bailian/qwen3.5-plus": {}, "bailian/qwen3-coder-next": {} } } }, "gateway": { "mode": "local", "auth": { "mode": "token", "token": "test123" } } } -
Save the file:
-
nano: Press
Ctrl+X, thenY, thenEnter. -
vim: Press
Esc, type:wq, then pressEnter.
-
-
Verify the saved configuration:
cat ~/.openclaw/openclaw.json
Step 4: Start a conversation
Terminal (TUI)
openclaw tui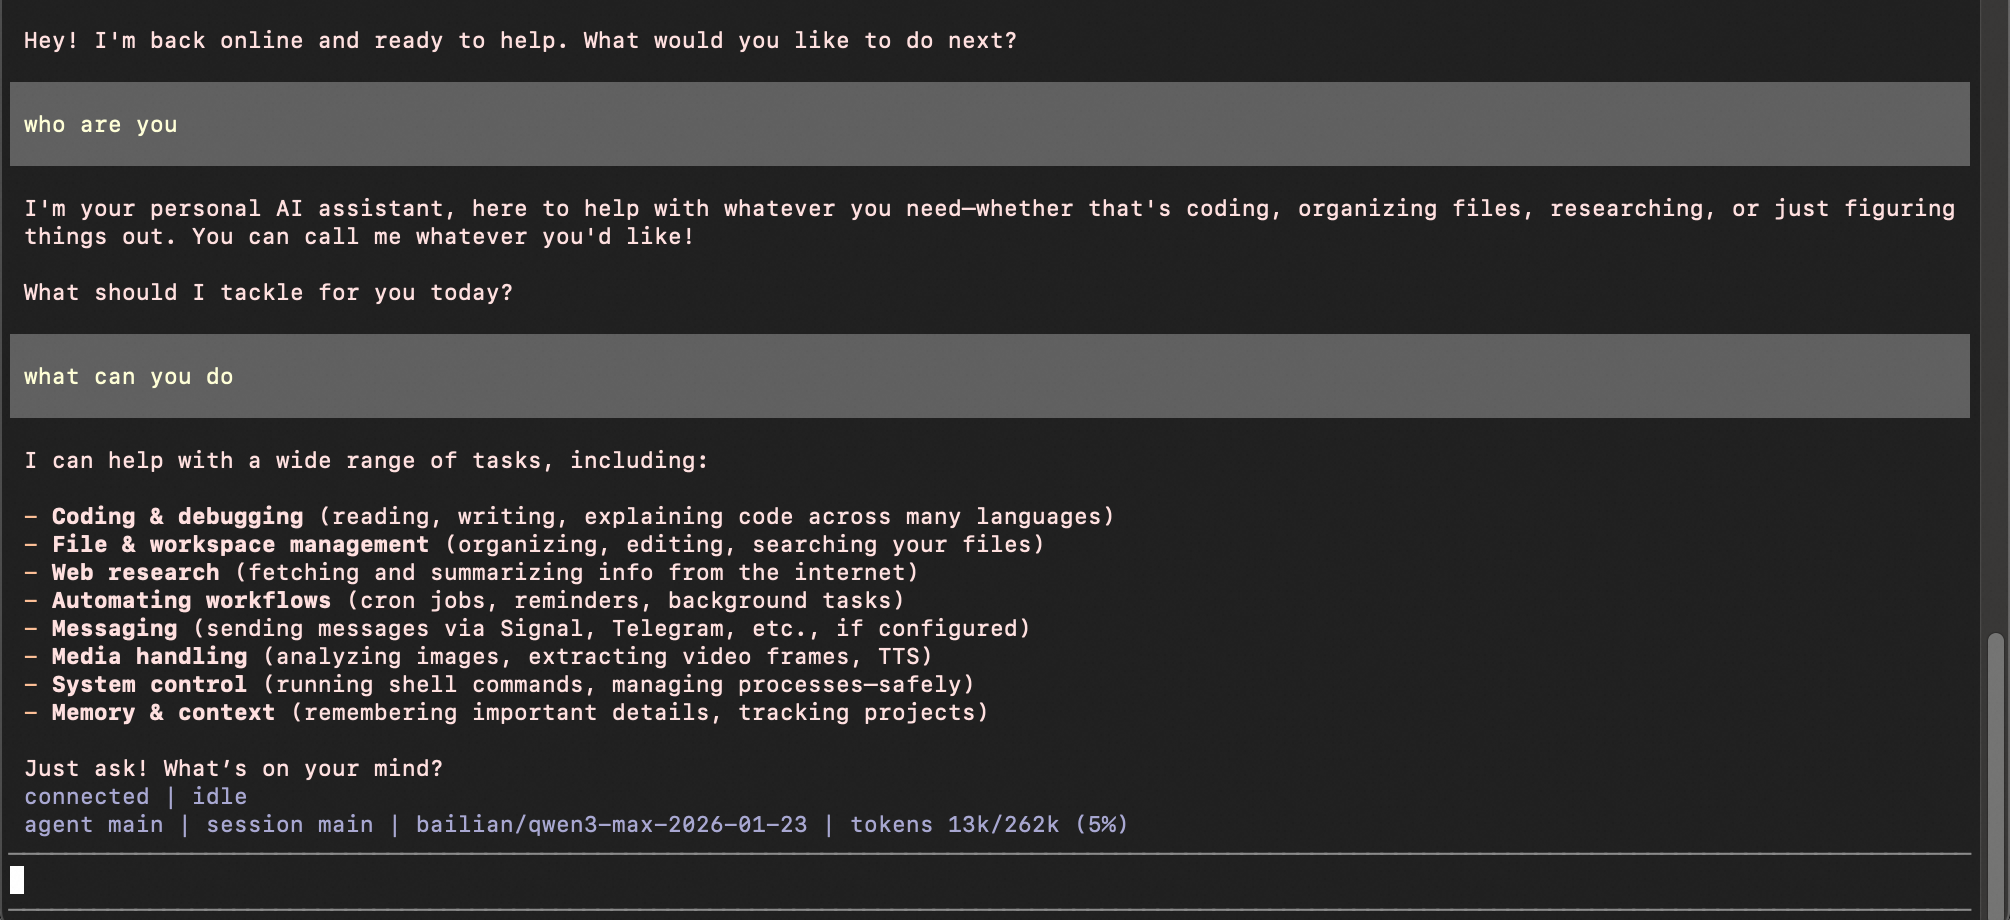
Web interface
openclaw dashboard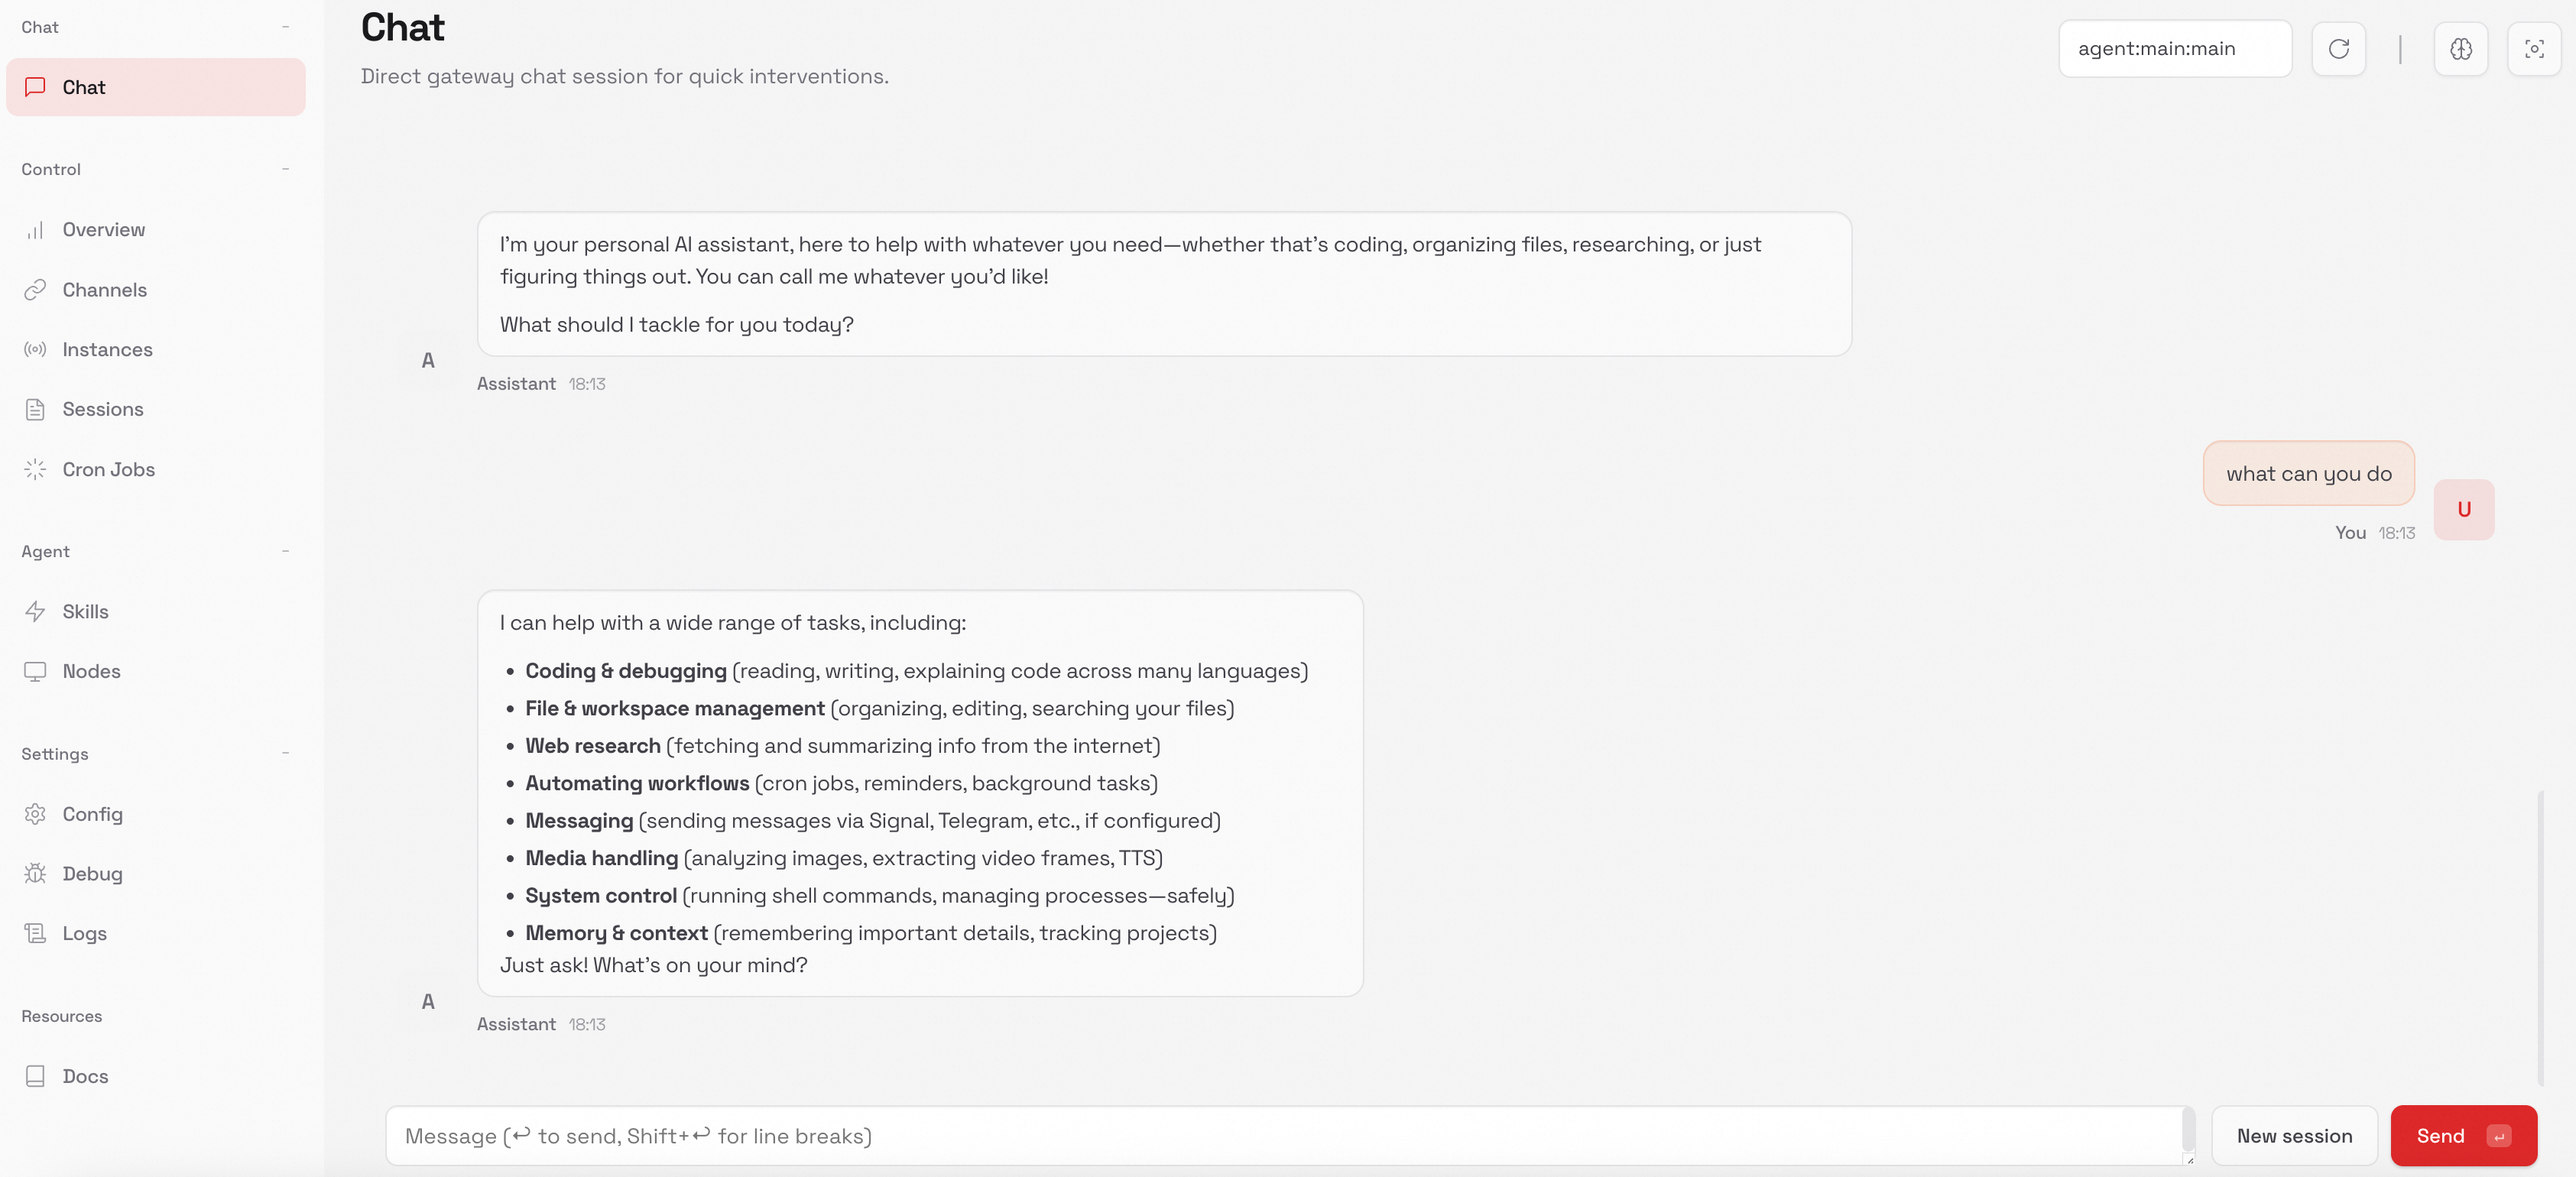
Switch models
In the current session (temporary)
Open the TUI with openclaw tui, then run:
/model qwen3-coder-nextThe interface displays "model set to qwen3-coder-next" as confirmation. This change applies only to the current session.
As the default model (permanent)
Update the agents.defaults.model.primary field in your config file:
{
    "agents": {
        "defaults": {
            "model": {
                "primary": "bailian/qwen3.5-plus"
            }
        }
    }
}
Replace qwen3.5-plus with your desired model ID. This applies to all future sessions.
FAQ
Model not found or empty response
Check three things:
-
Model ID spelling. The model ID must match exactly. For example,
qwen3.5-plus, notqwen-3.5-plus. -
Provider name consistency. If the provider is named
bailianin your configuration, reference the model asbailian/qwen3.5-plus-- not justqwen3.5-plus. -
Thinking mode disabled. The
reasoningparameter must befalsefor every model. Ifreasoningistrueor omitted, responses will be empty.
"command not found" when running an OpenClaw command
First, verify the installation:
openclaw --versionIf a version number appears, installation succeeded. The issue is likely an unmigrated command from the rename. Try clawdbot or moltbot instead of openclaw for that command. Alternatively, reinstall the latest version:
npm install -g openclaw@latest