You can use event rules to filter events and route the events to CloudFlow. This topic describes the prerequisites and procedure for routing custom events to CloudFlow. This topic also describes how to verify the result.
Before you start
Step 1: Create a custom event source
Log on to the EventBridge console. In the left-side navigation pane, click Event Buses.
In the top navigation bar, select a region. On the Event Buses page, click the name of the custom event bus that you want to manage.
In the left-side navigation pane, click Event Sources and then click Add Event Source.
In the Add Custom Event Source panel, configure the Name and Description parameters, select Custom Application from the Event Provider drop-down list, and then click OK.
Step 2: Create an event rule
The event targets that you want to configure for an event rule must reside in the same region as the event rule.
Log on to the EventBridge console. In the left-side navigation pane, click Event Buses.
In the top navigation bar, select a region. On the Event Buses page, click the name of the event bus that you want to manage.
In the left-side navigation pane, click Event Rules. On the page that appears, click Create Rule.
In the Create Rule panel, perform the following operations and click Create.
In the Configure Basic Info step, configure the Name and Description parameters and click Next Step.
In the Configure Event Pattern step, set the Event Source Type parameter to Custom Event Source and select the custom event source that you created in Step 1: Create a custom event source from the Event Source drop-down list. In the Pattern Content code editor, enter an event pattern and click Next Step.
For more information, see Event patterns.
In the Configure Targets step, set the Service Type parameter to CloudFlow and configure the following parameters:
NoteYou can configure a maximum of five event targets for an event rule.
Workflow Name: the CloudFlow workflow that you created.
Execution Name: the name of each execution. If you want to use custom names for executions, make sure that the name of each execution is unique. Otherwise, executions fail to be triggered by events. If you do not configure this parameter, CloudFlow automatically generates an execution name for each execution.
Execution Input: the information about execution input. Only the JSON format is supported.
Role Name: the role that EventBridge assumes to trigger CloudFlow. The following sample code provides an example of policies for the role. For more information, see Policies and examples.
{
  "Version": "1",
  "Statement": [
    {
      "Effect": "Allow",
      "Action": "fnf:StartExecution",
      "Resource": "acs:fnf:*:*:flow/${flow-name}/execution/*"
    }
  ]
}
Step 3: Publish an event
Log on to the EventBridge console. In the left-side navigation pane, click Event Buses.
- In the top navigation bar, select a region.
- On the Event Buses page, find the event bus to which you want to publish an event and click Publish Event in the Operations column. Note You can publish events only to custom event buses in the EventBridge console.
- In the Publish Event to Custom Event Bus panel, select a custom event source from the Custom Event Source drop-down list, enter the event content in the Event Body code editor, and then click OK. For more information about the event parameters, see Overview.
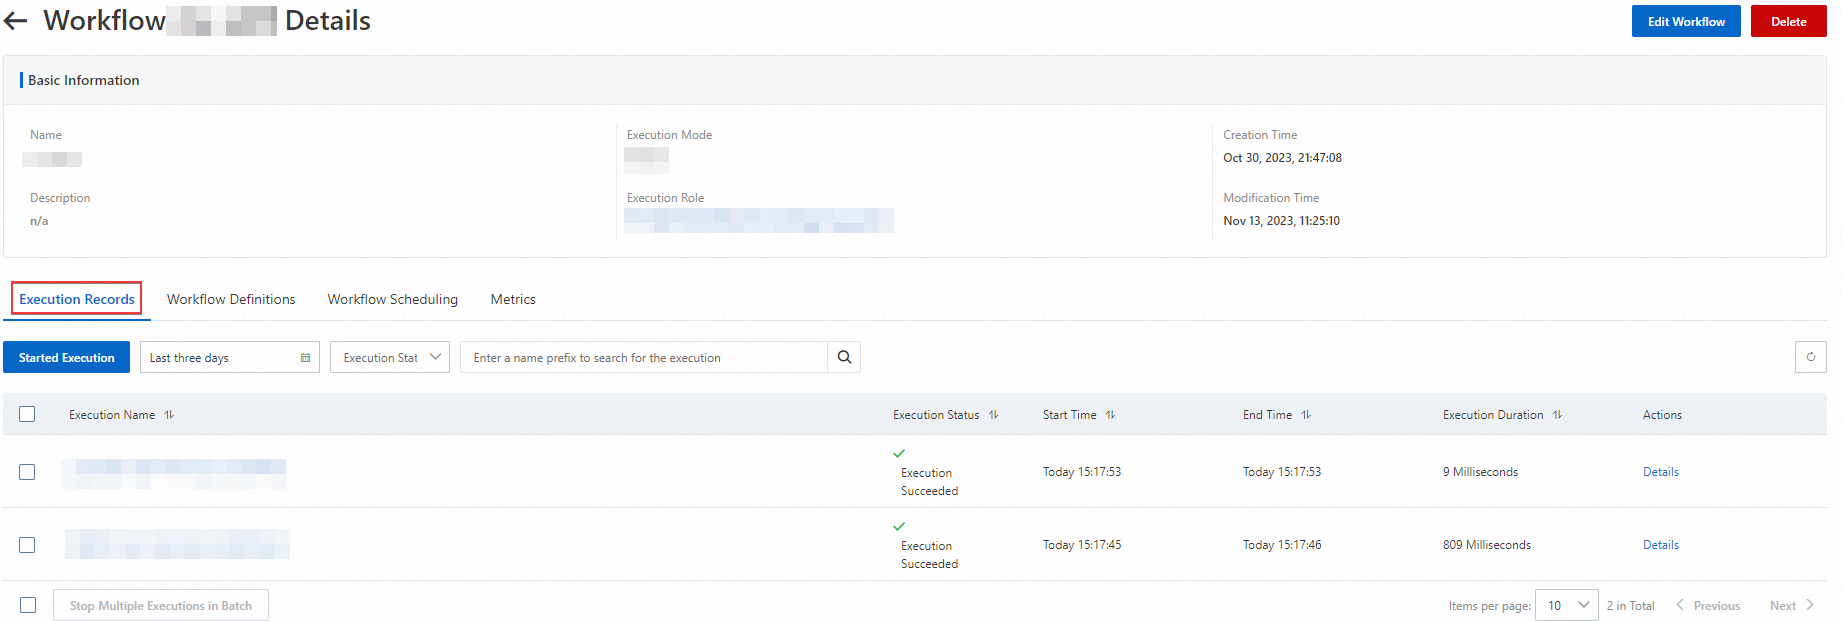
Verify the result
Log on to the CloudFlow console. In the top navigation bar, select the region where the flow that you want to manage resides.
On the Workflows page, click the workflow that you want to manage.
On the Execution Records tab of the Workflow Details page, view the execution result.