This topic describes how to connect to an Alibaba Cloud Elasticsearch (ES) cluster using Postman.
Preparations
Get cluster endpoints
You can connect to an ES cluster using either a private endpoint over a Virtual Private Cloud (VPC) or a public endpoint.
VPC private endpoint: Access the ES cluster over a private network for low latency and high stability. This endpoint is enabled by default after the cluster is created.
Public endpoint: Access the ES cluster over the internet. You must enable this endpoint manually.
Enable public network access
Log on to the ES console and go to the Basic Information page of the instance.
In the navigation pane on the left, choose Configuration and Management > Security Settings, and then enable public network access. When the cluster status changes from Initializing to Valid, public network access is enabled.
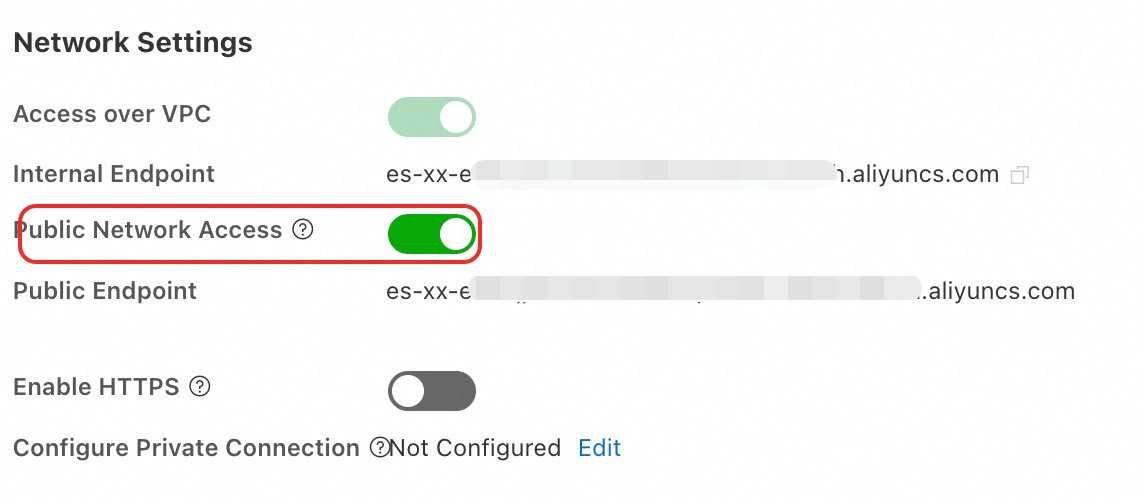 Important
A public endpoint reduces the security of your ES cluster. If you use a public endpoint, configure an IP address whitelist and disable public network access promptly after use.
Set an IP address whitelist
To ensure cluster security, add the IP address of the device that you want to use for access to the VPC private whitelist or public access whitelist of the ES cluster. Only devices whose IP addresses are in the whitelist can access the ES cluster.
Obtain the IP address of the device.
Obtain the IP address of the device based on the following scenarios.
Scenario
IP address to obtain
Method
Connect to the ES cluster from an on-premises device
The public IP address of the on-premises device.
If the device is in a local area network (LAN), such as a home or corporate network, add the public egress IP address of the LAN to the public access whitelist of the ES cluster.
Run the
curl ipinfo.io/ipcommand to query the public IP address of the on-premises device.Connect to the ES cluster from an ECS instance in a different VPC
The public IP address of the ECS instance
Log on to the ECS console and view it in the instance list.
Connect to the ES cluster from an ECS instance in the same VPC
The private IP address of the ECS instance
Log on to the ECS console and view it in the instance list.
Add the obtained IP address to a whitelist group.
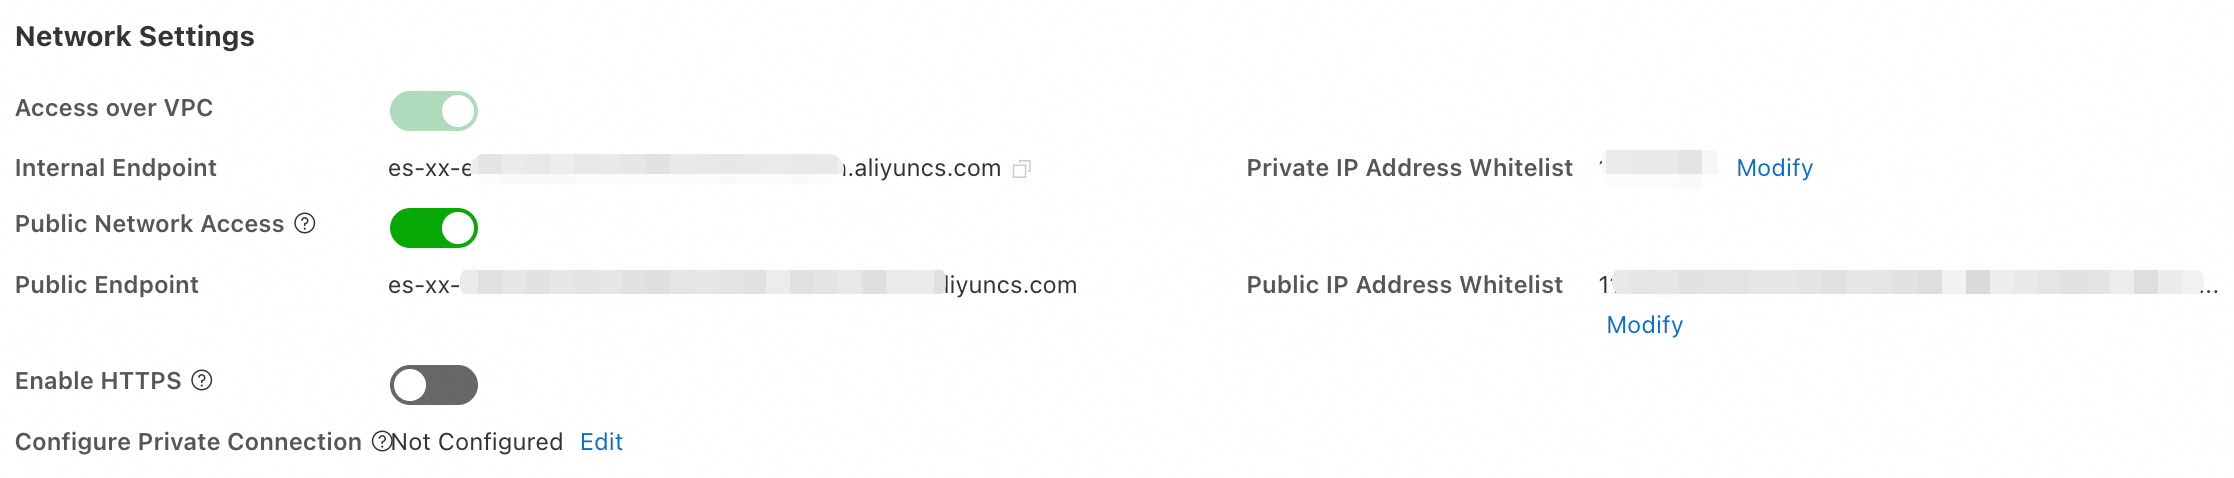
Log on to the ES console, go to the Basic Information page of the instance. In the navigation pane on the left, choose Configuration and Management > Security Settings. Click Modify to set the VPC private whitelist or public access whitelist in the dialog box that appears.
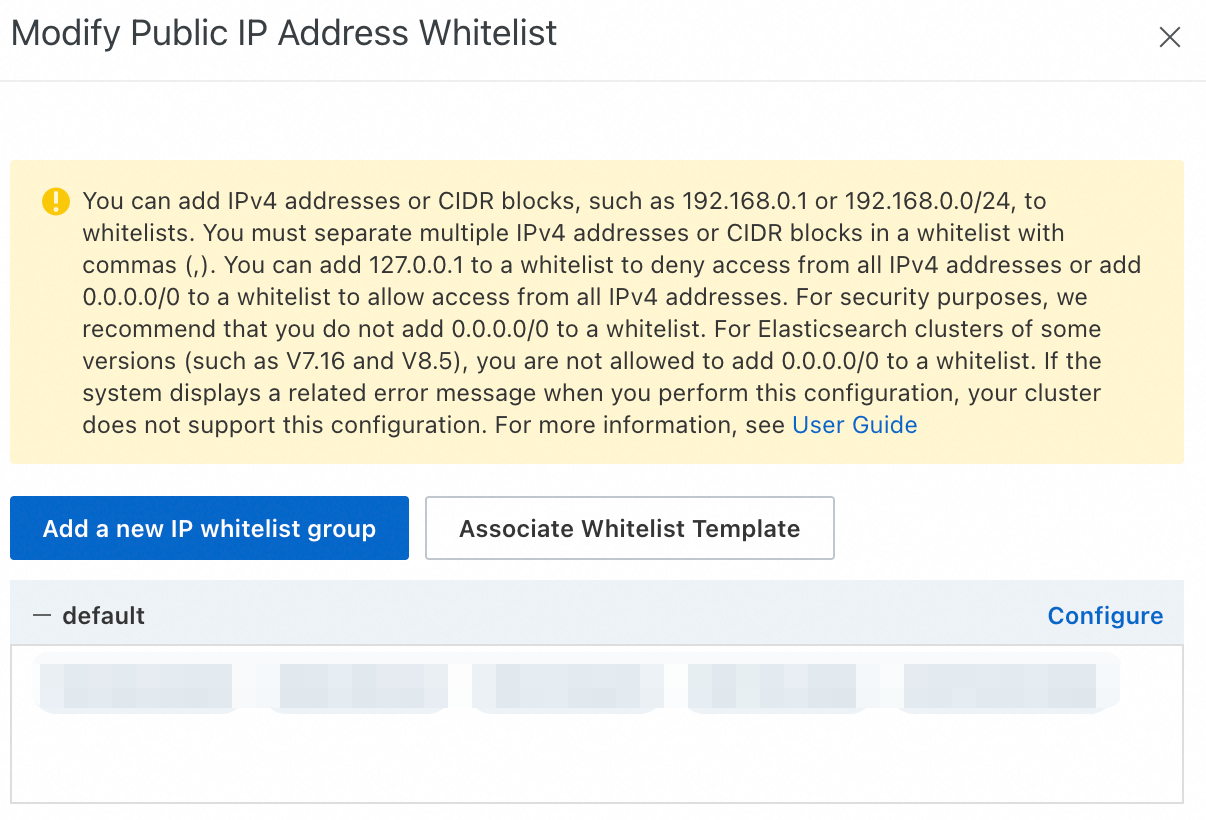
Click Configure to the right of the default group. In the dialog box that appears, add IP addresses to the VPC private whitelist or public access whitelist. You can configure a maximum of 300 IP addresses or CIDR blocks for a single cluster. Separate multiple IP addresses or CIDR blocks with commas (,). Do not add spaces before or after the commas.
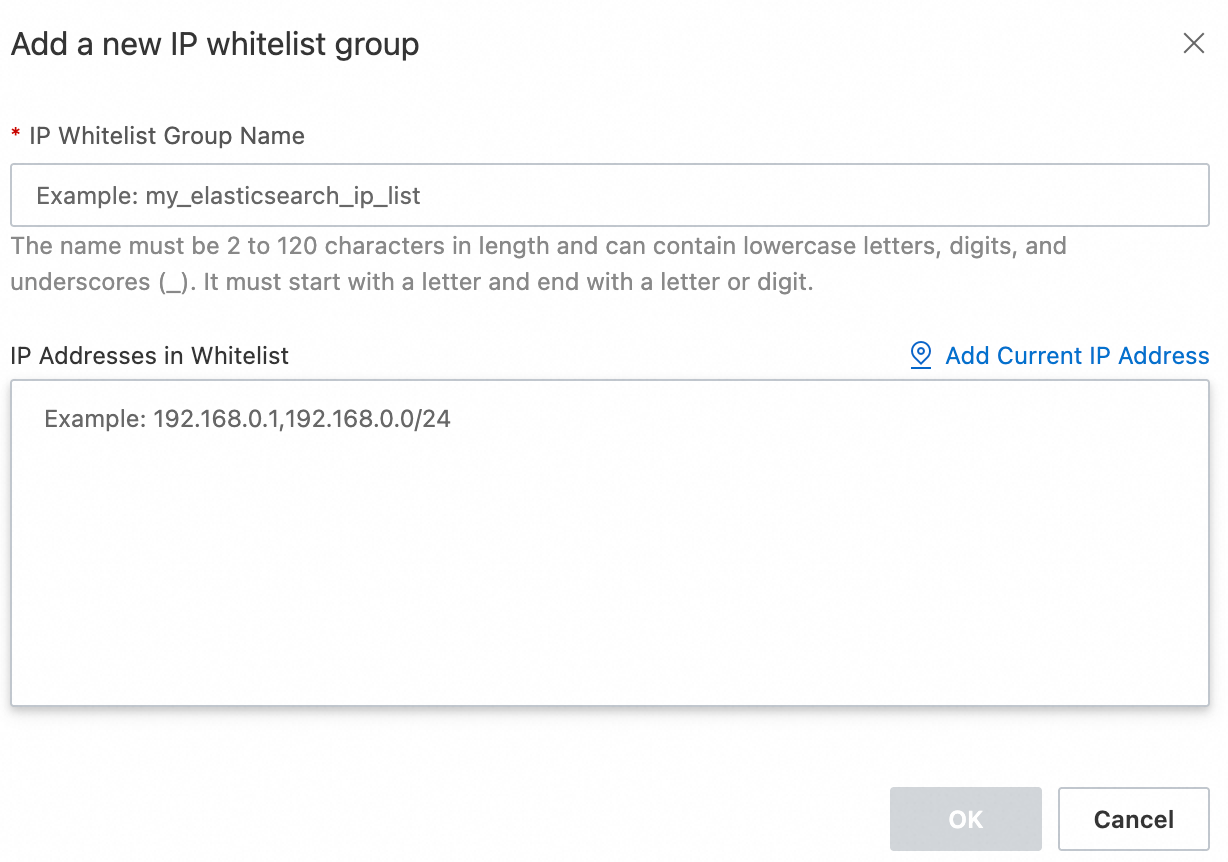
You can also click Add IP Whitelist Group to create a custom group.
Whitelist groups are used only for IP address management and do not affect access permissions. All IP addresses within the groups have the same permissions.
Configuration type
Format and example
Important notes
IPv4 address format
Single IP address:
192.168.0.1CIDR block:
192.168.0.0/24
To deny access:
127.0.0.1To allow access from all IP addresses:
0.0.0.0/0ImportantThis configuration is high-risk. We strongly recommend that you do not set the whitelist to
0.0.0.0/0.Some cluster versions, such as 7.16 and 8.5, and regions do not support
0.0.0.0/0. The console interface or error messages prevail.
IPv6 address format
(Supported only by clusters that use the v2 deployment architecture and are in the China (Hangzhou) region)
Single IP address:
2401:XXXX:1000:24::5CIDR block:
2401:XXXX:1000::/48
Deny all access:
::1To allow access from all IP addresses:
::/0ImportantWe strongly recommend that you do not configure
::/0because it poses a high security risk.Some cluster versions do not support
::/0. The console interface or configuration prompts prevail.
After the configuration is complete, click Confirm.
Connect to the cluster
This topic uses Postman 11.61.1 as an example. The user interface may vary slightly across versions.
1. Create a workspace and a collection
Download and install Postman on your device.
Log on to the Postman console. Click Workspaces in the top navigation bar. On the page that appears, click Create Workspace.
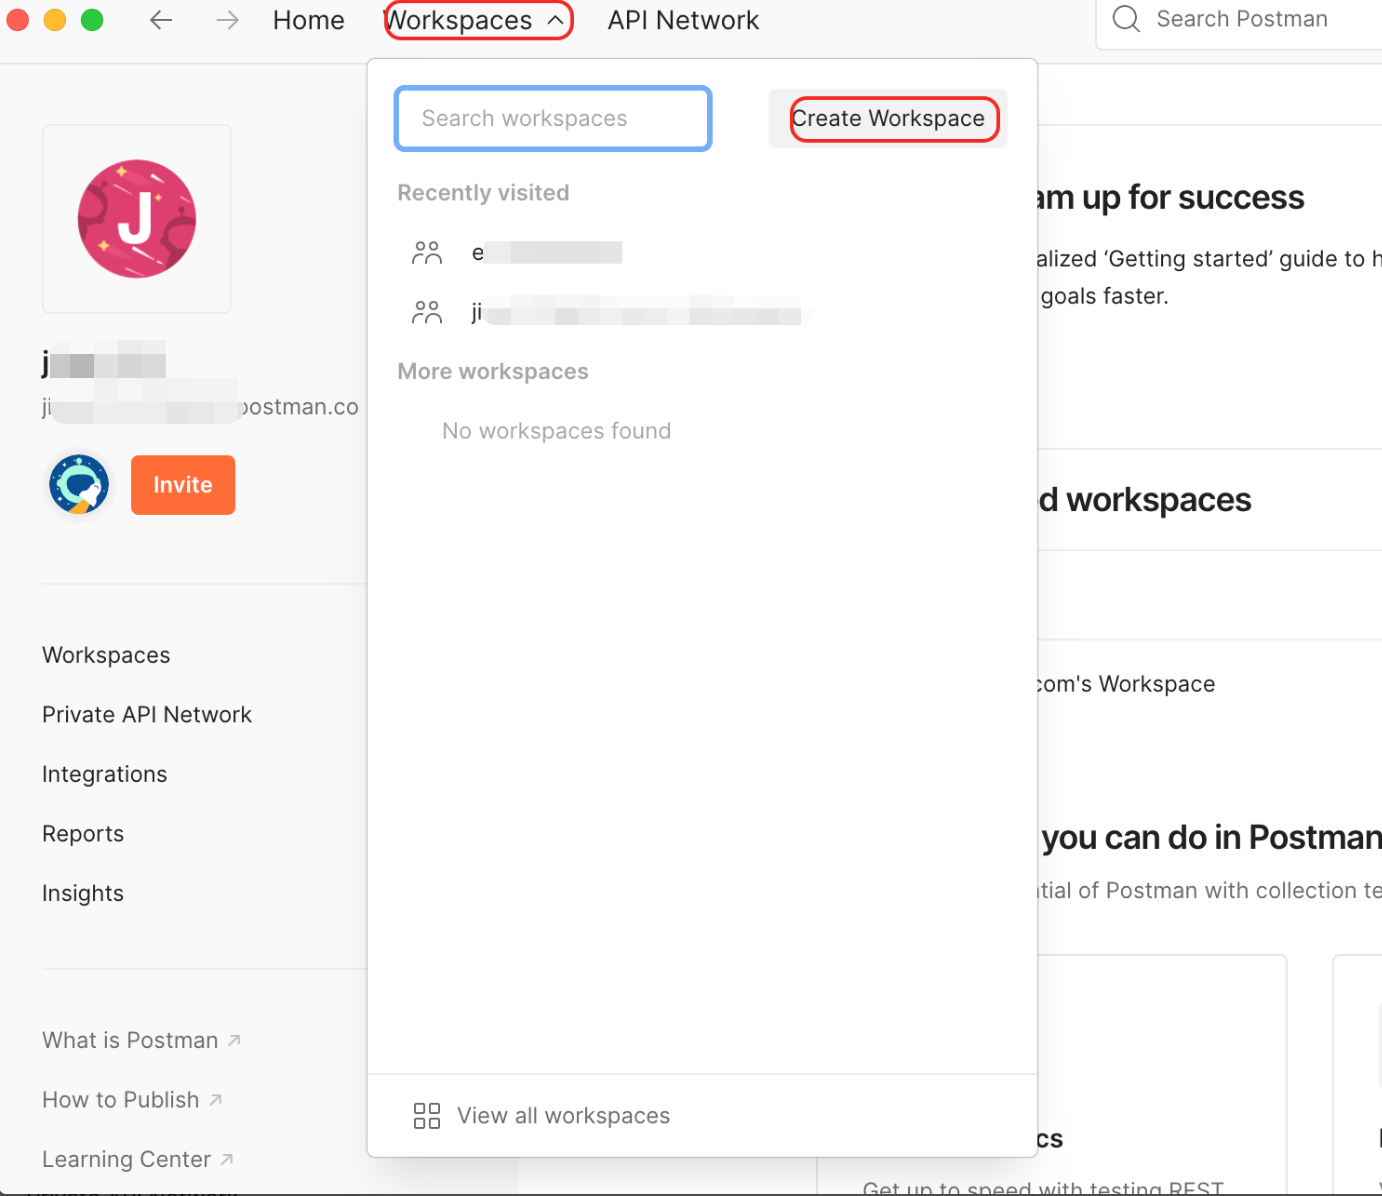
For easy identification later, rename the workspace to es-workspace.

Create a collection named ES Collection.
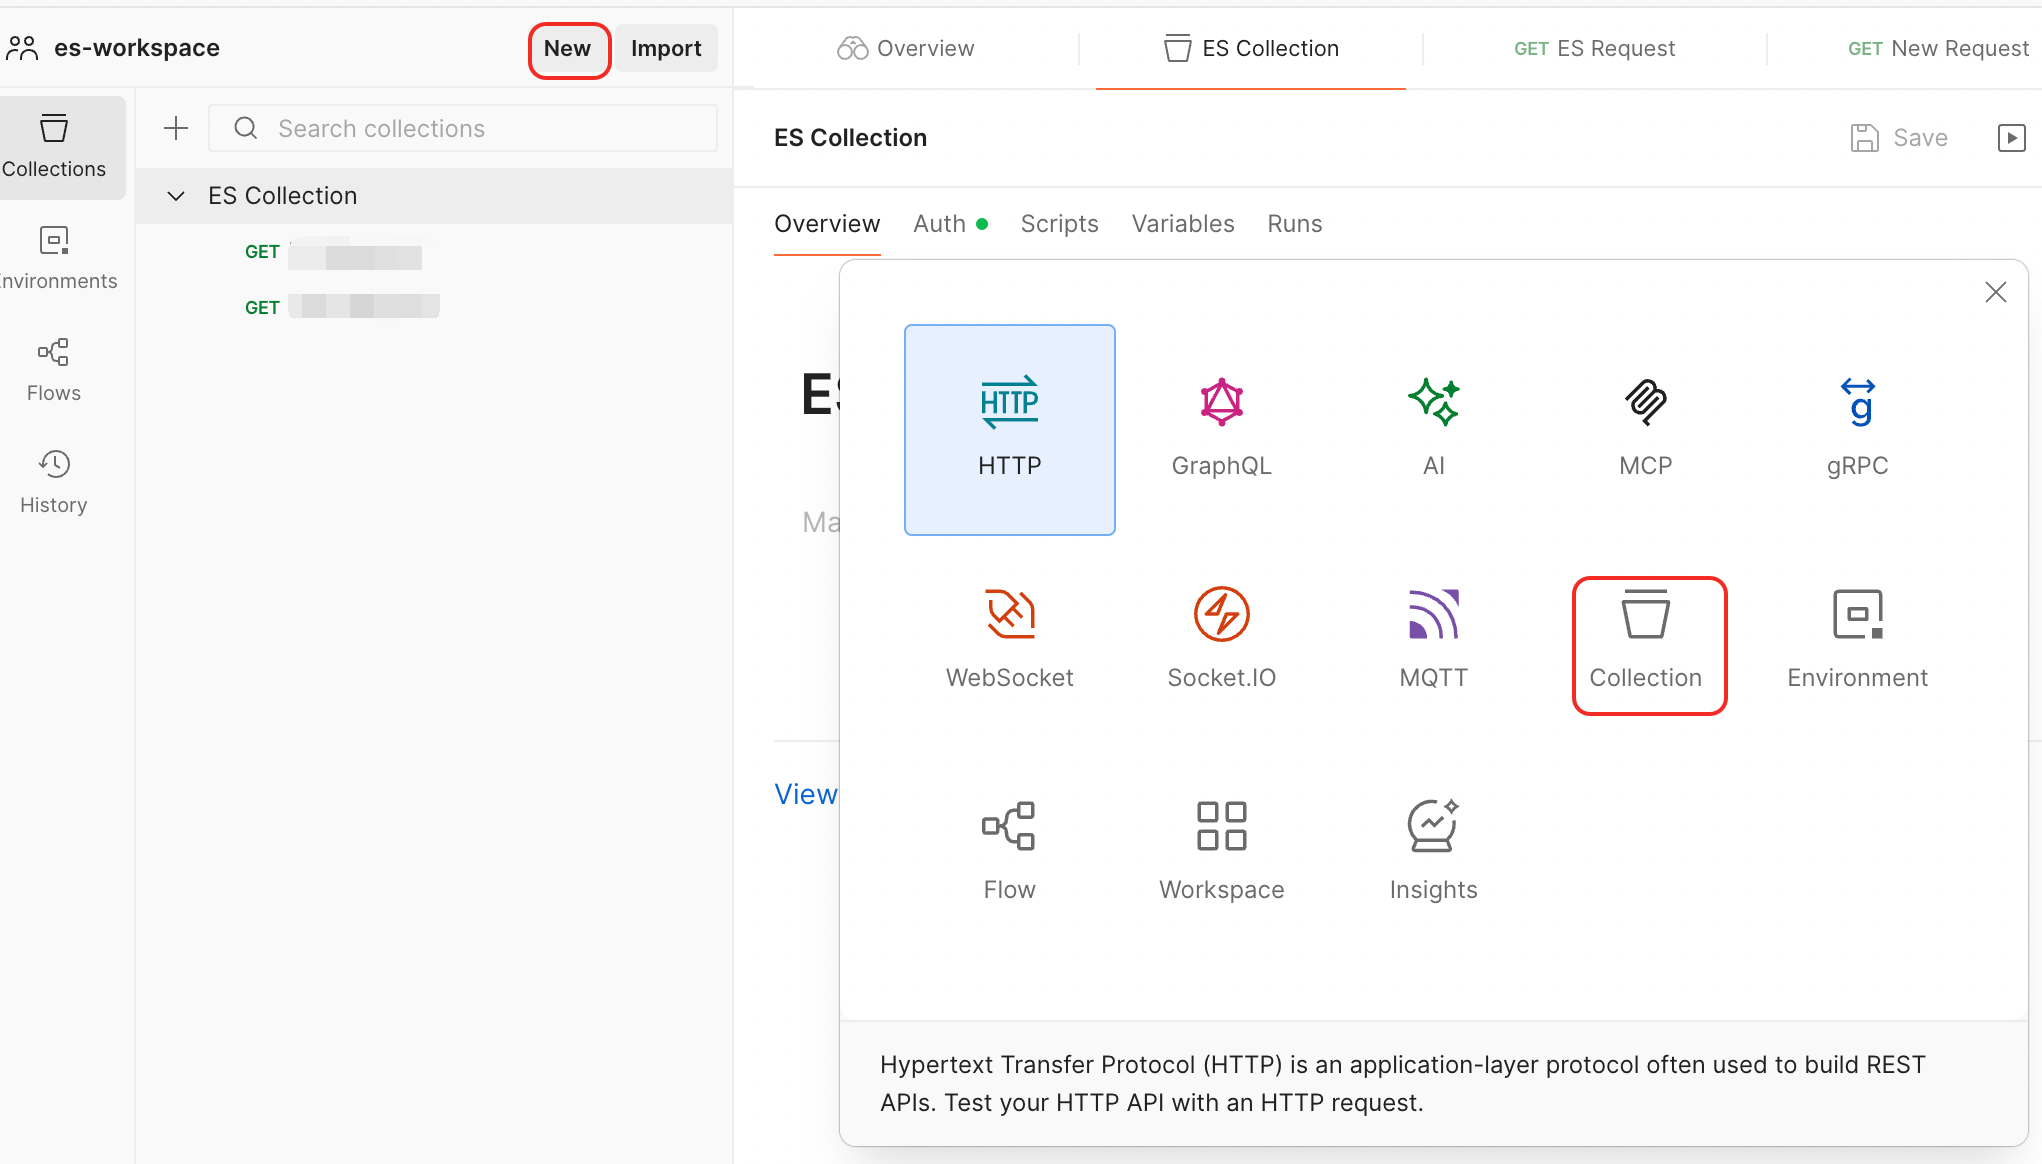
Rename the collection to ES Collection.
2. Configure authentication
To avoid entering passwords repeatedly for each request, configure authentication at the collection level.
Select the ES Collection you just created. Click the Authorization tab to configure authorization.
Auth Type: Select Basic Auth.
If all requests in the same collection use the same authentication, configure authorization at the collection level and set Auth Type to Inherit auth from parent so that child requests inherit the setting.
Username: The default username is elastic. This user has full cluster privileges, such as an administrator account.
For security, do not use this default administrator account directly in production environments. Instead, use Elasticsearch X-Pack role-based access control (RBAC) to define custom roles, assign permissions, and assign roles to users. This enables fine-grained permission management. For more information, see Manage user permissions using Elasticsearch X-Pack roles.
Password: Enter the password for the Username.
After you finish the configuration, click Save in the upper-right corner.
3. Send a connection request
Click the collection name ES Collection. Right-click and select Add request. Rename the request to ES Request.
In the GET field, enter the connection URL in this format:
http://<ES cluster endpoint>:<port number>.For example, if you connect using the public endpoint, enter:
http://es-cn-xxxxxxxxxxxxxxxxx.public.elasticsearch.aliyuncs.com:9200.Click Send to send the request.
A status code of 200 means you have successfully connected to the ES cluster using Postman. You can now send other API requests to manage your cluster.
