DataWorks Notebook provides an interactive, modular environment for data processing, analysis, visualization, and model building. This topic explains how to connect a Notebook to EMR Serverless Spark so you can run SQL queries and PySpark code interactively, then publish your Notebook to the production environment for scheduled execution.
Considerations
Before you begin, review the following constraints:
-
Only workspaces that use the new version of DataWorks Data Studio are supported.
-
Only Serverless resource groups are supported. For more information, see Use a Serverless resource group.
-
Only Python can be used to connect to EMR Serverless Spark compute resources.
-
Personal development environment instances created before
2025-12-01do not support this feature. Create a new personal development environment instance instead. -
The personal development environment instance must be at version
0.5.69or later. To check the version, open the personal development environment, pressCMD+SHIFT+P, and enterABOUT. If an upgrade is available, follow the on-screen prompt to upgrade with one click. -
A single task in a Serverless resource group supports a maximum of
64 CU(Compute Units). Keep tasks at or below16 CUto avoid resource shortages and startup failures.
Prerequisites
Before you begin, ensure that you have:
-
A Serverless Spark workspace. For more information, see Create a workspace.
-
EMR Serverless Spark compute resources attached to your DataWorks workspace. For more information, see Attach EMR Serverless Spark compute resources.
-
A Serverless Spark Livy Gateway. For more information, see Create a Livy Gateway.
-
A DataWorks personal development environment instance. For more information, see Create a personal development environment instance.
-
A Notebook node in Data Studio (New).
How it works
DataWorks Notebook connects to EMR Serverless Spark through the Livy Gateway — a REST-based service that accepts task submissions and status queries over HTTP and is compatible with multiple programming languages. When you run the %emr_serverless_spark Magic Command in a Python cell, the Notebook connects to the Livy Gateway and creates a Spark Session. Subsequent cells in the same Notebook reuse this session.
When you access Data Lake Formation (DLF) data, authentication is based on the identity of the code executor — the Livy Gateway token is created with that identity.
In the production environment, Notebook tasks submitted to the Operation Center for scheduling bypass the Livy Gateway entirely and run as batch jobs via spark-submit.
Create a Notebook node
-
Go to the Data Studio (New) page. Open the DataWorks workspace list page. In the top navigation bar, switch to the destination region. Find your workspace and click Quick Access > Data Studio in the Actions column.
-
Create a Notebook in one of the following locations:
-
Project Folder: In the navigation pane, click the
 icon to go to the Data Development page. Click the
  icon and select Notebook.
 -
Personal Folder: In the navigation pane, click the
 icon to create a new Notebook file.
 -
One-time Tasks: In the navigation pane, click the
 icon to go to the manual page. Under One-time Tasks, click the
  icon and select New Node > Notebook.
-
Connect to Serverless Spark
Use the %emr_serverless_spark Magic Command in a Python cell to establish a connection.
Magic commands
| Magic command | Description |
|---|---|
%emr_serverless_spark |
Connects to the Livy Gateway (starts it automatically if stopped) and creates a Spark Session. On success, the Spark Session details appear in the Spark UI of the output area. |
%emr_serverless_spark info |
Shows Livy Gateway details. Click the Web UI link for a full view. |
%emr_serverless_spark stop |
Clears the Spark Session and stops the Livy Gateway. If multiple users share this gateway, run this command with caution. |
%emr_serverless_spark delete |
Deletes the Livy Gateway. If multiple users share this gateway, run this command with caution. |
%emr_serverless_spark refresh_token |
Creates a new Livy token. Run this if an administrator accidentally deletes the token on the Livy Gateway page. |
Run the connection command
Enter the following command in a Python cell, then select the compute resource and Livy Gateway in the lower-right corner of the cell.
Basic usage — connect with default settings:
%emr_serverless_sparkParameterized usage — pass Spark configuration parameters:
%%emr_serverless_spark
{
  "Spark_conf": {
    "Spark.emr.serverless.environmentId": "<EMR Serverless Spark runtime environment ID>",
    "Spark.emr.serverless.network.service.name": "<EMR Serverless Spark network connectivity ID>",
    "Spark.driver.cores": "1",
    "Spark.driver.memory": "8g",
    "Spark.executor.cores": "1",
    "Spark.executor.memory": "2g",
    "Spark.driver.maxResultSize": "32g"
  }
}
Replace the placeholder values:
| Placeholder | Description |
|---|---|
<EMR Serverless Spark runtime environment ID> |
The runtime environment ID of your EMR Serverless Spark instance |
<EMR Serverless Spark network connectivity ID> |
The network connectivity ID of your EMR Serverless Spark instance |
Spark parameter priority
The final priority of Spark parameters depends on the Global Configuration First option in Management Center > Serverless Spark > Spark:
-
Enabled: Management Center configurations take the highest priority and overwrite all parameters with the same name set in the Notebook.
-
Disabled: Parameters set with
Spark_confin the Notebook cell take precedence over global configurations.
Session behavior
After you run %emr_serverless_spark:
-
The Notebook is set to use Serverless Spark as the compute resource. Subsequent cells are limited to Python, Markdown, and EMR Spark SQL types.
-
The first execution creates a Spark Session attached to the personal development environment instance you select. All subsequent executions in the same Notebook reuse this session.
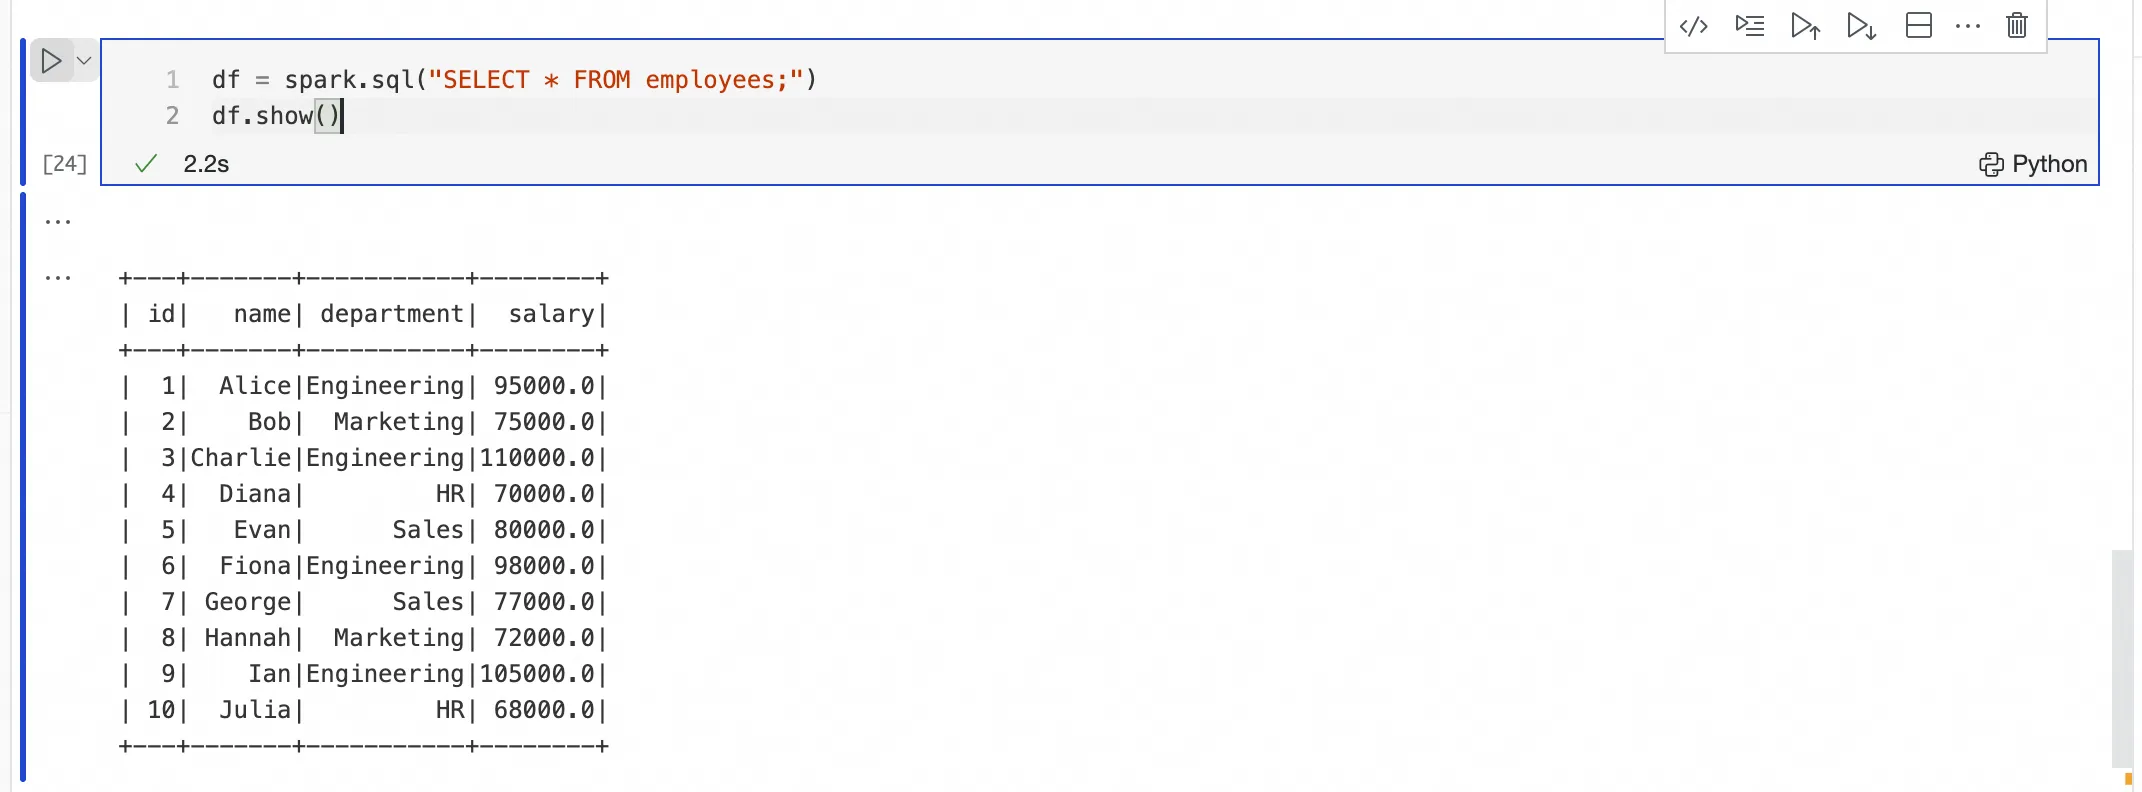
Run SQL and PySpark code
After a successful connection, write and execute code directly in the Notebook.
Submit SQL with an EMR Spark SQL cell
Add an EMR Spark SQL cell and write SQL statements directly. The cell reuses the session from %emr_serverless_spark — no compute resource selection is needed.

Submit PySpark code with a Python cell
Add a new Python cell and write PySpark code. No %%Spark prefix is required.
Publish to production
In production, Notebook tasks containing %emr_serverless_spark are submitted to the destination compute resource as batch jobs. The production environment does not use the Livy Gateway.
Before publishing, verify that the runtime image selected in the Scheduling Configuration contains all dependencies required to run your Notebook. To create a compatible image, see Create a DataWorks image based on a personal development environment.
Publish your Notebook based on its location:
-
Project Folder: Save the Notebook, then click the
 icon to publish. After publishing, find the task under Task O&M > Auto Triggered Task O&M > Auto Triggered Task in the Operation Center.
 -
Personal Folder: Save the Notebook, click the
 icon to move it to the Project Folder, then click the
  icon to publish. After publishing, find the task under Task O&M > Auto Triggered Task O&M > Auto Triggered Task in the Operation Center.
 -
One-time Tasks: Save the Notebook, then click the
 icon to publish. After publishing, find the task under Task O&M > One-time Task O&M > One-time Task in the Operation Center.
To unpublish a Notebook, right-click the node, select Delete, and follow the on-screen instructions to unpublish or delete the Notebook. For more information, see Unpublish a task.
What's next
-
Node scheduling configuration: Configure scheduling properties (such as a scheduled run time) to periodically run a Notebook from the Project Folder in the production environment.
-
Publish a node or workflow: Learn more about publishing options and workflow publishing.