Auto scaling dynamically adjusts the number of application instances based on real-time metrics or predefined schedules. When traffic spikes, EDAS adds instances to maintain performance. When demand drops, EDAS removes instances to reduce costs.
Auto scaling is available for applications deployed in Container Service for Kubernetes (ACK) clusters and ACK Serverless clusters. EDAS leverages the traffic surge management technology used by Alibaba Group to handle high-traffic events such as Double 11, enabling auto scaling within seconds. This ensures SLA compliance and reduces the costs of server retention. Auto scaling is applicable to industries such as the Internet, games, and social networking platforms.
How auto scaling works
EDAS auto scaling supports two trigger types:
Time triggers: Scale based on a recurring schedule. Use time triggers when load follows a predictable pattern, such as high traffic during business hours and low traffic overnight.
Metric-based triggers: Scale based on real-time metrics such as CPU utilization, memory usage, request rate, or response time. Use metric-based triggers when load is unpredictable or correlates with specific performance indicators.
Multiple triggers
You can configure multiple triggers in a single policy. The behavior depends on your Kubernetes cluster version:
| Cluster version | Trigger evaluation |
|---|---|
| Earlier than V1.15.0 | Scaling occurs only when all triggers are met. |
| V1.15.0 or later | Scaling occurs when any trigger is met. If multiple triggers fire, the system uses the highest expected instance count. |
SLB and persistent storage integration
Auto scaling works with other EDAS features automatically:
Server Load Balancer (SLB): If a Service is configured and an SLB instance is bound to the application, EDAS automatically adds or removes scaled instances from the SLB backend server list.
Persistent storage: If persistent storage is configured, EDAS automatically associates new instances with the configured storage.
Prerequisites
Before you begin, make sure that:
Your application is deployed in an ACK or ACK Serverless cluster
Node auto scaling is enabled for your Kubernetes cluster. If node auto scaling is disabled, application auto scaling may not take effect. Enable node auto scaling in the ACK console on the Clusters page.
No application changes are in progress (deployment, scaling, or specification changes). You cannot create an auto scaling policy during an active change.
After you enable an auto scaling policy, you cannot stop, start, or manually scale the application. To perform these operations, disable the auto scaling policy first.
Create an auto scaling policy
Log on to the EDAS console.
In the left-side navigation pane, choose Application Management > Applications. In the top navigation bar, select a region. In the upper part of the Applications page, select a microservices namespace from the Microservices Namespace drop-down list. Then, click the name of the application that you want to manage.
In the left-side navigation pane of the application details page, choose Application Settings > Auto Scaling. On the Auto Scaling page, click Create Auto Scaling Policy. Alternatively, in the upper-right corner of the Application Overview page, choose Scale > Auto Scaling, then click Create Auto Scaling Policy. You can also select a template in the Create Metric-based Auto Scaling Policy or Create Scheduled Auto Scaling Policy section at the bottom of the Auto Scaling page.
In the Policy Name field, enter a name for the policy.
NoteThe name must start with a letter, and can contain digits, letters, hyphens (-), and underscores (_). Maximum length: 30 characters.
In the Trigger Conditions section, click Create Trigger. In the Create Trigger panel, configure the trigger and click OK.
Enter a Trigger Name. The name must start with a letter, and can contain digits, letters, hyphens (-), and underscores (_). Maximum length: 30 characters.
Configure a time trigger
Use a time trigger to scale instances on a recurring schedule.
Set Trigger Type to Time Trigger.
Set Cycle to Every Day, Every Week, or Every Month.
NoteIf you select Every Week, specify the day of the week. To set different rules for different days, create separate time triggers.
Configure Trigger Time on a Single Day: specify the trigger time and target instance count for each event. Click Add to add more rows.
The following constraints apply:
Constraint Details Past trigger time If the specified trigger time has already passed, the configuration takes effect in the next cycle. Minimum interval The interval between consecutive trigger events must be greater than 10 minutes. Minimum change rate The instance count must change by more than 10% between consecutive events. If the first event targets Pod1 instances and the second targets Pod2 instances, the ratio Pod2/Pod1 must be greater than 1.1 or less than 0.9. Set Retained Instances to the number of instances to keep after the policy is enabled. Valid values: 0 to 50.
Set Trigger Mode (available only when Cycle is set to Every Day):
Mode Behavior Applied for Time Range The target instance count persists until the next trigger event. Applied at Time Point The target instance count applies only at the exact trigger time.
Configure a metric-based trigger
Use a metric-based trigger to scale instances based on real-time application metrics.
Set Trigger Type to Application Metric-based Trigger.
Select a Metric Name:
Metric Description Average Number of Requests per Second Provided by Applications Average QPS across all instances Average Response Time of Services Provided by Applications (Milliseconds) Average response time in milliseconds Average CPU Utilization of Applications Average CPU usage percentage Average Memory Usage of Applications Average memory usage percentage Optional: For request rate or response time metrics, select Calculate Metric Value Based on Average Data to smooth fluctuations. Then set Time Window for Metric Statistics to a value between 300 and 3,600 seconds.
By default, the metric value is calculated from real-time data. Enabling this option uses the average value over the specified time window instead, which reduces noise from short-lived spikes.
Set Expected Value to the target metric value. The system adds or removes instances to keep the metric as close to this value as possible.
If the current metric value is below the expected value, the system removes instances.
If the current metric value exceeds the expected value, the system adds instances.
Select the trigger mode
For each trigger, select a Mode:
Mode Behavior Observe Only Sends an event to Event Center when the threshold is reached, but does not trigger scaling. Use this mode to validate your thresholds before enabling automatic scaling. Observe and Scale Triggers scaling and sends an event to Event Center when the threshold is reached. NoteIf you set the metric to Average CPU Utilization of Applications or Average Memory Usage of Applications, the system considers 0.9 to 1.1 times the expected value as the valid range. A trigger event occurs only when the metric value falls outside this range.
Set the instance count boundaries:
NoteThe minimum and maximum values cannot be equal.
Set these values so that the current instance count falls between them. If it does not, a warning appears when you save the policy, but the policy is still saved.
When multiple triggers fire, the system uses the highest expected instance count, capped at the maximum and floored at the minimum.
Parameter Valid values Description Maximum Application Instances 2 to 1,000 The system does not scale beyond this limit. Minimum Application Instances 0 to 1,000 The system does not scale below this limit. Optional: Turn on Custom Auto Scaling Policy to fine-tune scale-out and scale-in behaviors.
Cooldown time
Set Cooldown Time (Seconds) to prevent rapid consecutive scaling actions. Valid values: 0 to 3,600 seconds.
Behavior Default cooldown Scale-out 0 seconds Scale-in 300 seconds Scaling step policies
In the Scale-out Behavior section, click Create Scale-out Policy. In the Scale-in Behavior section, click Create Scale-in Policy. Configure the following parameters for each:
Parameter Description Policy Type Pods (absolute instance count) or Percent (percentage of current instances). Step Size/Percentage The number of instances or percentage to add or remove per step. Time Period (Seconds) The time window for applying the policy. For example, Percent = 10 and Time Period = 60 means the instance count changes by up to 10% per minute. Click Synchronize to Scale-in Policy or Synchronize to Scale-out Policy to copy settings between scale-out and scale-in behaviors.
Policy selection
Set Policy Selection to control how the system chooses among multiple scaling policies:
Option Behavior Max (default) Apply the policy that results in the largest change. Min Apply the policy that results in the smallest change. Disabled Disable the custom policy. Click Save.
In the upper-right corner of the Auto Scaling page, click Enable.
After the trigger conditions are met, EDAS scales the application based on the configured policy.
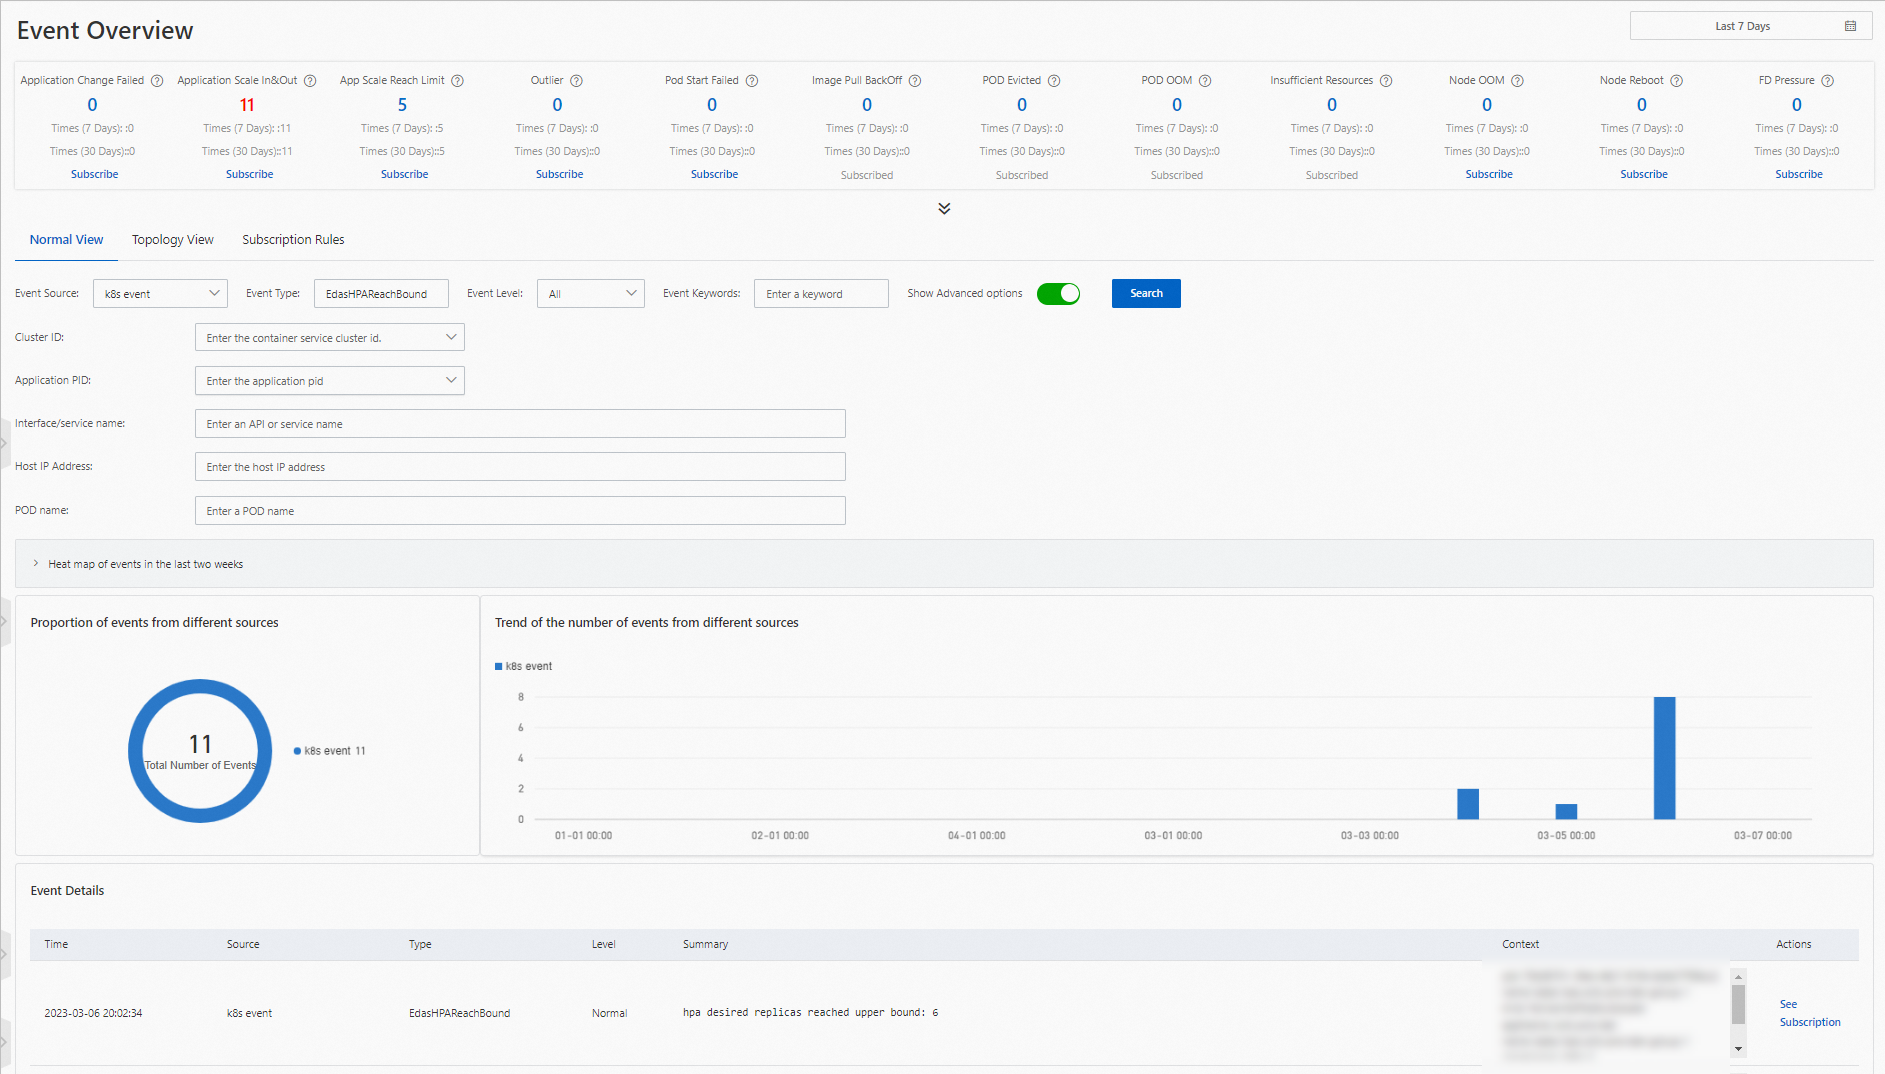
Verify scaling events
After enabling the auto scaling policy, verify that scaling events are triggered as expected:
In the upper-right corner of the Auto Scaling page, click Event.
In the upper-right corner of the Event Center page, set the time range.
Click the Normal View tab.
Select k8s event from the Event Source drop-down list, select an event type from the Event Type drop-down list, and then click Search.
Event type Description ScalingReplicaSet Events generated in Observe and Scale mode. Shows actual scaling actions. DryRunSuccessfulReScale Events generated in Observe Only mode. Shows what scaling would have occurred.
You can also subscribe to scaling events in Event Center to receive notifications when scaling succeeds or when the instance count reaches the configured limit. For more information, see Event center.
Manage auto scaling policies
After an auto scaling policy is enabled, you can disable, modify, or delete the policy from the Auto Scaling page. You can also enable a disabled policy.
While an auto scaling policy is enabled, you cannot stop, start, or manually scale the application. Disable the auto scaling policy first to perform these operations.