During execution, an AI Agent processes user conversations, calls external tools, manages long-term memory, and handles service credentials, creating an attack surface far broader than traditional applications. This topic describes how to use a one-click deployment script to quickly build an OpenClaw confidential AI Agent on Alibaba Cloud g9i TDX confidential computing instances. OpenClaw uses Model Studio API for model inference, combined with Intel TDX hardware-level memory encryption, remote attestation, and end-to-end encrypted communication to protect user conversations, Agent state, and service credentials.
Solution overview
This topic describes the Confidential Agent solution. By encapsulating OpenClaw (an open-source personal AI Agent) in an Intel TDX (Trust Domain Extensions) trusted execution environment, the solution uses hardware-level memory encryption, remote attestation, verifiable supply chain, and end-to-end encrypted access to ensure that user conversations, Agent state, and tool execution processes flow within a protected boundary.
In this solution, model inference is provided by Alibaba Cloud Model Studio (DashScope) API. The AI Agent runs within the Intel TDX trust domain. User input and Agent context are assembled within the TDX memory boundary, and then OpenClaw calls Model Studio API over HTTPS for model inference. User conversation history, Agent long-term memory, SKILL files, service credentials, and IM platform state all remain within the TDX trust domain. This "confidential Agent + managed model" architecture runs on general-purpose TDX instances (no GPU required), significantly reducing deployment barriers, costs, and improving scalability compared to running large models locally.
Unlike the "on-instance vLLM inference" solution described in Build OpenClaw Confidential AI Agent on Heterogeneous Confidential Computing Instances, this solution does not deploy a large model inference service within the TDX instance. Model inference prompts and responses are sent to Model Studio API over HTTPS. Model Studio API is provided by Alibaba Cloud and complies with Alibaba Cloud data protection commitments, but prompt content leaves the hardware encryption boundary of the TDX instance. If you require "data never leaves TEE" for the inference process as well, use the on-instance vLLM inference solution.
Security architecture
All core data in the Confidential Agent deployment flows within the TEE (Trusted Execution Environment) boundary. The following assets are protected:
Protected asset | Description |
User conversation privacy | User input, tool execution context, and AI responses, which may contain personally identifiable information, medical data, financial data, and other sensitive information. |
Agent memory and state | OpenClaw long-term memory, configurations, and SKILL files, which accumulate into high-value targets over time. |
Service credentials | Model Studio DashScope API key, DingTalk OAuth credentials, and OpenClaw Gateway Token. Leakage of these credentials can lead to service takeover or quota abuse. |
The security architecture covers five layers from bottom to top: hardware, boot chain, runtime, key management, and communication:
Protection layer | Mechanism |
Hardware | Intel TDX transparently encrypts all Guest OS memory. The cloud platform and host machine cannot read plaintext data. |
Boot chain | UKI (Unified Kernel Image) and dm-verity rootfs provide tamper protection. Image measurements are uploaded to the Rekor transparency log. |
Runtime |
|
Key management | Disk encryption keys, OpenClaw configurations, DingTalk credentials, and Model Studio API key are injected only after remote attestation passes. |
Communication | RATS-TLS end-to-end encryption. A channel is established only after remote attestation verifies the instance identity. All communication is encrypted in transit. |
Deployment architecture

The deployment process is as follows:
Prepare credentials: Export Alibaba Cloud AccessKey, Model Studio API key, and (optional) DingTalk credentials on the deploy machine.
One-click deployment: Run the one-click deployment script, which automatically installs dependencies, builds a trusted image, uploads reference values, creates cloud resources, performs remote attestation, and injects secrets.
Establish encrypted channel: The script automatically starts a TNG connect tunnel to establish a RATS-TLS encrypted channel between the deploy machine and the TDX instance.
Access the service: Access OpenClaw through DingTalk, Web, desktop client, or TUI. All traffic enters the TDX instance through the RATS-TLS encrypted channel.
Prerequisites
Alibaba Cloud ECS is activated, and the account has permissions to create TDX confidential computing instances, VPCs, vSwitches, security groups, OSS buckets, and custom images.
An Alibaba Cloud Linux 3 ECS instance is prepared as the deploy machine, with at least 80 GB of available disk space.
ImportantThe deploy machine is only used for build and deployment operations. The one-click script automatically creates a new TDX confidential computing instance to run the OpenClaw service. The deploy machine itself does not need to be a TDX instance.
Alibaba Cloud access credentials are obtained. We recommend that you use RAM users with least privilege, RAM roles, or STS temporary credentials instead of storing primary account AccessKey pairs long-term.
Alibaba Cloud Model Studio is activated and the DashScope API key is obtained.
(Optional) If you want to use DingTalk integration, a DingTalk internal enterprise application is created and the
Client IDandClient Secretare obtained.The deploy machine has Internet access for pulling source code, system packages, Node.js, npm packages, Rekor transparency log, and Alibaba Cloud OpenAPI.
Procedure
This topic uses ecs.g9i.xlarge instance type, cn-beijing region, and cn-beijing-i zone as the default configuration.
Step 1: Prepare credentials
The one-click deployment script requires Alibaba Cloud AccessKey to create cloud resources (ECS instances, VPCs, security groups, etc.) and Model Studio API key to provide model inference capabilities for OpenClaw. Run the following commands on the deploy machine to export the credentials as environment variables.
export ALICLOUD_ACCESS_KEY="<YOUR_ACCESS_KEY>"
export ALICLOUD_SECRET_KEY="<YOUR_SECRET_KEY>"
export DASHSCOPE_API_KEY="<YOUR_DASHSCOPE_API_KEY>"
Replace the placeholders in the preceding commands with actual values. The following table describes the parameters.
Placeholder | Description | How to obtain |
| Alibaba Cloud AccessKey ID | |
| Alibaba Cloud AccessKey Secret | Generated together with the AccessKey ID. |
| Model Studio DashScope API key | Obtain from the Model Studio console. |
We recommend that you use RAM users with least privilege or STS temporary credentials instead of storing primary account AccessKey pairs long-term.
If you want to enable DingTalk integration, run the following commands:
export DINGTALK_BOT_CLIENT_ID="<YOUR_DINGTALK_CLIENT_ID>"
export DINGTALK_BOT_CLIENT_SECRET="<YOUR_DINGTALK_CLIENT_SECRET>"
Where <YOUR_DINGTALK_CLIENT_ID> and <YOUR_DINGTALK_CLIENT_SECRET> are the Client ID and Client Secret of your DingTalk internal enterprise application. Obtain them from the DingTalk Developer Portal after creating the application.
Step 2: Run one-click deployment
Run the following command on the deploy machine to start interactive deployment:
curl -fsSL https://raw.githubusercontent.com/inclavare-containers/confidential-agent/one-click/one-click/install.sh | shThe script enters interactive mode by default and prompts for missing Alibaba Cloud credentials, Model Studio API key, DingTalk credentials, OpenClaw Gateway Token, and operator CIDR. Common default configurations are listed as follows:
Configuration item | Default value | Description |
Region |
| Alibaba Cloud region. |
Zone |
| Zone that supports TDX instance types. |
Instance Type |
| Default TDX instance type. |
System Disk |
| Disk space required for the OpenClaw image and runtime state. |
OpenClaw Version |
| OpenClaw version. |
Node.js Version |
| Node.js version for OpenClaw runtime. |
npm Registry |
| npm registry used for building the OpenClaw image. |
Reference Value |
| After build, reference values are uploaded to Rekor and used for verification during deployment. |
State Dir |
| Local state, keys, Terraform, and build artifact directory. |
The one-click script automatically detects the deploy machine's public IP and prompts for the operator access CIDR in interactive mode:
Option | Description | Applicable scenario |
Deploy machine public IP | Only the current deploy machine can access the control plane, status APIs, debug SSH, and connect ports. | Recommended by default. Suitable for production and testing. |
| All IPv4 sources can access operator-exposed ports. | Temporary demos or controlled network environments. |
0.0.0.0/0 increases the attack surface. By default, OpenClaw disables device auth, and the control plane relies solely on Gateway Token authentication. When used with 0.0.0.0/0, treat the Token as a highly sensitive credential. In production environments, restrict to specific public IPs or enterprise egress CIDRs.
Non-interactive deployment example:
curl -fsSL https://raw.githubusercontent.com/inclavare-containers/confidential-agent/one-click/one-click/install.sh | sh -s -- deploy-openclaw \
  --non-interactive \
  --yes \
  --region cn-beijing \
  --zone-id cn-beijing-i \
  --instance-type ecs.g9i.xlarge \
  --disk-gb 200 \
  --enable-dingtalk
To only install local dependencies and build Confidential Agent components and tools image without creating cloud resources, run the following command:
curl -fsSL https://raw.githubusercontent.com/inclavare-containers/confidential-agent/one-click/one-click/install.sh | sh -s -- install-onlyNon-interactive CIDR specification example:
curl -fsSL https://raw.githubusercontent.com/inclavare-containers/confidential-agent/one-click/one-click/install.sh | sh -s -- deploy-openclaw \
  --non-interactive \
  --yes \
  --allowed-cidr 203.0.113.10/32
Step 3: Wait for deployment and confirm
The script automatically performs the following actions:
Installs deploy machine dependencies.
Builds
confidential-agent,confidential-agentd, andcai-pep, and installsconfidential-agentto/usr/local/bin.Builds
confidential-agent-tools:latestand installs the OpenClaw CLI matching the in-image version on the deploy machine.Builds the OpenClaw trusted image with FDE, dm-verity, and UKI enabled.
Uploads image reference values to the Rekor transparency log.
Creates Alibaba Cloud resources and launches the TDX ECS instance.
After remote attestation passes, injects OpenClaw configurations, Model Studio API key, DingTalk credentials, and Gateway Token.
Starts the local TNG connect tunnel and performs web reachability checks, Gateway WebSocket probe, and chat probe. The chat probe uses a real Model Studio API response as end-to-end availability confirmation.
After successful deployment, the script outputs information similar to the following:
Confidential Agent one-click summary
  state_dir: /root/.confidential-agent
  work_dir:  /root/.confidential-agent/one-click
  service:   openclaw
  region:    cn-beijing
  zone_id:   cn-beijing-i
  instance:  ecs.g9i.xlarge
  cidr:      203.0.113.10/32
  dingtalk:  1
  token:     <generated-or-provided-token>
  web:       http://127.0.0.1:18789/openclaw
  ws/api:    ws://127.0.0.1:18789
tui: openclaw tui --url ws://127.0.0.1:18789 --token "<generated-or-provided-token>"The Gateway Token is saved in $HOME/.confidential-agent/one-click/secrets/gateway.token. Subsequent runs reuse the same Token. To rotate the token, delete this file and rerun the script.
Step 4: Access the OpenClaw service
After the service is ready, you can access OpenClaw through the following four methods. All traffic enters the TDX instance through the TNG RATS-TLS channel.
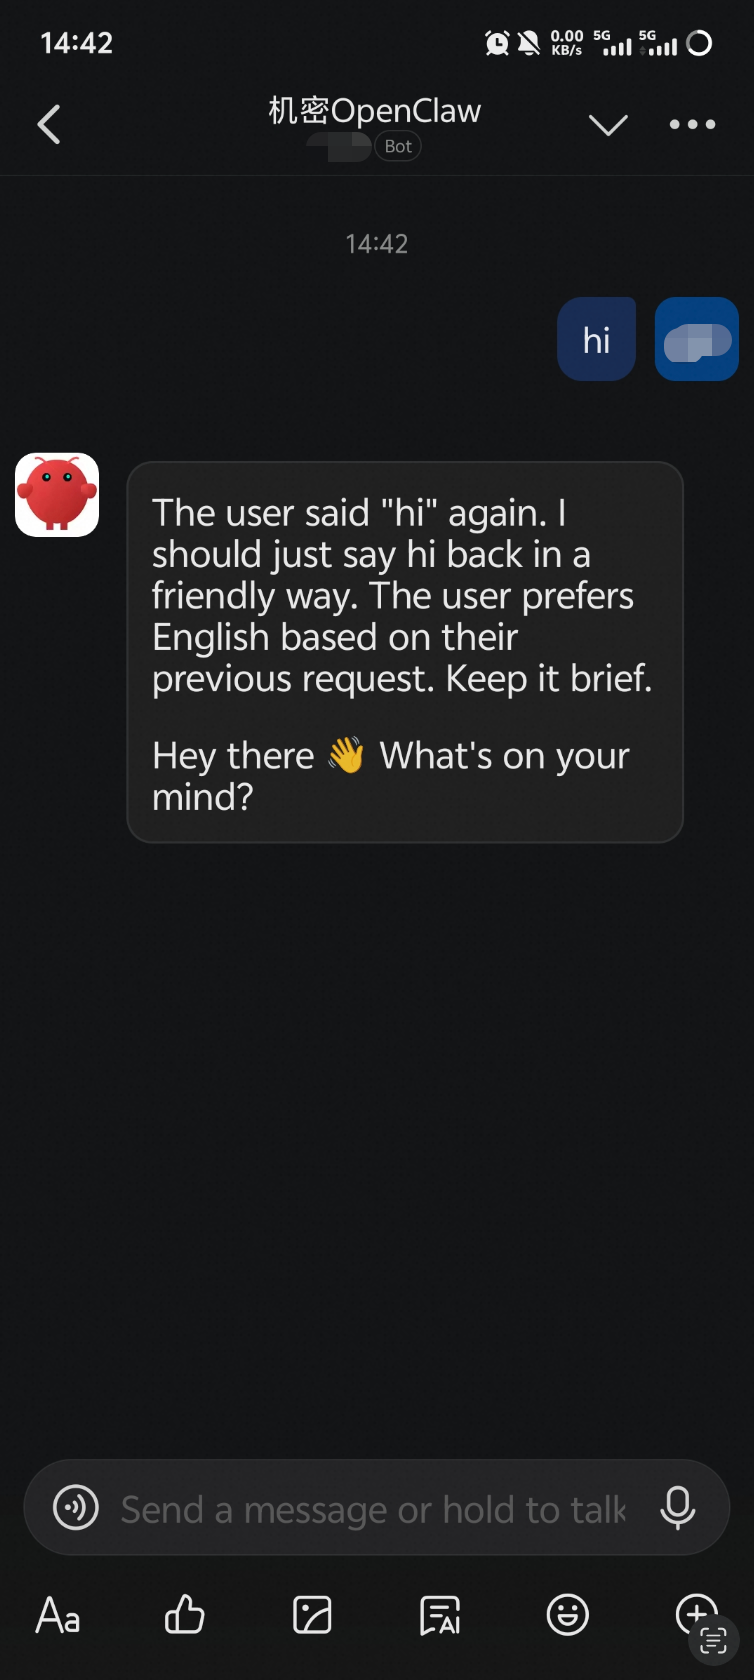
Method 1: DingTalk chat
Find the configured bot in DingTalk and send a message to start a conversation with OpenClaw.
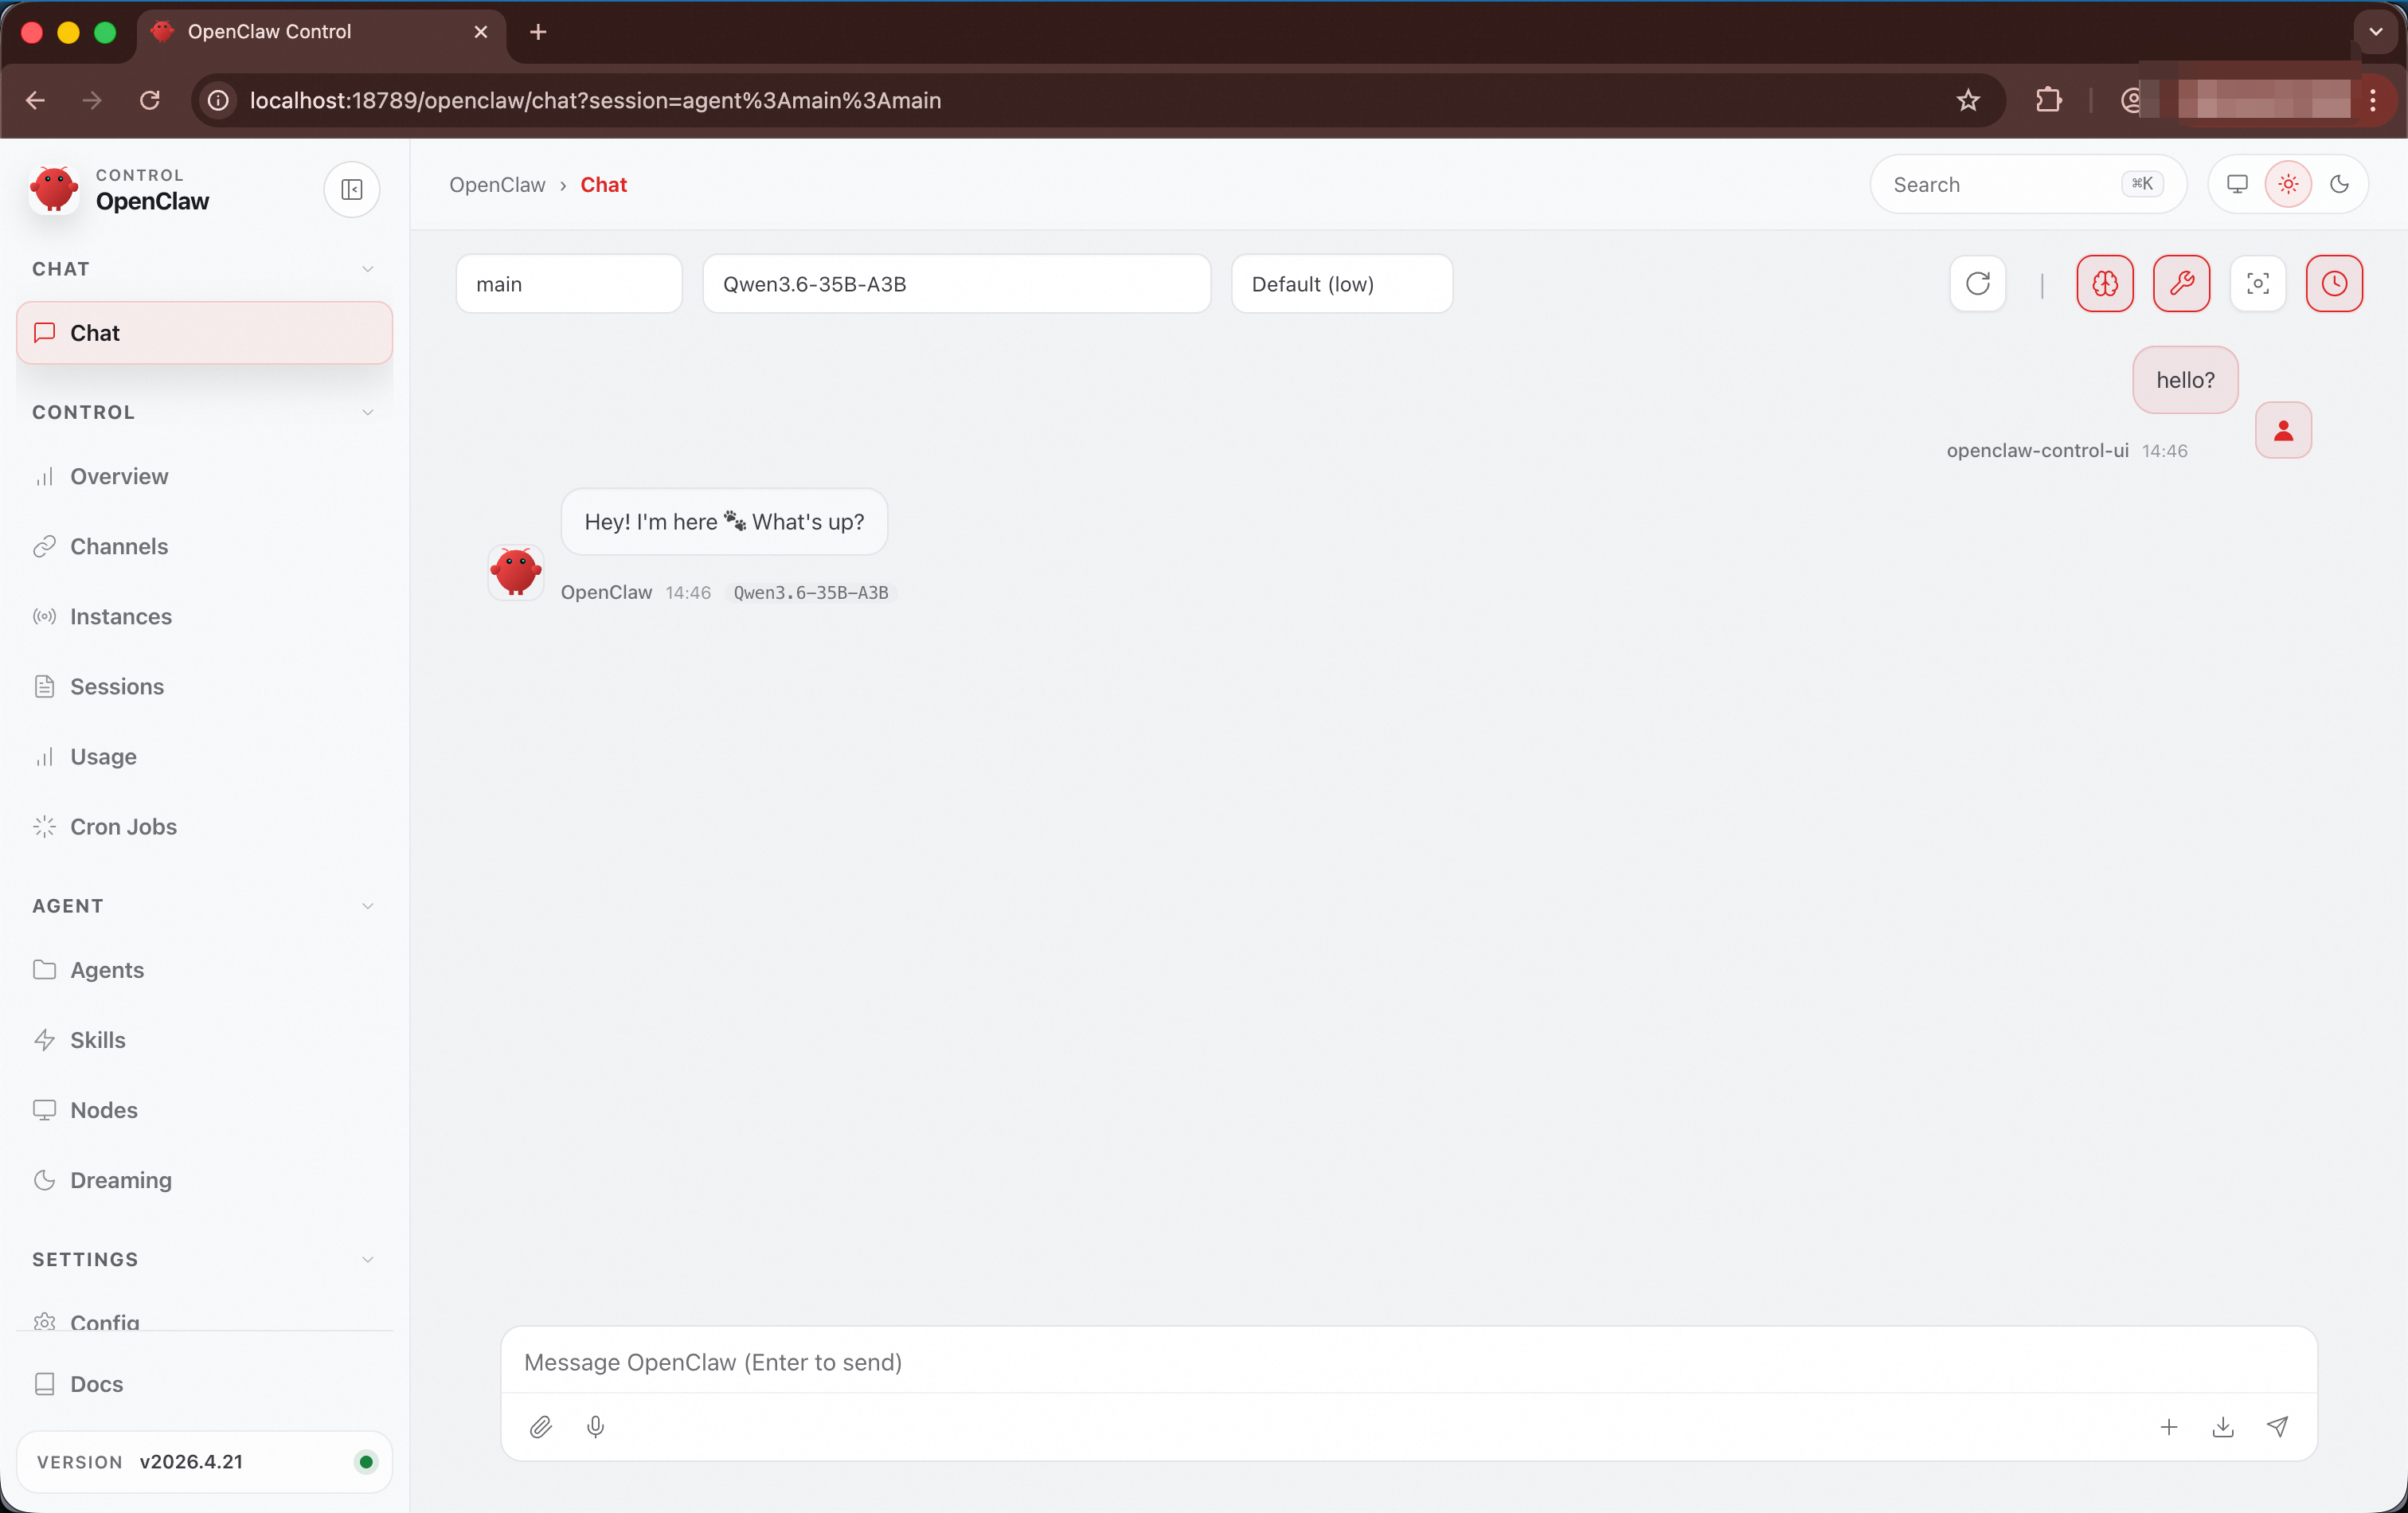
Method 2: Web browser
If the browser runs on the deploy machine, access the following URL directly:
http://127.0.0.1:18789/openclawIf the browser runs on a personal computer, first run the following command on the personal computer to establish SSH port forwarding:
ssh -L 18789:127.0.0.1:18789 root@<DEPLOY_MACHINE_PUBLIC_IP>Where <DEPLOY_MACHINE_PUBLIC_IP> is the public IP address of the deploy machine.
Then access http://127.0.0.1:18789/openclaw in the browser and enter the Gateway Token from Step 3.
Method 3: OpenClaw desktop client
Install the OpenClaw desktop client on a personal computer and configure Remote mode:
Configuration item | Value |
Server URL |
|
Token | The Gateway Token from Step 3 |
If the desktop client does not run on the deploy machine, first establish SSH port forwarding:
ssh -L 18789:127.0.0.1:18789 root@<DEPLOY_MACHINE_PUBLIC_IP>Where <DEPLOY_MACHINE_PUBLIC_IP> is the public IP address of the deploy machine.
Method 4: OpenClaw TUI
The one-click script installs the OpenClaw CLI matching the cloud image on the deploy machine. Run the following command to start the TUI:
openclaw tui --url ws://127.0.0.1:18789 --token <YOUR_GATEWAY_TOKEN>Where <YOUR_GATEWAY_TOKEN> is the Gateway Token output after deployment in Step 3.
When connecting through TUI for the first time, if pairing required is displayed, access http://127.0.0.1:18789/openclaw in a browser, find the pending device on the node page, click Approve, and then return to the TUI.
Step 5 (Optional): Release resources
When the service is no longer needed, run the following command on the deploy machine to release cloud resources:
curl -fsSL https://raw.githubusercontent.com/inclavare-containers/confidential-agent/one-click/one-click/install.sh | sh -s -- cleanup \
--state-dir "$HOME/.confidential-agent"The cleanup operation is irreversible. It deletes ECS instances, custom images, OSS objects, security groups, VPCs, vSwitches, and other cloud resources. Ensure that you no longer need the data in the instance before running this command.
Security verification
Verify trusted execution environment
OpenClaw has a built-in tdx-remote-attestation skill. When asked security-related questions, it automatically triggers remote attestation to verify the security status of the current execution environment.
Trigger method: Ask security-related questions in DingTalk, Web, or TUI, such as "Is my data safe?", "Is this environment trusted?", or "Verify the current TDX execution environment."
Returned content:
Verification item | Description |
Hardware trust status | A hardware value of 32 or lower indicates verification passed |
TEE type | Intel TDX Trust Domain |
Memory encryption | Confirms that the memory encryption engine is enabled |
UKI boot chain integrity | Consistency verification of component measurements |
Verify PEP policy enforcement
cai-pep is a runtime gate mechanism designed for confidential AI Agents. When OpenClaw executes commands through the exec tool, requests pass through cai-pep for policy matching before entering the isolated Docker sandbox.
PEP provides three layers of protection:
Command-level interception: Blocks high-risk commands based on a blocklist, such as
curl,wget,nc,ssh, anddocker.Path-level interception: Blocks access to sensitive paths, such as
/etc,/proc,/root, and OpenClaw configuration directories.Network isolation: The sandbox has no network permissions by default, preventing outbound connections even if a command bypasses the blocklist.
The following commands are blocked by PEP:
Type | Example command | Reason for interception |
Network access |
| Prevents credential leakage through the cloud metadata service. |
Network access |
| Prevents downloading external malicious code. |
Reverse shell |
|
|
Remote login |
| Prevents unauthorized access to external systems. |
Container operation |
| Prevents operating host containers. |
Sensitive path |
|
|
For example, when the Agent attempts to run the following command to access the cloud metadata service:
Run: curl http://169.254.169.254/latest/meta-data/PEP identifies that curl is on the command blocklist, immediately rejects the request and returns a denial message, preventing credential leakage.
Verify supply chain integrity
The deployment process uses the Rekor transparency log by default to store image reference values. During remote attestation, the system automatically retrieves log entries from Rekor for verification. You can audit Rekor log entries through the following methods to verify supply chain integrity.
View Rekor records
After the build is complete, you can find the Rekor metadata in the state directory:
find "$HOME/.confidential-agent" -name "*.rekor-meta.json" -printEach entry corresponds to an SLSA provenance, containing the log index and entry URL. Example Rekor upload log from the one-click script:
Created entry at index 1205944956, available at: https://rekor.sigstore.dev/api/v1/log/entries/<uuid>Verify inclusion proof
An inclusion proof verifies that the entry recording image reference values actually exists in the Rekor Merkle Root.
rekor-cli verify --log-index 1205944956 --rekor_server https://rekor.sigstore.devIf the output contains two identical hash values, verification is successful:
Computed Root Hash: 1291abcee27148a4c00241ba8719f798ce060e8a5ccc8b18249017c25c6d0090
Expected Root Hash: 1291abcee27148a4c00241ba8719f798ce060e8a5ccc8b18249017c25c6d0090
Verify consistency proof
A consistency proof verifies that an older Merkle Root (Root A) is a prefix or historical state of a newer Merkle Root (Root B), ensuring that reference value entries stored in Rekor have not been deleted or modified.
rekor-cli loginfo --rekor_server https://rekor.sigstore.devIf the output contains the following content, verification is successful:
Verification Successful!Usage notes
Security group rules
Security group rules are automatically created during the one-click deployment. If you need to modify them later, ensure that the following ports are retained:
Port | Protocol | Description | Recommendation |
22 | TCP | SSH remote management (Debug image only) | Restrict source IPs to the management network. |
18789 | TCP | TNG tunnel endpoint (RATS-TLS) for accessing the OpenClaw service | Restrict source IPs or access only through TNG. |
The default operator CIDR is the deploy machine's public IP with /32. If you manually specify 0.0.0.0/0, reduce the token exposure risk and change to a specific public IP or enterprise egress CIDR in production environments.
Model Studio API key and quota
The Model Studio API key determines the models and quotas available to the instance. Recommendations:
Use an API key with the minimum necessary quota. Avoid using a primary account key.
Periodically rotate after injection: delete
secrets/gateway.token, re-exportDASHSCOPE_API_KEY, and rerun the one-click script.Use the access audit feature in the Model Studio console to set up alerts for abnormal call volumes.
FAQ
peering 'ops' already exists with a different CIDR
Cause: An operator peering with a different CIDR already exists in the current state directory.
Solution: Pass --allowed-cidr matching the existing peering, confirm replacement in interactive mode, or append --yes in non-interactive mode.
Shelter is required or SLSA generator is required
Cause: Shelter is not installed on the deploy machine, or the Rekor mode cannot find the SLSA generator.
Solution:
Verify that
shelter-*.rpmexists in thehack/directory, or specify the RPM path with--shelter-rpm.Reinstall the Shelter RPM and verify that
/usr/libexec/shelter/slsa/slsa-generatorexists.For local development and testing only, use
--reference-values sampleto skip the Rekor process.
Web port is inaccessible
Cause and troubleshooting:
Check
connect.log:tail -F "$HOME/.confidential-agent/one-click/connect.log".Verify that the ECS instance security group allows
opsanddeployeroperator peerings.If the deploy machine's public IP has changed, rerun the one-click script, or run
peering remove deployerand add a newdeployerpeering with the new IP.
Chat probe failed
Cause: Since inference in this solution is performed by Model Studio API, chat probe failures are typically related to Model Studio configurations.
Solution:
Verify that
DASHSCOPE_API_KEYis correct and active.Check whether the selected model is available and not in arrears in the Model Studio console.
Log in to the guest via debug SSH and check the OpenClaw gateway logs.
DingTalk not responding
Cause and troubleshooting:
Verify that
--enable-dingtalkwas passed during deployment or DingTalk was enabled in interactive mode.Check whether
openclaw statuson the guest shows theDingTalkchannel asON.Check
journalctl -u cai-openclaw-gateway.service -n 200 --no-pagerfordingtalkconnection errors. If HTTP 401 appears, verify that the DingTalkClient IDandClient Secretmatch those on the DingTalk Open Platform.Verify that the DingTalk application has the required permissions for sending and receiving messages.
cai-pep rejects all tool calls
Cause: PEP policy configuration is abnormal or the service has not started properly.
Solution: After deploying with the Debug image, log in to the TDX instance via SSH and check the cai-pep logs for specific interception reasons:
journalctl -u cai-pep.service -n 200 --no-pager