During runtime, AI agents process user conversations, call external tools, and manage long-term memory and service credentials, resulting in an attack surface far exceeding that of traditional applications. Alibaba Cloud gn8v-tee heterogeneous confidential computing instances leverage Intel TDX and NVIDIA GPU confidential computing capabilities to provide a complete trusted execution environment (TEE). By deploying the open-source AI agent framework OpenClaw on these instances, you can achieve hardware-level data protection, remote attestation, and supply chain verifiability, ensuring end-to-end security for model inference and user interactions.
Overview
This topic describes the Confidential Agent solution, which deploys OpenClaw on gn8v-tee instances that support Intel TDX (Trust Domain Extensions). The Qwen3.6-35B-A3B Mixture of Experts (MoE) model runs locally on the instance, so that agent execution and model inference are completed entirely within the TDX trust domain without calling any third-party API services. User input, model weights, inference intermediate states, and AI output never leave the trust boundary of the confidential instance during processing.
gn8v-tee is a GPU-based confidential computing instance family released by Alibaba Cloud. It integrates Intel TDX hardware encryption and NVIDIA GPU acceleration to meet both AI inference performance and data security compliance requirements. This topic uses ecs.gn8v-tee.4xlarge as an example, running Alibaba Cloud Linux 3 in the cn-beijing-l zone. For larger workloads, you can scale out to multi-GPU instance types.
Security architecture
All core data in the Confidential Agent deployment circulates within the TEE boundary. The following three types of assets are strictly protected:
Protected asset | Description |
User conversation privacy | User input, tool execution context, and AI responses, which may contain sensitive information such as personally identifiable information (PII), medical records, and financial data. |
Agent memory and state | Long-term memory, configurations, and SKILL files in OpenClaw, which accumulate into high-value targets over time. |
Service credentials | OAuth credentials for IM platforms such as DingTalk, external API keys, and gateway tokens. |
The security architecture covers five layers from bottom to top: hardware, boot chain, runtime, key management, and communication:
Protection layer | Mechanism |
Hardware | Intel TDX Memory Encryption Engine (MEE) transparently encrypts all guest memory. The cloud provider cannot read the plaintext. |
Boot chain | UKI (Unified Kernel Image) + dm-verity rootfs for tamper protection. Remote attestation verifies runtime integrity. Supply chain reference values are recorded in the Rekor transparency log. |
Runtime | PEP policy sandbox blocks high-risk commands and sensitive path access, preventing privilege escalation caused by prompt injection. |
Key management | Disk encryption keys are injected through a remote attestation challenge during boot and are held locally by the user. The cloud provider is not involved. |
Communication | RATS-TLS end-to-end encryption. The encrypted channel is established only after remote attestation verifies the instance identity. All communication is encrypted in transit. |
Deployment workflow

Source code audit: The deployer audits the business source code to confirm no malicious code or backdoors exist.
Build artifacts and publish software reference values: Build a lightweight OS image containing only the OpenClaw service from the audited source code, and upload the SLSA signature of the build artifacts to the Rekor transparency log to publish the software reference values.
Create a confidential instance: Create a gn8v-tee confidential computing instance by using the built image.
Remote attestation audit and upload confidential resources: The deployer uses the deployment tool to perform remote attestation on the instance to verify that it runs on genuine TDX hardware. After verification, confidential resources such as disk encryption keys and DingTalk bot credentials are automatically uploaded.
Access OpenClaw: Users can access OpenClaw directly through a web browser, desktop client, or TUI terminal, or indirectly through IM platforms such as DingTalk.
Remote attestation audit and encrypted transmission: Before establishing a connection, the trusted gateway client retrieves software reference values from Rekor and hardware reference values from Intel PCCS and RIM/OCSP. After completing remote attestation verification, a RATS-TLS encrypted channel is established. All communication is encrypted end-to-end.
Prerequisites
You have activated Alibaba Cloud ECS and your account has permissions to create gn8v-tee instances.
You have prepared an ECS instance running Alibaba Cloud Linux 3 (general-purpose or other type) as the deployment machine, with at least 80 GB of available disk space.
ImportantThe deployment machine is used only for deployment operations. A general-purpose instance is sufficient. You do not need to use a gn8v-tee instance. In subsequent steps, you will run commands on the deployment machine to create the gn8v-tee instance.
You have obtained an Alibaba Cloud AccessKey pair. We recommend that you use a RAM role or STS temporary credentials.
If you need to use DingTalk integration, you have created a DingTalk internal enterprise application and obtained the required credentials.
Procedure
Step 1: Build a trusted image containing OpenClaw and the vLLM inference engine
Complete the following tasks on the deployment machine (an Alibaba Cloud Linux 3 instance): download the source code, install dependencies, generate keys, configure cloud resources, and build the trusted image.
Log on to an ECS instance.
Go to ECS console - Instances. In the top-left corner, select the region and resource group for the target instance.
Navigate to the details page of the target instance. Click Connect and select Workbench. Set the connection method to Terminal Connection, enter your username and password, and log on to the graphical terminal.
Download the project source code.
cd ~/
git clone https://github.com/inclavare-containers/confidential-agent
cd confidential-agent
Install all required software dependencies.
make install-depsThis command automatically installs Docker, Terraform, Go, Python, cosign, rekor-cli, and other tools required for building and deployment.
Generate the encryption keys and configuration files required for deployment.
make generate-secretsAfter the keys are generated, edit
secrets/openclaw-vllm.jsonand replace the placeholders with actual values, such as DingTalk application credentials and model configurations. The following table describes the placeholders:Placeholder
Description
How to obtain
<DINGTALK_BOT_CLIENT_ID>DingTalk bot ClientId
See DingTalk Bot + OpenClaw. Create an application in the DingTalk Developer Portal to obtain the value.
<DINGTALK_BOT_CLIENT_SECRET>DingTalk bot ClientSecret
Same as above. Obtain the value from the application details page.
Configure the Terraform variable file.
NoteTerraform is an open-source Infrastructure as Code (IaC) tool that allows you to automate the creation, modification, and version management of various cloud resources and services on Alibaba Cloud by writing declarative configuration files. In this solution, Terraform is used to automate the deployment of confidential instances.
cp terraform/terraform.tfvars.example terraform/terraform.tfvarsEdit the
terraform/terraform.tfvarsfile and configure the key parameters as described in the following table.Parameter
Recommended value
Description
zone_id"cn-beijing-l"A zone that supports the gn8v-tee instance family
vpc_cidr"10.0.0.0/16"VPC CIDR block
vswitch_cidr"10.0.1.0/24"vSwitch CIDR block
security_group_allowed_cidrThe IP CIDR block of the client environment that needs to access the OpenClaw service
Source IP range allowed by the security group
ImportantThe default value of
security_group_allowed_cidris0.0.0.0/0. In production environments, you must change this value to a specific IP CIDR block and allow only the required source IP addresses.Export your Alibaba Cloud access credentials for Terraform to create cloud resources.
export ALICLOUD_ACCESS_KEY="<YOUR_ACCESS_KEY>" export ALICLOUD_SECRET_KEY="<YOUR_SECRET_KEY>"NoteWe recommend that you use a RAM role or temporary credentials (STS) to avoid long-term storage of AccessKey pairs. For information about how to create an AccessKey pair, see Create an AccessKey pair.
Build a trusted image that contains OpenClaw and the vLLM inference engine.
make build PROFILE=openclaw-vllmNoteThe first build involves steps such as GPU driver installation. Please be patient.
After the build is complete, the following two images are generated:
Image type
Description
Production image
Security-hardened version with SSH server removed and only the minimal runtime retained, for production deployment
Debug image
Retains SSH access and debugging tools, for troubleshooting only
During the build process, image reference values are also uploaded to the Rekor transparency log. A
.rekor-meta.jsonmetadata file is generated for verification during deployment.
Step 2: Deploy the trusted image to an instance
Deploy the trusted image to a gn8v-tee instance and establish an end-to-end encrypted channel through TNG.
On the deployment machine, run the following command to create a gn8v-tee instance by using the trusted image. After the instance is created, remote attestation is performed on the instance and confidential resources are uploaded.
make deploy PROFILE=openclaw-vllm RV_MODE=rekorThe following table describes the key parameters:
Parameter
Description
PROFILE=openclaw-vllmSpecifies the deployment profile
RV_MODE=rekorVerifies the integrity of image reference values through the Rekor transparency log during deployment
The deployment process creates the following resources in the cloud:
OSS bucket: A private storage space used to upload and host the trusted VM image (.qcow2).
ECS custom image: Imported from the OSS image file into the Alibaba Cloud ECS custom image library.
ECS GPU confidential computing instance: An ecs.gn8v-tee.4xlarge confidential computing instance attached to the security group and vSwitch. UKI boot parameters include the remote attestation challenge configuration.
Security group: Opens SSH (port 22) and TNG (port 18789), allowing access only from the specified CIDR block.
NoteBy default, the Debug image is deployed. To deploy the Production image (without SSH access), manually specify the image file.
ImportantDuring deployment, the image is uploaded to OSS and models are downloaded from ModelScope, which requires Internet access and incurs traffic charges.
Start the TNG Client on the deployment machine to establish a RATS-TLS encrypted channel between the deployment machine and the cloud-based gn8v-tee instance.
make connect-tngAfter a successful connection, the output contains the HTTP and WebSocket URLs and the access token required to access OpenClaw. All subsequent communication is protected by RATS-TLS encryption.
Check whether the OpenClaw service is ready through the TNG tunnel.
curl -s http://localhost:18789/healthAfter a healthy status is returned, you can proceed to access the service.
Step 3: Access the OpenClaw service protected by confidential computing
After the service is ready, you can access the OpenClaw service through the following four methods.
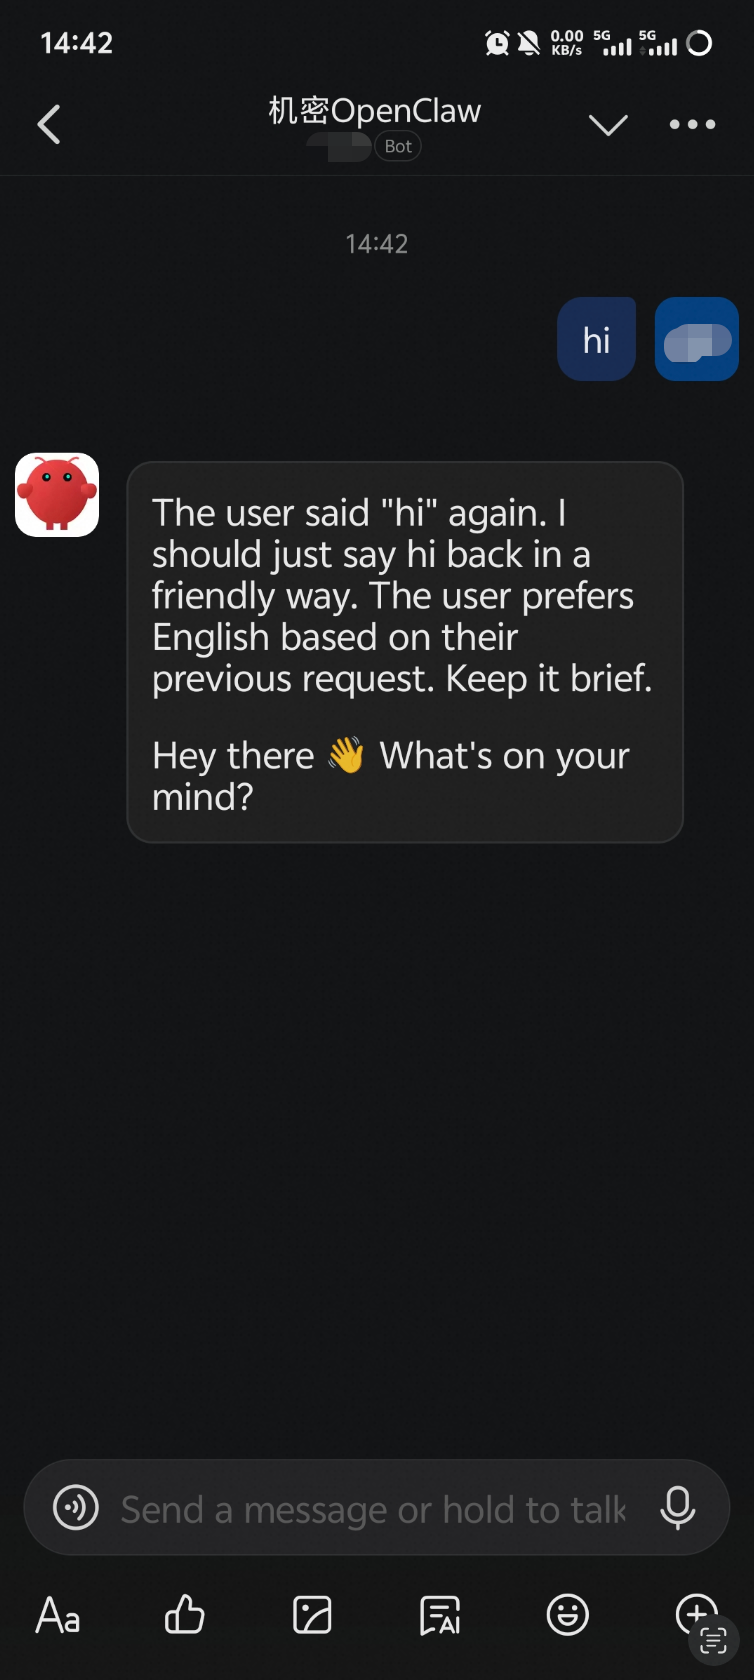
Method 1: Through DingTalk chat
Find the configured bot in DingTalk and send a message to start a conversation with OpenClaw.
Method 2: Through the browser-based web UI
Preparation: Establish port forwarding from your local machine to the deployment machine
The make connect-tng command in Step 2 runs on the deployment machine and binds the TNG tunnel to localhost:18789 on the deployment machine. You need to set up SSH port forwarding from your local machine to the deployment machine:
ssh -L 18789:127.0.0.1:18789 root@<deployment machine IP>After port forwarding is established, accessing localhost:18789 in a browser or client on your local machine is equivalent to accessing the TNG tunnel on the deployment machine.
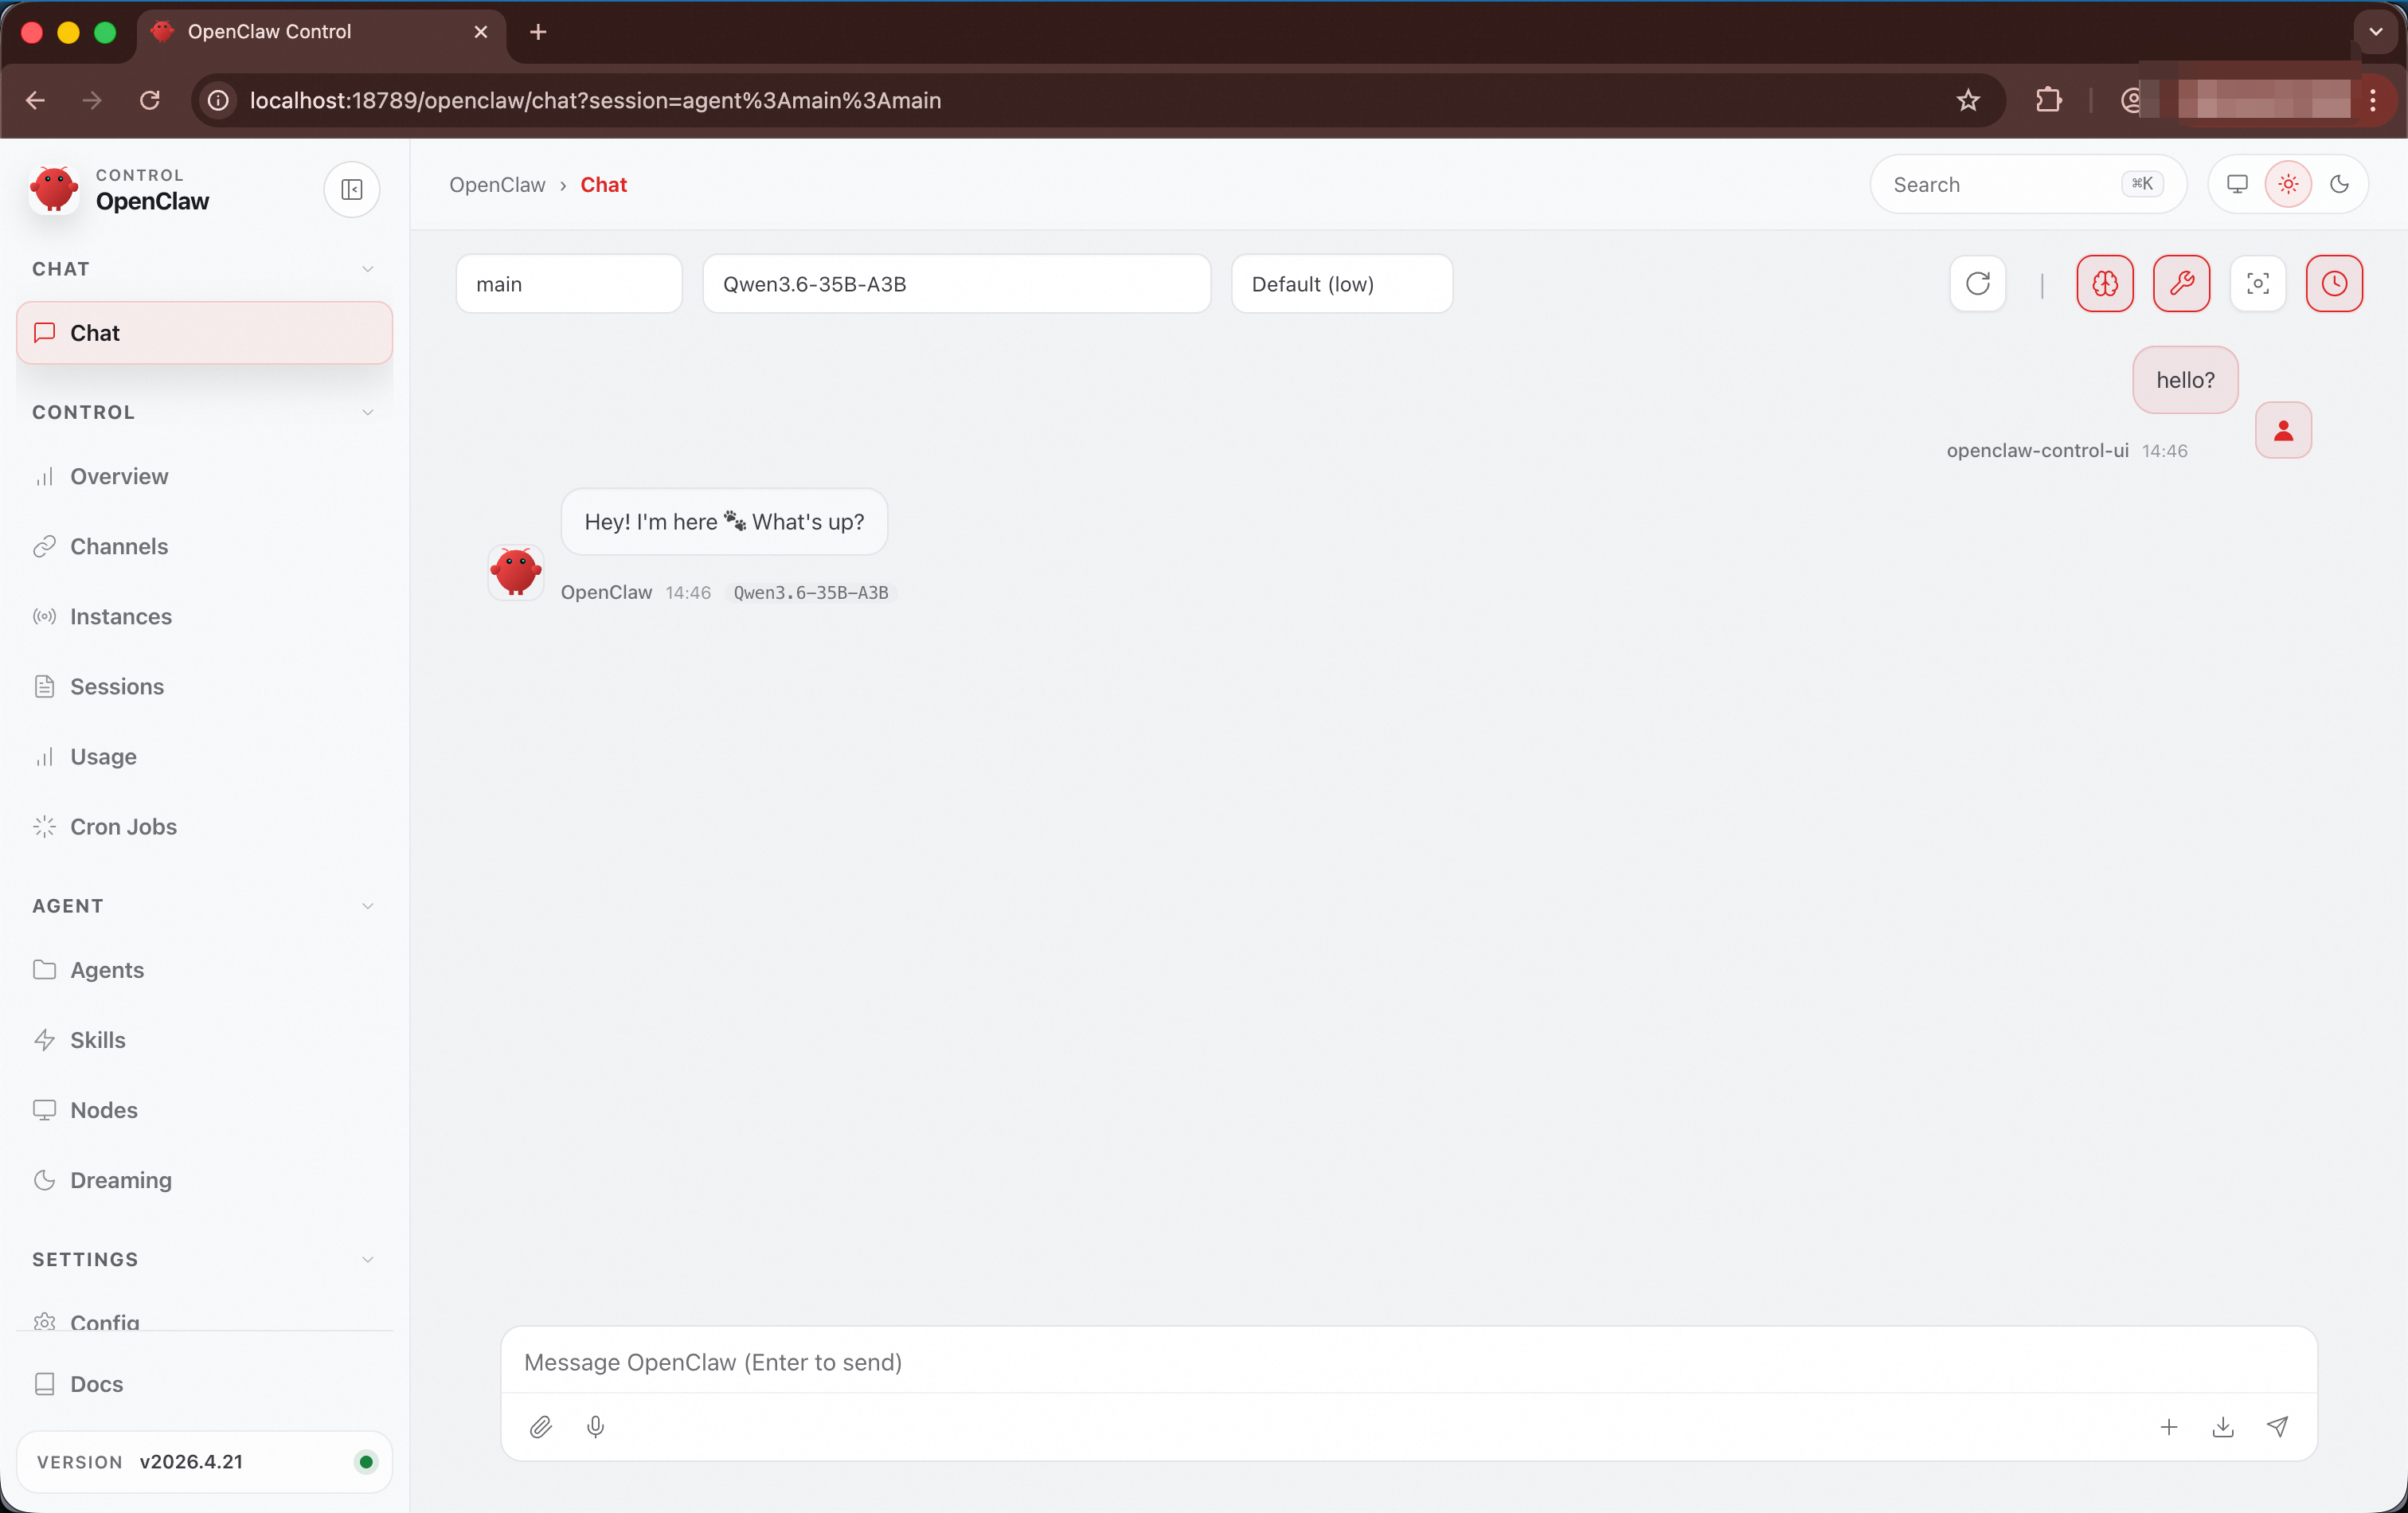
Access through a browser
After SSH port forwarding is set up on your local machine, go to http://localhost:18789/openclaw in your browser to open the web control panel. Enter the OpenClaw token obtained in Step 2 to access the service.
Method 3: Through the OpenClaw desktop client
Preparation: Establish port forwarding from your local machine to the deployment machine
The make connect-tng command in Step 2 runs on the deployment machine and binds the TNG tunnel to localhost:18789 on the deployment machine. You need to set up SSH port forwarding from your local machine to the deployment machine:
ssh -L 18789:127.0.0.1:18789 root@<deployment machine IP>After port forwarding is established, accessing localhost:18789 in a browser or client on your local machine is equivalent to accessing the TNG tunnel on the deployment machine.
Access through the desktop client
Install the OpenClaw desktop client on your local machine, configure the remote mode, set the connection address to ws://localhost:18789, and enter the OpenClaw token obtained in Step 2.
Method 4: Through the OpenClaw TUI
Install OpenClaw as a client on the deployment machine:
npm install -g openclaw@latest --registry=https://registry.npmmirror.comThen run the following command on the deployment machine to start the OpenClaw TUI and connect to the remote OpenClaw instance:
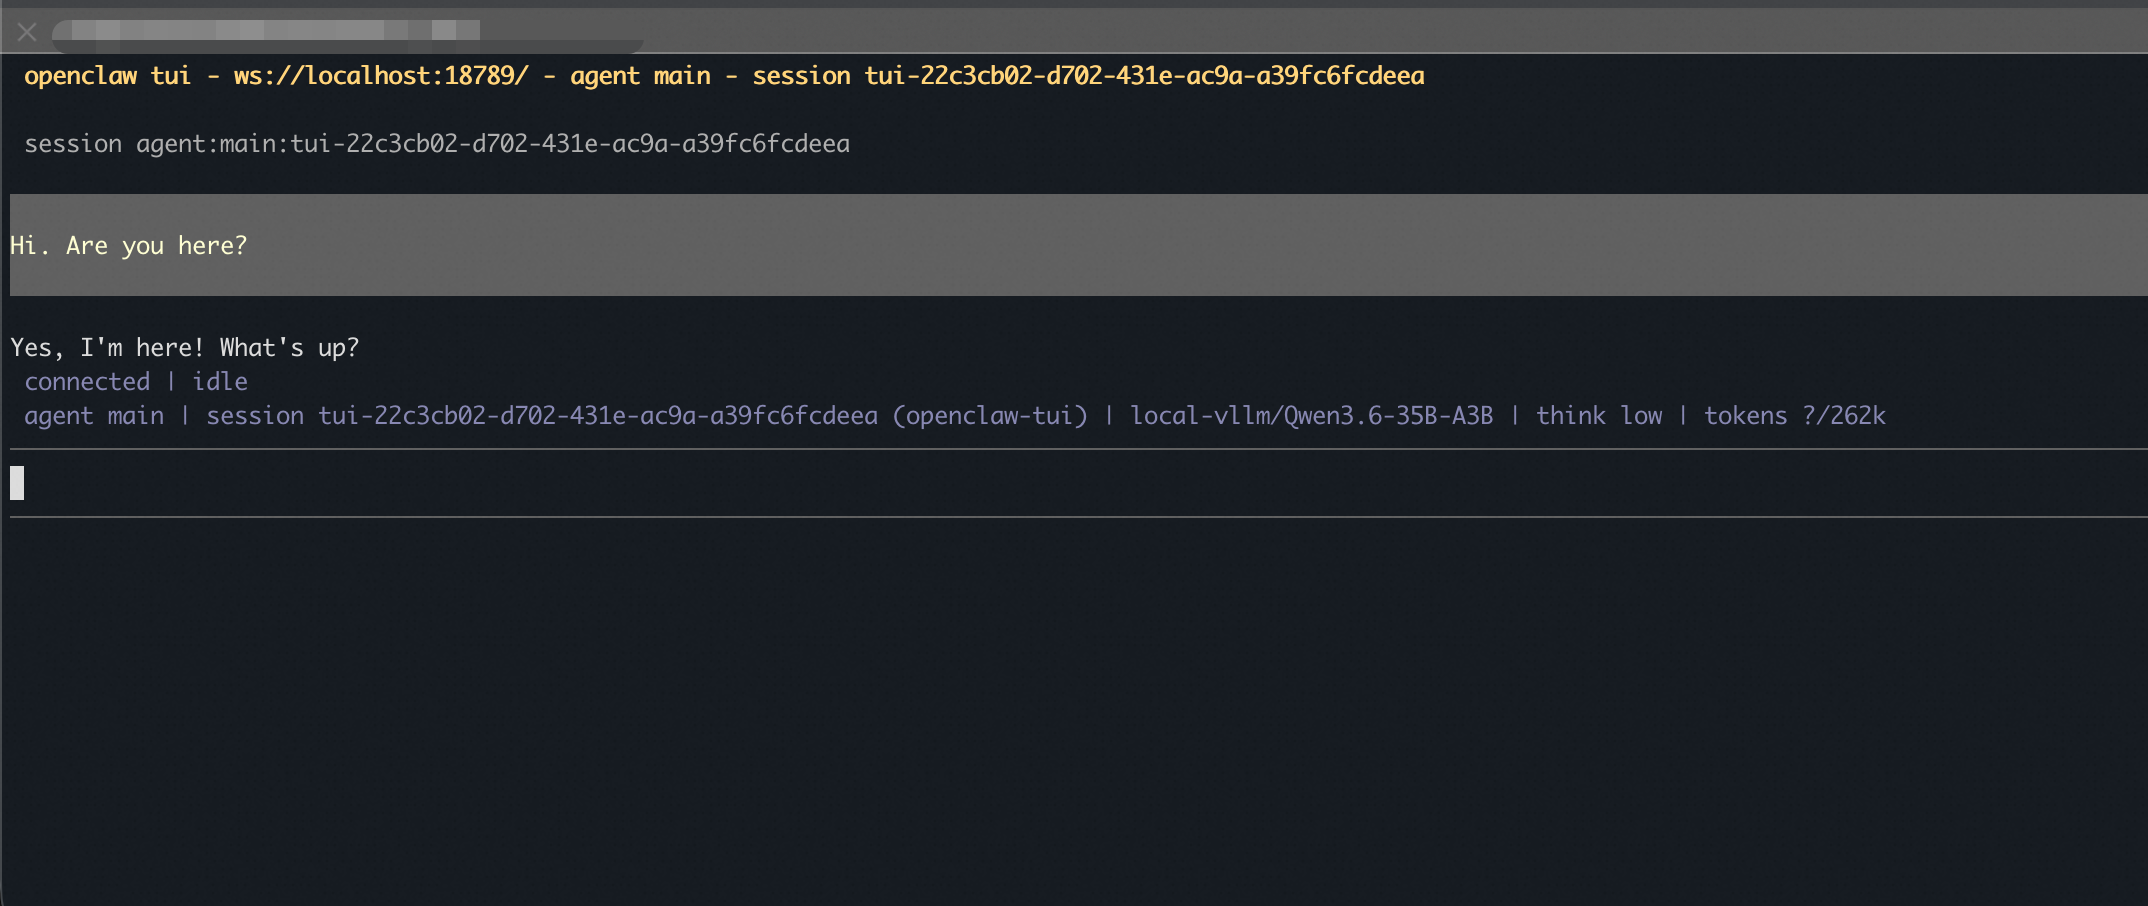
openclaw tui --url ws://localhost:18789 --token <gateway-token>Replace <gateway-token> with the OpenClaw gateway token obtained in Step 2.
The first time you connect through the TUI, a pairing required message is displayed. Go to http://localhost:18789/openclaw in your browser, find the device pending authorization on the Nodes page, and click Approve to complete authorization. Then return to the TUI.
After authorization is complete, the TUI is ready for conversation:
Step 4 (optional): Release resources
When you no longer need the service, run the following command to release all cloud resources:
make destroy PROFILE=openclaw-vllmThis operation is irreversible and deletes the ECS instance and related network resources. Make sure that you no longer need the data on the instance before running this command.
Security verification
Verify the trustworthiness of the runtime environment
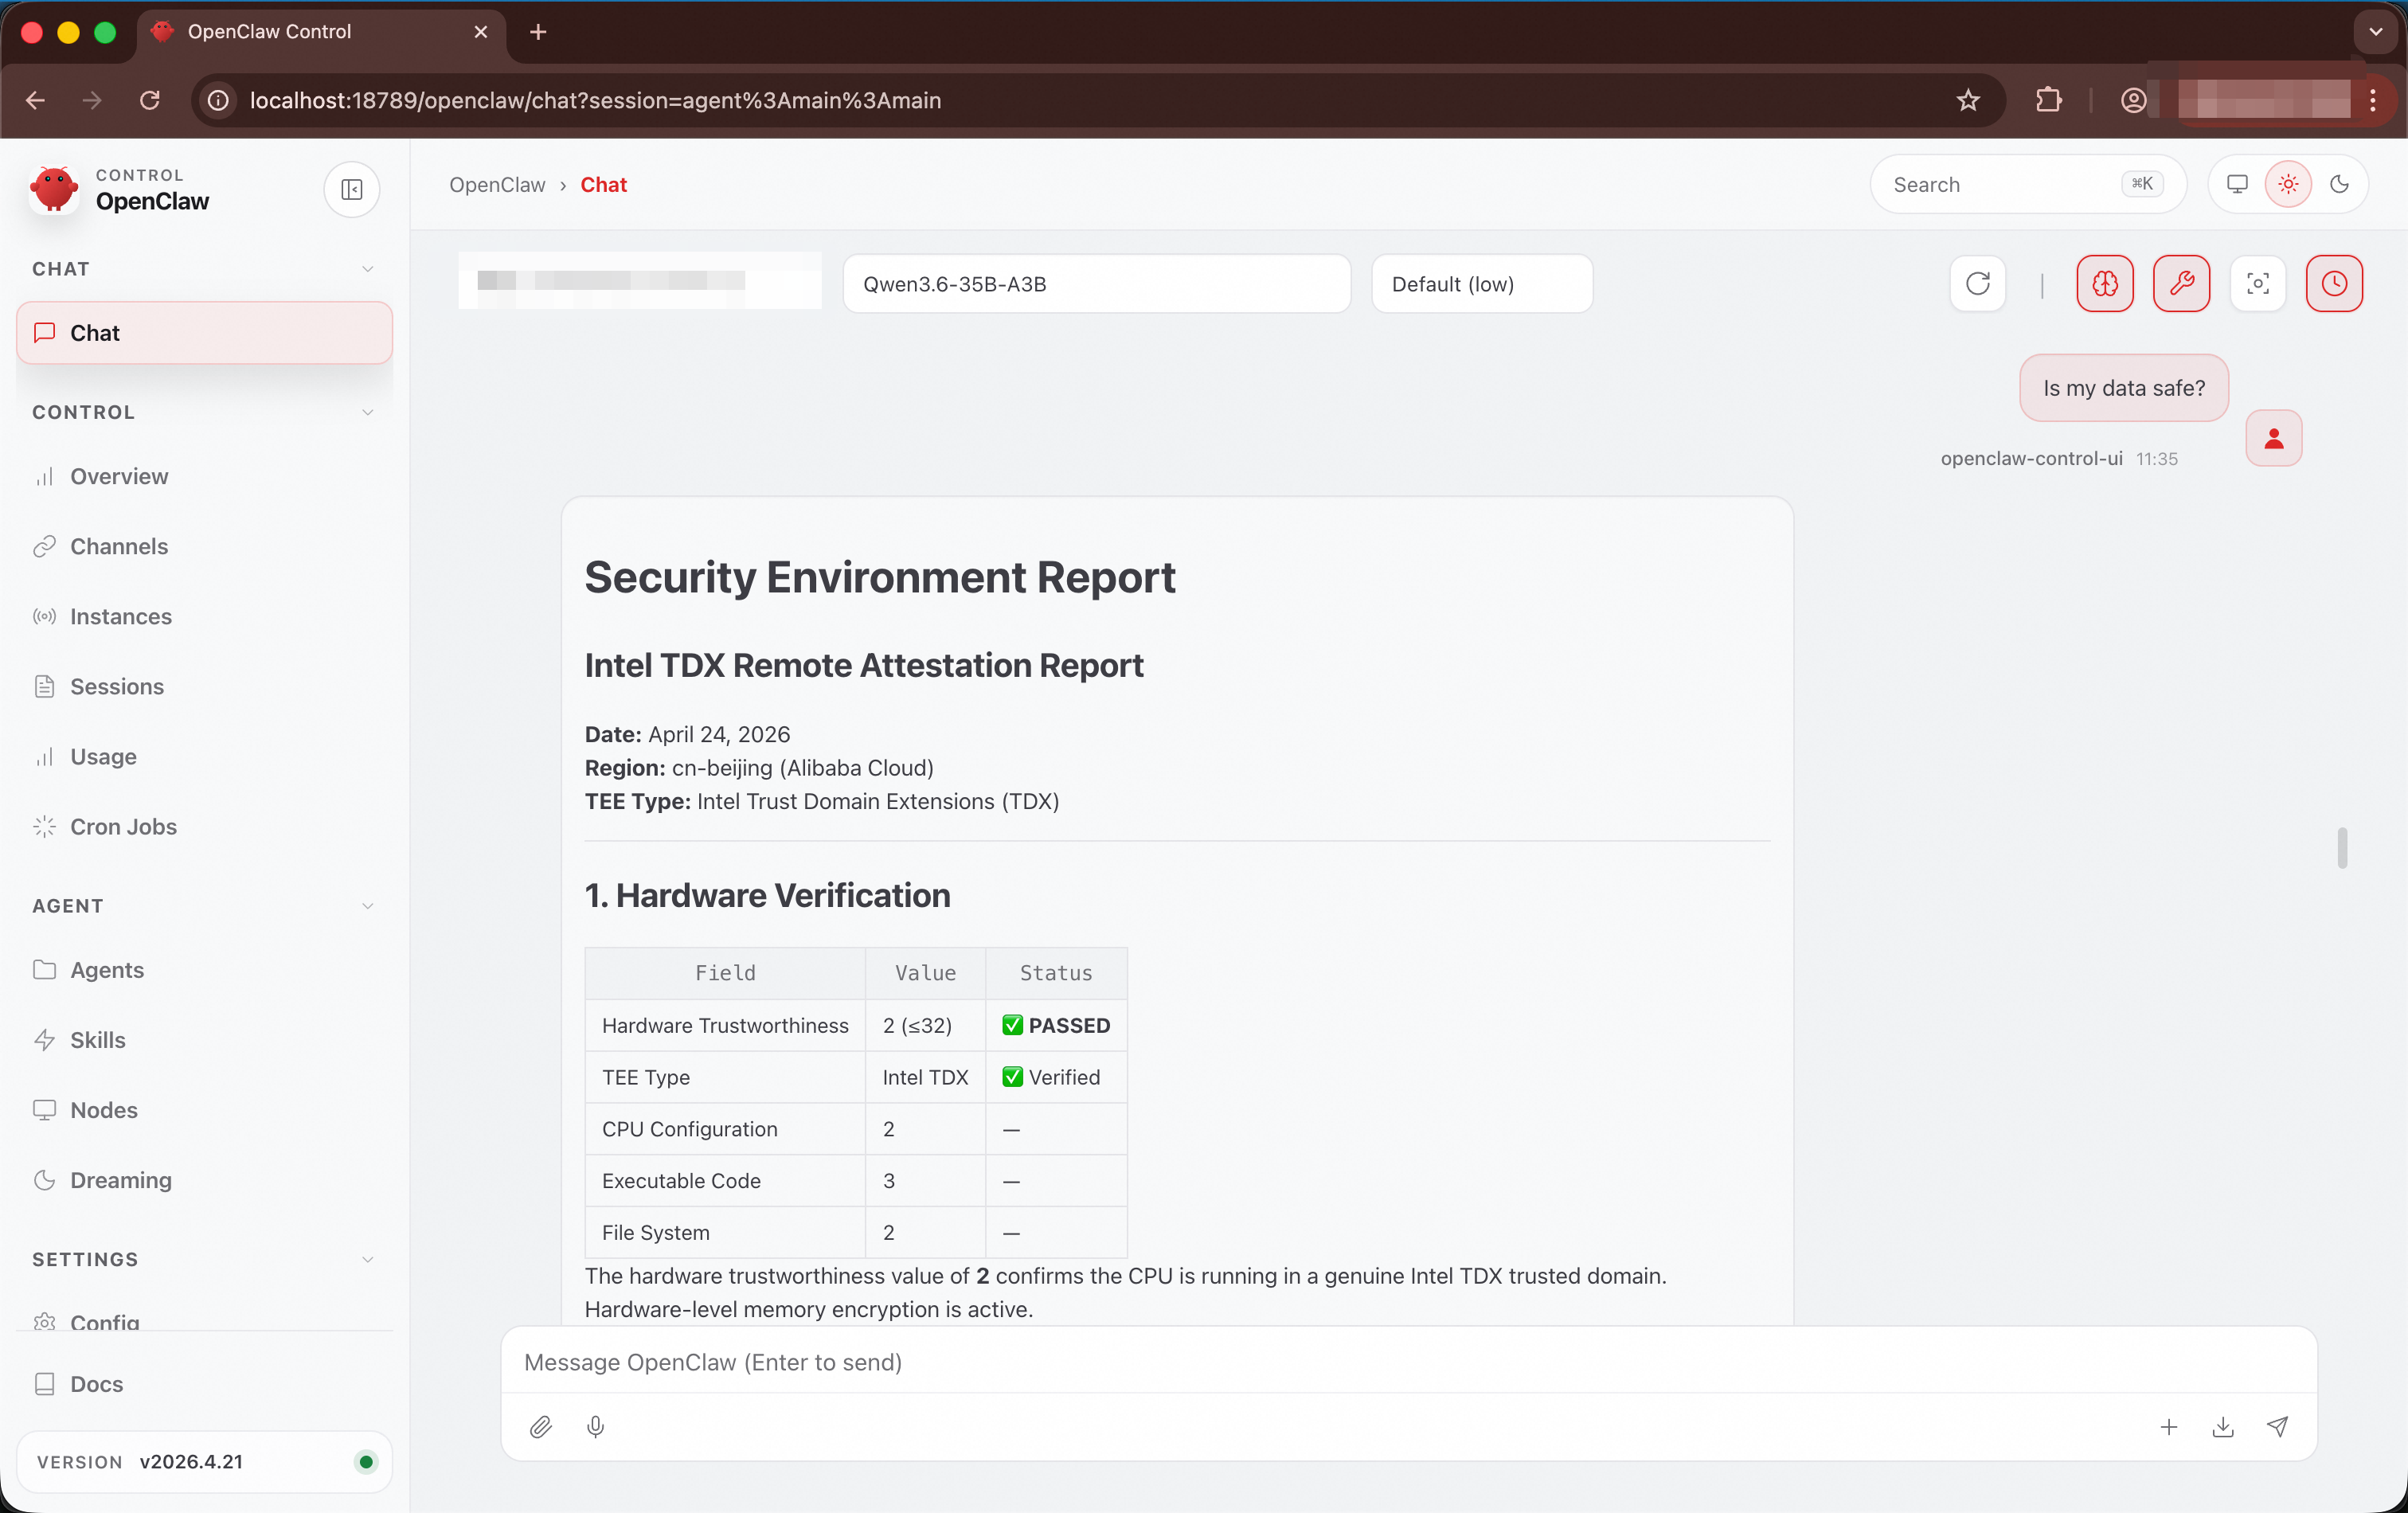
OpenClaw has a built-in tdx-remote-attestation skill that automatically triggers remote attestation when security-related questions are asked, verifying the security status of the current runtime environment.
How to trigger: Ask security-related questions in DingTalk, Web, or TUI, such as "Is my data safe?" or "Is this environment trustworthy?"
Return content:
Verification item | Description |
Hardware trust status | A hardware value of 32 or lower indicates verification passed |
TEE type | Intel TDX Trust Domain |
Memory encryption protection | Confirms that the Memory Encryption Engine is enabled |
UKI boot chain integrity | Verifies consistency of component measurement values |
Verify PEP policy enforcement
PEP (Policy Enforcement Point) is a runtime gating mechanism designed for confidential AI agents. When an agent such as OpenClaw executes a command through the exec tool, the request first passes through cai-pep for policy matching, and then runs in an isolated Docker sandbox (network mode none). Configurable policies enforce mandatory restrictions on the tools available to the agent, preventing security risks caused by malicious prompt injection.
PEP provides three layers of protection:
Command-level blocking: Rejects high-risk commands based on a blocklist, such as
curl,wget,nc,ssh, anddocker.Path-level blocking: Prevents access to sensitive paths, such as
/etc,/proc,/root, and/home/openclaw/.openclaw.Network isolation: The sandbox has no network access. Even if a command bypasses the blocklist, it cannot establish outbound connections.
The default policy file is located at ~/confidential-agent/image/customize/files/cai-pep-default-policy.json on the deployment machine. You can modify the command blocklist, path blocklist, and resource limits before building the image.
If an agent is compromised by malicious prompt injection, and an attacker attempts to establish a reverse shell or download a malicious payload, PEP automatically blocks these high-risk operations:
Attack method | Example command | Reason for blocking |
Reverse shell |
|
|
Download malicious payload |
|
|
Read sensitive files |
|
|
Verify supply chain integrity
The deployment process uses the Rekor transparency log by default to store image reference values. During remote attestation, reference values are automatically retrieved from Rekor for verification. You can audit the Rekor log entries to verify supply chain integrity by using the following methods.
View Rekor records
After the build is complete, you can find the log index and entry URL of the record on the deployment machine:
cat ~/confidential-agent/image/output/slsa-output-cai-openclaw-vllm-debug-*/rekor-v1-upload.txtExample output:
Created entry at index 1205944956, available at: https://rekor.sigstore.dev/api/v1/log/entries/<uuid>Verify inclusion proof
The inclusion proof confirms that the entry containing the image reference values exists in the Merkle Root of the Rekor log.
rekor-cli verify --log-index 1205944956 --rekor_server https://rekor.sigstore.devIf the output contains two identical hash values, the verification is successful:
Computed Root Hash: 1291abcee27148a4c00241ba8719f798ce060e8a5ccc8b18249017c25c6d0090
Expected Root Hash: 1291abcee27148a4c00241ba8719f798ce060e8a5ccc8b18249017c25c6d0090
Verify consistency proof
The consistency proof confirms that an older Merkle Root (Root A) is a prefix or historical state of a newer Merkle Root (Root B), ensuring that the reference value entries stored in Rekor have not been tampered with or deleted.
rekor-cli loginfo --rekor_server https://rekor.sigstore.devIf the output contains the following content, the verification is successful:
Verification Successful!Security group configuration
During the make deploy process, security group rules are automatically created. If you need to modify the security group later, make sure that it contains the following rules:
Port | Protocol | Description | Security recommendation |
22 | TCP | SSH remote management (Debug image only) | Restrict the source IP to the management network |
18789 | TCP | TNG tunnel endpoint (RATS-TLS), used to access the OpenClaw service | Restrict the source IP or access through TNG |
Important: In production environments, make sure to changesecurity_group_allowed_cidrto a specific management IP CIDR block. Avoid using0.0.0.0/0.
FAQ
make buildfails with missing dependency errorVerify that all dependencies are installed and check whether disk space is sufficient:
make install-deps
df -h /
If this does not resolve the issue, run
make clean-imageto clean up build artifacts and try again.make deployfails withNoSetRoletoECSServiceAcountThis error indicates that the ECS image import role is not authorized. Perform one of the following operations:
Log on to the Alibaba Cloud console, go to ECS > Images > Import Image, and click Authorize to create the
AliyunECSImageImportDefaultRolerole.In the RAM console, grant the
AliyunOSSFullAccesspolicy to theAliyunECSImageImportDefaultRolerole.
Service is not responding
Verify that the Debug image is deployed (the Production image does not include SSH).
Redeploy and verify that
make deploycompletes without errors.Deploy the Debug image and connect through SSH to check logs for troubleshooting.
Local TNG verification fails
Verify that the local Trustee container is running and healthy:
# Verify the local Trustee container is running
docker ps | grep cai-local-trustee

# Check Trustee health status
curl http://127.0.0.1:18081/api/health

# If Trustee is not ready, re-run
make connect-tng
cai-pep rejects all tool calls
Deploy the Debug image and connect through SSH to check the cai-pep logs for the specific reason for blocking.