You can use Resource Group to manage Elastic Block Storage (EBS) resources as a collection and apply Resource Access Management (RAM) policies that authorize actions only on resources within a specific group. This lets you enforce the principle of least privilege (PoLP) in your Alibaba Cloud account.
You can scope permissions to a resource group only for supported resource types and actions. For unsupported actions, any resource group scope in a policy is ignored, and permissions must be granted at the account level instead.
How it works
Resource groups organize your resources by project or environment. Once resources are grouped, you can attach a RAM policy to an identity (such as a RAM user, user group, or role) that scopes its permissions exclusively to that group. For more information, see Resource grouping and authorization.
This approach provides two key benefits:
-
Fine-grained access control: Instead of granting account-wide permissions, you can limit an identity's access to only the resources within a specific group. This helps isolate project-specific workloads and reduce the risk of unintended access.
-
Simplified management: When new resources are added to a resource group, RAM identities with permissions scoped to that group automatically gain access. You do not need to update RAM policies each time a new resource is created.
Grant resource group-level permissions to a RAM user
This section demonstrates how to grant a RAM user permission to access only the resources of Elastic Block Storage (EBS) within a specific resource group.
1. Prerequisites
-
Create a resource group and ensure that the target resources are in it. If you need help doing this, see Create a resource group, Add resources to a resource group automatically, and Add resources to a resource group manually.
2. Grant permissions
You can grant resource group-level permissions from either the Resource Management console or the RAM console.
Resource Management console
-
Log on to the Resource Management console.
-
On the Resource Group page, find the target resource group and click Manage Permission in the Actions column.
-
On the Permissions tab, click Grant Permission.
-
In the Grant Permission panel, configure the principal and access policy.
-
Principal: Select a RAM user.
-
Policy: Select a System Policy or a Custom Policy. For more information, see Create a custom permission policy.
-
-
Click Grant permissions.
For more information, see Grant permissions on resource groups to a RAM identity.
RAM console
-
Log on to the RAM console using an Alibaba Cloud account or a RAM administrator account.
-
In the navigation pane on the left, choose . On the Users page, find the target RAM user and click Add Permissions in the Actions column.
-
In the Grant Permission panel, add permissions for the RAM user.
-
Resource Scope: Select Resource Group.
-
Principal: Select an existing RAM user or the RAM user created in the previous step.
-
Policy: Select a System Policy or a Custom Policy. For more information, see Create a custom permission policy.
-
-
Click OK.
For more information, see Grant permissions to a RAM user.
Supported resources
The following resources from Elastic Block Storage (EBS) support resource group-level authorization:
|
Alibaba Cloud service |
Service code |
Resource type |
|
Elastic Block Storage (EBS) |
ebs |
dedicatedblockstoragecluster : dedicated block storage cluster |
|
Elastic Block Storage (EBS) |
ebs |
disk : cloud disk |
|
Elastic Block Storage (EBS) |
ebs |
diskreplicagroup : replication pair-consistent group |
|
Elastic Block Storage (EBS) |
ebs |
diskreplicapair : replication pair |
|
Elastic Block Storage (EBS) |
ebs |
enterprisesnapshotpolicy : enterprise-level snapshot policy |
|
Elastic Block Storage (EBS) |
ebs |
solutioninstance : solution instance |
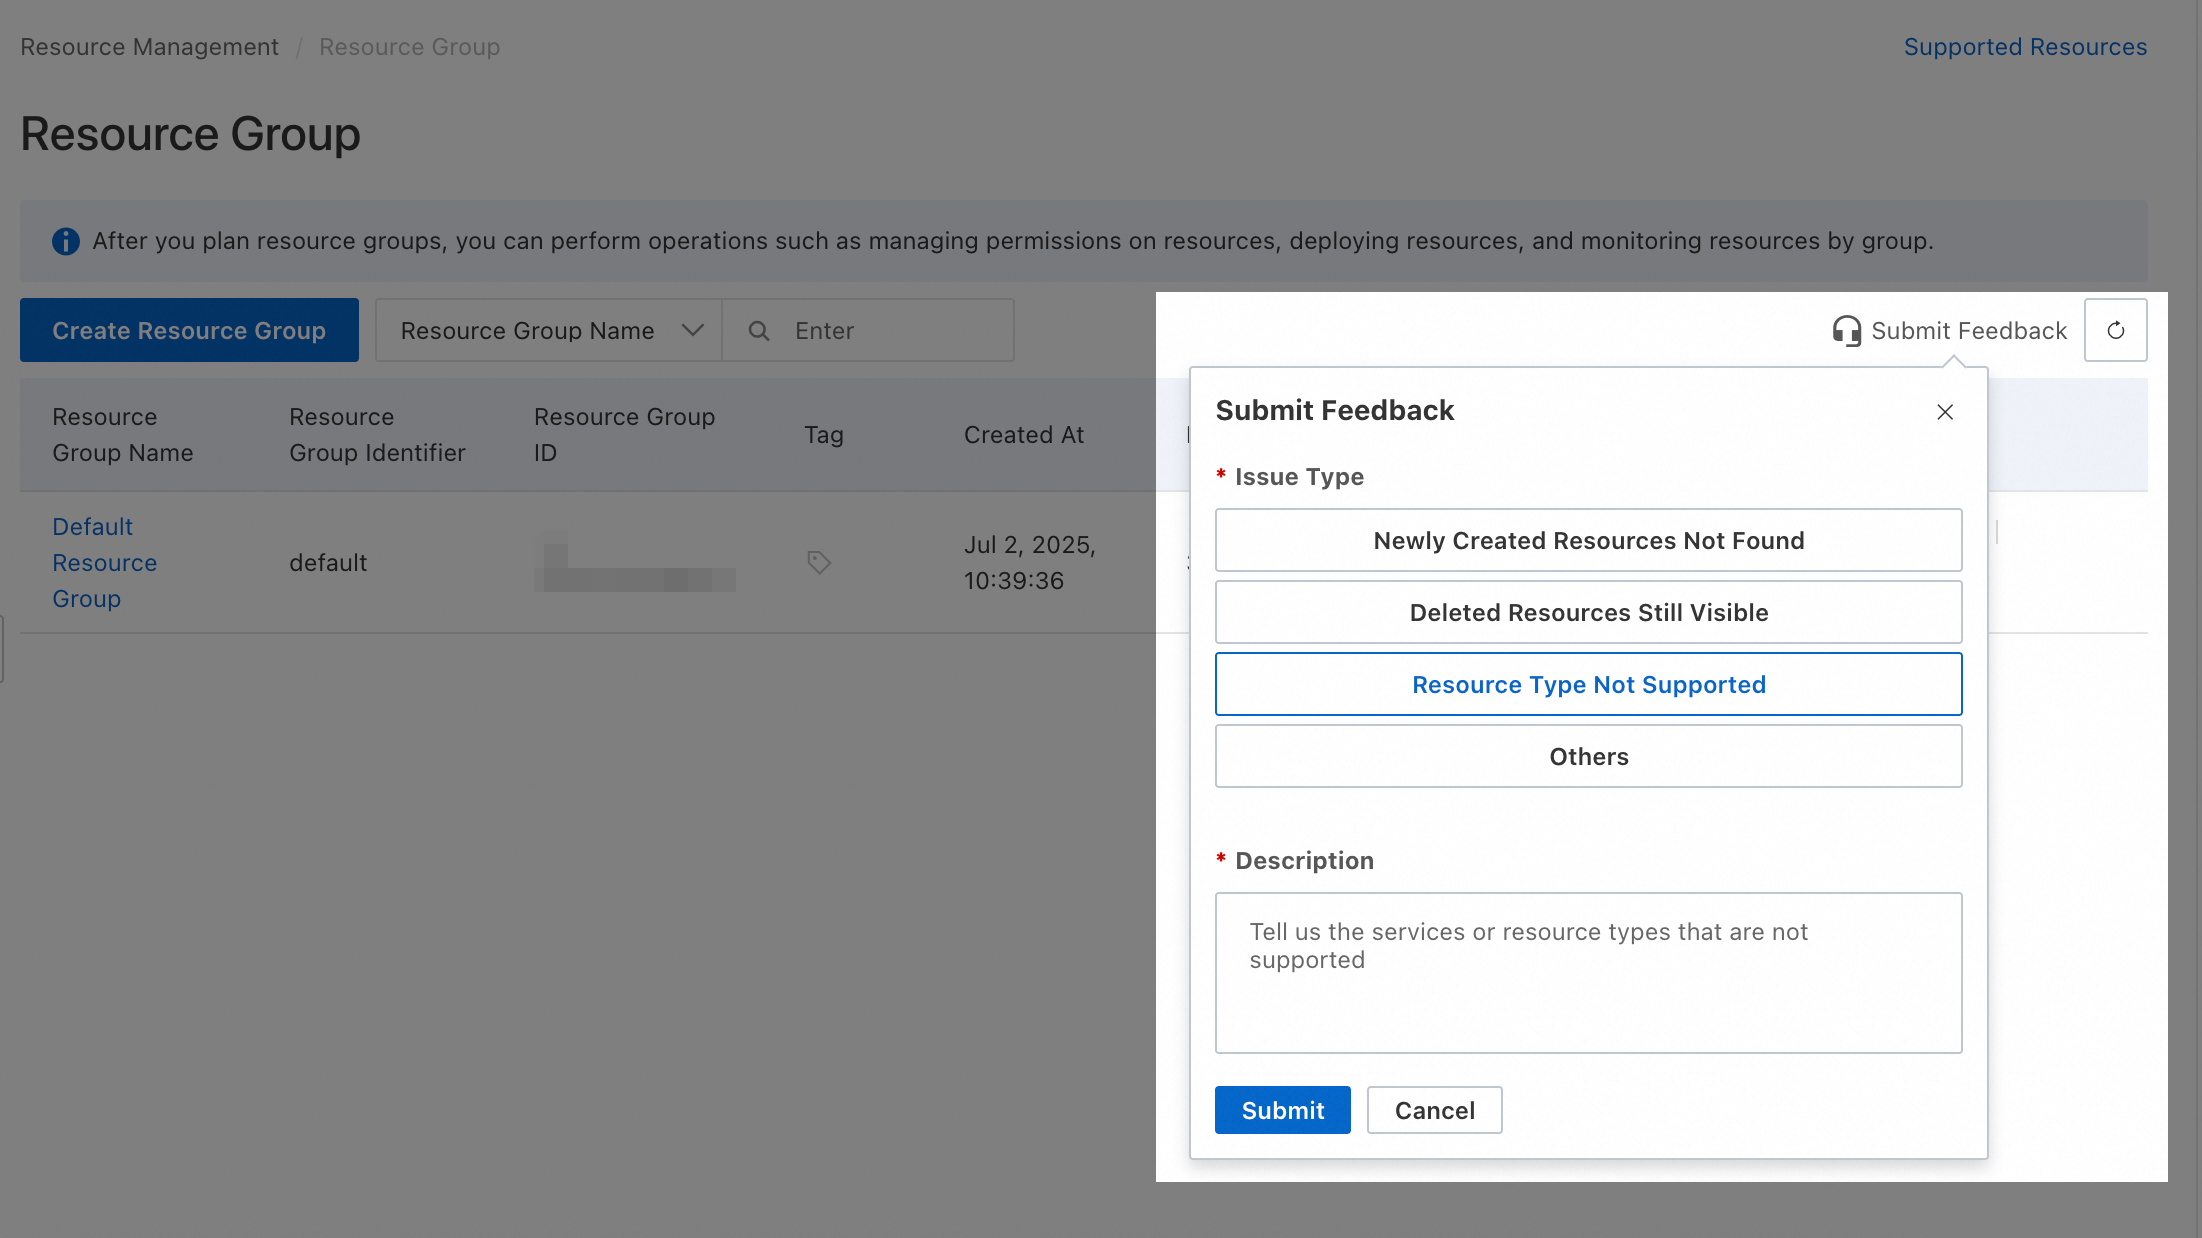
To request support for resource types not listed here, submit feedback via Resource Management console.
Unsupported actions
The following actions of Elastic Block Storage (EBS) do not support resource group-level authorization:
|
Action |
Description |
|
ebs:ApplyLensService |
Cancels Elastic Block Storage data insight (CloudLens for EBS). |
|
ebs:BatchCreateDiagnoseReport |
- |
|
ebs:CancelLensService |
Cancels Elastic Block Storage data insight (CloudLens for EBS). |
|
ebs:CreateApp |
- |
|
ebs:CreateDiagnoseReport |
- |
|
ebs:DeleteApp |
- |
|
ebs:DeleteDedicatedBlockStorageCluster |
- |
|
ebs:DescribeApps |
- |
|
ebs:DescribeDiagnoseReport |
- |
|
ebs:DescribeDiskEvents |
Queries the risk events of a disk. The operation is getting offline. Switch to the new operation DescribeEvents. |
|
ebs:DescribeDiskMonitorData |
Queries fine-grained monitoring data of a disk. |
|
ebs:DescribeDiskMonitorDataList |
Queries fine-grained monitoring data of multiple disks. You can query only the burst performance data of ESSD AutoPL disks. The data is aggregated by hour. |
|
ebs:DescribeEvents |
Queries the risk events of a disk. |
|
ebs:DescribeLensMonitorDisks |
Queries one or more Elastic Block Storage (EBS) devices that you created. |
|
ebs:DescribeLensServiceStatus |
Queries the status of CloudLens for EBS. |
|
ebs:DescribeMetricData |
Query single metric monitoring information |
|
ebs:DescribeRegions |
Queries the details of regions in which Elastic Block Storage (EBS) features (such as async replication, CloudLens for EBS, and Dedicated Block Storage Cluster) are supported. |
|
ebs:DescribeSolution |
- |
|
ebs:DescribeSolutionInstanceConfiguration |
Queries the default configurations of a solution. |
|
ebs:DescribeUserTagKeys |
Centralized Role: Query User Disk Snapshot tagKeys |
|
ebs:DescribeUserTagValues |
Centralized Role: Query User Disk and Snapshot tagValues |
|
ebs:GetReport |
Centralized Role: Obtain User Usage Report with reportId |
|
ebs:ListAvailableDisksForReplicaPair |
- |
|
ebs:ListReplicaEdgeSupported |
- |
|
ebs:ListReports |
Queries historical reports of a specific application. |
|
ebs:ModifyApp |
- |
|
ebs:QueryDedicatedBlockStorageClusterDiskThroughputStatus |
Query the throughput status of a dedicated block storage cluster disk which has been set through the SetDedicatedBlockStorageClusterDiskThroughput API. |
|
ebs:QueryDedicatedBlockStorageClusterInventoryData |
Queries the capacity trend data of a dedicated Elastic Block Storage (EBS) cluster within a specific time period, including the available capacity and total capacity. |
|
ebs:QueryDedicatedBlockStorageClusterLogicalSpaceInventoryData |
- |
|
ebs:SetDedicatedBlockStorageClusterDiskThroughput |
In the elastic type dedicated block storage cluster, you can easily achieve the specified throughput (Bps) for the target disk. You only need to set the cloud disk ID and the target throughput, simplifying the process of configuring. |
For these actions, you must create a custom policy with the scope set to Account.
 Customize the following policy examples to suit your needs:
-
Allow read-only access
{ "Version": "1", "Statement": [ { "Effect": "Allow", "Action": [ "ebs:DescribeApps", "ebs:DescribeDiagnoseReport", "ebs:DescribeDiskEvents", "ebs:DescribeDiskMonitorData", "ebs:DescribeDiskMonitorDataList", "ebs:DescribeEvents", "ebs:DescribeLensMonitorDisks", "ebs:DescribeLensServiceStatus", "ebs:DescribeMetricData", "ebs:DescribeRegions", "ebs:DescribeSolution", "ebs:DescribeSolutionInstanceConfiguration", "ebs:DescribeUserTagKeys", "ebs:DescribeUserTagValues", "ebs:GetReport", "ebs:ListAvailableDisksForReplicaPair", "ebs:ListReplicaEdgeSupported", "ebs:ListReports" ], "Resource": "*" } ] } -
Allow full access
{
  "Version": "1",
  "Statement": [
    {
      "Effect": "Allow",
      "Action": [
        "ebs:ApplyLensService",
        "ebs:BatchCreateDiagnoseReport",
        "ebs:CancelLensService",
        "ebs:CreateApp",
        "ebs:CreateDiagnoseReport",
        "ebs:DeleteApp",
        "ebs:DeleteDedicatedBlockStorageCluster",
        "ebs:DescribeApps",
        "ebs:DescribeDiagnoseReport",
        "ebs:DescribeDiskEvents",
        "ebs:DescribeDiskMonitorData",
        "ebs:DescribeDiskMonitorDataList",
        "ebs:DescribeEvents",
        "ebs:DescribeLensMonitorDisks",
        "ebs:DescribeLensServiceStatus",
        "ebs:DescribeMetricData",
        "ebs:DescribeRegions",
        "ebs:DescribeSolution",
        "ebs:DescribeSolutionInstanceConfiguration",
        "ebs:DescribeUserTagKeys",
        "ebs:DescribeUserTagValues",
        "ebs:GetReport",
        "ebs:ListAvailableDisksForReplicaPair",
        "ebs:ListReplicaEdgeSupported",
        "ebs:ListReports",
        "ebs:ModifyApp",
        "ebs:QueryDedicatedBlockStorageClusterDiskThroughputStatus",
        "ebs:QueryDedicatedBlockStorageClusterInventoryData",
        "ebs:QueryDedicatedBlockStorageClusterLogicalSpaceInventoryData",
        "ebs:SetDedicatedBlockStorageClusterDiskThroughput"
      ],
      "Resource": "*"
    }
  ]
}
Granting account-level permissions allows access to all relevant resources in the account. Always follow PoLP.
FAQ
How do I find which resource group a resource belongs to?
-
Method 1: From the service console
-
Navigate to the service console where the resource was created. On the resource's details page, you can typically find the resource group listed in the basic information section.
-
-
Method 2: From the Resource Management console
-
Log on to the Resource Management console.
-
Choose .
-
In the left pane, select the account that owns the target resource (the default is Current Account).
-
Use filter conditions to find your resource.
-
The Resource Group column shows which group the resource belongs to.
-
How do I view all resources in a specific resource group?
-
Method 1:
-
Log on to the Resource Management console.
-
Choose .
-
In the left pane, under the account that owns the resources (the default is Current Account), click the name of the desired resource group.
-
In the right pane, select the cloud service from the Select resource types drop-down list.
-
All resources in that group will be displayed.
-
-
Method 2:
-
Log on to the Resource Management console.
-
Choose .
-
Find the desired resource group and click Manage Resource in the Actions column.
-
On the resource management page, select the cloud service from the Service drop-down list.
-
All resources in that group will be displayed.
-
How do I move multiple resources to a different resource group in batch?
-
Log on to the Resource Management console.
-
Choose .
-
Find the desired resource group and click Manage Resource in the Actions column.
-
On the resource management page, use filter conditions to find the resources you want to move.
-
Select the checkbox for each resource.
-
At the bottom of the page, click Transfer.
-
In the dialog box, select the destination resource group and click Confirm.