A proxy hybrid-cloud cluster makes use of an Open Grid Scheduler (SGE) scheduler and management nodes and compute nodes from an existing cluster. Aside from the compute nodes from the existing cluster, you can also add new instances as compute nodes to a proxy hybrid cloud cluster. The existing cluster can be deployed on the cloud or in a data center. This topic describes how to deploy a proxy hybrid cloud cluster.
Background information
A large number of life science enterprises have deployed data centers to perform high-performance computing on a large scale. However, the outdated IT infrastructure of data centers cannot keep up with the sharp rise of computing power requirements in life science. In some scenarios, life science enterprises may need to use the resources of data centers and build high-performance computing clusters on the cloud. To meet the requirements of these scenarios, E-HPC provides a hybrid cloud solution to help manage computing resources across the cloud in a unified and efficient manner. Cloud resources allow the flexible scaling of E-HPC clusters.
Hybrid cloud clusters can be deployed in the following modes:
Master mode: Management nodes reside in a new cluster on the cloud.
Proxy mode: Management nodes reside in an existing on-premises cluster.
NoteIn proxy mode, an existing cluster resides in a data center or in a different region on the cloud.
Prerequisites
This topic uses a cluster that resides in a data center and has the following specifications in the example.
Management node: Each management node has 4 vCPUs and 8 GiB of memory, which is the minimum configuration of a hybrid cloud cluster. The operating system of each management node is CentOS 7.6.
Scheduler: SGE
Domain account service: Network Information Service (NIS)
Procedure
This topic includes the following operations.
Operation | Description |
Establish a network connection between the existing cluster and the new hybrid cloud cluster, and then configure security group rules for the hybrid cloud cluster. | |
Create a proxy hybrid cloud cluster. | |
By default, the hybrid cloud cluster does not have compute nodes on the cloud. You must scale out the cluster. | |
Configure auto scaling for the hybrid cloud cluster to automatically add compute nodes to or remove compute nodes from the cluster based on the real-time workloads. | |
Submit a test job to the queue of the existing cluster and the queue of the hybrid cloud cluster to check whether the nodes are running as expected. |
Step 1: Configure the network
Establish a network connection between the existing cluster and the hybrid cloud cluster.
Select a solution to establish a network connection based on your scenario.
If the existing cluster is deployed in a data center, you can use Express Connect, Smart Access Gateway (SAG), or VPN Gateway to establish a network connection between the cloud and the data center. For more information, see the following topics:
Express Connect: Connect a data center to a VPC by using an Express Connect circuit
VPN Gateway: Overview of IPsec-VPN connections and SSL-VPN overview
If the existing cluster is deployed in a different region on the cloud, you can use Cloud Enterprise Network (CEN) to establish a network connection between two regions. For more information, see Use Enterprise Edition transit routers to connect VPCs across regions and accounts.
Add inbound rules to the security group of the existing cluster. For more information, see Add a security group rule.
You need to add the following inbound rules:
Policy
Protocol
Port range
Authorization object
Description
Allow
Custom TCP
6444
CIDR blocks to which compute nodes belong
The SGE port.
Allow
Custom TCP
Custom UDP
834, 835, 905, 111
CIDR blocks to which compute nodes belong
The NIS ports.
Allow
Custom TCP
22
0.0.0.0/0
The default E-HPC port.
Allow
All ICMP (IPv4)
-1/-1
0.0.0.0/0
The default E-HPC port.
Step 2: Create an E-HPC hybrid cloud cluster
This section describes the configuration items to which you need to pay attention in this example. For information about how to configure other parameters, see Create a hybrid cloud cluster.
Log on to the E-HPC console.
On the Cluster page, click Create Hybrid Cluster.
In the Hardware Configurations step, configure the nodes, storage, and network, and then click Next.
Parameter
Description
Example
Availability Zone
The zone to which the hybrid cloud cluster belongs.
Shanghai Zone L
Proxy Mode
If you turn on Proxy Mode, the hybrid cloud cluster is managed by the management nodes in the existing cluster. The existing cluster can be deployed on the cloud or in a data center.
Turn on
VPC and vSwitch
The VPC and vSwitch to which the hybrid cloud cluster belongs. Make sure that the number of available IP addresses is greater than that of cluster nodes.
vpc-uf62yvldgikwaf2******
vsw-uf60uwjzu2um4ip******
Security Group
Turn off Create Security Group. Select the security group created in Step 1.
sg-test
File System
Select a file system that you want to mount on the cluster nodes. Valid values: Use Cloud File System, Use On-premises File System, and Do Not Mount File System.
Use Cloud File System
File System ID
If you set the File System parameter to Use Cloud File System, you must select a NAS file system.
3ba2b4a*** (Capacity NFS)
Mount Target
If you set the File System parameter to Use Cloud File System, you must select the mount target of a NAS file system.
3ba2b4a***-ni**.cn-shanghai.nas.aliyuncs.com
In the Software Configurations step, configure the image, scheduling node, and account node, and then click Next.
Parameter
Description
Example
Image Type
The type of the image, such as public image or custom image.
NoteThe image types that you can select depend on the specified region and whether the current Alibaba Cloud account has available image resources. All available image types are displayed on the console.
Public Image
Image
An image provides the information that all cluster nodes require. The information includes the operating system, pre-installed software, and deployed business or application data of a cluster.
CentOS_7.6_64
Scheduler
The software that schedules jobs. Set the value to sge.
sge
Scheduler Node IP Address
The IP address of the management node in the existing cluster.
10.0.XX.XX
Scheduling Node Hostname
The hostname of the management node in the existing cluster.
manager
Account System
The domain account service of the existing cluster.
nis
Local Cluster Domain Name
The domain name of the existing cluster.
ehpc-hz-Gpxqdh****
Account Node IP Address
The IP address of the management node in the existing cluster.
10.0.XX.XX
Account node host name
The hostname of the management node in the existing cluster.
manager
In the Basic Configurations step, enter a cluster name and a logon password.
ImportantThe logon password must be the same as the root password of the existing cluster.
In the Configuration List section, check the configurations, read and select Alibaba Cloud International Website Product Terms of Service, and then click OK.
On the Cluster page, check whether the hybrid cloud cluster is created.
Optional. Mount the specified directory of the existing cluster on the hybrid cloud cluster.
Sample command:
mkdir -p /home-remote
mount -t nfs -o vers=3,nolock,proto=tcp,noresvport 000ae4****-vmp**.cn-hangzhou.nas.aliyuncs.com:/ehpc-hz-GpQt5X****/home /home-remote
If you mount the directory of the existing cluster on the hybrid cloud cluster, you can copy files in an efficient manner. You can also mount the specified directory of the hybrid cloud cluster on the existing cluster.
If you want to change the home directory of the hybrid cloud cluster, copy the credit directory in the original home directory, paste the credit directory to the new home directory, and check whether the new home directory has permission 755. Sample command:
CLUSTER_ID=`cat /root/ehpc.conf |grep -i clusterid |awk -F '=' '{print $2}'`
cp /ehpcdata/${CLUSTER_ID}/home/master_nis_ready  /home  (NIS)
cp -rf /ehpcdata/${CLUSTER_ID}/home/ehpc_service  /home  (LDAP)
Step 3: Scale out the E-HPC hybrid cloud cluster
By default, the hybrid cloud cluster does not have compute nodes. You must add compute nodes to the hybrid cloud cluster.
On the Nodes page, click New Queue.
Create a queue for the hybrid cloud cluster to distinguish between the nodes of the hybrid cloud cluster and the nodes of the existing cluster. For more information, see Manage a queue.
On the Cluster page, find the hybrid cloud cluster and click Resize.
On the Create Node tab, configure the node information and click Buy Now.
The following table describes the parameters.
Parameter
Description
Example
Availability Zone
The zone of compute nodes that you want to add. We recommend that you select compute nodes from the zone to which the hybrid cloud cluster belongs.
Shanghai Zone L
vSwitch
The zone of the vSwitch to which you want to add the compute nodes. We recommend that you select the vSwitch to which the hybrid cloud cluster belongs. Make sure that the CIDR blocks of the vSwitch allow access from the existing cluster.
vsw-uf60uwjzu2um4ip******
Queue
The queue to which compute nodes are added. Select a new queue to distinguish between different queues.
new
Prefix of Hostnames
The unique hostname prefix of the compute nodes that you want to add. The prefix is used to distinguish between the compute nodes that you want to add and the compute nodes in the existing cluster.
new-compute
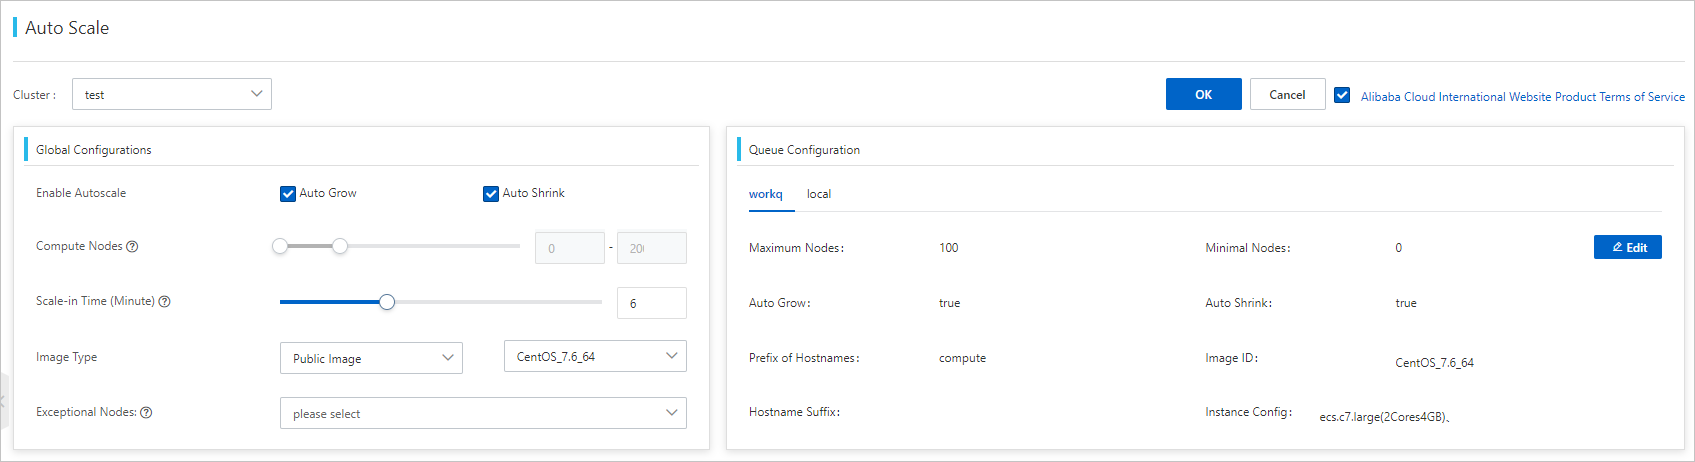
Step 4: Configure auto scaling
E-HPC clusters support the auto scaling feature. You can configure auto scaling for the hybrid cloud cluster to automatically add compute nodes to or remove compute nodes from the cluster based on the real-time workloads. For more information, see Configure an auto scaling policy.
If you use the user management feature, click Synchronize Cluster Users on the User page to check whether users are updated.
Step 5: Submit a test job
Submit a test job to the queue where the compute nodes of the existing cluster reside and the queue where the compute nodes of the hybrid cloud cluster reside. Sample test script qsub.sge:
#!/bin/bash

#$ -cwd              # The current path.
#$ -N test1          # The name of the job.
#$ -q hybridcloudq   # The queue where the compute nodes of the hybrid cloud cluster reside.
#$ -pe smp 2         # The number of cores.
#$ -l vf=1g          # The memory size.
#$ -o /home/xiaofan  # The path where stdout logs are stored.
#$ -e /home/xiaofan  # The path where stderr logs are stored.

sleep 10
ping -c 10 localhost
echo "demo complete."