E-HPC Portal allows you to manage data in a visualized manner. You can transfer files between a cluster and your local computer or an Object Storage Service (OSS) bucket. This makes it easier for you to manage cluster files.
Manage cluster files by using the file explorer
Log on to E-HPC Portal.
For more information, see Log on to E-HPC Portal.
In the top navigation bar, click Data Management.
In the left-side navigation pane, click Cluster Folder. Then, perform your desired operation on a desired file in the cluster.
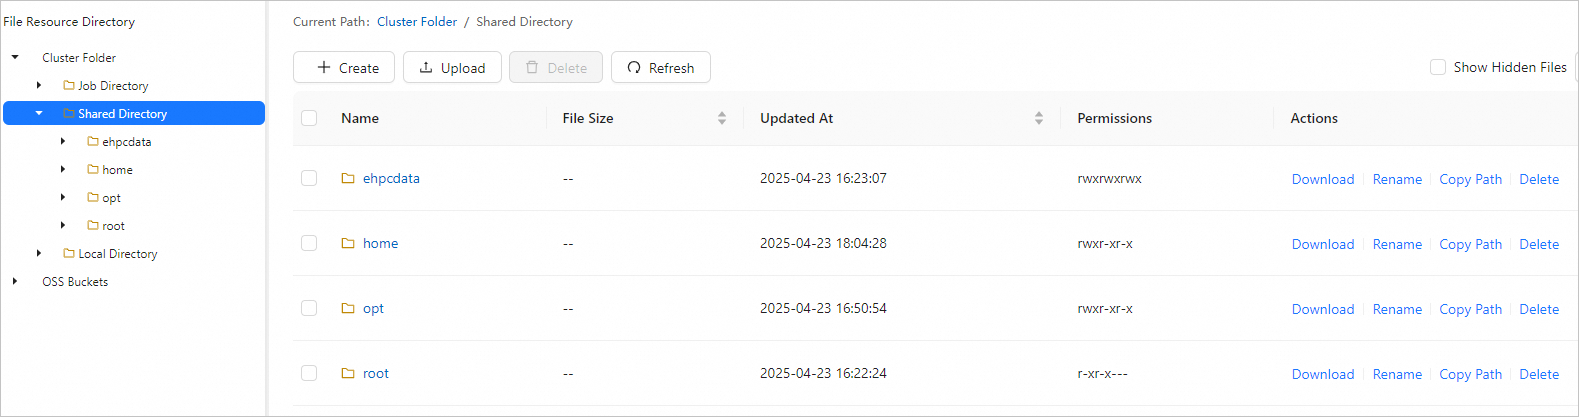
Cluster Folder contains three directories, which are Job Directory, Shared Directory, and Local Directory. The following table lists the supported operations:
Operation
Description
File path operations
Go to a lower-level directory
Click a folder to enter a lower-level directory.
Go to an upper-level directory
Click a folder in the left-side directory tree to go to an upper-level directory.
Folder operations
Create a folder
In the left-side directory tree, find the directory where you want to create a folder. Move the pointer over Create in the upper-left corner and then choose Folder from the menu.
Rename a folder
In the left-side directory tree, click the upper-level directory to which the folder belongs. On the page that appears, find the target folder, click Rename in the Actions column, and proceed as prompted.
Delete a folder
In the left-side directory tree, click the upper-level directory to which the folder belongs. On the page that appears, find the target folder, click Delete in the Actions column, and proceed as prompted.
ImportantIf you delete a folder, all files in the folder are also deleted. Proceed with caution.
File operations
Create a file
Go to the directory where you want to create a file, move the pointer over Create in the upper-left corner, and choose File from the menu. Then, enter a name for the file and click OK to create the file.
View a file
Go to the directory where the file is located, find the file, and click View in the Actions column. On the file content page that appears, you can view the file content or click Edit to edit the content.
Rename a file
Go to the directory where the file is located, find the file, click Rename in the Actions column, and then proceed as prompted.
Delete a file
Go to the directory where the file is located, find the file, click Delete in the Actions column, and then proceed as prompted.
Upload and download
Upload a file or folder
Go to the directory to which you want to upload a file or folder, move the pointer over Upload, and choose File or Folder from the menu. Then, select a file or folder from your on-premises computer to upload. After you upload the file or folder, refresh the page to view the uploaded item.
Download a file
Go to the directory from which you want to download a file, find the file, and click Download in the Actions column. The file is downloaded to the default local path.
File display or hide
Show or hide hidden files
Select or deselect Show Hidden Files to show or hide hidden files.

File search
Fuzzy search for files by name
Go to the directory in which you want to search for files. Then, enter a file name keyword in the search box to search for files that contain the keyword in their names.
Transfer files between OSS and E-HPC
By default, OSS Buckets displays all OSS buckets owned by the logon user in the left-side navigation pane. You can upload files from your cluster to OSS buckets or download files the other way around.
Go to the Data Management page of E-HPC Portal.
In the left-side navigation pane, click OSS Buckets. Then, click the OSS bucket that you want to manage.
Upload or download files based on your business requirements.
Operation
Description
Upload a file
Go to the directory to which you want to upload a file and click Upload. In the Upload dialog box, select the file that you want to upload and click OK.
Download a file
Go to the directory from which you want to download a file, select the file that you want to download, and click Download in the upper part of the page or in the Actions column. Then, specify the download path and click OK.