Set up a Notebook workspace in DMS to query and analyze data with Spark or Python. This guide walks you through creating a workspace, configuring storage, adding a compute resource, and accessing your data.
Prerequisites
Before you begin, ensure that you have:
An Object Storage Service (OSS) bucket in the Singapore region with the Standard storage class. If you don't have one, create a bucket first.
An AnalyticDB for MySQL cluster registered in DMS (required only if you plan to use Spark images). If the cluster isn't registered, see Register an Alibaba Cloud database instance.
A virtual private cloud (VPC) with a configured vSwitch and security group.
Step 1: Create a workspace
Log on to the DMS console V5.0.
Click the
 icon in the upper-left corner and choose All Features > Data Development > Notebook.Note
If you are not using DMS in simple mode, choose Data Development > Notebook in the top navigation bar.
Click Create Workspace. In the Create Workspace dialog box, set Workspace Name and Region, then click OK.
NoteThe workspace name can contain letters, digits, and underscores (_).
You can select only the Singapore region for the workspace.
In the workspace list, click Go to Workspace in the Actions column.
NoteOnly the workspace creator can access a workspace by default. To enable collaborative development, grant development permissions to the users who need access.
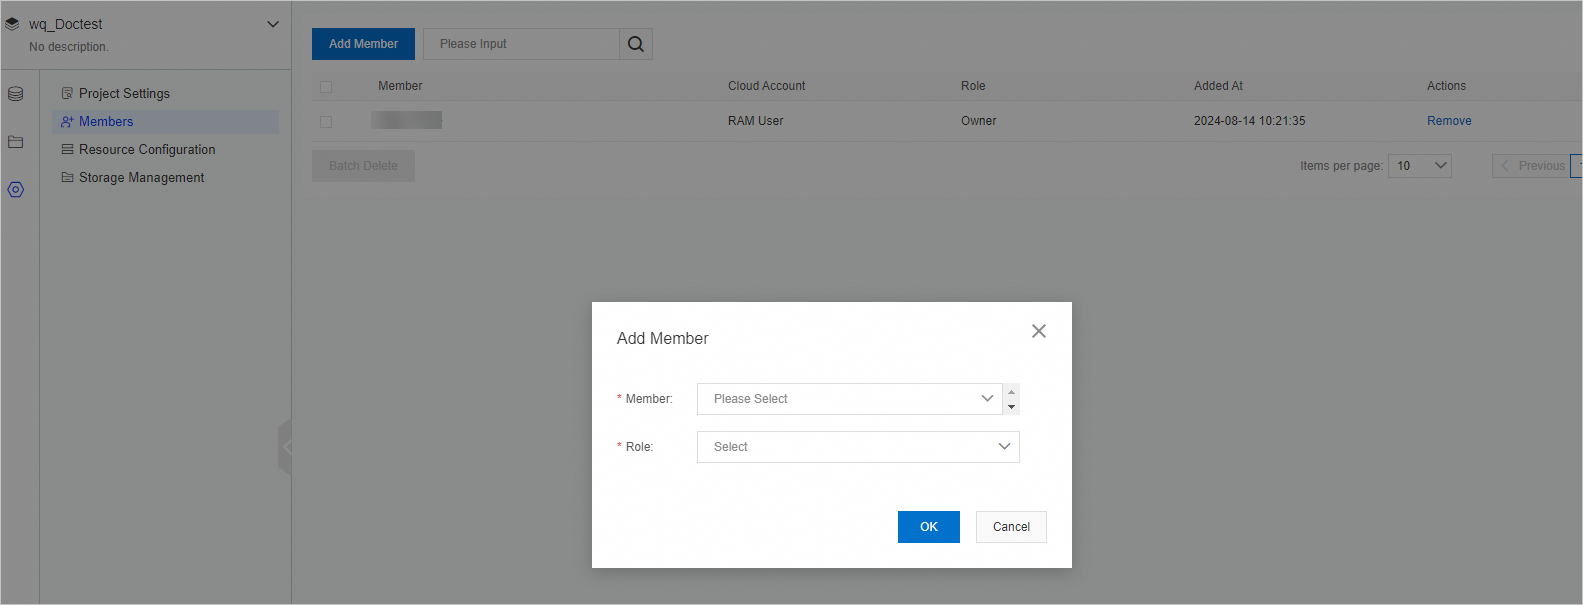
Step 2: Add workspace members (optional)
Skip this step if you're working alone.
If multiple users need access, assign each user a role. Users must be added to DMS before you can assign roles. For details, see Manage users.
Step 3: Configure an OSS bucket for code storage
In your workspace, click Storage Management on the
 tab.
tab.Click the
 icon next to Code Storage Space.
In the Select OSS Directory dialog box, select a bucket. The bucket must be in the same region as your workspace and use the Standard storage class.
Click OK.
Step 4: Add a compute resource
Add and start a compute resource before using Notebook to query and analyze data.
Resources are automatically released when all notebook kernels are exited and the maximum idle period elapses. Size your resource based on your workload to avoid unnecessary costs.
On the
tab, click Resource Configuration.Click Add Resource and configure the following parameters.
Parameter Description Resource Name A name for the resource. Resource Introduction A description of the resource. Image The runtime environment. Options: Spark 3.5+Python 3.9, Spark 3.3+Python 3.9, Python 3.9. Choose a Spark image if you need distributed processing; choose Python 3.9 for lightweight data exploration. AnalyticDB Instance The AnalyticDB for MySQL cluster to use. Required when Image is set to Spark 3.3 or Spark 3.5. AnalyticDB Resource Group The resource group within the AnalyticDB for MySQL cluster. Executor Spec The resource specifications for each Spark executor. For reference, see the Type column in Spark application configuration parameters. Executor Count The number of Spark executors. During public preview, the maximum is 6 executors per notebook. Contact DMS technical support if you need more. Driver Specifications The resource specifications for the Spark driver. Valid values: General_XSmall_v1 (2 CPU cores, 8 GB memory), General_Small_v1 (4 CPU cores, 16 GB memory), General_Medium_v1 (8 CPU cores, 32 GB memory), General_Large_v1 (16 CPU cores, 64 GB memory). For lightweight workloads, General_XSmall_v1 is sufficient. For large Spark jobs, consider General_Medium_v1 or above. NotebookQuantity The compute specifications for a Python 3.9 notebook. Appears only when Image is set to Python 3.9. Same valid values as Driver Specifications. VPC ID The VPC in which the resource runs. Zone ID The zone of the VPC. vSwitch ID The vSwitch in the VPC. Security Group ID The security group for the resource. Click Save.
Find the resource in the list, click Start in the Action column, and then click OK. The resource enters the Running state after about 1 minute.
Step 5: Configure an OSS bucket for user data (optional)
Skip this step if you only need to access data already in DMS.
To read data from external OSS buckets in your notebook, configure one or more OSS paths in the User Storage Space area.
In your workspace, click Storage Management on the
tab.In the User Storage Space area, configure an OSS path.
NoteMount paths must start with
/mnt/.
Click the
 icon to save the path.
Step 6: View data
In your workspace, click the
 tab to open SQL Console.
Use SQL Console to query data and explore table definitions:
Query data: Enter SQL statements directly, or use Copilot to generate them. SQL syntax follows the logical data warehouse standard, which supports MySQL syntax across multiple databases (such as AnalyticDB for MySQL and ApsaraDB RDS for MySQL). DMS automatically converts and optimizes your statements. When you use Copilot, it generates SQL based on database, table, and column metadata. If the generated results are inaccurate, edit the knowledge that Copilot uses to improve future accuracy. You can also like accurate results to further improve quality over time.
View table usage notes: Click a database to expand it, then double-click a table name to open the table details page. View or edit the table description on the Usage Notes tab.
Manage resources
On the Resource Configuration page, you can manage resources at any time. For more information about how to navigate to this page, see Step 4: Add a compute resource.
| Operation | Description |
|---|---|
| Stop | Manually stop a running resource. |
| Edit | Edit the resource configuration. The resource must be stopped before you can edit it. |
| Start | Manually start a stopped resource. |
| Auto-release | Resources are automatically released when all notebook kernels exit and the maximum idle period elapses. |
| View Spark jobs | Click SparkUI in the Action column to open the History Server page, then click an application ID to view its Spark jobs. SparkUI is available only when the default resource is used and the resource contains a Spark image. |