This topic describes how to use DataV-WS.
DataV-WS service structure
DataV-WS integrates the static file service and WebSocket. The static file service is used to load local model addresses. WebSocket can be used in the blueprint editor to connect multiple projects in the same network range without additional development.
DataV-WS document directories
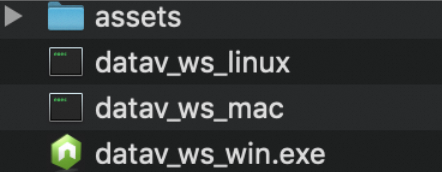
Do not delete the assets directory.
Start and stop DataV-WS
Windows:
Download the DataV-WS installation package.
Decompress the package and double-click the
datav_ws_win.exefile.View the returned message. If the following information appears, DataV-WS is started:
Server listen on IP address (e.g. 127.0.0.1):8181ImportantDo not close the command prompt after the start.
After the DataV-WS service is enabled, you can develop and demonstrate the WebSocket service, model service, and static resource service. For more information, see Configure DataV-WS services.
Linux or macOS:
Run the following command to download the DataV-WS installation package:
wget http://sh-conf.oss-cn-shanghai.aliyuncs.com/doc_files/datav_ws.zipDecompress the package, start the terminal, and enter the service directory, for example, datav-ws.
Run the following command. By default, the service is started on port
8181:chmod 777 * sh exec.sh startNoteYou can run the
sh exec.sh stopcommand to stop DataV-WS.You can run the
sh exec.sh restartcommand to restart DataV-WS.
After the DataV-WS service is enabled, you can develop and demonstrate the WebSocket service, model service, and static resource service. For more information, see Configure DataV-WS services.
Configure DataV-WS
You can configure WebSocket and the static file service.
Configure WebSocket.
Development:
Start the DataV-WS service locally. For more information, see Start and stop DataV-WS services.
Log on DataV console.
Create an empty DataV project.
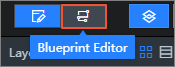
In the upper-left corner of the Canvas Editor page, click the Blueprint Editor icon to switch to the Blueprint Editor page.
In the blueprint editor, drag and drop the WebSocket node to the canvas.
Click the WebSocket node in the blueprint editor and set Socket Endpoint to
ws://127.0.0.1:8181.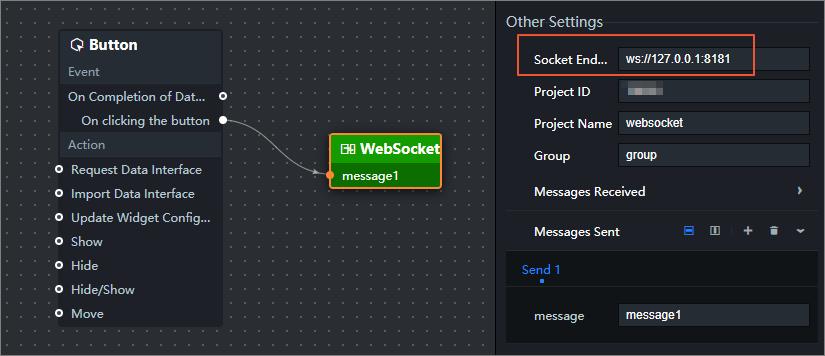
Demonstration:
Start the DataV-WS service on the demo machine or on a machine in the same network segment. For more information, see Start and stop DataV-WS services.
Add a WebSocket node. Set Socket Endpoint of the WebSocket node to
ws://IP address of the demonstration server:8181. The projects that use the two WebSocket nodes can communicate with each other.
Configure the model service.
Development:
Start the DataV-WS service locally. For more information, see Start and stop DataV-WS services.
Place the model into the
assetsfolder in the DataV-WS service.
Log on DataV console.
Create an empty DataV project.
For more information, see Add assets in Canvas Editor. On the Canvas Editor page, create the required DataV 3D engine component and add the Model Loader component.
NoteDataV 3D Engine is a non-generic component. If you need to use this component, contact the DataV sales staff to make an offline purchase before using it.
Set the model address in the Model Loader component to
http://IP address: 8181 /Model file name.
Demonstration:
Copy the
datav_wsfolder generated during the development phase to the demo machine on the same network segment.Start the DataV-WS service on the demo machine. For more information, see Start and stop the DataV-WS service.
Open the visualization application that needs to be demonstrated to get the model content on the service.
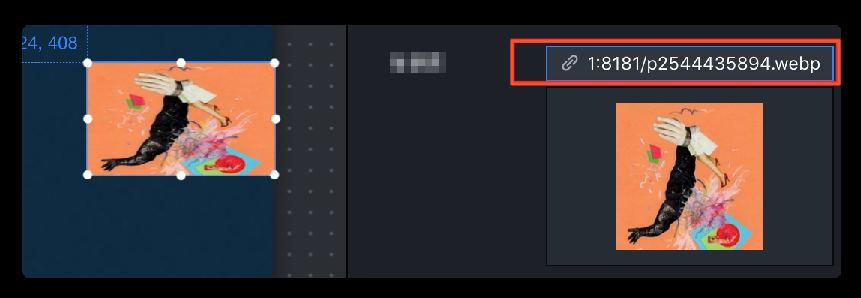
Configure the static file service.
Start the DataV-WS service locally. For more information, see Start and stop DataV-WS services.
Place static resources, such as images, into
assetsfolders in the DataV-WS service.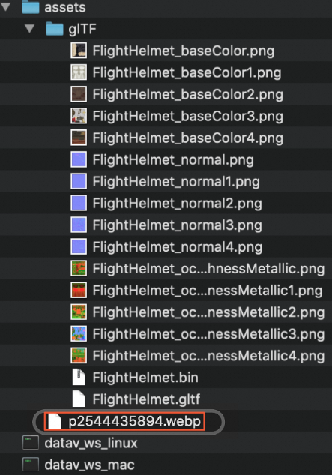
Log on DataV console.
Create an empty DataV project.
For more information, see Add assets in Canvas Editor. In the canvas editor, create the required single image widget.
Set the file address of the background image edit box of the Single Image component to
http://IP address: 8181/p2544435894.webp.