Database Autonomy Service (DAS) provides three integrated security features for your database fleet: security baseline checks that continuously scan for misconfigurations, SSL certificate management that gives you a centralized view of certificate health across all instances, and cross-engine whitelist templates that let you apply IP access rules to many instances at once. Use these features together to reduce exposure from common database security risks.
Security baseline check
The security baseline check feature scans your database instances against industry standards and security best practices. It detects risks such as weak passwords, overly permissive IP whitelists, missing audit logs, and inactive encryption keys — then provides specific remediation steps. Checks run automatically 24/7 without manual intervention.
Scope
The following regions are supported.
Public cloud
China (Hangzhou), China (Shanghai), China (Qingdao), China (Beijing), China (Shenzhen), China (Heyuan), China (Zhangjiakou), China (Hohhot), China (Chengdu), China (Guangzhou), China (Ulanqab), Indonesia (Jakarta), US (Virginia), US (Silicon Valley), Japan (Tokyo), Germany (Frankfurt), UK (London), Philippines (Manila), Malaysia (Kuala Lumpur), Singapore, and China (Hong Kong).
Finance Cloud
China (Hangzhou) Finance Cloud, China (Shanghai) Finance Cloud, China (Beijing) Finance Cloud (invitational preview), and China (Shenzhen) Finance Cloud.
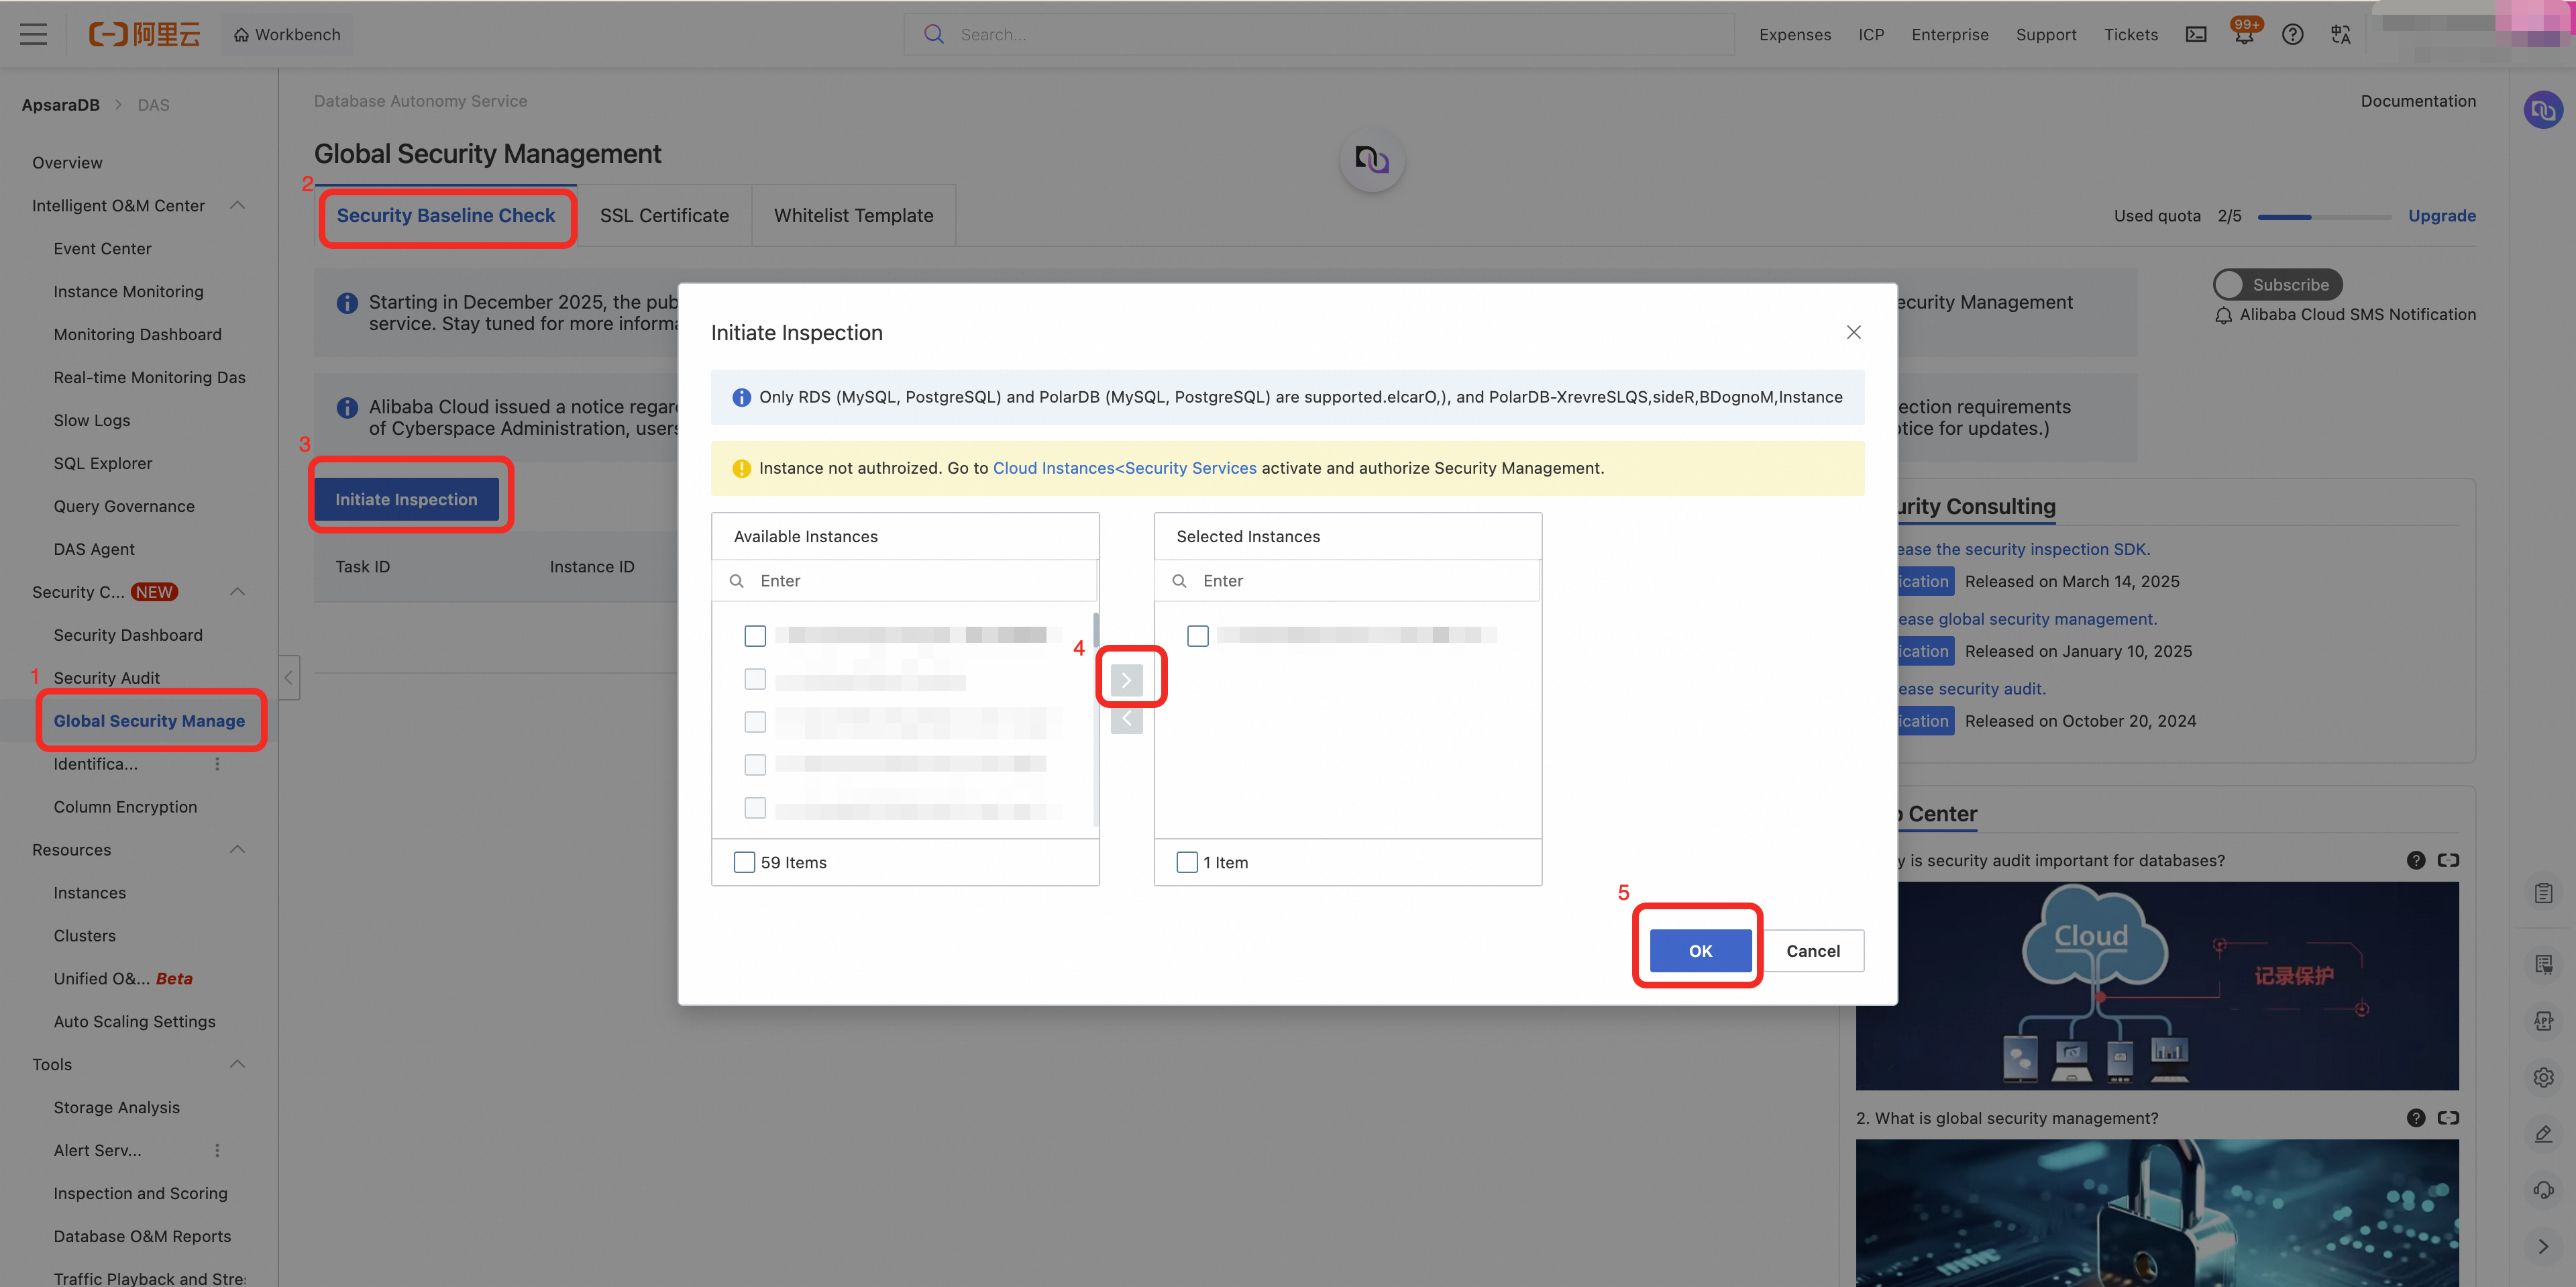
Before running an inspection, make sure Enable Security Center is activated for each target instance. To activate it, click Cloud Instances in the Initiate Inspection dialog box, find the instance in the Security Services column, and click Activate.
Run a security inspection
Log on to the DAS console.
In the left navigation pane, choose Security Center > Global Security Management. If this is your first time accessing the service, the purchase page appears. Click Purchase Now. In the Enable Security Management Service dialog box:
Under Select Instance, select the instances to add.
Under Security Scenario, select Security Management and choose a quota under Security Management Quota.
Optionally, select Sensitive Identification & Column Encryption.
Click Submit.
On the Global Security Management page, click the Security Baseline Check tab.
Click Initiate Inspection. In the dialog box, select the instances to inspect, click the arrow icon to move them to the right pane, and click OK.
A security inspection can take from a few minutes to tens of minutes depending on the number and complexity of your instances. You don't need to wait — return to this page later to view the results.
View inspection results
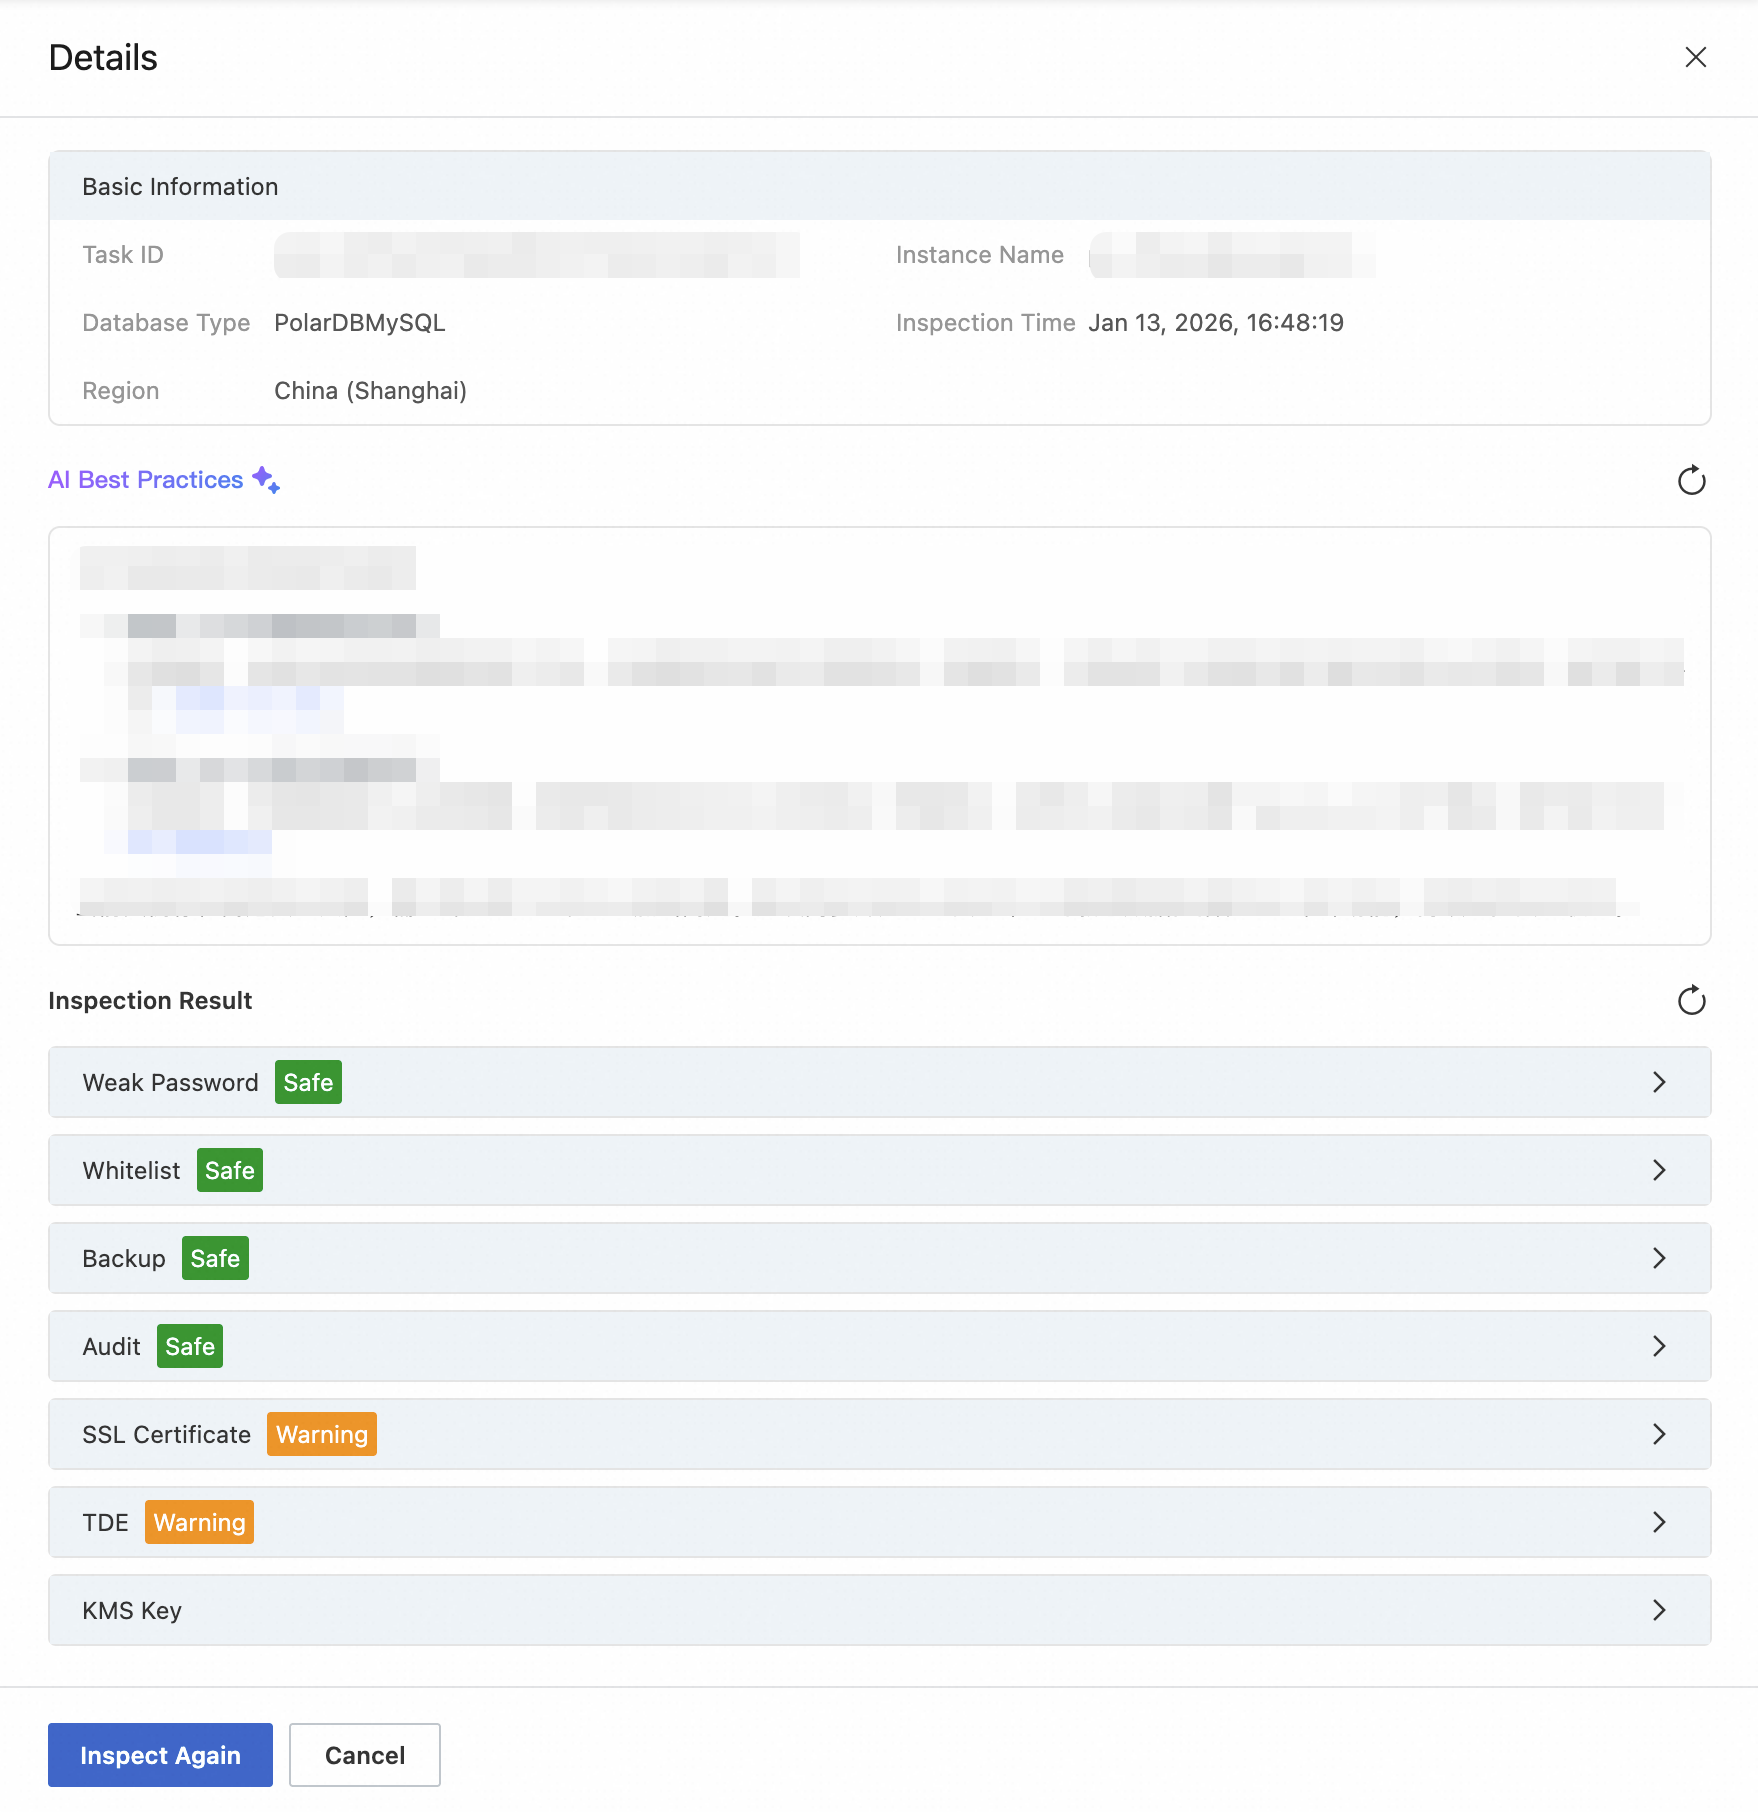
After the inspection completes, results appear in the Security Baseline Check tab. Each row represents one instance. Color-coded tags indicate the risk level: red for high-risk, yellow for warning, and green for secure.

To view the detailed findings for an instance, click Details in the Actions column. In the dialog box, click Inspect Again to rerun the inspection for that instance.
To download the current inspection list, click the download icon in the upper-right corner.

Enable inspection subscriptions
Use the toggle in the upper-right corner of the inspection list to enable the subscription service. When enabled, Alibaba Cloud sends security notifications through channels such as internal messages and text messages when either of the following events occurs:
Alibaba Cloud receives or discovers new security threat intelligence.
Regulatory authorities such as the Cyberspace Administration of China issue new compliance requirements.

Check items and remediation
The following table describes each check item, its risk levels, what it detects, and how to remediate findings.
| Check item | Risk levels | What is checked | Remediation |
|---|---|---|---|
| Weak password | High-risk: A user with a weak password exists. Secure: No weak passwords found. | Checks all accounts against a dictionary of over 10,000,000 common weak passwords, including newly discovered combinations. Supports batch detection across password strength policies. A security alert is triggered when a weak password is detected. | Set a password that is 8–32 characters long and includes at least three of the following: uppercase letters, lowercase letters, digits, and special characters (!@#$%^&*()_+-=). See the password reset guides for ApsaraDB RDS for MySQL, PolarDB-X 2.0, and PolarDB for MySQL. |
| Whitelist | High-risk: Whitelist is set to 0.0.0.0/0. Warning A large CIDR block (such as | Flags instances that allow public network access with an unrestricted or overly broad IP whitelist. | Remove unnecessary public IP entries so that only trusted addresses can access the instance. |
| SSL certificate | Warning SSL is not enabled. Secure: SSL is enabled. | Checks whether Secure Sockets Layer (SSL) encryption is enabled for database connections. | Enable SSL for instances accessed over the public network to protect data in transit. |
| Backup | High-risk: No backup set generated in the last 7 days. Warning A backup set was generated 2–7 days ago. Secure: A backup set was generated within the last day. | Checks the creation time of the most recent backup set, based on the configured backup policy. PolarDB-X 2.0 is not supported. Instances without an automatic backup policy are marked high-risk after 7 consecutive days without a backup. | Configure a backup policy with a regular cycle (daily or weekly) based on your business needs to maintain recoverability. |
| Audit | Warning Audit log is not enabled. Secure: Audit log is enabled. | Checks whether the audit log feature is enabled for the instance. | Enable audit logs to support post-incident traceability and real-time threat detection. |
| TDE | Warning Transparent data encryption (TDE) is not enabled. Secure: TDE is enabled. | Checks whether TDE is enabled for the instance. | Enable TDE to encrypt data at rest. |
| KMS key | High-risk: The Key Management Service (KMS) key used by the instance is not active. Secure: The KMS key is active. | Checks whether the KMS key associated with the instance is active. If TDE is not enabled, this field displays "Not applicable". | Go to the Key Management Service console, select the region of the instance, and enable the corresponding key. |
SSL certificate management
Database SSL certificates have fixed expiration dates, and an expired certificate breaks all client connections without warning. DAS centrally tracks the SSL certificate status and expiration times of all connected instances, so you can identify certificates approaching expiration and update them before connections are disrupted.
Prerequisites
Before you begin, make sure that:
The target database instance is connected to DAS.
The database instance is ApsaraDB RDS for MySQL or PolarDB for MySQL.
If a Resource Access Management (RAM) user needs to use this feature, grant that RAM user the AliyunHDMReadOnlyAccess or AliyunHDMFullAccess permission. For more information, see How can a RAM user use DAS?
SSL for proxies is not included in the statistics.
View SSL certificate status
Log on to the DAS console.
In the left navigation pane, choose Security Center > Global Security Management.
Click the SSL Certificate tab. The main table lists all connected instances. The Enabled Instances counter in the upper area shows the number of fully or partially enabled instances out of the total connected instances. Click an Instance ID to open the Basic Information page for that instance in its console. Click Details to open the SSL Management page, where you can modify SSL settings.
Column Description SSL certificate status The overall SSL status of the instance: Enabled, Partially Enabled, or Not Enabled. Only endpoints that support SSL are counted. ApsaraDB RDS for MySQL instances show only Enabled or Not Enabled — SSL cannot be enabled on a per-endpoint basis. PolarDB for MySQL instances support SSL on three endpoint types: primary endpoint, cluster endpoint, and custom endpoint. SSL certificate expiration The earliest expiration time among all SSL certificates for the instance's endpoints. 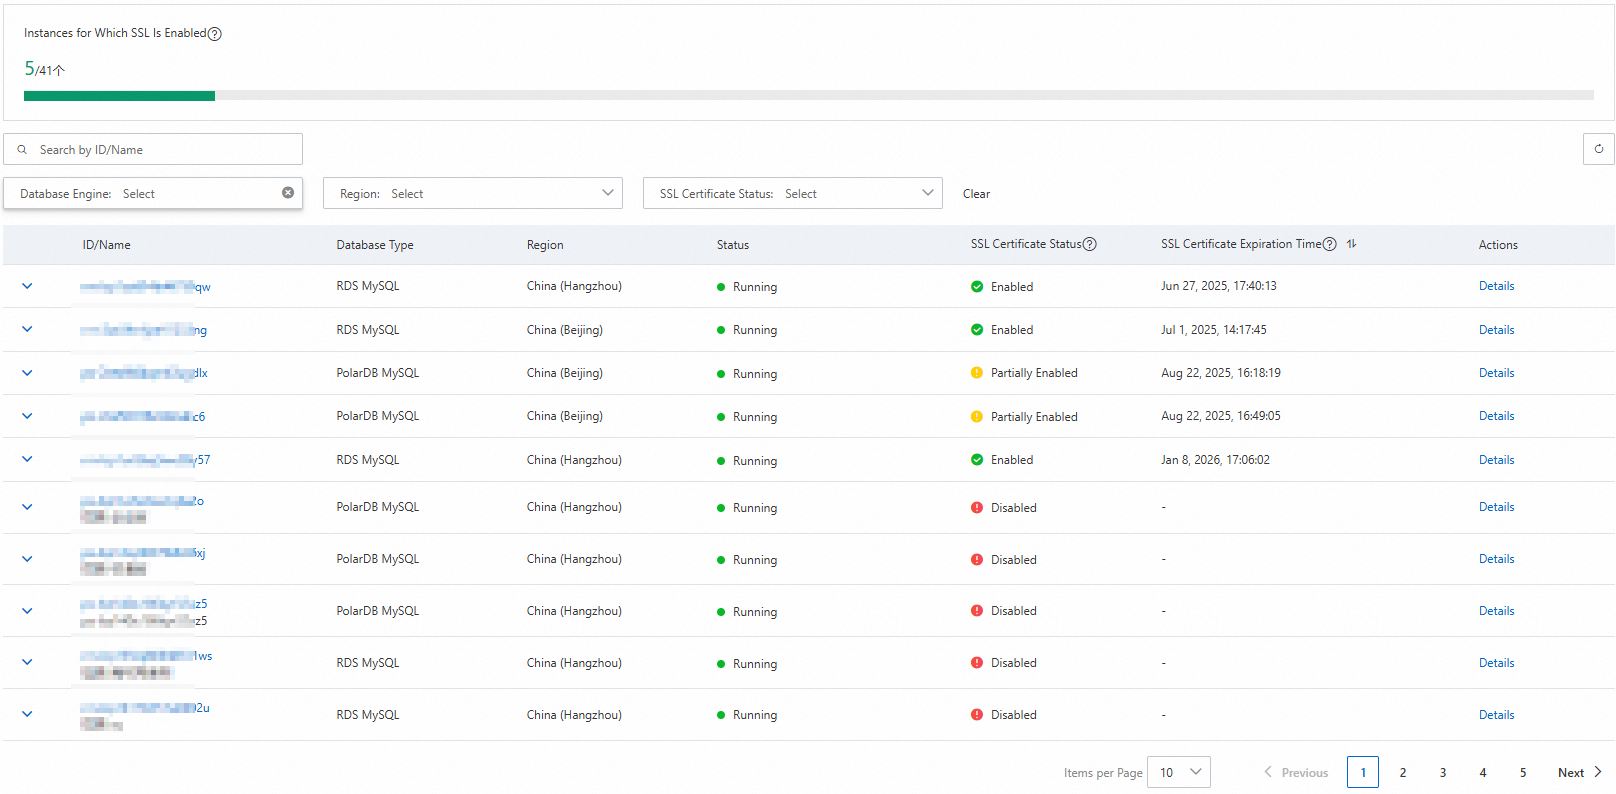
Click the expand icon to the left of an instance to view endpoint-level SSL details. The expanded view shows the following information per endpoint:
Column Description Endpoint ID Empty for ApsaraDB RDS for MySQL. For PolarDB for MySQL, this corresponds to the EndpointId on the instance's Basic Information page. Endpoint type Empty for ApsaraDB RDS for MySQL. For PolarDB for MySQL: primary endpoint, cluster endpoint, or custom endpoint. SSL-protected endpoint The SSL-encrypted connection endpoint for the instance. SSL certificate status Enabled or Not Enabled. When Not Enabled, the SSL-protected endpoint, SSL certificate type, and SSL certificate expiration fields are empty. SSL certificate type Issued by Database (corresponds to Use Cloud Certificate) or User-defined (corresponds to Use Custom Certificate). PolarDB for MySQL does not support custom certificates. SSL certificate expiration The expiration time of the SSL certificate for the endpoint. All times are displayed in your browser's time zone. 
Cross-engine whitelist template
Managing IP whitelists separately on each database instance is error-prone as your fleet grows. The cross-engine whitelist template feature lets you define a single IP access rule set — as a named template — and associate it with any number of instances across different database engines. When you update the template, the change propagates to all associated instances automatically.
Limits and constraints
| Resource | Limit |
|---|---|
| Whitelist rules per template | 1,000 |
| Instances per template | 500 |
| Templates per user per region | 100 |
Additional constraints:
Supported database engines: ApsaraDB RDS for MySQL, ApsaraDB RDS for PostgreSQL, PolarDB for MySQL, PolarDB for PostgreSQL, and Tair (Redis OSS-compatible).
Supported regions: China (Hangzhou), China (Shanghai), China (Nantong), China (Qingdao), China (Beijing), China (Zhangjiakou), China (Hohhot), China (Ulanqab), China (Shenzhen), China (Heyuan), China (Guangzhou), China (Chengdu), China (Hong Kong), Japan (Tokyo), UK (London), US (Virginia), US (Silicon Valley), Singapore, Philippines (Manila), Thailand (Bangkok), Germany (Frankfurt), UAE (Dubai), Malaysia (Kuala Lumpur), Indonesia (Jakarta), and South Korea (Seoul).
An instance can only be associated with templates in the same region, but can be associated with multiple templates.
Template changes take effect immediately. Changes to the IP whitelist group on associated instances take effect in about one minute.
Whitelist templates configured in DAS are not visible in the RDS or Tair instance consoles.
Modifying a template affects all associated instances. Evaluate the impact before making changes.
Deleting a template dissociates all associated instances and removes the template's rules from them. It does not affect each instance's own whitelist or other attached templates. If multiple templates share duplicate rules, deleting one template does not remove the duplicate entries from other templates.
Create a whitelist template
Log on to the DAS console.
In the left navigation pane, choose Security Center > Global Security Management.
Click the Whitelist Template tab.
Click Create IP Whitelist Template.
In the panel that appears, enter a Whitelist Template Name and the IP Addresses in Whitelist, select a Region, and click OK.
Setting the whitelist to
0.0.0.0/0grants access to all networks. Setting it to only127.0.0.1blocks all external connections — if other addresses are also configured,127.0.0.1has no effect. A newly created whitelist group takes effect in about one minute.
Modify a whitelist template
In the template list, find the target template and click Modify in the Actions column.
Update the template name or IP addresses in the panel, then click OK.
ImportantChanges apply immediately to all instances associated with the template.
Associate or dissociate instances
In the template list, find the target template and click Associate Instance in the Actions column.
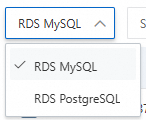
In the panel, select the product type to associate.

Select the engine type.
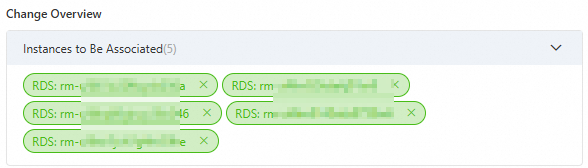
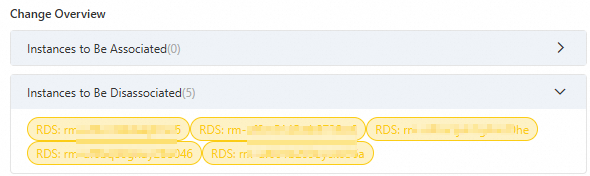
In the All Instances pane on the left, search for and select instances. Selected instances appear in the Change Overview > Instances to Be Associated list. To dissociate an instance, clear its checkbox. It then appears in the Change Overview > Instances to Be Disassociated list.
Click OK.
Delete a whitelist template
Deleting a template removes all its rules from associated instances. It does not affect each instance's own whitelist or other attached templates.
In the template list, find the target template and click Delete in the Actions column.
In the confirmation dialog box, click OK.
Before deleting a template, dissociate all instances from it to avoid unintended access rule changes.