O&M audit records can expose sensitive data—such as ID card numbers and mobile phone numbers—to anyone with log access. Data masking policies let you define regex-based rules that automatically redact matching strings in audit records, reducing the risk of unauthorized exposure.
After creating a policy, verify it is working by reviewing a sample audit record.
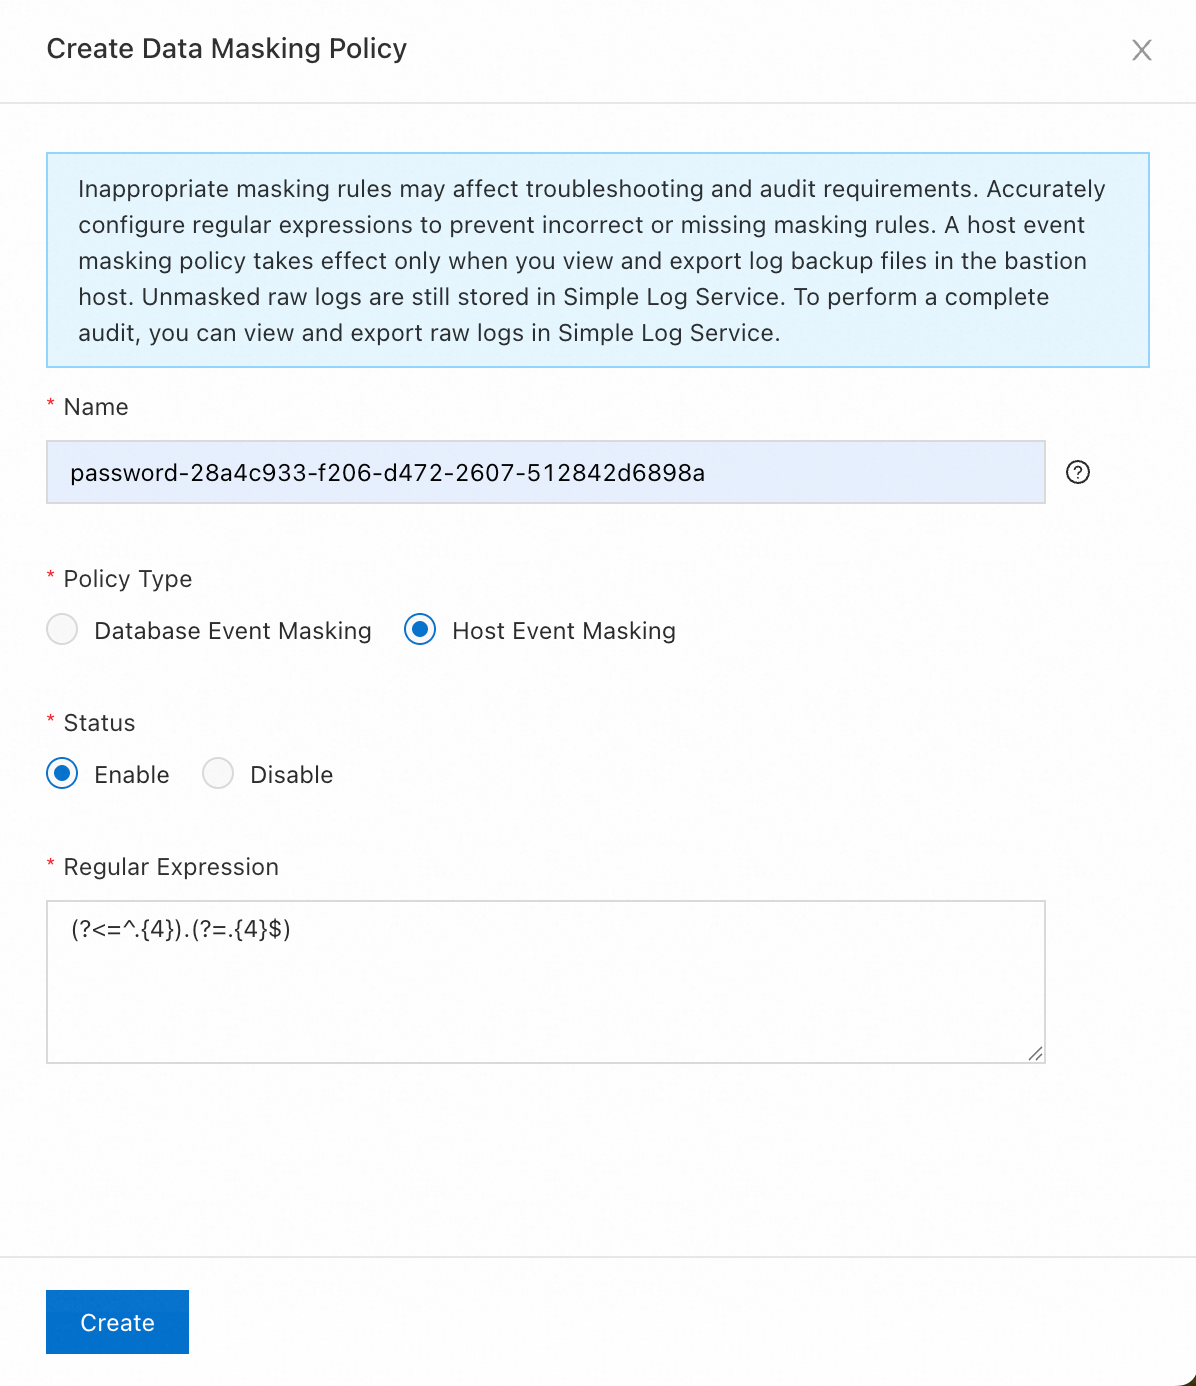
Create a data masking policy
Log on to the Bastionhost console. In the top navigation bar, select the region where your Bastionhost instance is located.
In the instance list, find the target instance and click Manage.
In the left navigation pane, click System Settings, then click the Data Masking Policies tab.
Click Create Data Masking Policy.
In the Create Data Masking Policy panel, configure the following:
Field Description Name Enter a descriptive name for the policy. Regular Expression Enter the regex pattern that identifies the sensitive string to mask. Filter Scope Select whether the policy applies to database or host events. Status Set to Enable. Click Create.
How masking works
The policy uses your regular expression to locate a match in an audit record string, then masks a specified number of characters starting from a given position within that match.
For example, to mask eight consecutive characters starting from position 7 in the string a1s2d34567890sss:
| Parameter | Value |
|---|---|
| Start position | 7 |
| Masking length | 8 |
| Result | a1s2d3*******ss |
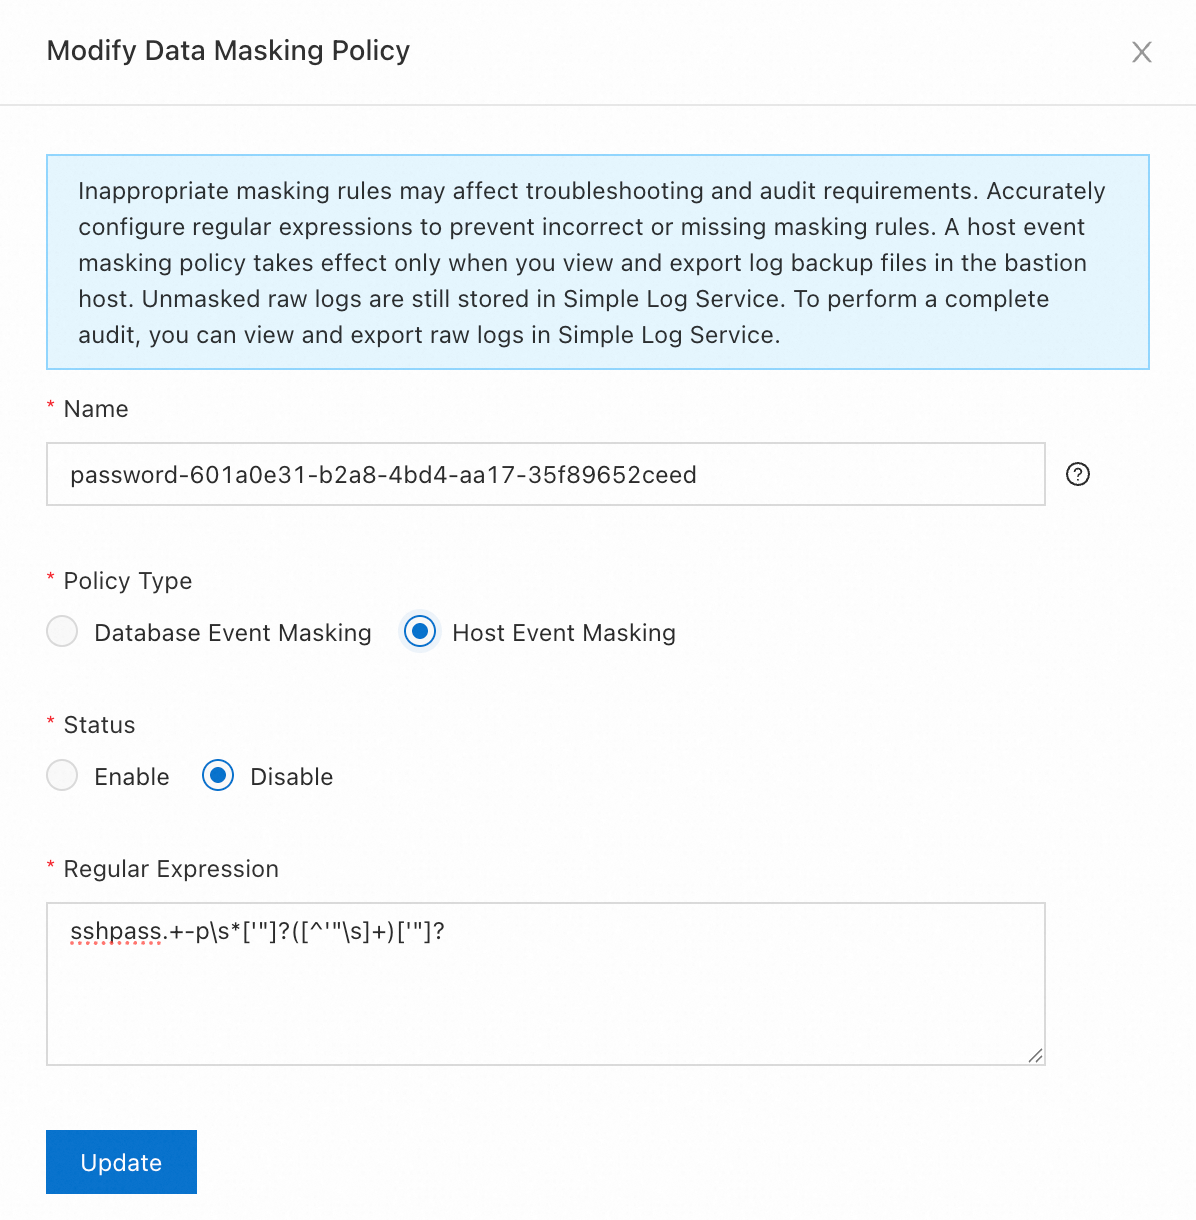
Manage data masking policies
After creating policies, you can edit, delete, enable, or disable them from the same Data Masking Policies tab.
Log on to the Bastionhost console. In the top navigation bar, select the region where your Bastionhost instance is located.
In the instance list, find the target instance and click Manage.
In the left navigation pane, click System Settings, then click the Data Masking Policies tab.
Perform one of the following operations:
Edit a policy: Find the policy and click Edit in the Actions column. Modify fields such as Regular Expression and Filter Scope in the panel, then click Update.
Delete a policy: Click Delete in the Actions column of the target policy, then confirm in the dialog box. To delete multiple policies at once, select them and click Delete at the bottom of the list.
Enable or disable a policy: Select the policy, then click Enable or Disable at the bottom of the list.