Add and use tags
Tags in Application Real-Time Monitoring Service (ARMS) help you organize and observe data, such as application monitoring metrics, traces, and logs. This topic describes how to add tags to your applications, use application tags to filter applications and manage permissions, and use instance tags to filter data on the Application Details and Grafana View pages.
Prerequisites
Your application is connected to Application Monitoring. For more information, see Application Monitoring overview.
Java applications must also meet the following requirements:
-
For applications in container clusters, ensure that the ack-onepilot component is v3.0.4 or later and the ARMS agent is v2.7.3.5 or later.
-
For applications in other environments, ensure that the ARMS agent version is v2.7.3.5 or later. You can download the latest ARMS agent from the Agent Release Notes tab on the page in the ARMS console.
Tag types
Application Monitoring provides two types of tags: application tags and instance tags. Both use key-value pairs. Choose the type that best fits your use case.
Application tags
Application tags apply to ARMS applications. You can view or modify application tags on the page in the ARMS console. You can use application tags for purposes such as filtering applications, managing permissions, and allocating costs.
Instance tags
Each application instance represents an application process that connects to ARMS with the same application name. Unlike application tags, instance tags apply to individual application instances, allowing different instances of the same application to have different tags.
For application instances automatically discovered in a Kubernetes environment, ARMS adds the following default instance tags:
|
Tag key |
Description |
|
workloadKind |
The type of the workload where the application instance runs, such as Deployment. |
|
workloadName |
The name of the workload where the application instance runs. |
|
clusterName |
The name of the Kubernetes cluster where the application instance runs. |
|
namespace |
The Kubernetes namespace where the application instance runs. |
|
version |
The image tag. A custom instance tag can overwrite this. |
|
agentVersion |
The ARMS agent version. |
In addition to the default tags, you can add custom instance tags. Application instances also inherit all tags from their parent application. The monitoring data that ARMS generates for an application instance includes all of its assigned application and instance tags.
We recommend that custom instance tag keys follow Prometheus naming conventions, which means they must match the regular expression ^[a-zA-Z_][a-zA-Z0-9_]*$. For non-compliant keys, the ARMS agent replaces invalid characters with an underscore (_). For example, 1key:1value becomes _key:1value.
Example:
As shown in the following figure, the application my-app has two instances. The metric data generated by ARMS for Instance B includes the following tags: {env: Dev, team: Observability, app: my-app, workloadKind: Deployment, workloadName: my-app, clusterName: ClusterA, namespace: nsA, gitVersion: 1.0.1}.

Add custom instance tags
Add custom instance tags in Kubernetes
Method 1 (recommended): Inject tags using pod labels
If your application is deployed in a Kubernetes environment where the ARMS agent is installed automatically, you can add custom instance tags by using pod labels.
This method is suitable for applications deployed in both Container Service for Kubernetes (ACK) and general Kubernetes environments. For information about how to automatically install the ARMS agent in these environments, see Application Monitoring overview.
Take an application deployed in an ACK environment as an example:
In the ACK console, go to the Deployments or StatefulSets page of your target cluster. Select the target namespace, find the target application, and then in the Actions column, choose  > View in YAML. In the Edit YAML dialog box, add your custom tags and click Update. The application instance restarts to apply the new tags.
'f:readyReplicas': {}
        'f:replicas': {}
        'f:updatedReplicas': {}
    manager: kube-controller-manager
    operation: Update
    subresource: status
    time: '2023-11-16T09:39:32Z'
  name: mall-gateway
  namespace: arms-apm-demo
  resourceVersion: '943537'
  uid: xxxd0b1bf76f42
spec:
  progressDeadlineSeconds: 600
  replicas: 1
  revisionHistoryLimit: 10
  selector:
    matchLabels:
      app: mall-gateway
  strategy:
    rollingUpdate:
      maxSurge: 25%
      maxUnavailable: 25%
    type: RollingUpdate
  template:
    metadata:
      labels:
        gitVersion: '1.0.2'  # Add a custom instance tag
        app: mall-gateway
        armsPilotAutoEnable: 'on'
        armsPilotCreateAppName: mall-gateway
    spec:
      containers:
      - env:
        - name: SERVICE_NAME
Method 2: Inject tags using a pod environment variable
-
To use this method for a Java application, the ARMS agent version must be 4.0.0 or later.
-
To use this method for a Go application, the ARMS agent version must be 1.5.0 or later.
-
To use this method for a Python application, the ARMS agent version must be 1.3.0 or later.
To inject custom tags that are only available after a pod is created (such as podName), you can inject them by adding an operating system environment variable to the application container's startup script. Follow these steps:
-
Add an environment variable named ARMS_HOST_TAGS to your application container. Set its value to your instance tags. Separate multiple tags by using the
key1:value1&key2:value2format. For example:export ARMS_HOST_TAGS="gitVersion:1.0.2&ip:192.168.1.101". -
Restart the application for the change to take effect.
Add tags for manually installed agents
Java applications
Method 1: Use a -D parameter
Add the -Darms.host.tags="${yourLabel}" parameter to your Java application's startup command.
Replace ${yourLabel} with the instance tags that you want to add. Use the key1:value1&key2:value2 format for multiple tags. For example: -Darms.host.tags="gitVersion:1.0.2&ip:192.168.1.101".
Method 2: Modify the configuration file
Agent v4.0.0 or later
-
As described in Modify the configuration file and default reporting region of the Java agent, create a configuration file with a .properties extension in any directory. In the file, add the
profiler.tags.customtagsfield and set its value to your instance tags. Use thekey1:value1&key2:value2format for multiple tags. Example:#profiler.tags.customtags=key1:value1&key2:value2 profiler.tags.customtags=gitVersion:1.0.2&ip:192.168.1.101 -
Add the
-Dotel.javaagent.configuration-file=${path/to/config/file}parameter to the startup parameters of your Java application, or set theOTEL_JAVAAGENT_CONFIGURATION_FILE=${path/to/config/file}environment variable.Note-
Replace
${path/to/config/file}with the full path of the configuration file that you created. For example:-Dotel.javaagent.configuration-file=/home/admin/config/agent-config.propertiesorOTEL_JAVAAGENT_CONFIGURATION_FILE=/home/admin/config/agent-config.properties. -
If both the startup parameter and the environment variable are configured, the startup parameter takes precedence.
-
-
Restart the application process.
Agent earlier than v4.0.0
-
As described in Modify the configuration file and default reporting region of the Java agent, modify the
profiler.tags.customtagsfield in thearms-agent.configfile, which is in the agent installation directory. You can add custom instance tags in thekey1:value1&key2:value2format. Example:#profiler.tags.customtags=key1:value1&key2:value2 profiler.tags.customtags=gitVersion:1.0.2&ip:192.168.1.101 -
Restart the application process.
Go applications
Declare an environment variable, then restart the application process.
#export ARMS_HOST_TAGS=key1:value1&key2:value2
export ARMS_HOST_TAGS="gitVersion:1.0.2&ip:192.168.1.101"
Python applications
Declare an environment variable, then restart the application process.
#export ARMS_HOST_TAGS=key1:value1&key2:value2
export ARMS_HOST_TAGS="gitVersion:1.0.2&ip:192.168.1.101"
Inject application tags via pod labels
-
For Java applications, only the ack-onepilot component of v3.0.16 or later supports injecting application tags by using pod labels.
-
For Go applications, only the ack-onepilot component of v3.2.0 or later supports injecting application tags by using pod labels.
-
For Python applications, only the ack-onepilot component of v4.1.1 or later supports injecting application tags by using pod labels.
-
Only ack-onepilot v4.1.2 or later supports Method 2 for injecting application tags.
Method 1:
If a pod label has the app.customAppKey. prefix, ARMS identifies it as an application tag, not an instance tag.
For example, in the following code, ARMS adds the application tag env: dev to the application associated with this workload.
  template:
    metadata:
      labels:
        app.customAppKey.env: dev
        app: mall-gateway
        armsPilotAutoEnable: 'on'
        aliyun.com/app-language: golang  # Required for Go applications to identify the application language. Not required for Java applications.
        armsPilotCreateAppName: mall-gateway
Method 2:
To reuse existing pod labels as application tags, configure the ack-onepilot component.
Prerequisites
The ack-onepilot version is 4.1.2 or later.
Procedure
-
Find the Deployment for the ack-onepilot component. It is usually named ack-onepilot-ack-onepilot and located in the ack-onepilot namespace.
Confirm that the pod count for the Deployment shows 2/2, which indicates that the ack-onepilot component is running correctly.
-
Add the
ARMS_APP_LABELSenvironment variable to the ack-onepilot component's Deployment. This variable is a comma-separated string of keys. After you configure this, any key from /spec/template/metadata/labels that is listed in the ARMS_APP_LABELS variable is identified as an application tag.For example, if you set the value of
ARMS_APP_LABELStoenv,group, the tags with the keysenvandgroupin the pod labels are identified as application tags. -
Wait for the ack-onepilot component to restart and pass its health checks. Then, restart your application to apply the application tags.
In the ACK console, on the details page of the ack-onepilot-ack-onepilot Deployment, confirm that the ready status is 2/2 and the status for all pods is Running. This indicates that the component is ready.
-
In ARMS, an application is an aggregate concept that represents a collection of application instances. An application can have multiple instances and can come from multiple workloads or Kubernetes clusters. Therefore, injecting application tags by using pod labels is a convenient practice for DevOps scenarios but has certain limitations.
-
Application tags injected through pod labels can only be added. They cannot be removed by deleting the label from the YAML. To modify or delete a tag, you must use the ARMS console or OpenAPI.
-
If multiple workloads map to the same ARMS application, injecting application tags by using pod labels may cause conflicts. Ensure that application tags are consistent across these workloads.
Use application tags
Filter applications
On the ARMS Application List page and when creating alert rules, you can use application tags to quickly filter applications.
Tag-based access control
You can manage Resource Access Management (RAM) permissions based on application tags. For more information, see Custom RAM policies for Application Monitoring.
Use instance tags
Filter data by instance tag
-
Log on to the ARMS console. In the navigation pane on the left, choose .
-
On the Application List page, select a region at the top and then click the name of your target application.
NoteThe icons in the Language column indicate the programming language of the application:
 : A Java application connected to Application Monitoring.
 : A Go application connected to Application Monitoring.
 : A Python application connected to Application Monitoring.
-: An application connected to Managed Service for OpenTelemetry.
-
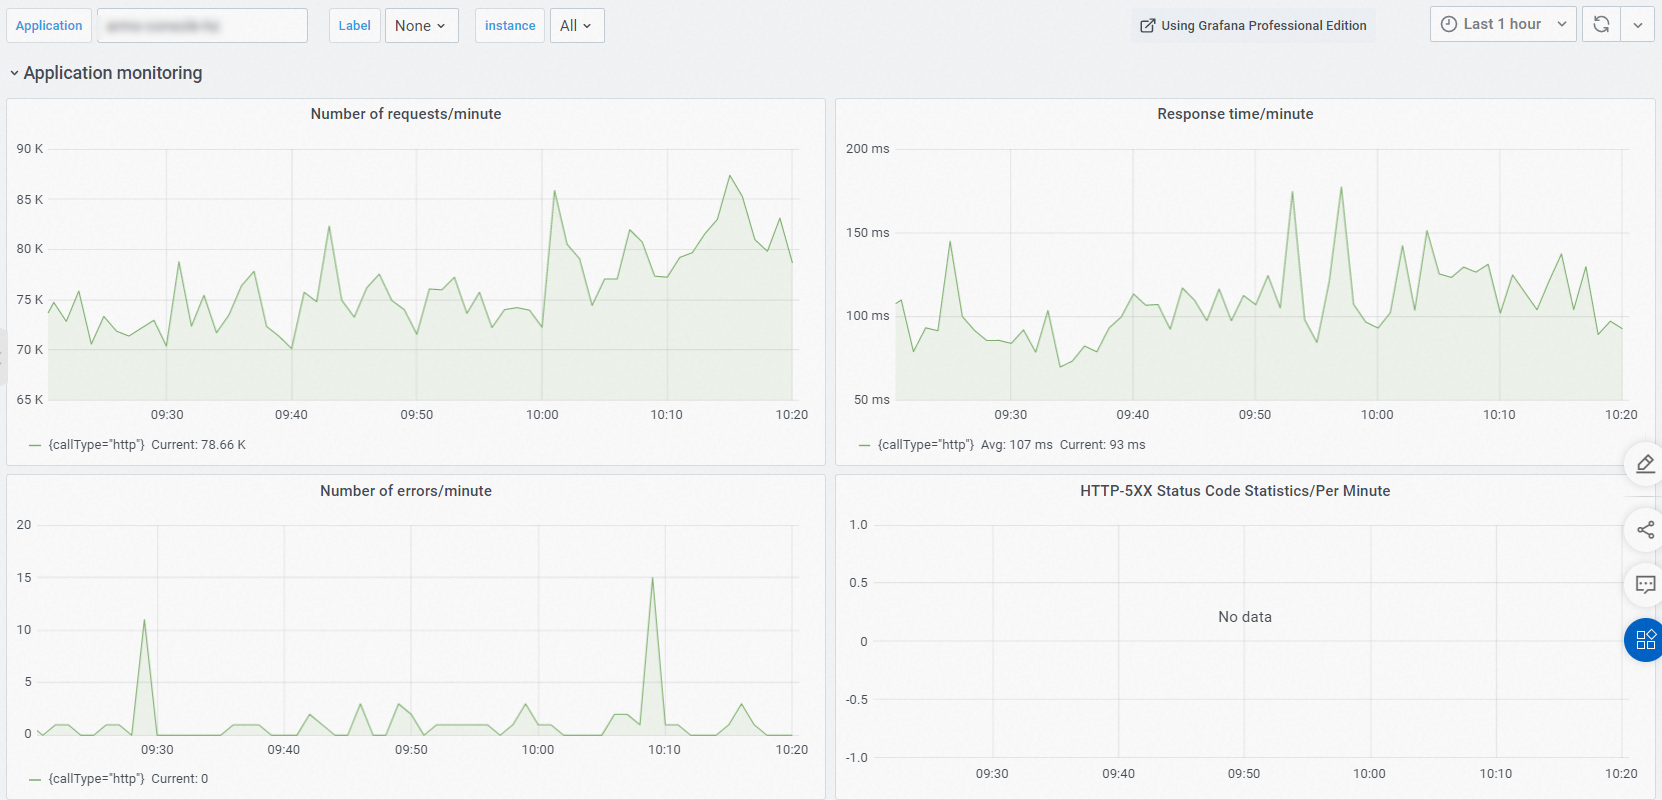
On the application details pages, you can filter monitoring data by instance tags. For example, you can compare and analyze data based on image version numbers.
Query metrics by tag in Grafana
-
Log on to the ARMS console. In the navigation pane on the left, choose .
-
On the Application List page, select a region at the top and then click the name of your target application.
NoteThe icons in the Language column indicate the programming language of the application:
 : A Java application connected to Application Monitoring.: A Go application connected to Application Monitoring.: A Python application connected to Application Monitoring.
-: An application connected to Managed Service for OpenTelemetry.
-
In the navigation pane on the left, click Grafana View. At the top of the page, select different tags to filter the metrics.