On the Tasks page of the ApsaraVideo Media Processing (MPS) console, you can submit a job with a few clicks to process a media file stored in Object Storage Service (OSS). For example, you can submit a job for transcoding, snapshots, video moderation, or media fingerprinting. This topic describes how to create and submit an MPS job, and how to view the status and details of an MPS job after the job is submitted.
Prerequisites
The input media bucket and output media bucket are specified. For more information, see Add media buckets.
An MPS queue is enabled based on the job type. For more information, see Manage MPS queues.
Optional. A template is created. If preset templates cannot meet your business requirements, you can create a custom template. For more information, see Transcoding templates.
Limits
The maximum size of a file that a job can process is 100 GB. If the file size exceeds the upper limit, the job fails.
Create a transcoding job
This section describes how to create a transcoding job in the MPS console. You can create a transcoding job to transcode a video into different formats so that the video can be played on various platforms. For more information about the complete process of submitting a transcoding job, see Submit a transcoding task.
You can call the SubmitJobs operation to submit a transcoding job, or configure a workflow to automatically initiate multiple transcoding jobs after a file is uploaded. For more information, see Use a workflow.
Log on to the MPS console.
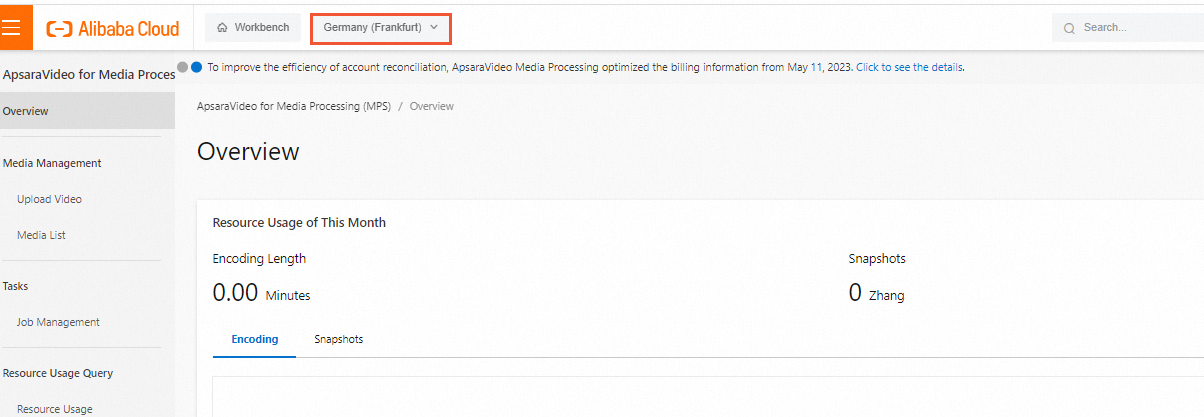
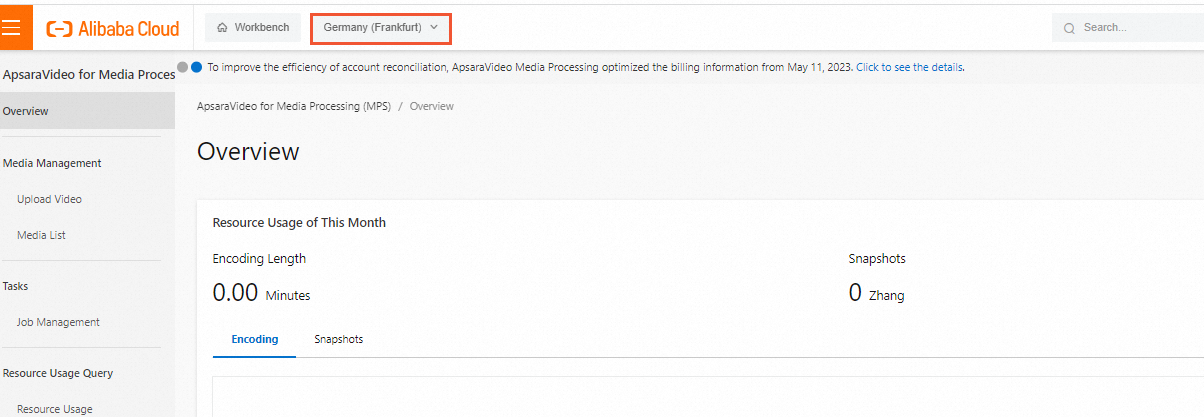
In the top navigation bar, select a region from the drop-down list.

In the left-side navigation pane, choose Tasks > Job Management.
On the Encode tab, click Create Task.
Configure parameters for the job. The following table describes the parameters.
Parameter | Description |
Input File URL | The URL of the input file that is stored in an OSS bucket. Click Select next to the Input File URL field. In the Select File dialog box, select an OSS bucket from the Bucket drop-down list. Folders in the OSS bucket that you select are automatically displayed in the Path section. Select a file from a folder as the input file. Note
|
Encoding Pipeline | The MPS queue for transcoding. Select an MPS queue from the Encoding Pipeline drop-down list. Note
|
Output File Name | The name of the output file. Enter a name in the Output File Name field. You must include a file name extension for all types of files except for M3U8 files. Example: example_video01.mp4. |
Output Path | The path of the output file to be stored in an OSS bucket. Click Select next to the Output Path field. In the Select Output Path dialog box, select an OSS bucket from the Bucket drop-down list. Folders in the OSS bucket that you select are automatically displayed in the Path section. Select a folder as the output path. Note
|
Click Next.
Specify a transcoding template. The following table describes the parameters.
Parameter | Description |
Template Type | The type of the transcoding template. For more information about preset templates, see the "Preset template" section of the Transcoding template topic. For information about how to create a custom transcoding template, see Transcoding templates. |
Output Format | The output format of the transcoded file. Default value: mp4. |
Templates | The template to be used in the transcoding job. Default value: MP4-4K. |
Watermark Templates | Optional. Specifies whether to turn on Watermark Templates. If you turn on this switch, you also need to perform the following operations:
|
Clip Output | Optional. Specifies whether to turn on Clip Output. In this example, this switch is turned on. You can configure the start time for video editing and the length to be trimmed out to specify the duration of the video clip.
|
Rotate Angle | Optional. The clockwise rotation angle for video images. Valid values: 0 to 360. |
Click Submit. The transcoding job is created and submitted.
After the transcoding job is submitted, you can view the execution status and configurations of the job. You can also click the name of the job to view other information, such as the input and output paths.
NoteIf Failed is displayed in the Encoding Status column for a transcoding job after the job is submitted but no details are provided for the failure, check the network condition and submit the job again after the network condition is back to normal.
Create an intelligent thumbnail job
The intelligent thumbnail feature integrates video AI-based understandings of video content and images with analysis of large amounts of user behavioral data. It selects an optimum keyframe or key clip of a video as the video thumbnail to improve the click-through rate and user experience of the video.
You can create an intelligent thumbnail job in the China (Beijing), China (Shanghai), China (Hangzhou), or Singapore region.
Log on to the MPS console.
In the top navigation bar, select a region from the drop-down list.

In the left-side navigation pane, choose Tasks > Job Management.
On the Intelligent Thumbnail tab, click Create Task.
Configure parameters for the job. The following table describes the parameters.
Parameter | Description |
Input File URL | The URL of the input file that is stored in an OSS bucket. Click Select next to the Input File URL field. In the Select File dialog box, select an OSS bucket from the Bucket drop-down list. Folders in the OSS bucket that you select are automatically displayed in the Path section. Select a file from a folder as the input file. Note
|
Intelligent Thumbnail Pipeline | The MPS queue for intelligent thumbnail creation. Select an MPS queue from the Intelligent Thumbnail Pipeline drop-down list. Note
|
Output Path | The path of the output file to be stored in an OSS bucket. Click Select next to the Output Path field. In the Select Output Path dialog box, select an OSS bucket from the Bucket drop-down list. Folders in the OSS bucket that you select are automatically displayed in the Path section. Select a folder as the output path. Note
|
Click Submit. The intelligent thumbnail job is created and submitted.
After the transcoding job is submitted, you can view the execution status and configurations of the job. You can also click the name of the job to view other information, such as the input and output paths.
NoteIf Failed is displayed in the Encoding Status column for a transcoding job after the job is submitted but no details are provided for the failure, check the network condition and submit the job again after the network condition is back to normal.
Create a video moderation job
MPS intelligently detects pornographic content, terrorist content, ads, and undesirable content in a video. This feature helps you reduce manpower costs for manual review and lower the risks that may be brought by non-compliant content. You can create a job to perform video moderation.
You can create a video moderation job in the China (Beijing), China (Shanghai), or Singapore region.
Log on to the MPS console.
In the top navigation bar, select a region from the drop-down list.

In the left-side navigation pane, choose Tasks > Job Management.
Click the Content Moderation tab. On the tab that appears, click Create Task.
Configure the parameters in the Input and Output sections. The following table describes the parameters.
Parameter | Description |
Input File URL | The URL of the input file that is stored in an OSS bucket. Click Select next to the Input File URL field. In the Select File dialog box, select an OSS bucket from the Bucket drop-down list. Folders in the OSS bucket that you select are automatically displayed in the Path section. Select a file from a folder as the input file. Note
|
Content Moderation Pipeline | The MPS queue for video moderation. Select an MPS queue from the Content Moderation Pipeline drop-down list. Note
|
Moderation Type | The types of prohibited content to be detected. By default, Pornography and Terrorism are selected. |
Storage Path | The path of the output file to be stored in an OSS bucket. Click Select next to the Output Path field. In the Select Output Path dialog box, select an OSS bucket from the Bucket drop-down list. Folders in the OSS bucket that you select are automatically displayed in the Path section. Select a folder as the output path. Note
|
Click Submit. The video moderation job is created and submitted.
After the transcoding job is submitted, you can view the execution status and configurations of the job. You can also click the name of the job to view other information, such as the input and output paths.
NoteIf Failed is displayed in the Encoding Status column for a transcoding job after the job is submitted but no details are provided for the failure, check the network condition and submit the job again after the network condition is back to normal.
Create a media fingerprinting job
You can create a media fingerprinting job to extract fingerprint features such as images and audio from a video to generate a media fingerprint. Media fingerprints can be used to find and remove duplicate videos, trace the source of video clips, filter videos that infringe copyright, and identify user-generated content (UGC).
You can create a media fingerprinting job in the China (Beijing), China (Hangzhou), China (Shanghai), or Singapore region.
Log on to the MPS console.
In the top navigation bar, select a region from the drop-down list.

In the left-side navigation pane, choose Tasks > Job Management.
Click the Video DNA tab. On the tab that appears, click Create Task.
Configure parameters for the job. The following table describes the parameters.
Parameter | Description |
Input File URL | The URL of the input file that is stored in an OSS bucket. Click Select next to the Input File URL field. In the Select File dialog box, select an OSS bucket from the Bucket drop-down list. Folders in the OSS bucket that you select are automatically displayed in the Path section. Select a file from a folder as the input file. Note
|
Video DNA Pipeline | The MPS queue for media fingerprinting. Select an MPS queue from the Video DNA Pipeline drop-down list. Note
|
Inbound Rule for DNA Library | The rule of adding fingerprints to the media fingerprint library. Default value: Save Non-duplicated Content Only. |
Click Submit. The media fingerprinting job is created and submitted.
After the transcoding job is submitted, you can view the execution status and configurations of the job. You can also click the name of the job to view other information, such as the input and output paths.
NoteIf Failed is displayed in the Encoding Status column for a transcoding job after the job is submitted but no details are provided for the failure, check the network condition and submit the job again after the network condition is back to normal.
Query a snapshot job
You can query the status of a snapshot job in a workflow that is run. For more information about how to add a snapshot node to a workflow, see Create a workflow.
Log on to the MPS console.
In the top navigation bar, select a region from the drop-down list.

In the left-side navigation pane, choose Tasks > Job Management.
Click the Snapshot tab. Select Search by Time or Search by ID from the drop-down list.
If you select Search by Time, set the Start Date and End Date parameters. If you select Search by ID, enter the ID of the snapshot job that you want to query. Then, click Search.