This topic shows you how to configure a Flink job that streams data into an AnalyticDB for PostgreSQL instance using the AnalyticDB for PostgreSQL connector.
Limitations
-
Realtime Compute for Apache Flink cannot read data from AnalyticDB for PostgreSQL in serverless mode.
-
Only Ververica Runtime (VVR) 6.0.0 or later supports the AnalyticDB for PostgreSQL connector.
-
Only VVR 8.0.1 or later supports AnalyticDB for PostgreSQL V7.0.
Prerequisites
Before you begin, ensure that you have:
-
A fully managed Flink workspace. See Activate fully managed Flink.
-
An AnalyticDB for PostgreSQL instance. See Create an instance.
-
The AnalyticDB for PostgreSQL instance and the fully managed Flink workspace in the same virtual private cloud (VPC).
Configure the AnalyticDB for PostgreSQL instance
-
Log on to the AnalyticDB for PostgreSQL console.
-
Add the CIDR block of the fully managed Flink workspace to the IP address whitelist of the instance. See Configure an IP address whitelist.
-
Click Log On to Database. See Client connection for connection options.
-
Create the destination table:
CREATE TABLE test_adbpg_table(
  b1 int,
  b2 int,
  b3 text,
  PRIMARY KEY(b1)
);
Set up the Flink connector
The AnalyticDB for PostgreSQL connector is distributed as a JAR file hosted on GitHub. Download the file and upload it to your Flink workspace as a custom connector.
-
Log on to the Realtime Compute for Apache Flink console. On the Fully Managed Flink tab, find your workspace and click Console in the Actions column.
-
In the left-side navigation pane, click Connectors.
-
Click Create Custom Connector and upload the JAR file.
Note Get the JAR file from GitHub releases. The JAR version must match the Flink engine version of your workspace. -
Click Next. The system parses the JAR content. If parsing fails, check that the connector code conforms to Apache Flink community standards.
-
Click Finish. The connector appears in the connector list.
Create a Flink job
-
Log on to the Realtime Compute for Apache Flink console. On the Fully Managed Flink tab, find your workspace and click Console in the Actions column.
-
In the left-side navigation pane, click SQL Editor. In the upper-left corner, click New.
-
In the New Draft dialog box, on the SQL Scripts tab, click Blank Stream Draft and click Next.
-
Configure the draft and click Create.
Parameter Description Example Name A unique name for the draft within the current project adbpg-test Location The folder where the code file is saved Draft Engine Version The Flink engine version. See Engine version for supported versions vvr-6.0.7-flink-1.15
Write data to AnalyticDB for PostgreSQL
Define the source and sink tables
Copy the following SQL into the code editor. It defines a datagen_source table that generates random data and a test_adbpg_table sink that maps to your AnalyticDB for PostgreSQL instance.
-- Source: generates random data using the built-in datagen connector
CREATE TABLE datagen_source (
  f_sequence INT,
  f_random INT,
  f_random_str STRING
) WITH (
  'connector' = 'datagen',
  'rows-per-second' = '5',
  'fields.f_sequence.kind' = 'sequence',
  'fields.f_sequence.start' = '1',
  'fields.f_sequence.end' = '1000',
  'fields.f_random.min' = '1',
  'fields.f_random.max' = '1000',
  'fields.f_random_str.length' = '10'
);

-- Sink: writes data to AnalyticDB for PostgreSQL via the adbpg connector
CREATE TABLE test_adbpg_table (
  `B1` bigint,
  `B2` bigint,
  `B3` VARCHAR,
  `B4` VARCHAR,
  PRIMARY KEY(B1) NOT ENFORCED
) WITH (
  'connector' = 'adbpg-nightly-1.13',
  'url' = 'jdbc:postgresql://<internal-endpoint>:5432/<database-name>',
  'tablename' = 'test_adbpg_table',
  'username' = '<username>',
  'password' = '<password>',
  'maxretrytimes' = '2',
  'batchsize' = '50000',
  'connectionmaxactive' = '5',
  'conflictmode' = 'ignore',
  'usecopy' = '0',
  'targetschema' = 'public',
  'exceptionmode' = 'ignore',
  'casesensitive' = '0',
  'writemode' = '1',
  'retrywaittime' = '200'
);
Keep the datagen_source parameters as-is. For test_adbpg_table, replace the placeholder values and adjust the optional parameters based on your requirements.
Connector parameters
Required parameters
| Parameter | Description | Example |
|---|---|---|
connector |
Connector name. Format: adbpg-nightly-{version} |
adbpg-nightly-1.13 |
url |
Java Database Connectivity (JDBC) URL for the instance. Format: jdbc:postgresql://<internal-endpoint>:<port>/<database> |
jdbc:postgresql://gp-xxxxxx.gpdb.cn-chengdu.rds.aliyuncs.com:5432/postgres |
tablename |
Name of the destination table | test_adbpg_table |
username |
Database account name | — |
password |
Database account password | — |
Optional parameters
| Parameter | Default | Description |
|---|---|---|
conflictmode |
upsert |
Policy for handling primary key or unique index conflicts. See Conflict handling modes. |
writemode |
1 |
Write method: 0 = BATCH INSERT, 1 = COPY API (fastest), 2 = BATCH UPSERT |
batchsize |
50000 |
Maximum rows per write batch |
batchwritetimeoutms |
50000 |
Batch write timeout in milliseconds. The batch is flushed after this period even if not full. |
maxretrytimes |
3 |
Maximum retries on write failure |
retrywaittime |
100 |
Interval between retries in milliseconds |
exceptionmode |
ignore |
Exception handling policy: ignore = skip data written during an exception; strict = trigger a failover and report an error |
targetschema |
public |
Target schema in the AnalyticDB for PostgreSQL database |
connectionmaxactive |
5 |
Maximum active connections per TaskManager in the connection pool |
casesensitive |
0 |
Column and table name case sensitivity: 0 = case-insensitive, 1 = case-sensitive |
verbose |
0 |
Connector log output: 0 = disabled, 1 = enabled |
Conflict handling modes
The conflictmode parameter controls what happens when a record conflicts with an existing primary key or unique index. AnalyticDB for PostgreSQL uses a combination of INSERT ON CONFLICT and COPY ON CONFLICT statements to perform UPSERT operations.
| Value | Behavior |
|---|---|
upsert (default) |
Runs INSERT ON CONFLICT + COPY ON CONFLICT to overwrite existing rows. For partitioned tables, the instance minor version must be V6.3.6.1 or later. See Update the minor engine version. |
update |
Updates the conflicting row |
ignore |
Retains the existing row and discards the incoming record |
strict |
Triggers a failover and reports an error |
Start the deployment
-
In the upper-right corner of the SQL Editor, click Deploy and then click OK.
Note Session clusters are suitable for development and testing only. For production deployments, do not publish to a session cluster. See Debug a deployment. -
On the Deployments page, find your deployment and click Start in the Actions column.
-
In the Start Job dialog box, click Start.
Verify the result
-
Connect to the AnalyticDB for PostgreSQL database. See Client connection.
-
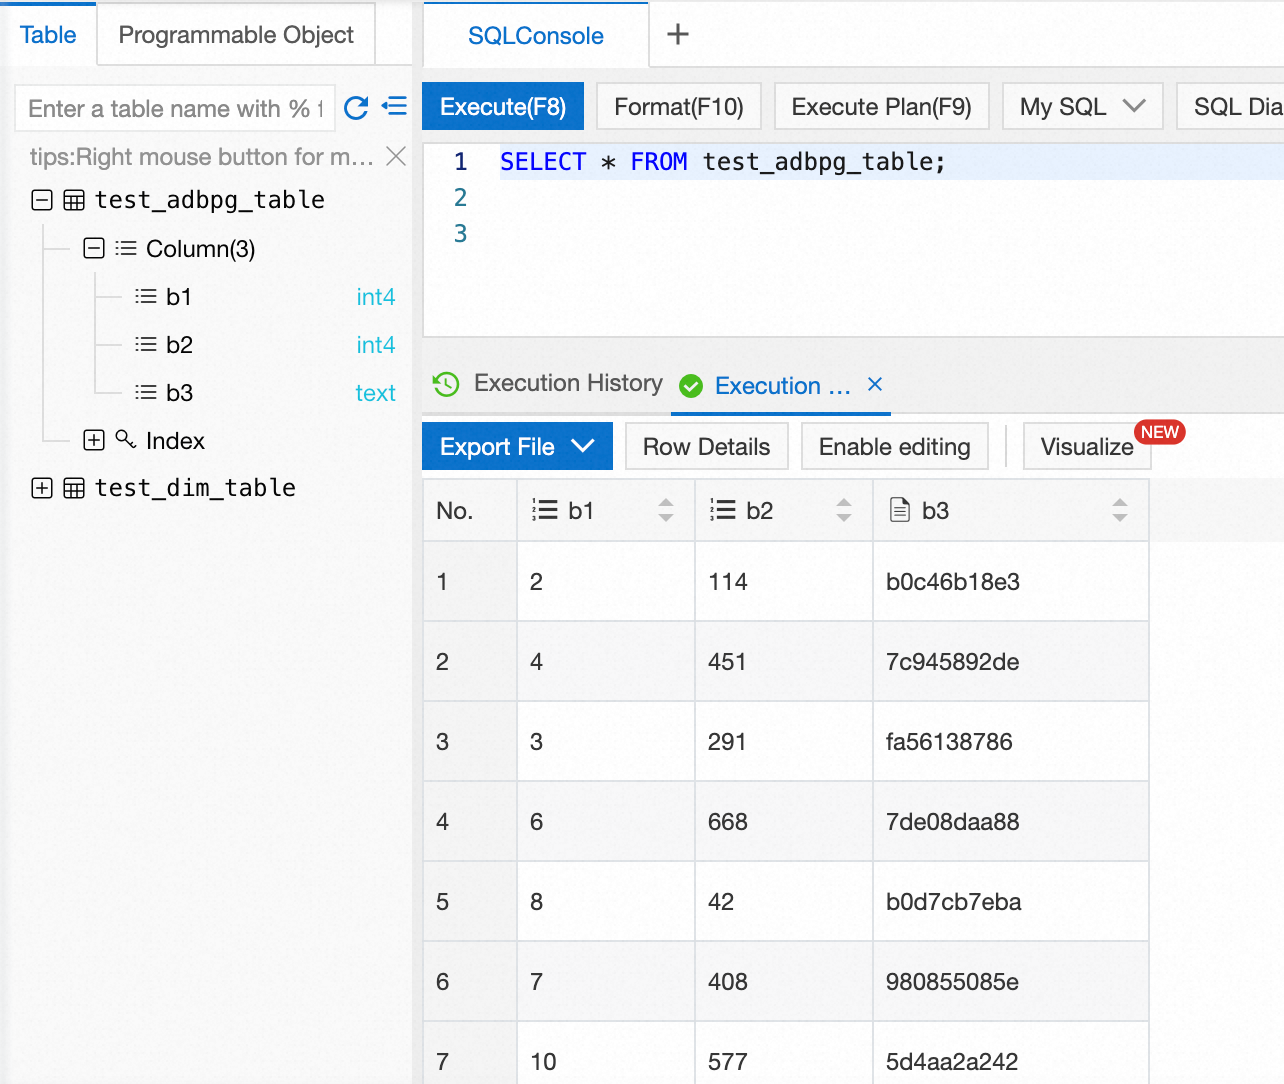
Query the table to confirm data is being written:
SELECT * FROM test_adbpg_table;Data is written to the AnalyticDB for PostgreSQL database. The following figure shows the returned result.
What's next
-
AnalyticDB for PostgreSQL connector — full connector reference, including all parameters and data type mappings
-
Datagen connector — reference for the datagen source used in this example