Connect Power BI to an AnalyticDB for MySQL cluster to run real-time data analytics on your cluster data.
Connection methods at a glance
Three connection methods are available. Choose based on the data access mode you need and the endpoint type you're connecting to.
| Method | Data access mode | Endpoint type | Requirements |
|---|---|---|---|
| Custom connector (recommended) | Import, DirectQuery | ADB MySQL endpoint | MySQL ODBC Driver 5.1.13, AnalyticDB.MySQL.mez |
| Built-in MySQL connector | Import only | ADB MySQL endpoint | MySQL Connector (.NET) |
| Spark JDBC endpoint | — | Spark JDBC endpoint | Microsoft or Simba Spark ODBC Driver |
The steps in this topic use Power BI Desktop 2.143.878.0 in English.
Prerequisites
Before you begin, make sure you have:
Power BI Desktop installed
(Conditional) A public endpoint if you're connecting over the internet — request a public endpoint before proceeding
(Conditional) An interactive Spark resource group if you're connecting to a Spark JDBC endpoint — create an interactive Spark resource group before proceeding
Connect using the custom connector
The custom connector supports both Import and DirectQuery modes and works with all AnalyticDB for MySQL endpoints.
Step 1: Install the MySQL ODBC driver
Download and install the Microsoft Visual C++ 2010 Service Pack 1 Redistributable Package MFC.
Download and install version 5.1.13 of the MySQL ODBC Driver.
Open ODBC Data Source Administrator (64-bit). On the Drivers tab, verify that the MySQL ODBC Driver appears in the list.
Step 2: Install the AnalyticDB for MySQL connector
Download the AnalyticDB.MySQL.mez connector.
Move
AnalyticDB.MySQL.mezto the Custom Connectors folder in your Power BI directory. The default path is[Documents]\Power BI Desktop\Custom Connectors. If the folder doesn't exist, create it.Important-
[Documents]is the Documents folder for the current Windows user account. For the Administrator account, the default path isC:\Users\Administrator\Documents\Power BI Desktop. - Power BI loads connectors only from the current user's folder. Install and maintain connectors separately for each account.Open Power BI and go to Options and settings > Options.
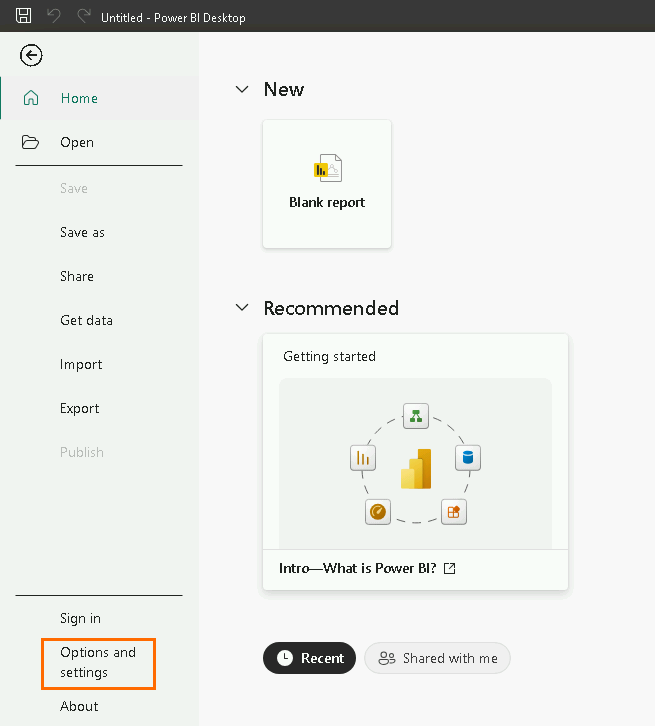
Click Security. Under Data Extensions, select (Not Recommended) Allow any extension to load without validation or warning, then click OK.

In the Change Requires Restart dialog box, click OK, then restart Power BI.
Step 3: Connect to AnalyticDB for MySQL
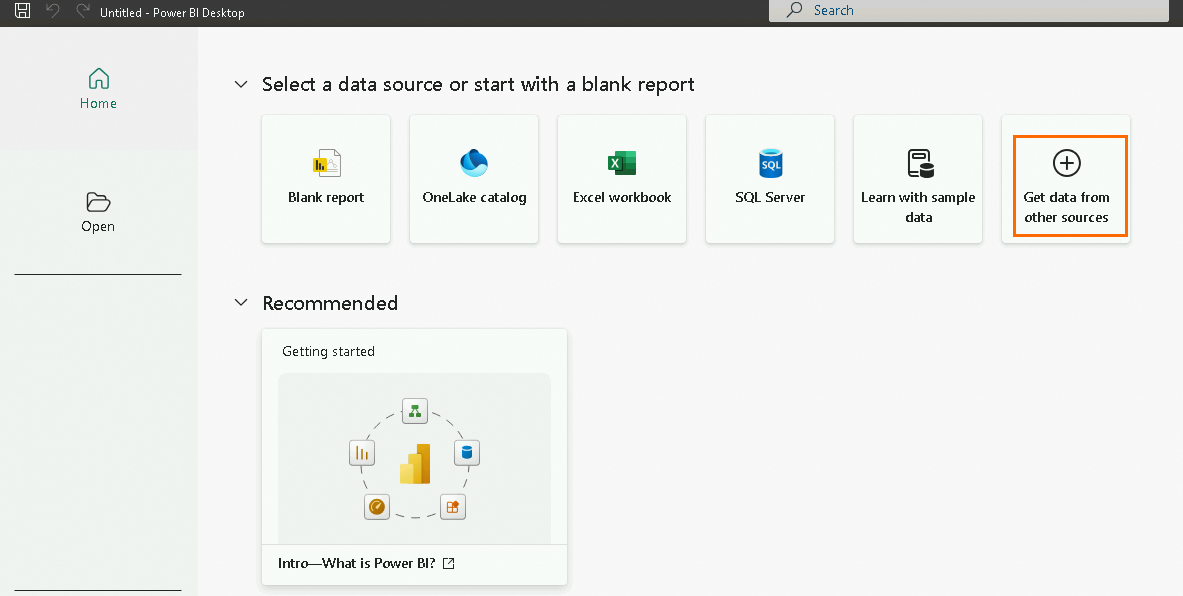
Open Power BI and click Get data from another source.
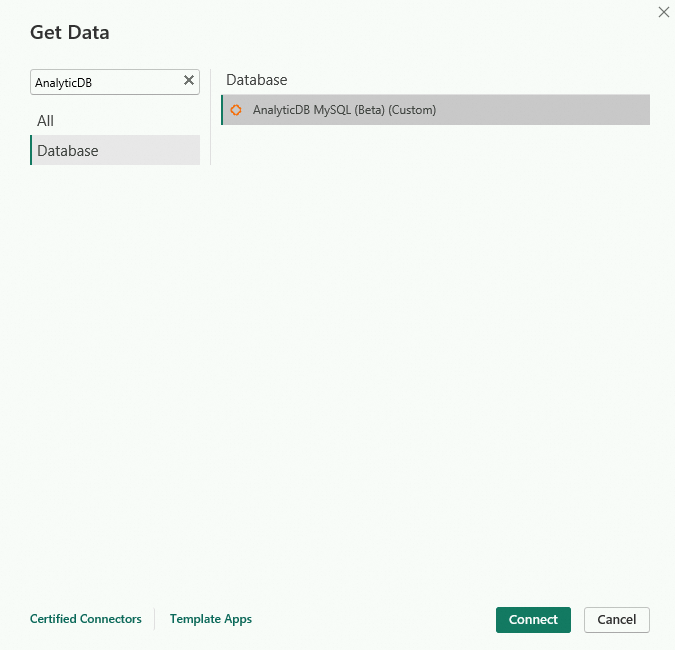
In the Get Data dialog box, select AnalyticDB MySQL(Beta)(Custom) and click Connect.
The connector is labeled Beta, which means it may have functional limitations or change in future releases.
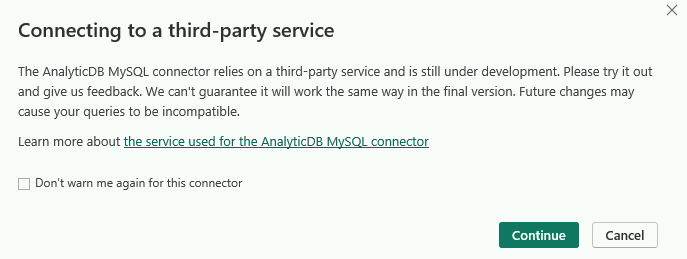
In the Connecting to a third-party service dialog box, click Continue.
In the AnalyticDB MySQL database dialog box, configure the connection parameters.
Parameter Required Description Server Yes The endpoint and port of the cluster, in the format <Endpoint>:Port. Use the VPC address if Power BI is on an Elastic Compute Service (ECS) instance in the same virtual private cloud (VPC) as the cluster; use the public endpoint otherwise. The port is fixed at 3306.Database No The name of the database in the cluster. Connection timeout in seconds No The timeout period for connecting to the AnalyticDB for MySQL cluster. Unit: seconds (s). Read timeout in seconds No The maximum time (in seconds) allowed for a read operation. Unit: seconds (s). Write timeout in seconds No The maximum time (in seconds) allowed for a write operation. Unit: seconds (s). Don't cache results of forward-only cursors No When selected, Power BI skips caching query results when using forward-only cursors. Force use of forward-only cursors No When selected, Power BI always uses forward-only cursors for queries. Native query No A SQL query statement. If left blank, all tables appear in the Navigator dialog box. Data Connectivity mode Yes The data connection mode. Select Import to load data into Power BI, or DirectQuery to query the cluster directly without importing data. 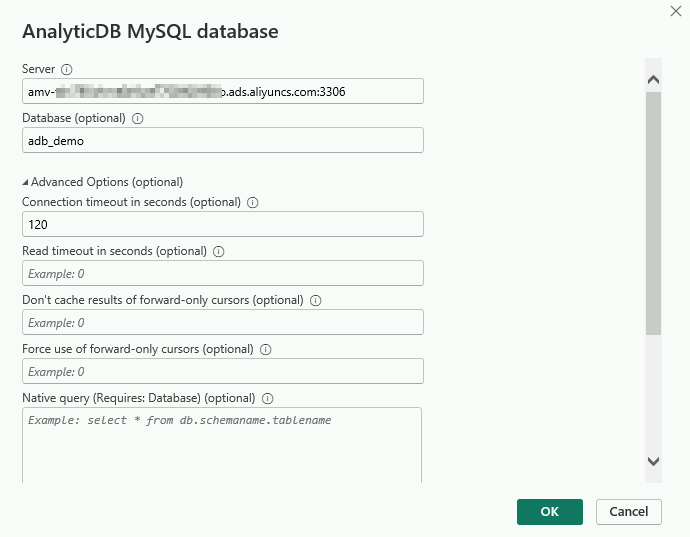
In the AnalyticDB MySQL dialog box, enter your credentials and click Connect.
Parameter Description User name The database account for the AnalyticDB for MySQL cluster. Password The password for the database account. 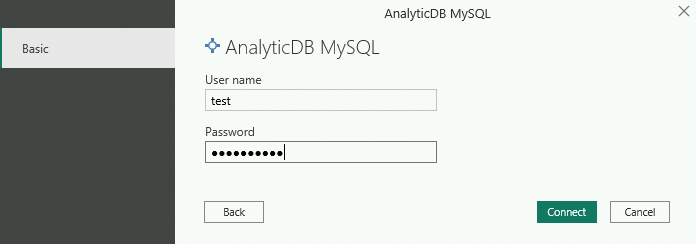
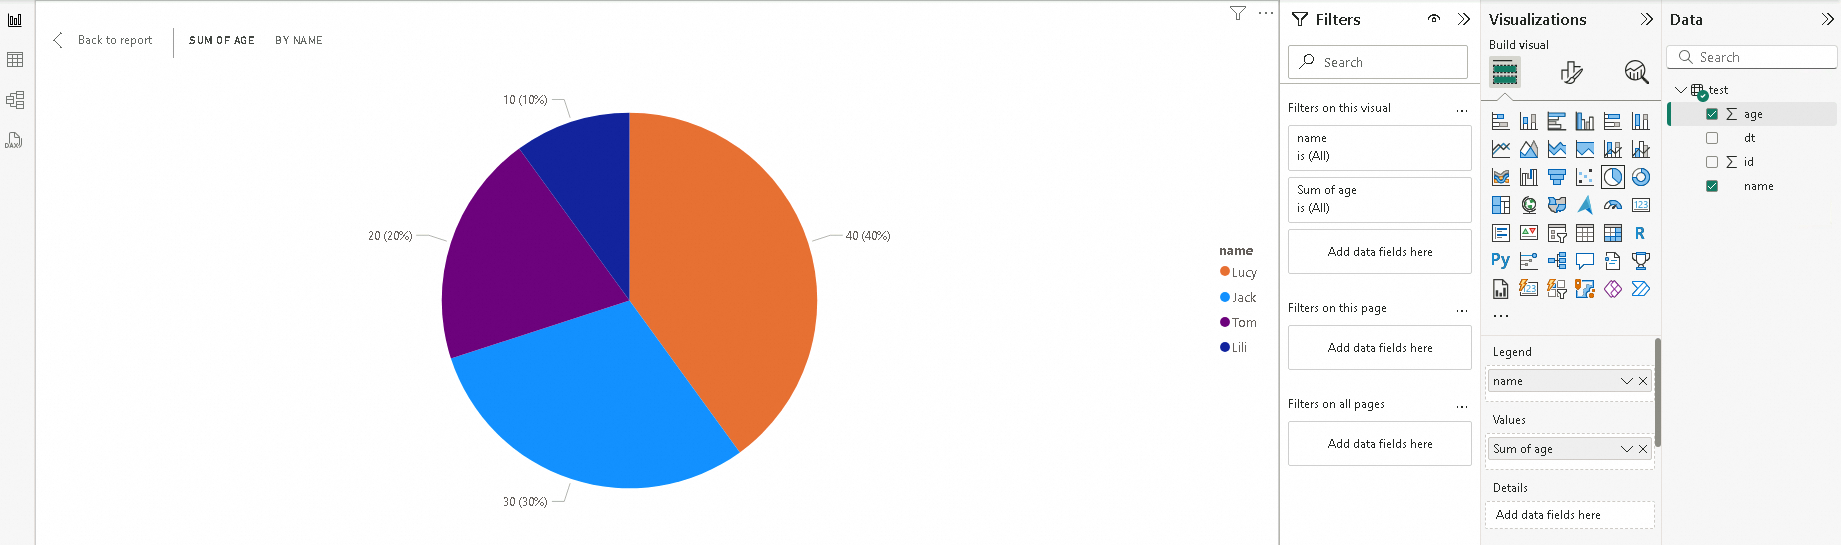
In the Navigator dialog box, select the target table, preview the data on the right, then click Load.
After loading, start analyzing your data. For more information, see the official Power BI documentation.
Connect using the built-in MySQL connector
The built-in MySQL connector supports Import mode only. For DirectQuery, use the custom connector instead.
Download and install the MySQL Connector.
Power BI automatically detects whether the MySQL Connector is installed. If it's missing, Power BI prompts you to install it.
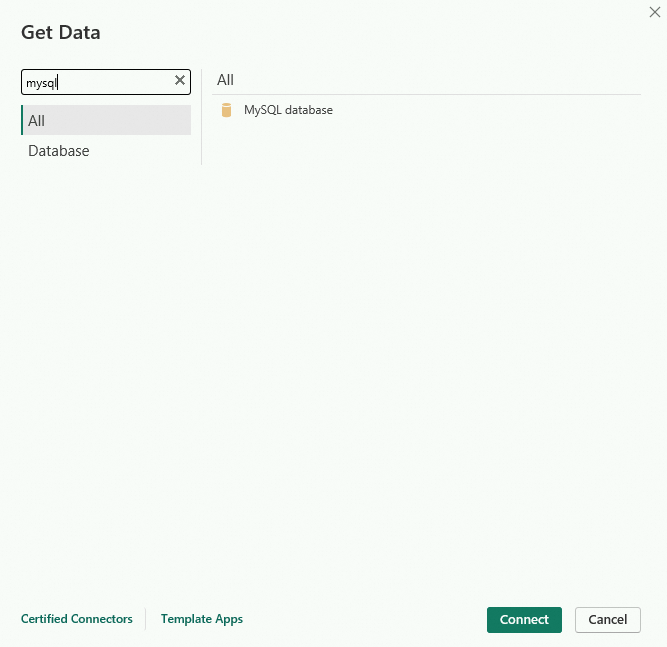
Open Power BI and click Get data from another source.
Select MySQL database and click Connect.
In the MySQL database dialog box, configure the parameters and click OK.
Parameter Required Description Server Yes The endpoint and port of the cluster, in the format <Endpoint>:Port. Use the VPC address if Power BI is on an ECS instance in the same VPC as the cluster; use the public endpoint otherwise.Database No The name of the database in the cluster. 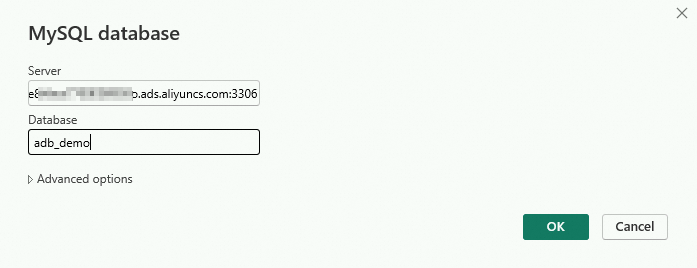
In the MySQL Database dialog box, click the Database tab, enter your credentials, and click Connect.
Parameter Required Description User name Yes The database account for the AnalyticDB for MySQL cluster. Password Yes The password for the database account. 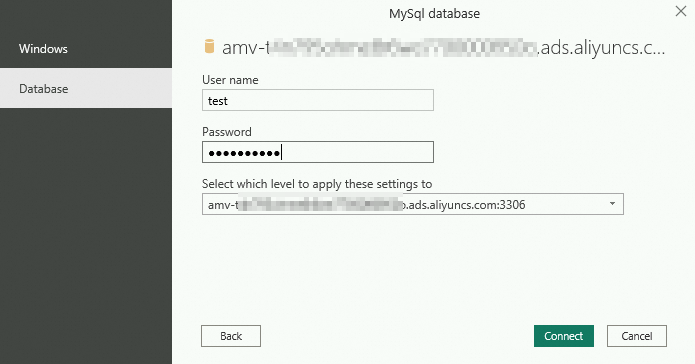
In the Encryption Support dialog box, click OK.

In the Navigator dialog box, select the target table, preview the data on the right, then click Load.
After loading, start analyzing your data. For more information, see the official Power BI documentation.

Connect to a Spark JDBC endpoint
Use this method to connect to an interactive Spark resource group via ODBC.
Step 1: Download a driver
Choose either driver based on your environment:
Step 2: Create a data source
Open ODBC Data Source Administrator (64-bit). On the User DSN tab, click Add.
In the Create New Data Source dialog box, select the driver you downloaded and click Finish.
In the Microsoft Spark ODBC Driver DSN Setup or Simba Spark ODBC Driver DSN Setup dialog box, configure the parameters.
Parameter Description Data Source Name A name for this data source. Choose any name. Description An optional description for the data source. Host(s) The endpoint of the interactive Spark resource group. For details, see Preparations. Port The port of the interactive Spark resource group. Fixed at 10000. Database The name of the AnalyticDB for MySQL database. Mechanism The authentication method. Select User Name and Password. User Name The database account and resource group name, in the format Resource group name/Database account name. For example, if the resource group istestjoband the account istest, entertestjob/test.Password The password for the database account. Thrift Transport The connection method. Fixed at SASL. 
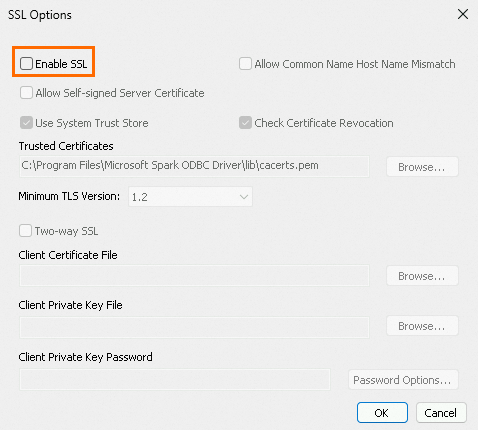
Click SSL Options. In the SSL Options dialog box, clear Enable SSL and click OK.
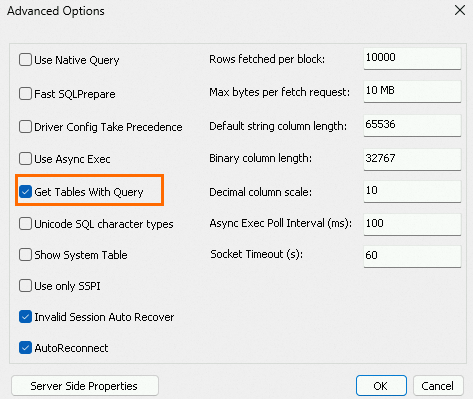
Click Advanced Options. In the Advanced Options dialog box, select Get Tables with Query.
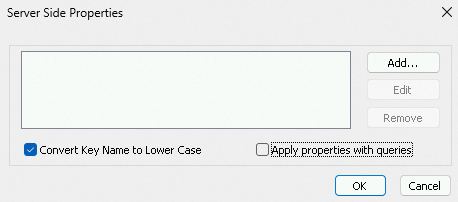
Click Server Side Properties. Clear Apply properties with queries and click OK.
Click Test to verify the connection. A
SUCCESSmessage confirms the ODBC connection to the interactive Spark resource group is working.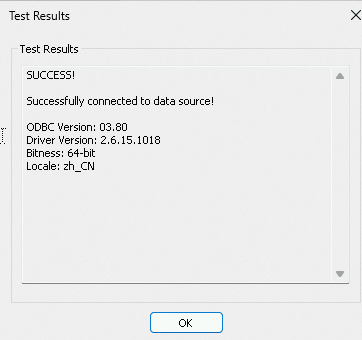
Step 3: Connect Power BI to the data source
Open Power BI and click Get data from another source.
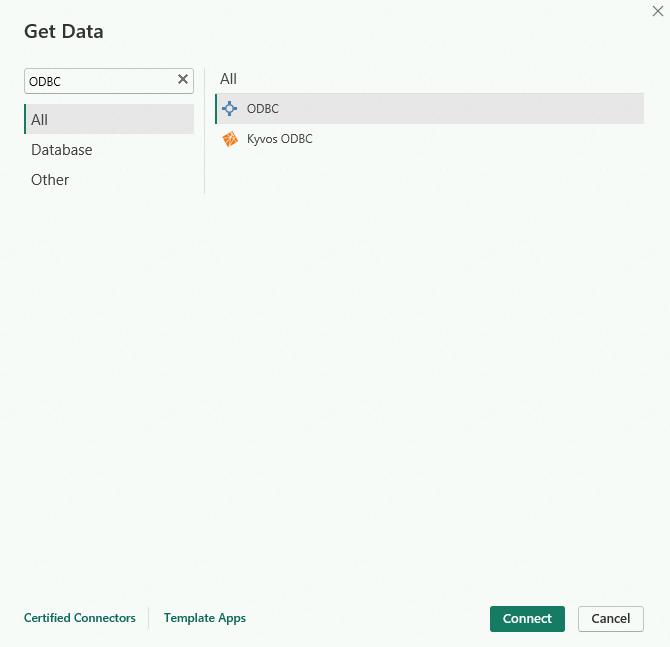
In the Get Data dialog box, select ODBC and click Connect.
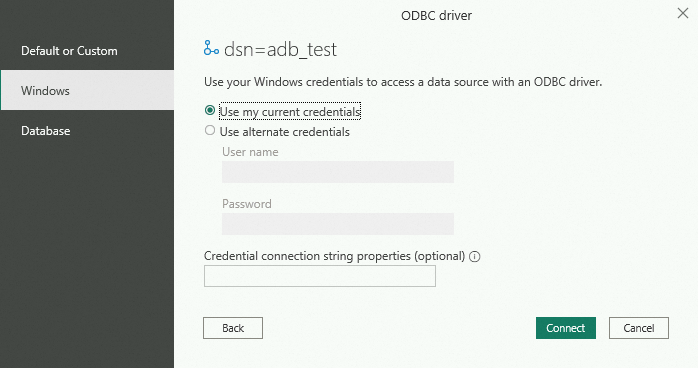
In the From ODBC dialog box, select the data source you created in Step 2 and click OK. In this example, the data source is
adb_test.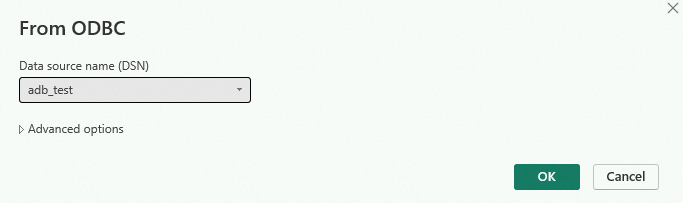
In the ODBC driver dialog box, click the Windows tab, select Use my current credentials, and click Connect.
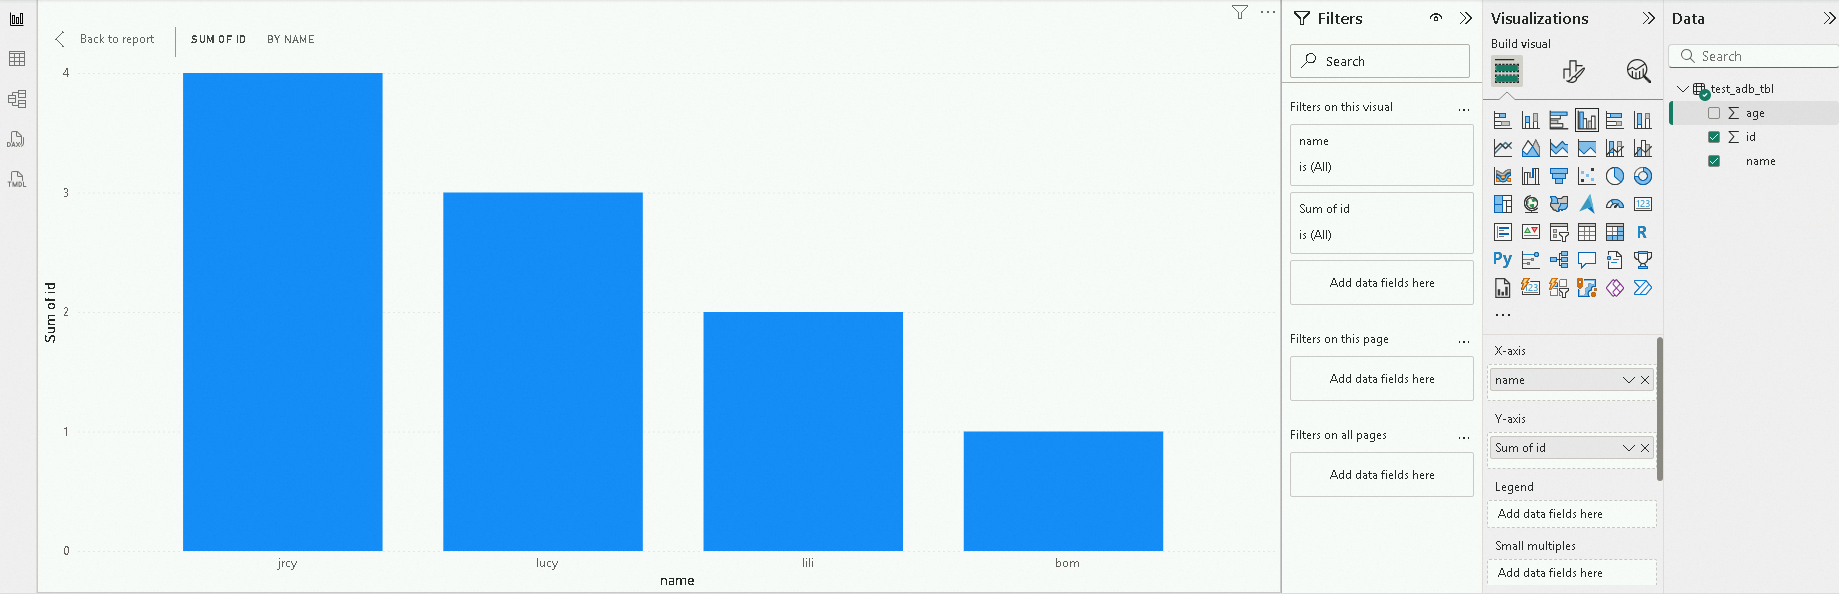
In the Navigator dialog box, select the target table, preview the data on the right, then click Load.
After loading, start analyzing your data. For more information, see the official Power BI documentation.
Limitations
| Scope | Limitation |
|---|---|
| Custom connector | Listed as Beta in the Power BI connector selection dialog. Beta status means the connector may have functional limitations or change in future releases. |
| Built-in MySQL connector | Supports Import mode only. For DirectQuery, use the custom connector. |
| Spark JDBC endpoint | Only tables using the XUANWU table engine are supported. Tables using the XUANWU_V2 table engine are not supported. |