This tutorial shows you how to use a Resource Orchestration Service (ROS) template to automatically provision an ActionTrail trail and its dependent resources, such as a Simple Log Service (SLS) project and Logstore.
Background information
ROS allows you to define and manage your cloud infrastructure as code. You can use a template to describe all the resources you need, and ROS will handle the provisioning and configuration automatically.
ROS supports the following ActionTrail-related resources:
ALIYUN::ACTIONTRAIL::Trail: Creates a trail.
ALIYUN::ACTIONTRAIL::TrailLogging: Enables or disables a trail.
Prerequisites
The user or RAM role that creates the ROS stack must have permissions to manage ActionTrail and its dependent resources. We recommend creating a RAM user and attaching the required policies. For this tutorial, the user needs the following system policies:
AliyunActionTrailFullAccess: Grants full permissions on ActionTrail.
AliyunLogFullAccess: Grants full permissions on SLS.
For more information on granting permissions, see Grant permissions to a RAM user.
Procedure
Log on to the ROS console and select the desired region.
In the left-side navigation pane, click Stacks.
On the Stacks page, click Create Stack.
For Specify Template, choose Select an Existing Template.
For Template Import Method, select Enter Template Content.
In the Template Content editor, paste the ROS template code. You can use either YAML or JSON format. See the example template below.
Click Next.
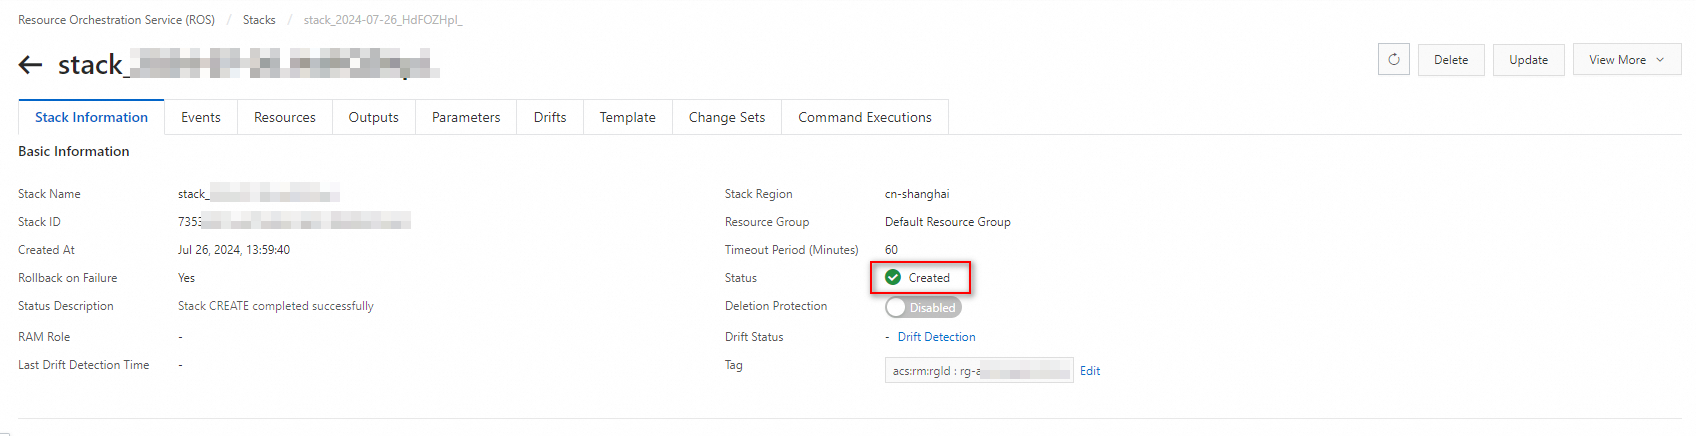
On the Configure Parameters page, set a Stack Name, select Yes for Rollback on Failure, and click Create.
Example template
This template creates the following resources:
A new SLS project named
test-sls-project-for-actiontrail.A new SLS Logstore named
actiontrail_test-trail.A new ActionTrail trail named
test-trailthat delivers events to the Logstore.
YAML
ROSTemplateFormatVersion: '2015-09-01'
Resources:
SlsProject:
Type: ALIYUN::SLS::Project
Properties:
Name: test-sls-project-for-actiontrail
TrailLogging:
Type: ALIYUN::ACTIONTRAIL::TrailLogging
Properties:
Enable: true
Name:
Fn::GetAtt:
- Trail
- Name
SlsLogStore:
Type: ALIYUN::SLS::Logstore
Properties:
ProjectName:
Fn::GetAtt:
- SlsProject
- Name
AutoSplit: true
MaxSplitShard: 64
LogstoreName: actiontrail_test-trail
AppendMeta: true
ShardCount: 2
EnableTracking: false
PreserveStorage: true
DependsOn: SlsProject
Trail:
Type: ALIYUN::ACTIONTRAIL::Trail
Properties:
SlsProjectArn:
Fn::Sub: acs:log:${ALIYUN::Region}::project/test-sls-project-for-actiontrail
EventRW: All
Name: test-trail
DependsOn:
- SlsLogStore
Parameters: {}
Outputs:
Name:
Value:
Fn::GetAtt:
- Trail
- NameJSON
{
"ROSTemplateFormatVersion": "2015-09-01",
"Resources": {
"SlsProject": {
"Type": "ALIYUN::SLS::Project",
"Properties": {
"Name": "test-sls-project-for-actiontrail"
}
},
"TrailLogging": {
"Type": "ALIYUN::ACTIONTRAIL::TrailLogging",
"Properties": {
"Enable": true,
"Name": {
"Fn::GetAtt": [
"Trail",
"Name"
]
}
}
},
"SlsLogStore": {
"Type": "ALIYUN::SLS::Logstore",
"Properties": {
"ProjectName": {
"Fn::GetAtt": [
"SlsProject",
"Name"
]
},
"AutoSplit": true,
"MaxSplitShard": 64,
"LogstoreName": "actiontrail_test-trail",
"AppendMeta": true,
"ShardCount": 2,
"EnableTracking": false,
"PreserveStorage": true
},
"DependsOn": "SlsProject"
},
"Trail": {
"Type": "ALIYUN::ACTIONTRAIL::Trail",
"Properties": {
"SlsProjectArn": {
"Fn::Sub": "acs:log:${ALIYUN::Region}::project/test-sls-project-for-actiontrail"
},
"EventRW": "All",
"Name": "test-trail"
},
"DependsOn": [
"SlsLogStore"
]
}
},
"Parameters": {},
"Outputs": {
"Name": {
"Value": {
"Fn::GetAtt": [
"Trail",
"Name"
]
}
}
}
}For more information about the syntax, description, and examples of how to create a trail, see ALIYUN::ACTIONTRAIL::Trail.
Verify the resources
After the stack creation is complete, navigate to the Outputs tab for the stack. You will see the name of the trail that was created.
Navigate to the ActionTrail console. On the Trails page, you can see the new trail named
test-trail.