MLflow is an open-source platform for managing the end-to-end machine learning lifecycle. This topic describes how to deploy MLflow on an ACK Pro cluster and configure the MLflow Model Registry for model management.
MLflow Model Registry
For a detailed overview of the MLflow Model Registry, see MLflow Model Registry — MLflow documentation.
How it works
MLflow has three main components:
-
MLflow tracking server: The Python backend that handles experiment tracking, model registry management, and related APIs.
-
Backend store: The database where entity metadata — such as experiment runs and model versions — is stored. This guide uses ApsaraDB RDS for PostgreSQL.
-
Artifact store: Blob storage for larger persisted data such as model weights. This guide uses the default local path (
./mlruns).
Prerequisites
Before you begin, make sure you have:
-
An ACK Pro cluster running Kubernetes 1.20 or later. See Create an ACK Pro cluster.
-
An ApsaraDB RDS for PostgreSQL instance. See Create an RDS PostgreSQL instance. Deploy the RDS instance in the same virtual private cloud (VPC) as the ACK cluster so that MLflow can connect to the database over the private network. Then add the VPC CIDR block to the instance allowlist. If the RDS instance and the ACK cluster are in different VPCs, enable public access for the RDS instance and add the ACK cluster's VPC CIDR block to the allowlist. See Configure an allowlist.
-
A standard account named
mlflowin the RDS instance. See Create an account. -
A database named
mlflow_storein the RDS instance, with its Authorized Account set tomlflow. This database stores model metadata. See Create a database. -
(Optional) A database named
mlflow_basic_authin the RDS instance, with its Authorized Account set tomlflow. This database stores MLflow user authentication information. See Create a database. -
The Arena client configured for model management, version 0.9.14 or later. See Configure the Arena client.
Step 1: Deploy MLflow in the ACK cluster
-
Log on to the ACK console. In the left navigation pane, click Clusters.
-
On the Clusters page, click the name of your cluster. In the left navigation pane, choose Applications > Helm.
-
Click Deploy. On the Deploy page, set Application Name to
mlflowand Namespace tokube-ai. In the search bar under Chart, search for and selectmlflow. Click Next. In the dialog box that appears, confirm whether to usemlflowas the default namespace for the chart.The deployment target determines which management tools you can use: - To manage models from the Cloud-native AI Suite console, deploy MLflow to the
kube-ainamespace and use the default release namemlflow. - To manage models with Arena, deploy MLflow to any namespace but use the default release namemlflow. -
On the Create page, configure the chart parameters. For the full list of chart parameters, see the MLflow chart documentation.
-
Configure
defaultArtifactRootandbackendStore. The following is an example configuration:trackingServer: # Tracking server mode. Options: serve-artifacts | no-serve-artifacts | artifacts-only mode: no-serve-artifacts # Default artifact storage path. Data is stored under ./mlruns when artifact serving is disabled. defaultArtifactRoot: "./mlruns" # For more information, see https://mlflow.org/docs/latest/tracking/backend-stores.html backendStore: # Backend store URI format: <dialect>+<driver>://<username>:<password>@<host>:<port>/<database> backendStoreUri: postgresql+psycopg2://mlflow:<password>@pgm-xxxxxxxxxxxxxx.pg.rds.aliyuncs.com/mlflow_storeSet
backendStore.backendStoreUrito the connection string for themlflow_storedatabase. The format is:postgresql+psycopg2://mlflow:<password>@<host>/mlflow_storeTo get the database host address, log on to the RDS for PostgreSQL Console. Choose Instance ID > Database Connection > Internal/Public Address to get the database address, such as
pgm-xxxxxxxxxxxxxx.pg.rds.aliyuncs.com. If the RDS instance and the ACK cluster are in the same VPC, use the internal address. Otherwise, use the public address. See Connect to a database. -
(Optional) To enable basic authentication, add the following parameters. By default, MLflow runs without access control. When you enable basic authentication without setting
databaseUri, MLflow stores user data in a local SQLite file, which is not suitable for production deployments. To use a centralized database, setdatabaseUrito the connection string for themlflow_basic_authdatabase.trackingServer: mode: no-serve-artifacts defaultArtifactRoot: "./mlruns" # Basic authentication configuration # For more information, see https://mlflow.org/docs/latest/auth/index.html#configuration basicAuth: # Enable basic authentication enabled: true # Default permission for all resources. Options: READ | EDIT | MANAGE | NO_PERMISSIONS defaultPermission: NO_PERMISSIONS # Centralized database for user and permission data # Format: <dialect>+<driver>://<username>:<password>@<host>:<port>/<database> databaseUri: postgresql+psycopg2://<username>:<password>@pgm-xxxxxxxxxxxxxx.pg.rds.aliyuncs.com/mlflow_basic_auth # Initial administrator credentials (applied only if no administrator account exists) adminUsername: admin adminPassword: password # Authentication function authorizationFunction: mlflow.server.auth:authenticate_request_basic_auth backendStore: backendStoreUri: postgresql+psycopg2://mlflow:<password>@pgm-xxxxxxxxxxxxxx.pg.rds.aliyuncs.com/mlflow_storeSet
trackingServer.basicAuth.databaseUrito the connection string for themlflow_basic_authdatabase. SettrackingServer.basicAuth.adminUsernameandtrackingServer.basicAuth.adminPasswordto the username and initial password for the MLflow administrator. These values take effect only when no administrator account exists yet.
-
Step 2: Access the MLflow web UI
-
Forward the MLflow Service to port 5000 on your local machine:
kubectl port-forward -n kube-ai services/mlflow 5000The expected output is:
Forwarding from 127.0.0.1:5000 -> 5000 Forwarding from [::1]:5000 -> 5000 Handling connection for 5000 Handling connection for 5000 ... -
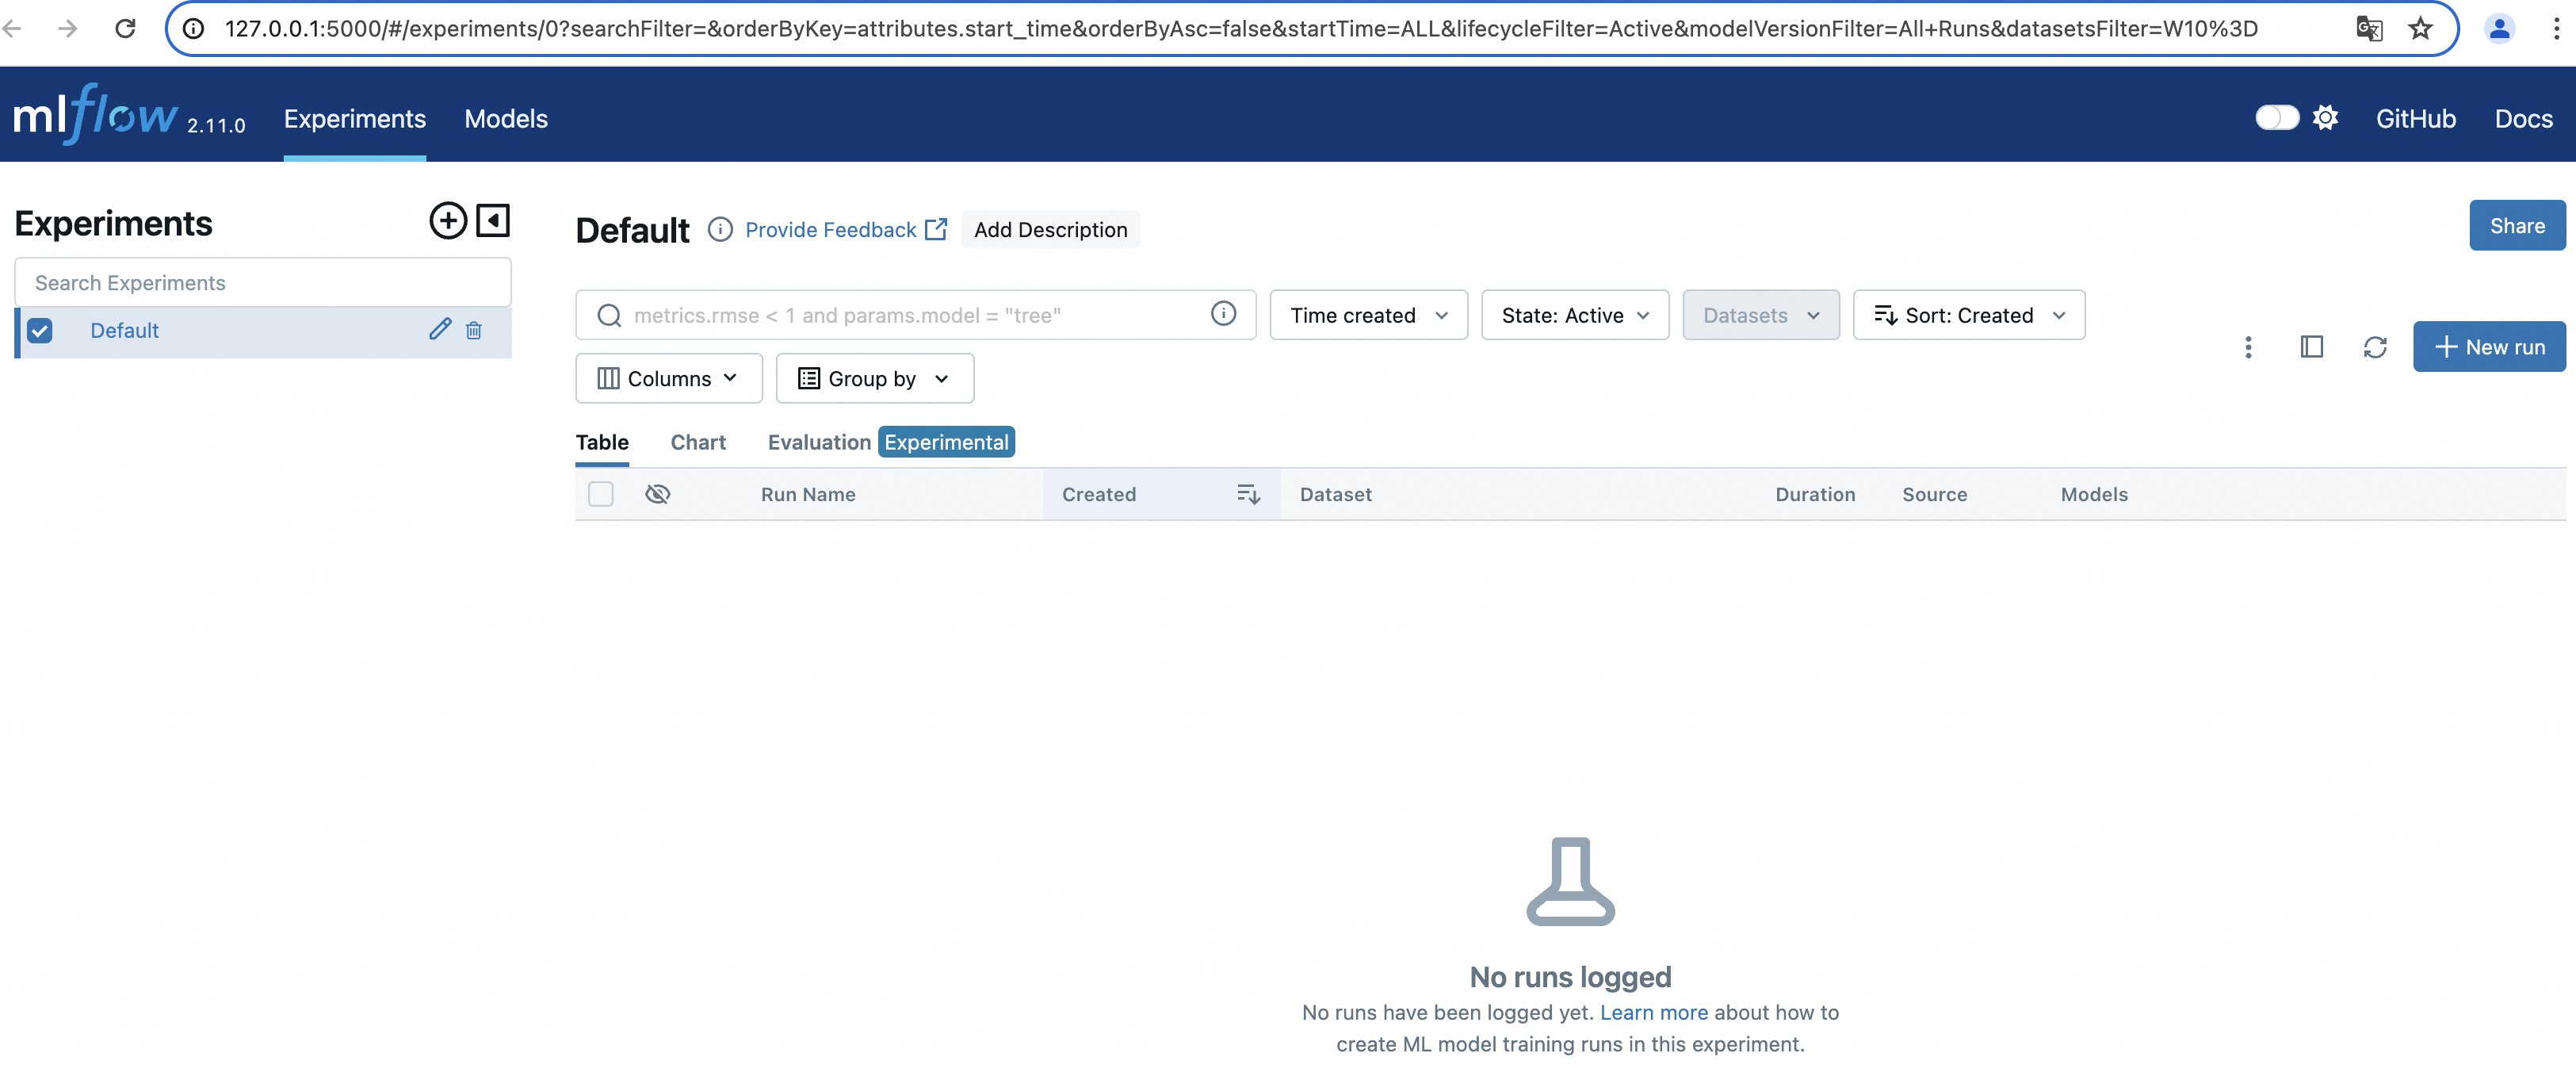
Open http://127.0.0.1:5000 in a browser to see the MLflow web UI.
What's next
Manage models in the MLflow Model Registry using the Cloud-native AI Suite console or the Arena command-line tool. See Manage models in the MLflow Model Registry by using Arena.