Container Network File System (CNFS) supports the Recycle Bin feature for restoring accidentally deleted files from File Storage NAS volumes, providing a simple and effective data protection barrier for application data. This tutorial walks through deploying an NGINX application on a CNFS-managed NAS volume, deleting a file, and restoring it from the Recycle Bin.
Billing
Enabling the Recycle Bin is free. However, files in the Recycle Bin consume storage space and are billed at the rate of their original storage type. Set a retention period to limit storage costs. For details, see Billing of General-purpose NAS file systems and Billing of the IA storage class.
Permissions
Only the file system owner or authorized Resource Access Management (RAM) users can use the Recycle Bin. For details, see Perform access control based on RAM policies.
Prerequisites
A cluster that uses CNFS to manage NAS file systems. For details, see Use CNFS to manage NAS file systems.
Internet access is enabled for the cluster API server. For details, see Enable Internet access for the API server.
Container Storage Interface (CSI) components that meet the following minimum version requirements:
Component
Minimum version
Reference
csi-pluginandcsi-provisioner1.20.5-ff6490f-aliyun
storage-operator1.18.8.56-2aa33ba-aliyun
Step 1: Deploy the NGINX application with a CNFS-managed NAS volume
Create a persistent volume claim (PVC), a Deployment, and a LoadBalancer Service. Then write an index.html file to the NAS volume and verify access through a browser.
Verify the CNFS object status
List the CNFS objects in your cluster:
kubectl get cnfsNAME AGE default-cnfs-nas-7938cef-20210907193713 21hCheck the status of the CNFS object. The CNFS object must be in the Available state before you proceed.
kubectl get cnfs default-cnfs-nas-7938cef-20210907193713 -o yaml | grep Availablestatus: Available
Create a PVC
Run the following command to create a PVC named cnfs-nas-pvc that references the alibabacloud-cnfs-nas StorageClass:
The storageClassName field must reference a CNFS StorageClass.
cat << EOF | kubectl apply -f -
kind: PersistentVolumeClaim
apiVersion: v1
metadata:
  name: cnfs-nas-pvc
spec:
  accessModes:
    - ReadWriteMany
  storageClassName: alibabacloud-cnfs-nas
  resources:
    requests:
      storage: 30Gi
EOF
Create a Deployment
Run the following command to create a Deployment named cnfs-nas-deployment. The Deployment mounts the PVC to /app and exposes container port 8080 (named http):
The Deployment references the PVC created in the previous step.
cat << EOF | kubectl apply -f -
apiVersion: apps/v1
kind: Deployment
metadata:
  name: cnfs-nas-deployment
  labels:
    app: nginx
spec:
  selector:
    matchLabels:
      app: nginx
  template:
    metadata:
      labels:
        app: nginx
    spec:
      securityContext:
        runAsUser: 0
      containers:
      - name: nginx
        image: docker.io/bitnami/nginx:1.16.1-debian-9-r56
        volumeMounts:
        - mountPath: "/app"
          name: cnfs-nas-pvc
        ports:
        - containerPort: 8080
          name: http
      volumes:
      - name: cnfs-nas-pvc
        persistentVolumeClaim:
          claimName: cnfs-nas-pvc
EOF
Create a LoadBalancer Service
Run the following command to create a LoadBalancer Service named nginx-default. A Server Load Balancer (SLB) instance exposes the Service through a public IP address and forwards HTTP requests to pods with the app: nginx label:
cat << EOF | kubectl apply -f -
apiVersion: v1
kind: Service
metadata:
  name: nginx-default
  labels:
    app: nginx
spec:
  type: LoadBalancer
  externalTrafficPolicy: "Cluster"
  ports:
    - name: http
      port: 80
      targetPort: http
  selector:
    app: nginx
EOF
Write the NGINX welcome page
Get the pod name.
kubectl get podNAME READY STATUS RESTARTS AGE cnfs-nas-deployment-597bc9fb45-cmkss 1/1 Running 0 3h23mOpen a shell in the pod and navigate to
/app:kubectl exec cnfs-nas-deployment-597bc9fb45-cmkss -ti -- sh cd /appWrite the
index.htmlfile:cat << EOF >> index.html <!DOCTYPE html> <html> <head> <title>Welcome to nginx!</title> <style> html { color-scheme: light dark; } body { width: 35em; margin: 0 auto; font-family: Tahoma, Verdana, Arial, sans-serif; } </style> </head> <body> <h1>Welcome to nginx!</h1> <p>If you see this page, the nginx web server is successfully installed and working. Further configuration is required.</p> <p>For online documentation and support please refer to <a href="http://nginx.org/">nginx.org</a>.<br/> Commercial support is available at <a href="http://nginx.com/">nginx.com</a>.</p> <p><em>Thank you for using nginx.</em></p> </body> </html> EOFExit the pod:
exit
Verify access to the NGINX welcome page
Get the public IP address of the SLB instance.
kubectl get svcNAME TYPE CLUSTER-IP EXTERNAL-IP PORT(S) AGE nginx-default LoadBalancer 192.168.XX.XX 47.115.XX.XX 80:30989/TCP 20hOpen the public IP address (for example,
47.115.XX.XX) in a browser. The NGINX welcome page appears.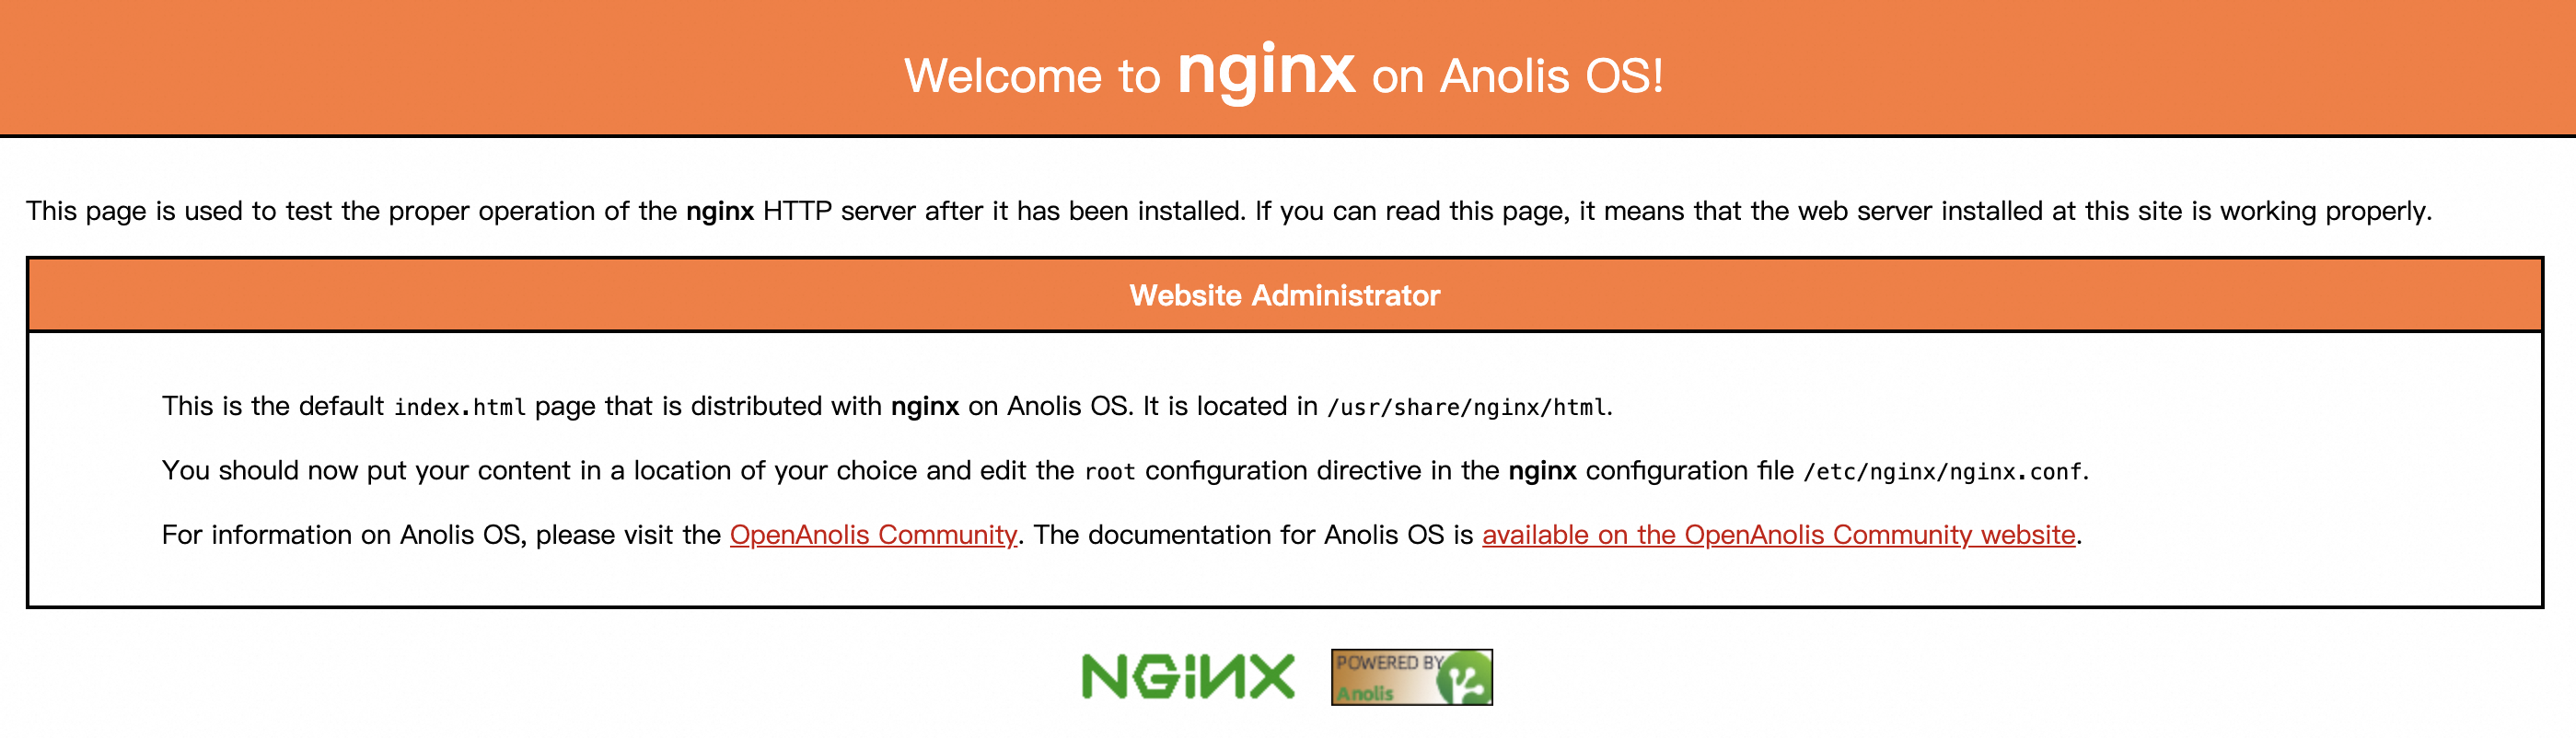
Step 2: Delete a file and restore it from the Recycle Bin
Simulate data loss by deleting index.html, then restore the file through the Recycle Bin in the ACK console.
Delete the file
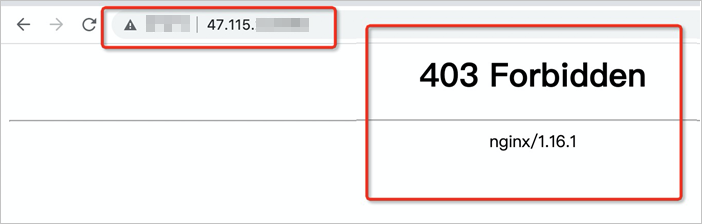
Delete the
index.htmlfile from the pod:kubectl exec cnfs-nas-deployment-597bc9fb45-cmkss -- rm -rf /app/index.htmlRefresh the browser. The NGINX welcome page is no longer accessible and returns a 403 error.
Restore the file from the Recycle Bin
CNFS enables the Recycle Bin by default on managed NAS file systems.
Log on to the ACK console. In the left-side navigation pane, click Clusters.
On the Clusters page, find your cluster and click its name. In the left-side pane, choose Volumes > Persistent Volumes.
On the Persistent Volumes page, find the persistent volume (PV) and click Recycle Bin in the Actions column. In this example, the PV name is nas-ecaf6018-5250-4e19-b570-5d9e657d23bc.

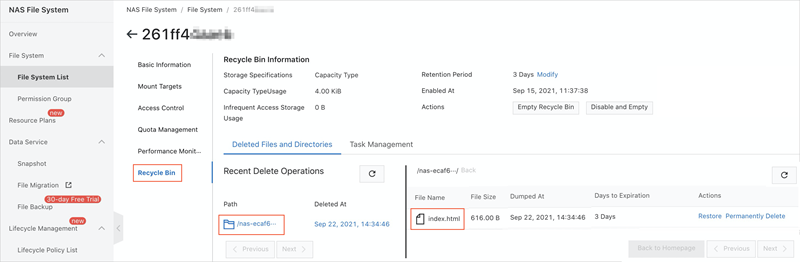
On the Recycle Bin tab of the NAS file system page, click the Deleted Files and Directories tab. Find the deleted file and click Restore in the Actions column.
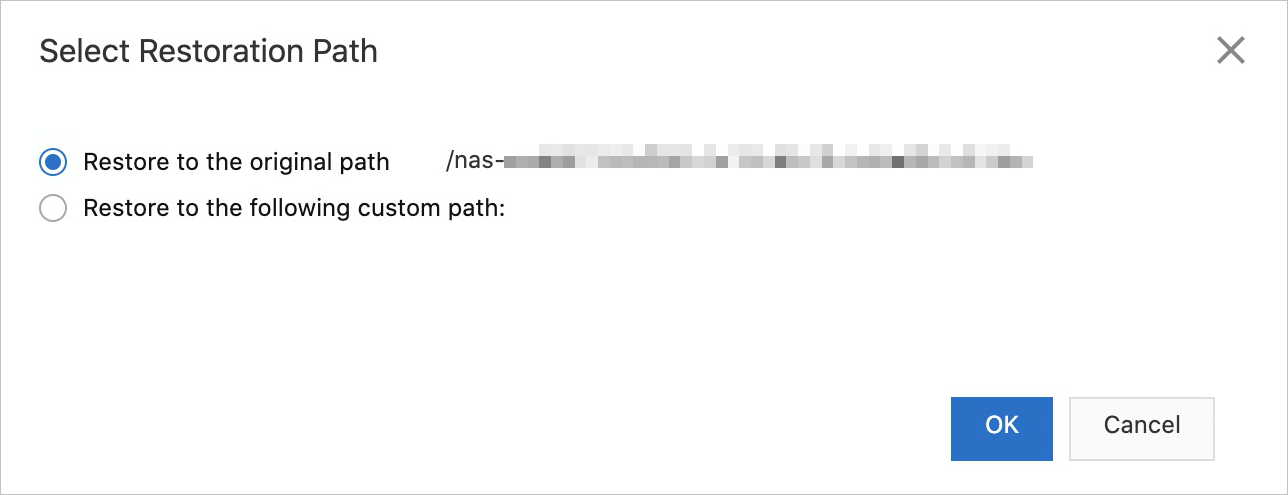
Click Restore to the original path, and then click OK.
Refresh the browser. The NGINX welcome page appears again, which confirms that
index.htmlhas been restored.
References
For more information about the NAS Recycle Bin feature, see Recycle bin.