This topic describes how to create a Container Service for Kubernetes (ACK) cluster with field-programmable gate array (FPGA)-accelerated nodes in the ACK console. It also describes how to view FPGA devices that are attached to FPGA-accelerated nodes.
Prerequisites
An ACK Pro cluster or ACK dedicated cluster is created.
The region and zones where the cluster resides must support FPGA-accelerated Elastic Compute Service (ECS) instances. For more information, see ECS instance types available for each region.
FPGA-accelerated ECS instances must use an image that provides the Xilinx development environment. This image can only be shared with users by the FPGA as a service (FaaS) team. Submit a ticket to the FaaS team to use this image.
Create a custom image named faas_f3 by cloning a shared image. For more information, see Copy an image.
Create an FPGA-accelerated node pool
Select FPGA-accelerated instance types when you create a node pool. For more information, see Create a node pool. For more information about FPGA-accelerated instance types, see Instance families.
If no FPGA-accelerated instance type is available, change the specified vSwitches and try again.
View FPGA devices that are attached to FPGA-accelerated nodes
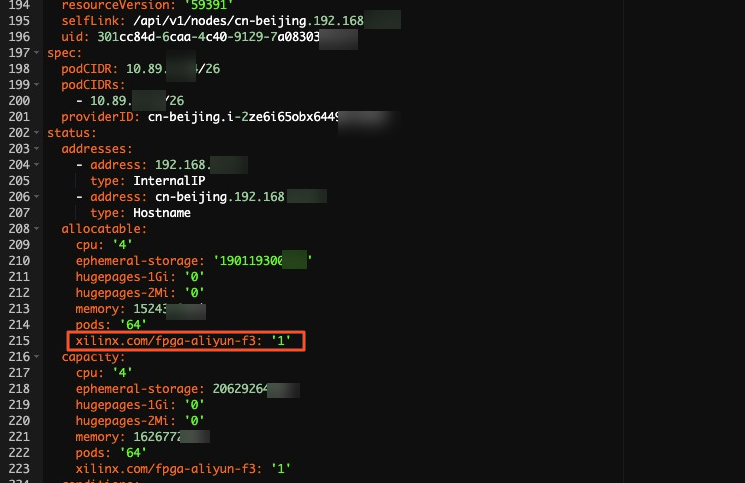
After you create an ACK cluster with FPGA-accelerated nodes, you can view FPGA devices that are attached to the FPGA-accelerated nodes in the cluster.
Log on to the ACK console. In the left-side navigation pane, click Clusters.
On the Clusters page, click the name of the cluster that you want to manage and choose in the left-side navigation pane.
On the Nodes page, select a worker node and choose in the Actions column. On the node details page, you can view the FPGA devices that are attached to the node.
