This topic describes how to set up sender addresses.
The sender address is the sender email account displayed when you send emails on the DirectMail console. You can also set a reply-to address to receive replies from recipients. If you want to send emails using SMTP, you must set the SMTP password for the sender address before you can enable the SMTP sending feature.
Create Sender Addresses
Log on to the DirectMail Console.
In the left-side navigation pane, click Sender Addresses.
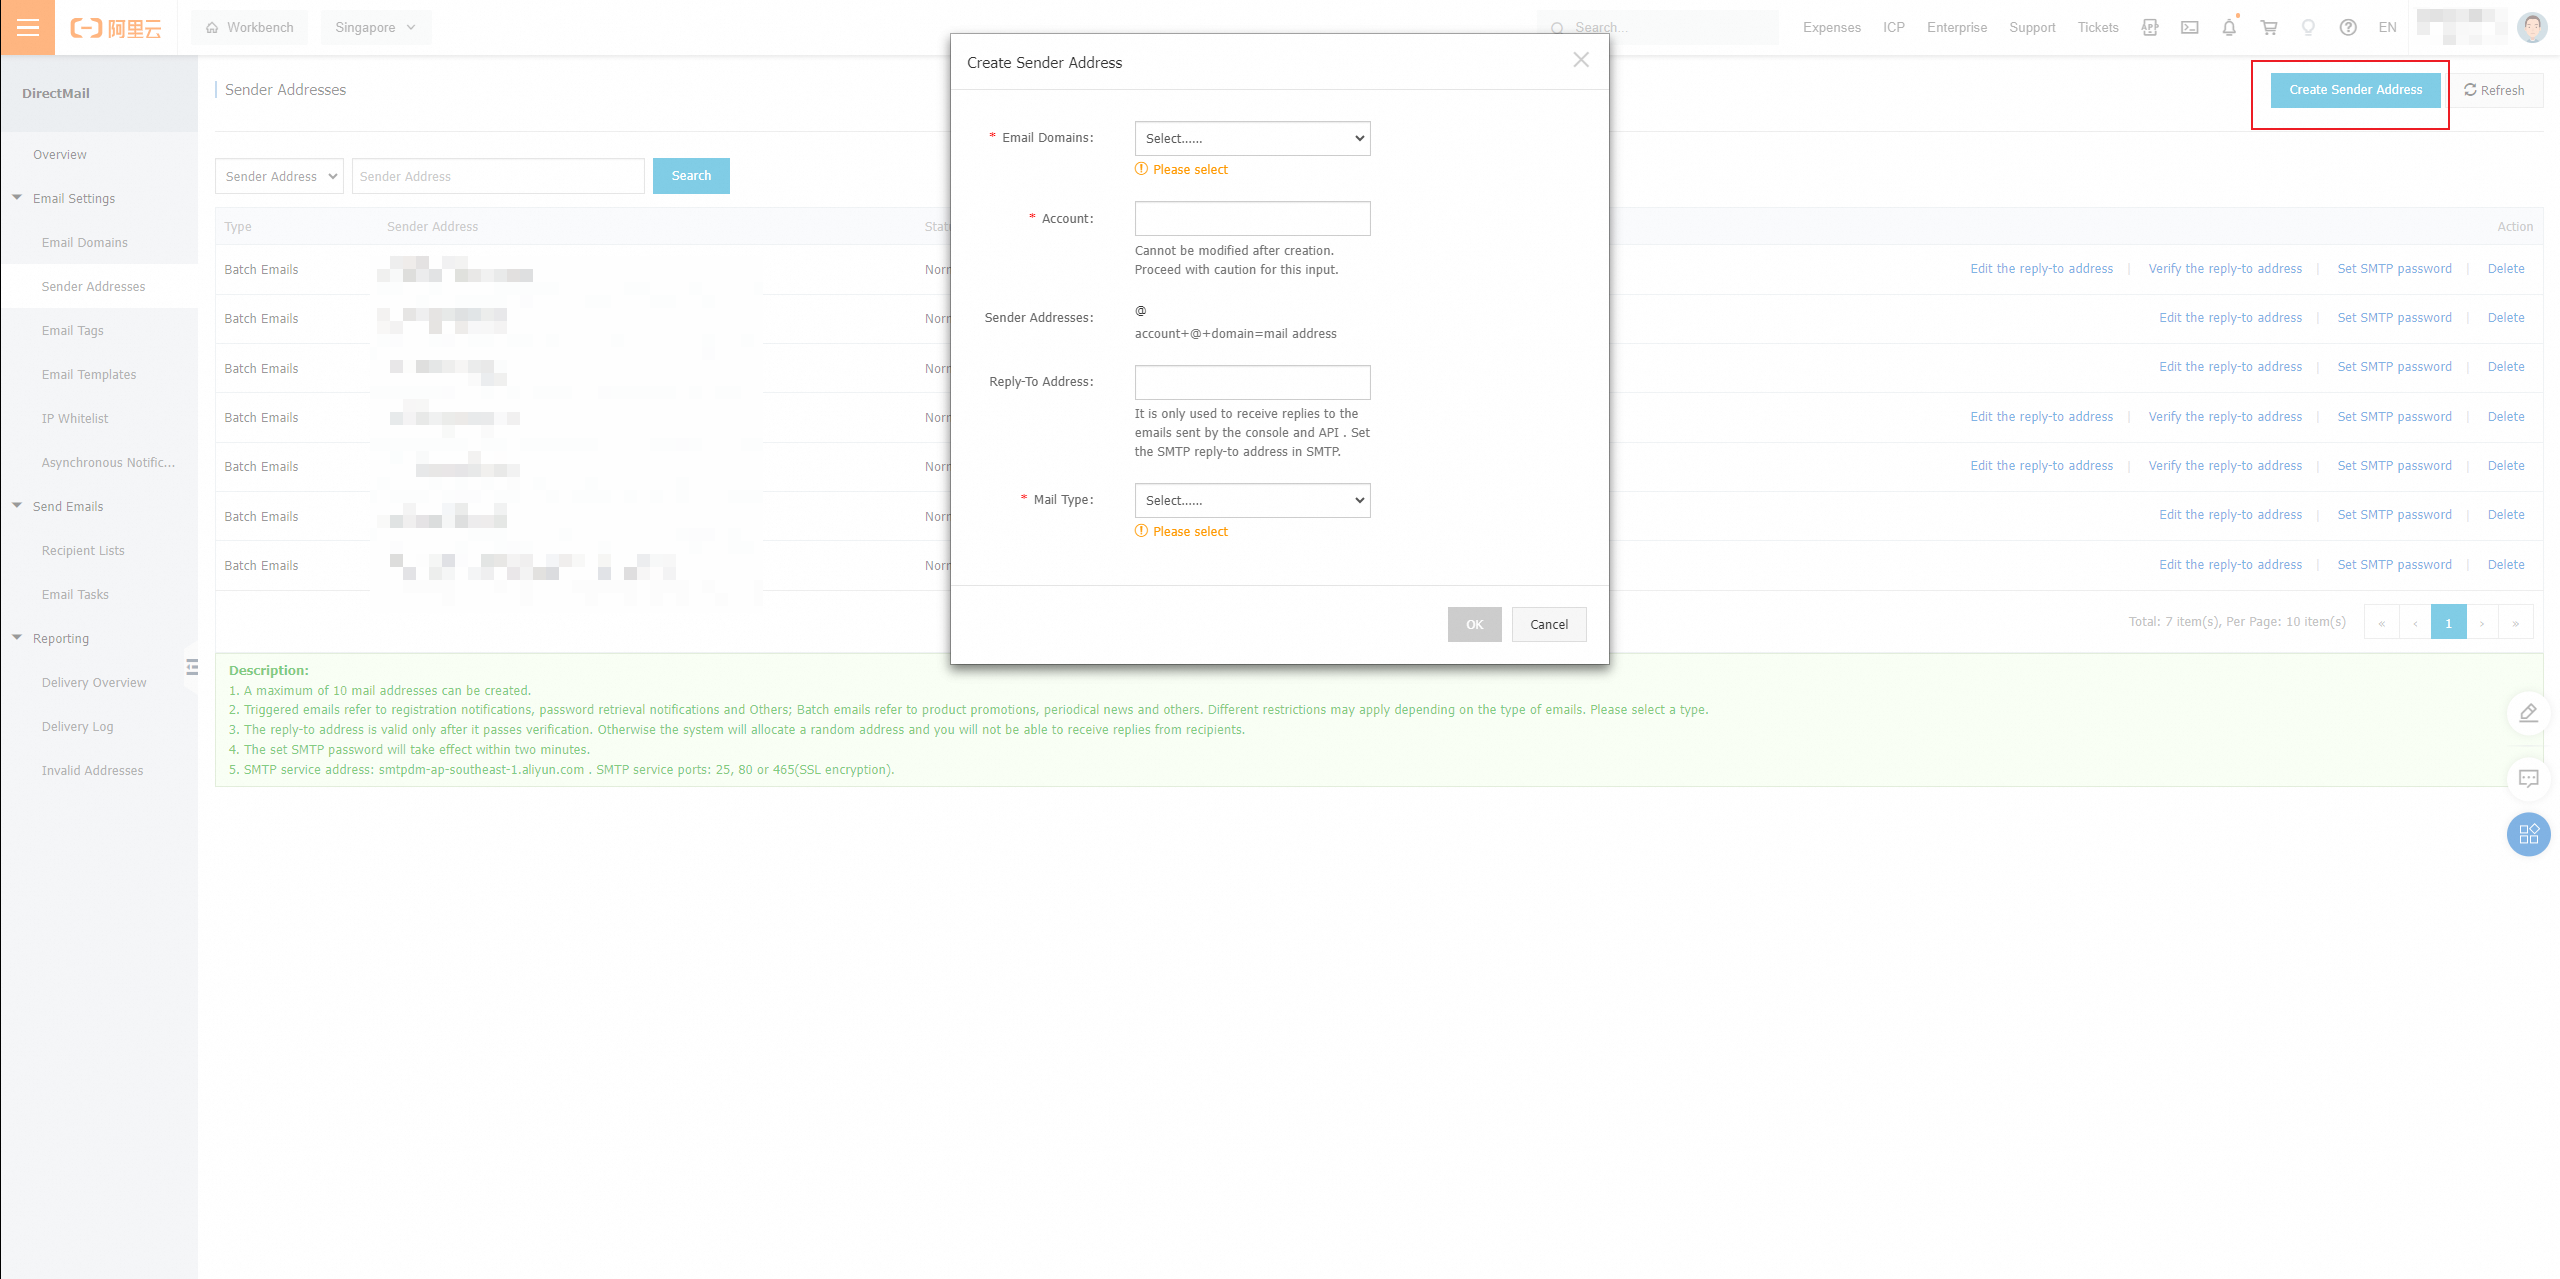
Click Create Sender Address.(Note: Up to 10 sending addresses can be created and deleted up to 10 times in a calendar month.)
Enter the required information in the dialog box, and click OK.
Email domain:
select the domain name that has been bound to the DirectMail. For domain name settings, see Set up domain names.
Account:
Set your sending address.
Reply-to address:
Set the email address for receiving user replies. The reply-to address should be an email address that can receive mail normally. If you do not fill in the reply-to address, you will not receive a reply from the user. The reply-to address must be verified before it can receive the reply normally. See the next step Receiving reply FAQs.
Note: If you use SMTP to send emails, the reply-to address provided here is not automatically added. You must manually specify the Reply-To value in the SMTP calling program.
Mail Type:
Create separate sender addresses for triggered emails and batch emails. Select Triggered Emails or Batch Emails based on your business types. Different email types match different email policies. Normal usage of the email account can improve the credit rating of your sender address for recipients and increase the arrival rate.
Note: When you send mail by the console , the sending type must be batch emails, otherwise the sending address cannot be set and displayed.
Verify reply-to addresses
A reply-to address must first be verified to become available.
On the Sender Addresses page, click Verify the reply-to address.
On the dialog box, click Confirm. The verification email is sent to the email address you set as the reply-to address.
Log on to the mailbox. Verify the address by following the prompts in the email.Note: You must complete the reply-to address verification within 10 minutes after triggering the verification procedure. The verification link in the verification email expires after 10 minutes. You can click Verify the reply-to address again after the previous link expires.

If you encounter problems in the process of verifying the reply-to address, please refer to Receiving reply FAQs.
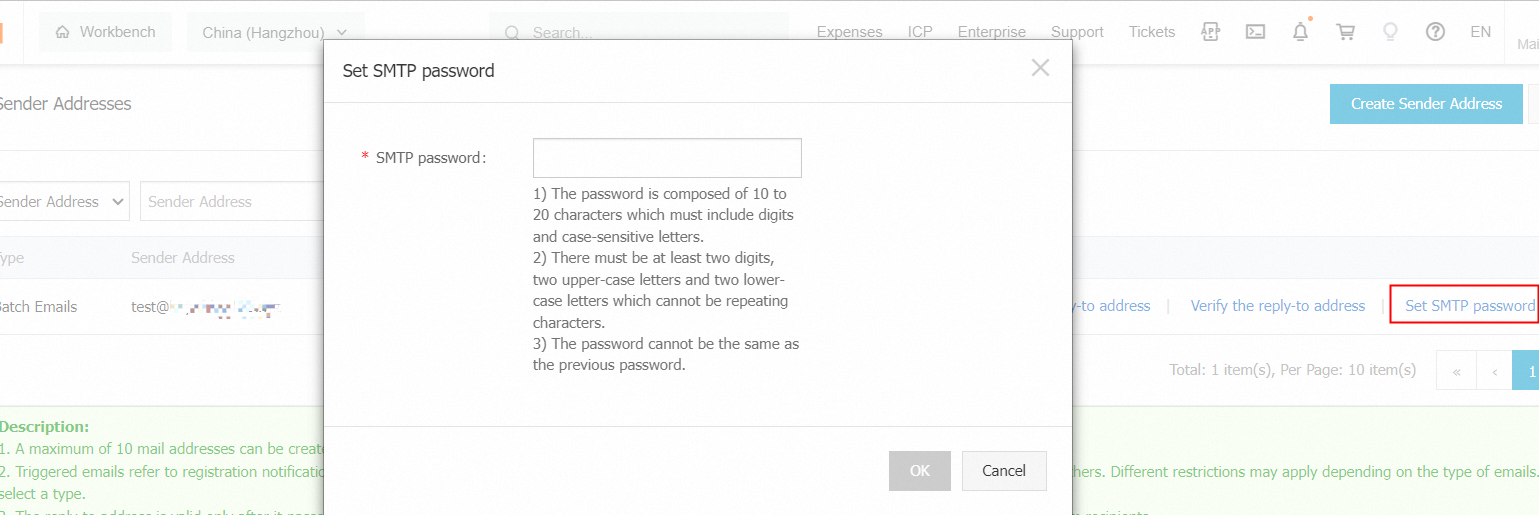
Set the SMTP password
You must set an SMTP password for a newly created sender address to enable the SMTP sending feature.
On the Sender Addresses page, click Set SMTP Password.
Enter a password in the dialog box, and then click OK.
Note: The SMTP password must be set for the new sending address, otherwise you cannot use SMTP to send messages. The new sending address will take effect in 10 minutes.