Deploy a trained PyTorch model as a GPU-accelerated inference service on ACK using NVIDIA Triton Inference Server or TorchServe.
Prerequisites
Before you begin, ensure that you have:
-
A Kubernetes cluster with GPU nodes. See Add GPU nodes to a cluster.
-
Internet access from the cluster nodes. See Allow cluster nodes to access the Internet.
-
The Arena component installed. See Configure the Arena client.
Choose a deployment method
| Method | Best for |
|---|---|
| Triton (recommended) | Multi-framework support, KFServing-compatible API, production-grade serving with RESTful and gRPC endpoints |
| TorchServe | PyTorch-only models, simpler setup without multi-framework requirements |
Triton is recommended for most production scenarios because it supports multiple model frameworks and exposes KFServing-compatible RESTful and gRPC endpoints. Use TorchServe if your workflow is PyTorch-native and you want a lighter setup.
Deploy with Triton (recommended)
This example deploys a BERT (Bidirectional Encoder Representations from Transformers) model trained with PyTorch 1.16. You convert the model to TorchScript, upload it to Object Storage Service (OSS), mount it to the cluster via a persistent volume claim (PVC), and deploy it using NVIDIA Triton Inference Server.
Step 1: Prepare the model
1.1 Train and convert the model
Run a standalone PyTorch training job and convert the PyTorch model to TorchScript. See Use Arena to submit a standalone PyTorch training job.
1.2 Check available GPU resources
arena top nodeExpected output:
NAME                      IPADDRESS      ROLE    STATUS  GPU(Total)  GPU(Allocated)
cn-beijing.192.168.0.100  192.168.0.100  <none>  Ready   1           0
cn-beijing.192.168.0.101  192.168.0.101  <none>  Ready   1           0
cn-beijing.192.168.0.99   192.168.0.99   <none>  Ready   1           0
---------------------------------------------------------------------------------------------------
Allocated/Total GPUs of nodes which own resource nvidia.com/gpu In Cluster:
0/3 (0.0%)
The cluster has three GPU nodes with no GPUs currently allocated.
Step 2: Structure the model repository
Triton requires a specific directory layout:
<model-repository>/
  <model-name>/
    config.pbtxt
    <version>/
      <model-definition-file>
For this example, the structure is:
triton/
└── chnsenticorp/          # Model name
    ├── 1623831335/        # Model version
    │   └── model.savedmodel/
    │       ├── saved_model.pb
    │       └── variables/
    │           ├── variables.data-00000-of-00001
    │           └── variables.index
    └── config.pbtxt       # Triton configuration
Step 3: Upload the model to OSS
The following commands apply to Linux. For other operating systems, see ossutil.
-
Create a bucket named
examplebucket:ossutil64 mb oss://examplebucketIf the following output appears, the bucket is created:
0.668238(s) elapsed -
Upload the model:
ossutil64 cp model.savedmodel oss://examplebucket
Step 4: Create a PV and PVC
-
Create a file named
pytorch-pv-pvc.yamlusing the following template:Parameter Description bucketOSS bucket name. Must be globally unique within OSS. See Bucket naming conventions. urlURL used to access the OSS bucket. See Obtain the URL of a single file or multiple files. akIdAccessKey ID for OSS access. Use a RAM user's credentials to limit permissions. See Create an AccessKey pair. akSecretAccessKey secret that corresponds to the AccessKey ID. otherOptsMount options for the OSS bucket. -o max_stat_cache_size=0disables the attribute cache so each file access retrieves the latest attributes from OSS.-o allow_otherallows other users to access the mounted file system. See ossfs-supported parameter options.apiVersion: v1 kind: PersistentVolume metadata: name: model-csi-pv spec: capacity: storage: 5Gi accessModes: - ReadWriteMany persistentVolumeReclaimPolicy: Retain csi: driver: ossplugin.csi.alibabacloud.com volumeHandle: model-csi-pv # Must be the same as the PV name. volumeAttributes: bucket: "Your Bucket" url: "Your oss url" akId: "Your Access Key Id" akSecret: "Your Access Key Secret" otherOpts: "-o max_stat_cache_size=0 -o allow_other" --- apiVersion: v1 kind: PersistentVolumeClaim metadata: name: model-pvc namespace: inference spec: accessModes: - ReadWriteMany resources: requests: storage: 5GiReplace the following parameters:
-
Create the PV and PVC:
kubectl apply -f pytorch-pv-pvc.yaml
Step 5: Deploy the model
arena serve triton \
  --name=bert-triton \
  --namespace=inference \
  --gpus=1 \
  --replicas=1 \
  --image=nvcr.io/nvidia/tritonserver:20.12-py3 \
  --data=model-pvc:/models \
  --model-repository=/models/triton
Expected output:
configmap/bert-triton-202106251740-triton-serving created
configmap/bert-triton-202106251740-triton-serving labeled
service/bert-triton-202106251740-tritoninferenceserver created
deployment.apps/bert-triton-202106251740-tritoninferenceserver created
INFO[0001] The Job bert-triton has been submitted successfully
INFO[0001] You can run `arena get bert-triton --type triton-serving` to check the job status
Deploy with TorchServe
This method packages the model into .mar (Model Archive) format and serves it with TorchServe.
Step 1: Package the model
Use torch-model-archiver to package the PyTorch model into .mar format. For more information, see torch-model-archiver.
Step 2: Upload the model to OSS
The following commands apply to Linux. For other operating systems, see ossutil.
-
Create a bucket named
examplebucket:ossutil64 mb oss://examplebucketIf the following output appears, the bucket is created:
0.668238(s) elapsed -
Upload the model:
ossutil64 cp model.savedmodel oss://examplebucket
Step 3: Create a PV and PVC
-
Create a file named
pytorch-pv-pvc.yamlusing the same template as in the Triton method. See Step 4 for the template and parameter descriptions. -
Create the PV and PVC:
kubectl apply -f pytorch-pv-pvc.yaml
Step 4: Deploy the model
arena serve custom \
  --name=torchserve-demo \
  --gpus=1 \
  --replicas=1 \
  --image=pytorch/torchserve:0.4.2-gpu \
  --port=8000 \
  --restful-port=8001 \
  --metrics-port=8002 \
  --data=model-pvc:/data \
'torchserve --start --model-store /data/models --ts-config /data/config/ts.properties'The--model-storepath must match the actual path of your model in the mounted PVC. The image can be the officialpytorch/torchserveimage or a custom TorchServe image.
Expected output:
service/torchserve-demo-202109101624 created
deployment.apps/torchserve-demo-202109101624-custom-serving created
INFO[0001] The Job torchserve-demo has been submitted successfully
INFO[0001] You can run `arena get torchserve-demo --type custom-serving` to check the job status
Verify the inference service
The following steps use the Triton deployment (bert-triton) as an example.
-
Check the deployment status:
arena serve list -n inferenceExpected output:
NAME TYPE VERSION DESIRED AVAILABLE ADDRESS PORTS bert-triton Triton 202106251740 1 1 172.16.70.14 RESTFUL:8000,GRPC:8001 -
Get deployment details:
arena serve get bert-triton -n inferenceExpected output:
Name:       bert-triton
Namespace:  inference
Type:       Triton
Version:    202106251740
Desired:    1
Available:  1
Age:        5m
Address:    172.16.70.14
Port:       RESTFUL:8000,GRPC:8001


Instances:
  NAME                                                             STATUS   AGE  READY  RESTARTS  NODE
  ----                                                             ------   ---  -----  --------  ----
  bert-triton-202106251740-tritoninferenceserver-667cf4c74c-s6nst  Running  5m   1/1    0         cn-beijing.192.168.0.89
The service exposes two API endpoints: port 8000 for RESTful and port 8001 for gRPC.
-
Expose the service externally. NVIDIA Triton Inference Server uses a ClusterIP by default, so you must configure a public Ingress to call the inference API from outside the cluster.
-
On the Clusters page, click the name of the target cluster. In the left navigation pane, choose Network > Ingresses.
-
From the Namespace list, select the
inferencenamespace. -
In the upper-right corner, click Create Ingress.
-
Set Service Name to
bert-triton. -
Set the RESTful Port to
8501. -
Configure other parameters as needed. See Create and use an Nginx Ingress to expose a service.
-
-
-
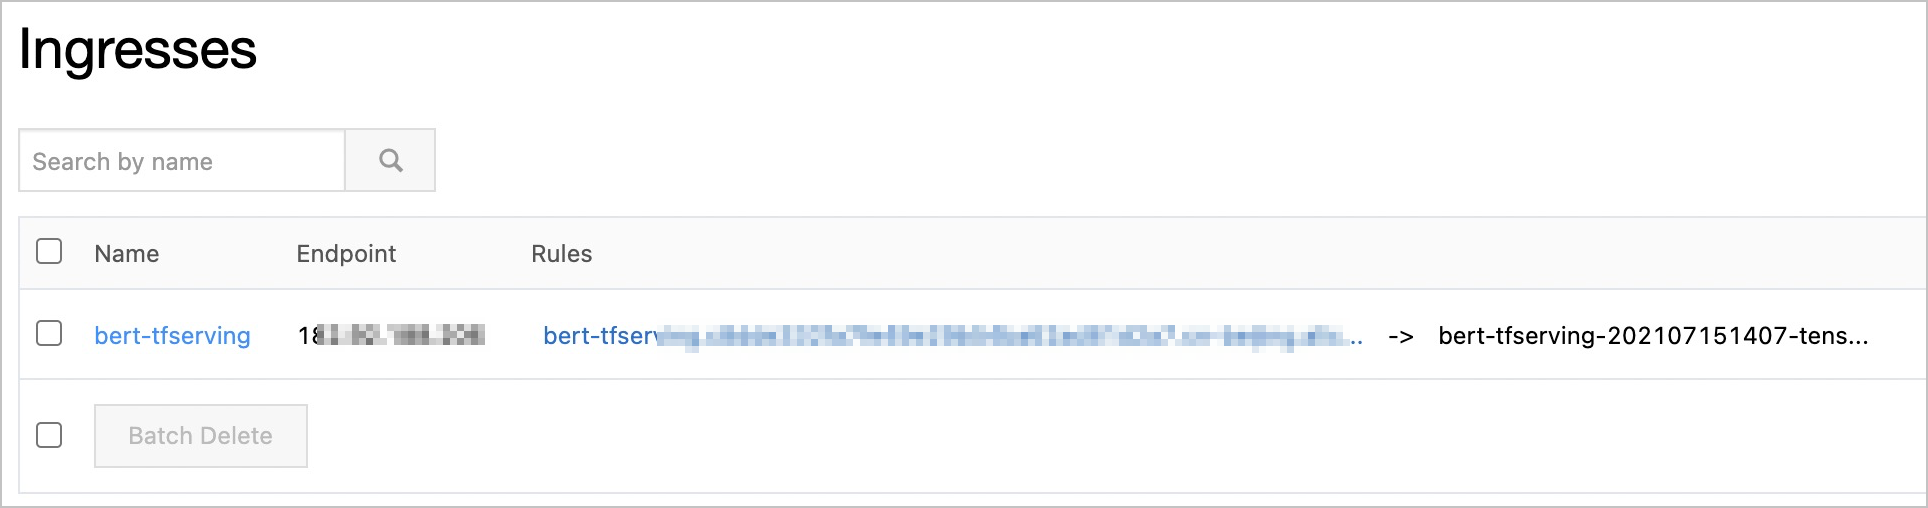
After the Ingress is created, find the Ingress address in the Rules column on the Ingresses page.
-
Call the inference API using the Ingress address. NVIDIA Triton Inference Server follows the KFServing API specification. See the NVIDIA Triton Server API for the full API reference.
curl "http://<Ingress address>"Expected output:
{
    "name":"chnsenticorp",
    "versions":[
        "1623831335"
    ],
    "platform":"tensorflow_savedmodel",
    "inputs":[
        {
            "name":"input_ids",
            "datatype":"INT64",
            "shape":[
                -1,
                128
            ]
        }
    ],
    "outputs":[
        {
            "name":"probabilities",
            "datatype":"FP32",
            "shape":[
                -1,
                2
            ]
        }
    ]
}