To detect database exceptions at the earliest opportunity is a crucial task for routine O&M of databases. You can use the alerting feature of Database Autonomy Service (DAS) to set alert metrics and alert thresholds. If an exception occurs in a database or the value of an alert metric exceeds the specified threshold, DAS immediately sends notifications to the specified contacts. This helps you identify database exceptions at the earliest opportunity and maintain the stability of a database.
Background information
Before you configure an alert, we recommend that you understand the following terms:- Alert rule: defines the configurations for triggering alerts, such as alert metrics, trigger times, and notification methods. For more information, see Configure alert rules.
- Alert template: a collection of alert rules. An alert rule can be added to multiple alert templates. For more information, see Configure alert templates.
- Alert contact: the recipient of alerts. You can add alert contacts to different alert contact groups. For more information, see Manage alert contacts.
Configure alerting
Log on to the DAS console.
- In the left-side navigation pane, choose .
- On the Alert Configuration page, select the alert template that you want to use, confirm the alert rules in the Alert Rules in Template section, and then click Next.
- If no existing alert templates can meet your requirements, you can click Create Alert Template to create a new alert template.
You can click Add Rule and add alert rules to the alert template in the dialog box that appears. If no existing alert rules can meet your requirements, you can click Create Rule to create a new alert rule. For more information, see Configure alert rules.
- You can click Edit in the Actions column corresponding to the added alert rule to modify the settings of the rule, such as Type, Description, Alert Interval, Effective Time, and Notification Method. For more information, see Configure alert rules. Important After you modify an alert rule, all alert templates that contain the rule are affected. Exercise caution when you modify the alert rule.
- You can click Remove in the Actions column corresponding to the added alert rule to remove the alert rule from the current alert template.

- If no existing alert templates can meet your requirements, you can click Create Alert Template to create a new alert template.
- Select the contact group that receives alerts. Click Next.
- If no existing alert contact groups can meet your requirements, you can click Create Contact Group to create a new alert contact group.
You can click Add Contact and add a contact to the alert contact group in the dialog box that appears. You can click Create Contact or Synchronize CloudMonitor Contacts. For more information, see Add an alert contact.
- You can click Edit in the Actions column corresponding to a contact to modify the notification mode of the contact. For more information, see Add an alert contact.
- You can click Remove in the Actions column corresponding to a contact to remove the contact from the alert contact group.
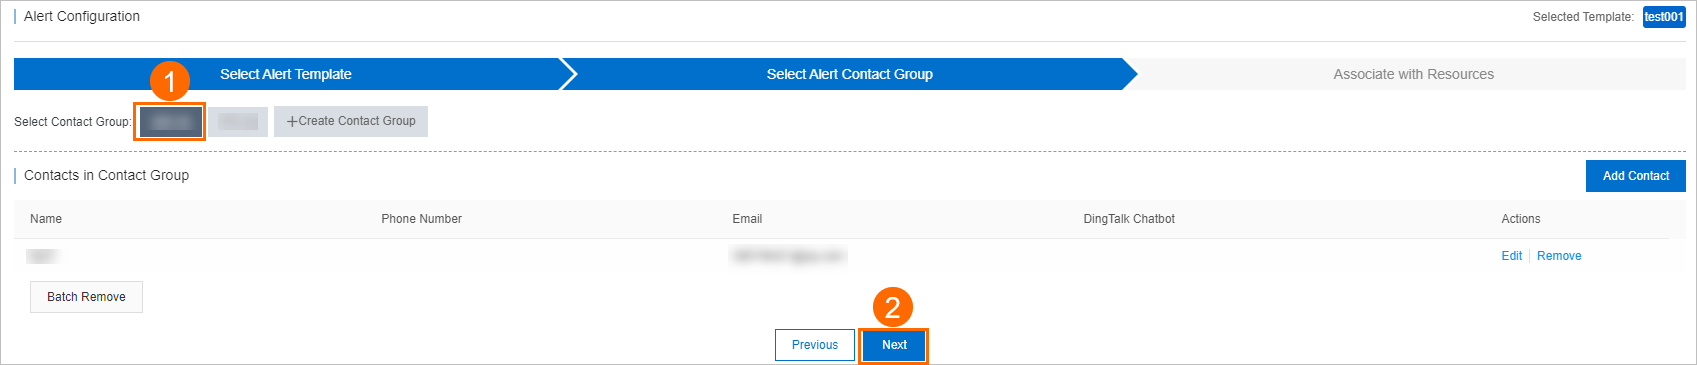
- If no existing alert contact groups can meet your requirements, you can click Create Contact Group to create a new alert contact group.
- Select a resource type that is associated with the alert template that you want to use. You can select All Resources, Cluster Resources, or Instance Resources, and then click Submit Configuration.
- In the Confirm the configuration information dialog box, click OK.
What to do next
References
When an alert is triggered for a database instance, you can use the O&M features that are provided by DAS to troubleshoot database exceptions at the earliest opportunity. For more information, see the following topics: