This topic describes how to configure auto scaling policies in Enterprise Distributed Application Service (EDAS). Auto scaling is an important O&M capability for distributed application management. If auto scaling is enabled, the system can detect the status of each application instance and dynamically scale in or scale out the application based on the instance status. This ensures the service quality and improves the application availability.
Background information
Applications such as the Internet and game applications are prone to sudden traffic surges during promotional activities. Moreover, imbalance happens between service level agreements (SLAs) and resource costs. These may cause system issues, such as slow responses and breakdowns. EDAS uses the traffic surge management technology that is used by Alibaba Group to cope with heavy traffic in Double 11, and allows auto scaling within seconds. This ensures SLA compliance and reduces the costs of server retention. Auto scaling is applicable to industries such as the Internet, games, and social networking platforms.
You can configure auto scaling policies for applications that are deployed in Container Service for Kubernetes (ACK) clusters and ACK Serverless clusters in EDAS.
You can configure multiple triggers for an auto scaling policy. Take note of the following items:
If the Kubernetes cluster version is earlier than V1.15.0, auto scaling can be triggered only when all the triggers are met.
If the Kubernetes cluster version is V1.15.0 or later, auto scaling can be triggered when one of the triggers is met. If multiple triggers are met, the system checks the number of expected instances configured for each trigger and selects the maximum as the number of expected instances for the application.
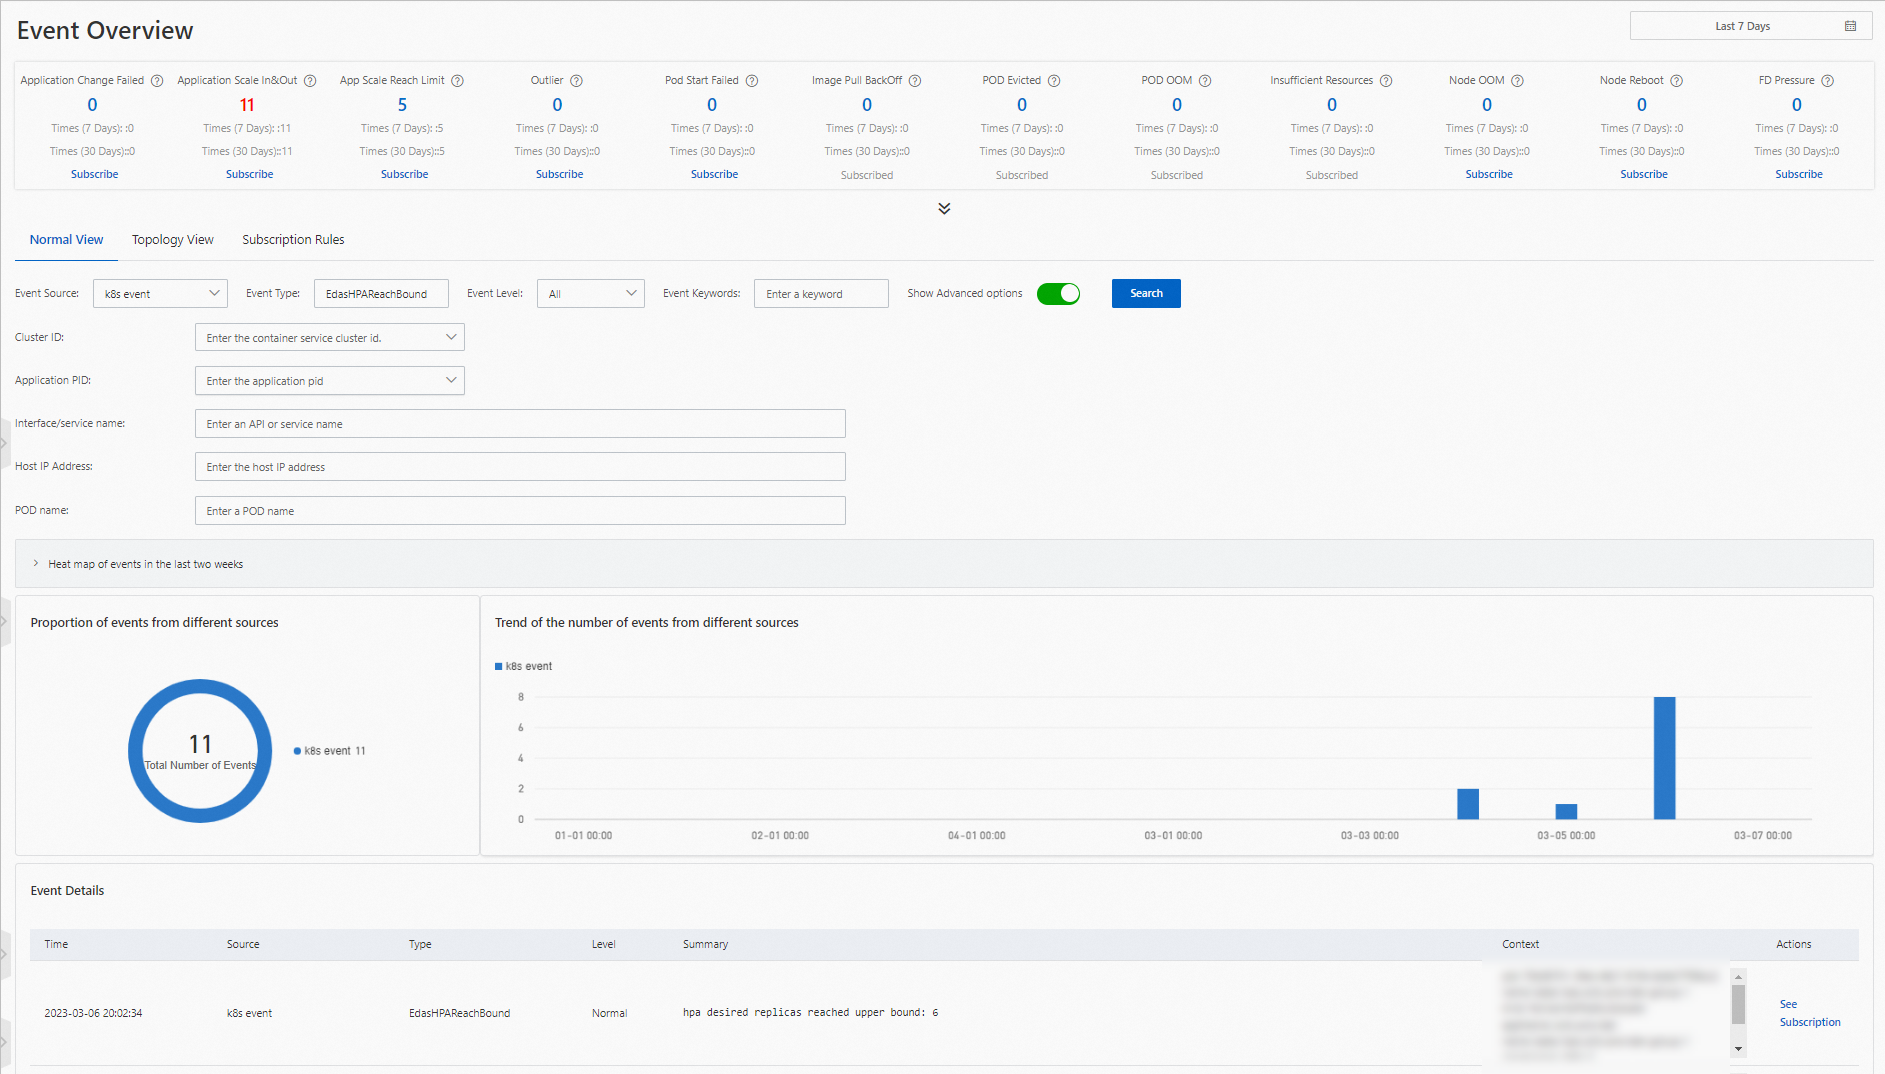
You can go to Event Center and subscribe to events related to application scaling. This way, if an application is scaled out or in or the scaling of an application fails because the number of application instances after auto scaling reaches the upper or lower limit, a notification is sent to you. For more information, see Event center.
After an auto scaling policy is enabled, you cannot stop, start, or manually scale out or scale in your application. If you want to perform these operations, disable the auto scaling policy.
You may configure a Service for an application and bind a Server Load Balancer (SLB) instance to the application. In this case, if auto scaling occurs, EDAS automatically adds or removes application instances to or from the list of backend servers of the SLB instance.
You may configure persistent storage for an application. In this case, if auto scaling occurs, EDAS automatically associates application instances that are added with the configured persistent storage.
You cannot create an auto scaling policy if an application change is in progress, such as application deployment, application scaling, or specification change.
If auto scaling of nodes is disabled for a Kubernetes cluster, the auto scaling feature for applications may be ineffective. You can go to the ACK console and configure auto scaling of nodes on the Clusters page.
Procedure
You can configure multiple triggers. EDAS automatically scales out or scales in application instances based on the triggers.
Log on to the EDAS console.
In the left-side navigation pane, choose . In the top navigation bar, select a region. In the upper part of the Applications page, select a microservices namespace from the Microservices Namespace drop-down list. Then, click the name of the application that you want to manage.
In the left-side navigation pane of the application details page, choose . On the Auto Scaling page, click Create Auto Scaling Policy.
Alternatively, in the upper-right corner of the Application Overview page, choose . On the page that appears, click Create Auto Scaling Policy. You can also select an auto scaling policy template in the Create Metric-based Auto Scaling Policy or Create Scheduled Auto Scaling Policy section in the lower part of the Auto Scaling page.
In the Policy Name field, enter a name for the auto scaling policy.
NoteThe name must start with a letter, and can contain digits, letters, hyphens (-), and underscores (_). The name can be up to 30 characters in length.
In the Trigger Conditions section, click Create Trigger. In the Create Trigger panel, configure a trigger rule. After the configuration is complete, click OK.
Table 1. Parameters Parameter
Description
Trigger Name
The name of the trigger. The name must start with a letter, and can contain digits, letters, hyphens (-), and underscores (_). The name can be up to 30 characters in length.
Trigger Type
The type of the trigger. You can select Time Trigger or Application Metric-based Trigger.
Time Trigger
You can select Time Trigger if the load of the application periodically fluctuates. For example, the load is high from 08:00 to 20:00 and low from 20:00 to 08:00 the next day, or the load is high on business days and low on weekends.
Cycle: Select Every Day, Every Week, or Every Month from the drop-down list.
NoteIf you select Every Week, specify the day of a week as needed to configure the trigger rule. To configure different trigger rules for different days of a week, create multiple time triggers.
Trigger Time on a Single Day: Specify the trigger time and number of instances for each trigger event. You can click Add to add more rows. The configuration takes effect on a daily basis.
ImportantIf the specified trigger time has passed, the configuration takes effect in the next cycle.
The interval between two consecutive trigger events must be greater than 10 minutes.
The rate of change in the number of instances between two consecutive trigger events must be greater than 10%. For example, Pod1 specifies the number of instances in the first trigger event, and Pod2 specifies the number of instances in the second trigger event. In this case, the result of Pod2 divided by Pod1 must be
greater than 1.1orless than 0.9.
Retained Instances: Specify the number of instances to retain after the auto scaling policy is enabled. Valid values: 0 to 50.
Trigger Mode: This parameter is required only if you set the Cycle parameter to Every Day. Valid values:
Applied for Time Range: The number of instances that you specify for a trigger event is applied until the next trigger event occurs.
Applied at Time Point: The number of instances that you specify for a trigger event is applied only at the point in time when the trigger event occurs.
Application Metric-based Trigger
You can select Application Metric-based Trigger if the monitoring metrics of the application are linearly correlated with the number of application instances. For example, the stress testing results show that a single application instance can process 200 queries per second (QPS). If the QPS reaches 1,200, the system performs a scale-out to ensure that the application has six instances.
Metric Name: You can select Average Number of Requests per Second Provided by Applications, Average Response Time of Services Provided by Applications (Milliseconds), Average CPU Utilization of Applications, or Average Memory Usage of Applications.
Calculate Metric Value Based on Average Value: This parameter is displayed only if you set the Trigger Type parameter to Application Metric-based Trigger and the Metric Name parameter to Average Number of Requests per Second Provided by Applications or Average Response Time of Services Provided by Applications (Milliseconds). By default, the metric value is calculated based on real-time data. If you select Calculate Metric Value Based on Average Data, the metric value is calculated based on the average data. This helps reduce data fluctuation. The Time Window for Metric Statistics parameter specifies the time range during which the metric value is calculated based on the average data. Valid values of the Time Window for Metric Statistics parameter are 300 to 3600, in units of seconds.
Expected Value: Set the expected value of the metric. The system automatically adds or removes instances so that the metric value of your application can be closest to the expected value.
NoteIf the metric value of your application is smaller than the expected value, the system automatically removes instances. If the metric value of your application is greater than the expected value, the system automatically adds instances.
Mode
Select a mode to run the trigger. Valid values:
Observe Only: only observes the metric value. If the expected value is reached, an event is sent to Event Center but auto scaling is not triggered.
Observe and Scale: observes the metric value. If the expected value is reached, an event is sent to Event Center and auto scaling is triggered.
NoteIf you set the Metric Name parameter to Average CPU Utilization of Applications or Average Memory Usage of Applications, the system considers 0.9 to 1.1 times of the expected value as the valid value range. A trigger event occurs only if the metric value is beyond this value range.
Set the Maximum Application Instances and Minimum Application Instances parameters.
Maximum Application Instances: Specify a value that ranges from 2 to 1000. After the trigger conditions are met, the system automatically scales out the application. This parameter specifies the maximum number of application instances for auto scaling.
Minimum Application Instances: Specify a value that ranges from 0 to 1000. After the trigger conditions are met, the system automatically scales in the application. This parameter specifies the minimum number of application instances for auto scaling.
NoteIf multiple triggers are met, the system checks the number of expected instances configured for each trigger and selects the maximum as the number of expected instances for the application.
If the expected number of instances is greater than the current number of instances, EDAS scales out the application. The number of instances does not exceed the value of the Maximum Application Instances parameter. If the expected number of instances is smaller than the current number of instances, EDAS scales in the application. The number of instances is not smaller than the value of the Minimum Application Instances parameter.
The value of the Minimum Application Instances parameter cannot be equal to that of the Maximum Application Instances parameter.
We recommend that you set the Minimum Application Instances and Maximum Application Instances parameters so that the current number of instances falls between. If the current number of instances is beyond the value range, the message The number of retained instances has exceeded the range of the maximum number and minimum number of instances appears when you save the auto scaling policy. However, the auto scaling policy is still saved.
Optional: Turn on Custom Auto Scaling Policy, and configure scale-out and scale-in behaviors.
Cooldown Time (Seconds): Specify the cooldown time as needed. Unit: seconds. Valid values: 0 to 3600. By default, the cooldown time is 0 seconds for the scale-out behavior and 300 seconds for the scale-in behavior.
Scale-out or scale-in policy: In the Scale-out Behavior section, click Create Scale-out Policy and configure a scale-out policy. In the Scale-in Behavior section, click Create Scale-in Policy and configure a scale-in policy.
Policy Type: Select a policy type. Valid values: Pods and Percent. A value of Pods indicates the number of application instances. A value of Percent indicates the percentage of application instances.
Step Size/Percentage: Set this parameter based on the value of the Policy Type parameter. For example, if you set the Policy Type parameter to Pods, set this parameter to the number of application instances.
Time Period (Seconds): Specify the period during which the application is scaled out or in based on the policy. For example, if you set the Policy Type parameter to Percent, the Step Size/Percentage parameter to 10, and the Time Period (Seconds) parameter to 60, the current number of instances can be scaled out or in by up to 10% within 1 minute.
You can click Synchronize to Scale-in Policy to synchronize the configured scale-out policy to the Scale-in Behavior section, or click Synchronize to Scale-out Policy to synchronize the configured scale-in policy to the Scale-out Behavior section.
Policy Selection: You can select Min, Max, or Disabled. Default value: Max.
After the preceding configuration is complete, click Save.
In the upper-right corner of the Auto Scaling page, click Enable.
After auto scaling is triggered, EDAS scales out or scales in the application based on the auto scaling policy. This also indicates that the configuration of the auto scaling policy is successful.
Verify the result
After the auto scaling policy is enabled, EDAS automatically scales out or scales in the application based on the auto scaling policy. You can perform the following steps to view the details of auto scaling events:
In the upper-right corner of the Auto Scaling page, click Event.
In the upper-right corner of the Event Center page, set the time range to query events.
On the Event Center page, click the Normal View tab.
On the Normal View tab, select k8s event from the Event Source drop-down list, select ScalingReplicaSet or DryRunSuccessfulReScale from the Event Type drop-down list, and then click Search.
ScalingReplicaSet: the events that are generated in Observe and Scale mode. You can view the details of the auto scaling events.
DryRunSuccessfulReScale: the events that are generated in Observe Only mode. In this mode, auto scaling is not triggered.
What to do next
After an auto scaling policy is enabled, you can delete, disable, or modify the policy. You can also enable a disabled policy or manage your application.
After an auto scaling policy is enabled, you cannot stop, start, or manually scale out or scale in your application. If you want to perform these operations, disable the auto scaling policy.