ApsaraDB is a suite of database products on Alibaba Cloud that includes support for RDS, MongoDB, Redis, and Memcache. In this tutorial, we will set up Alibaba Cloud's ApsaraDB for Memcache with the Alibaba Cloud SDK and NodeJS.
Alibaba Cloud ApsaraDB for Memcache is an in-memory caching service that supports high-speed access to queries and data, which is often web application session data. It improves the response of dynamic websites or applications by relieving the load on the backend database as cached data is stored in-memory.
The Memcache SDK can be installed with the NodeJS package manager (npm) along with the Alibaba Cloud SDK. In this tutorial, we will be specifically installing and running a Hello World program on Alibaba Cloud ApsaraDB for Memcache using an Alibaba Cloud ECS instance within an Alibaba Cloud VPC using the NodeJS package manager.
Create a VPC with VSwitch in your favorite region.
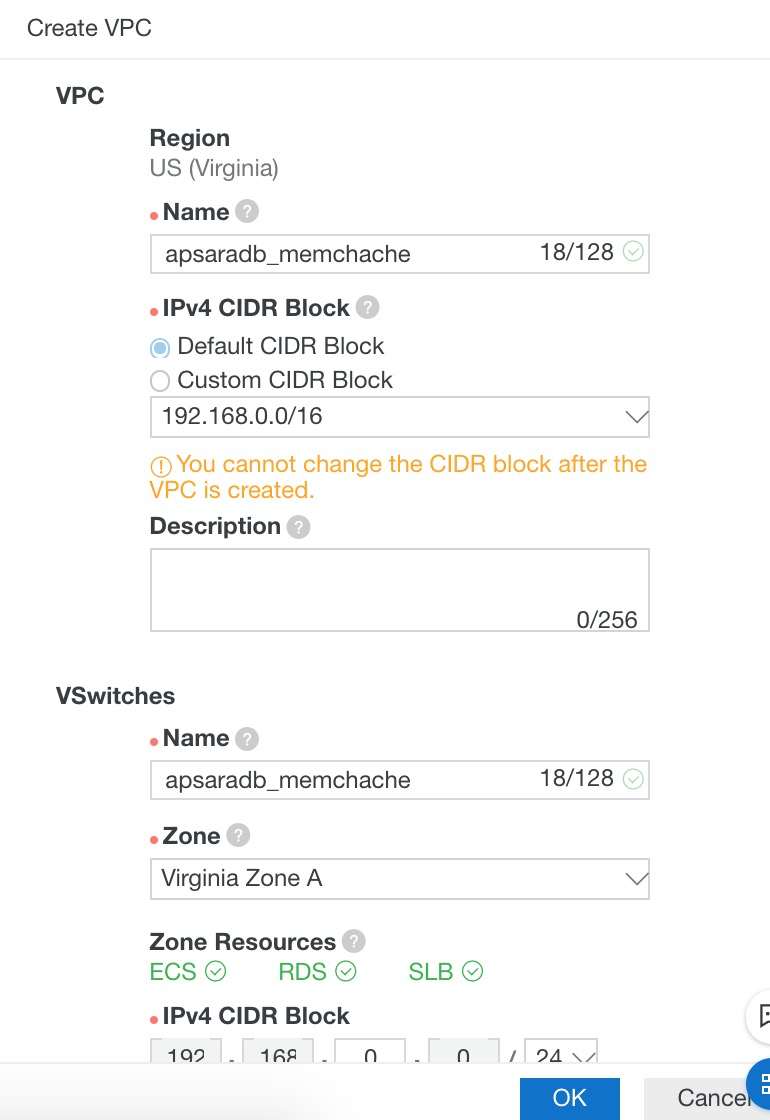
This is the CIDR block you will use to provide whitelist access for the Alibaba Cloud ApsaraDB Memcache application.
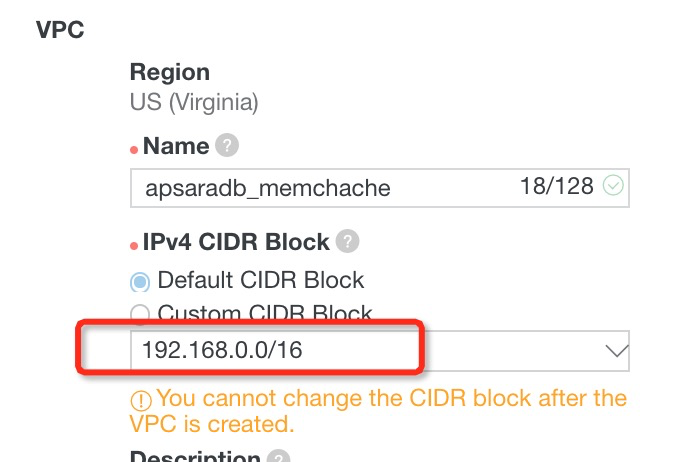
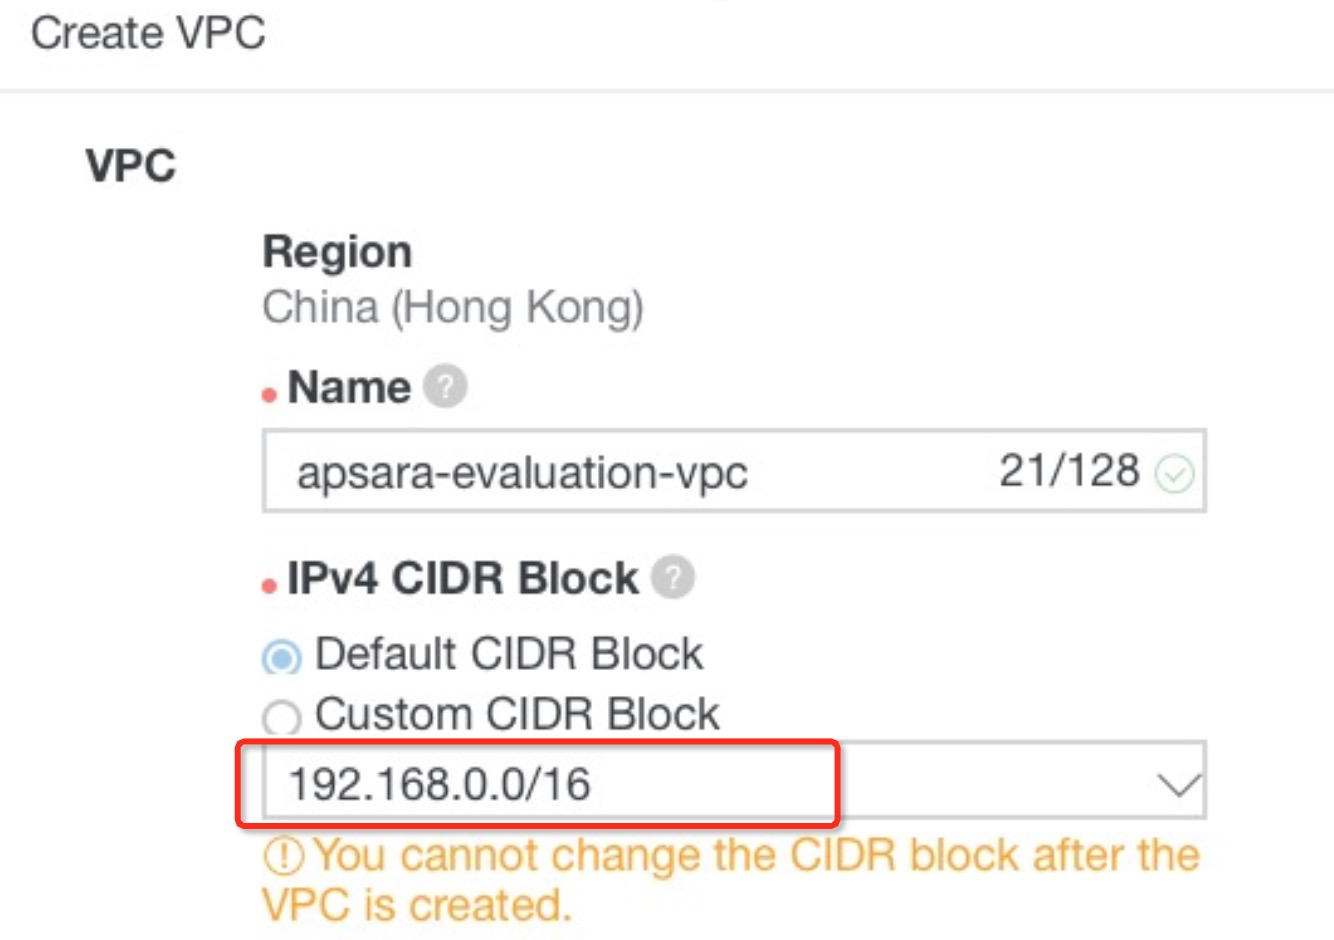
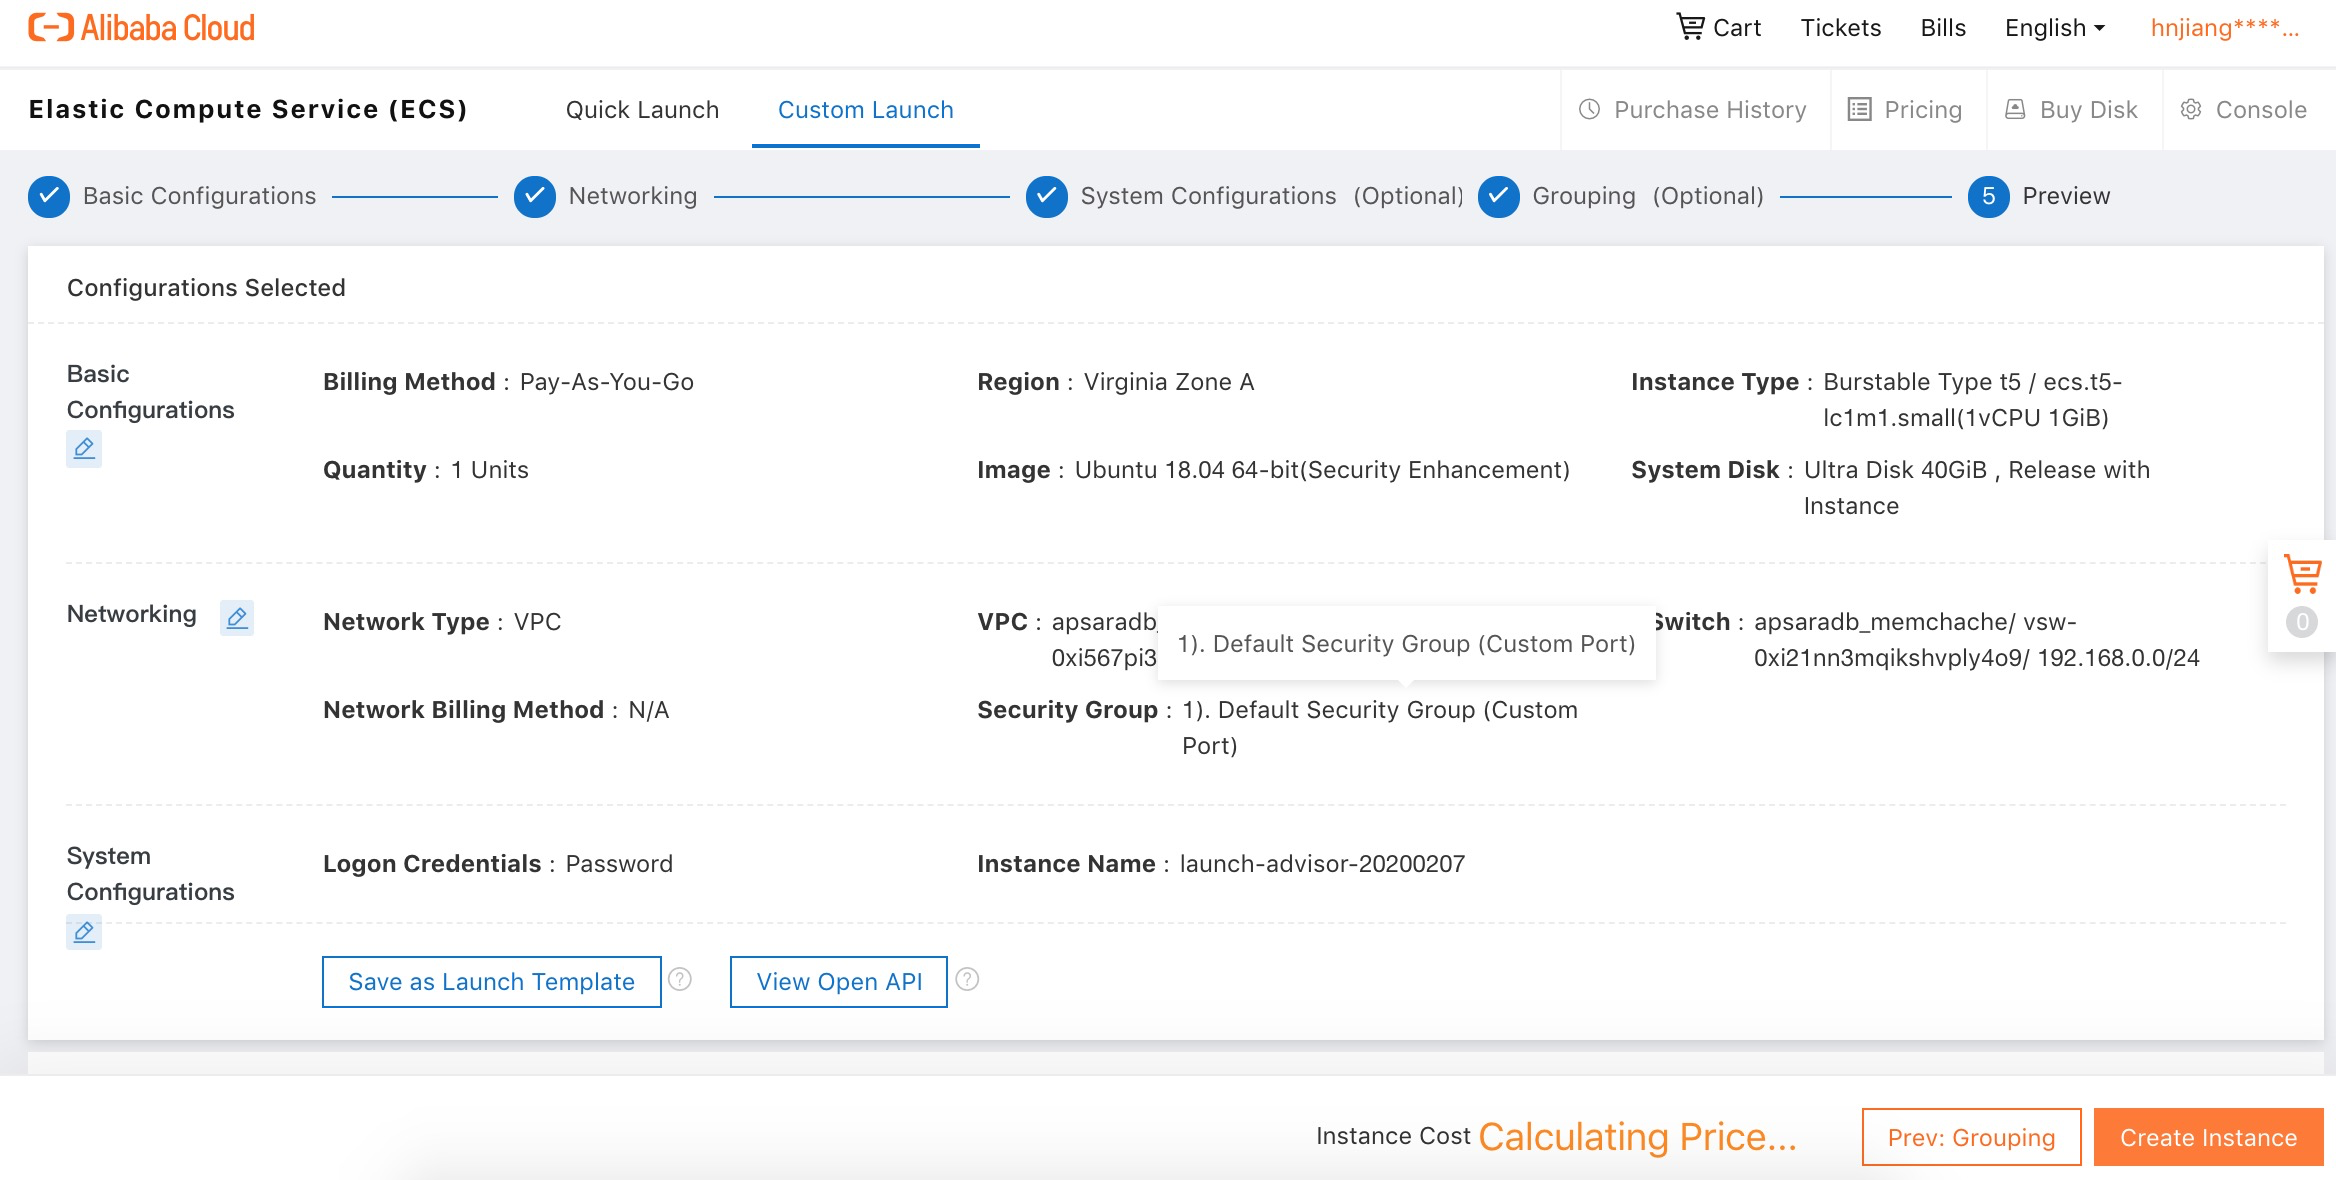
Create an ECS instance on the VPC.

In this tutorial, we will create an ECS instance with an Ubuntu Linux OS.

Set a password for the root user so we can access the instance on the command line.
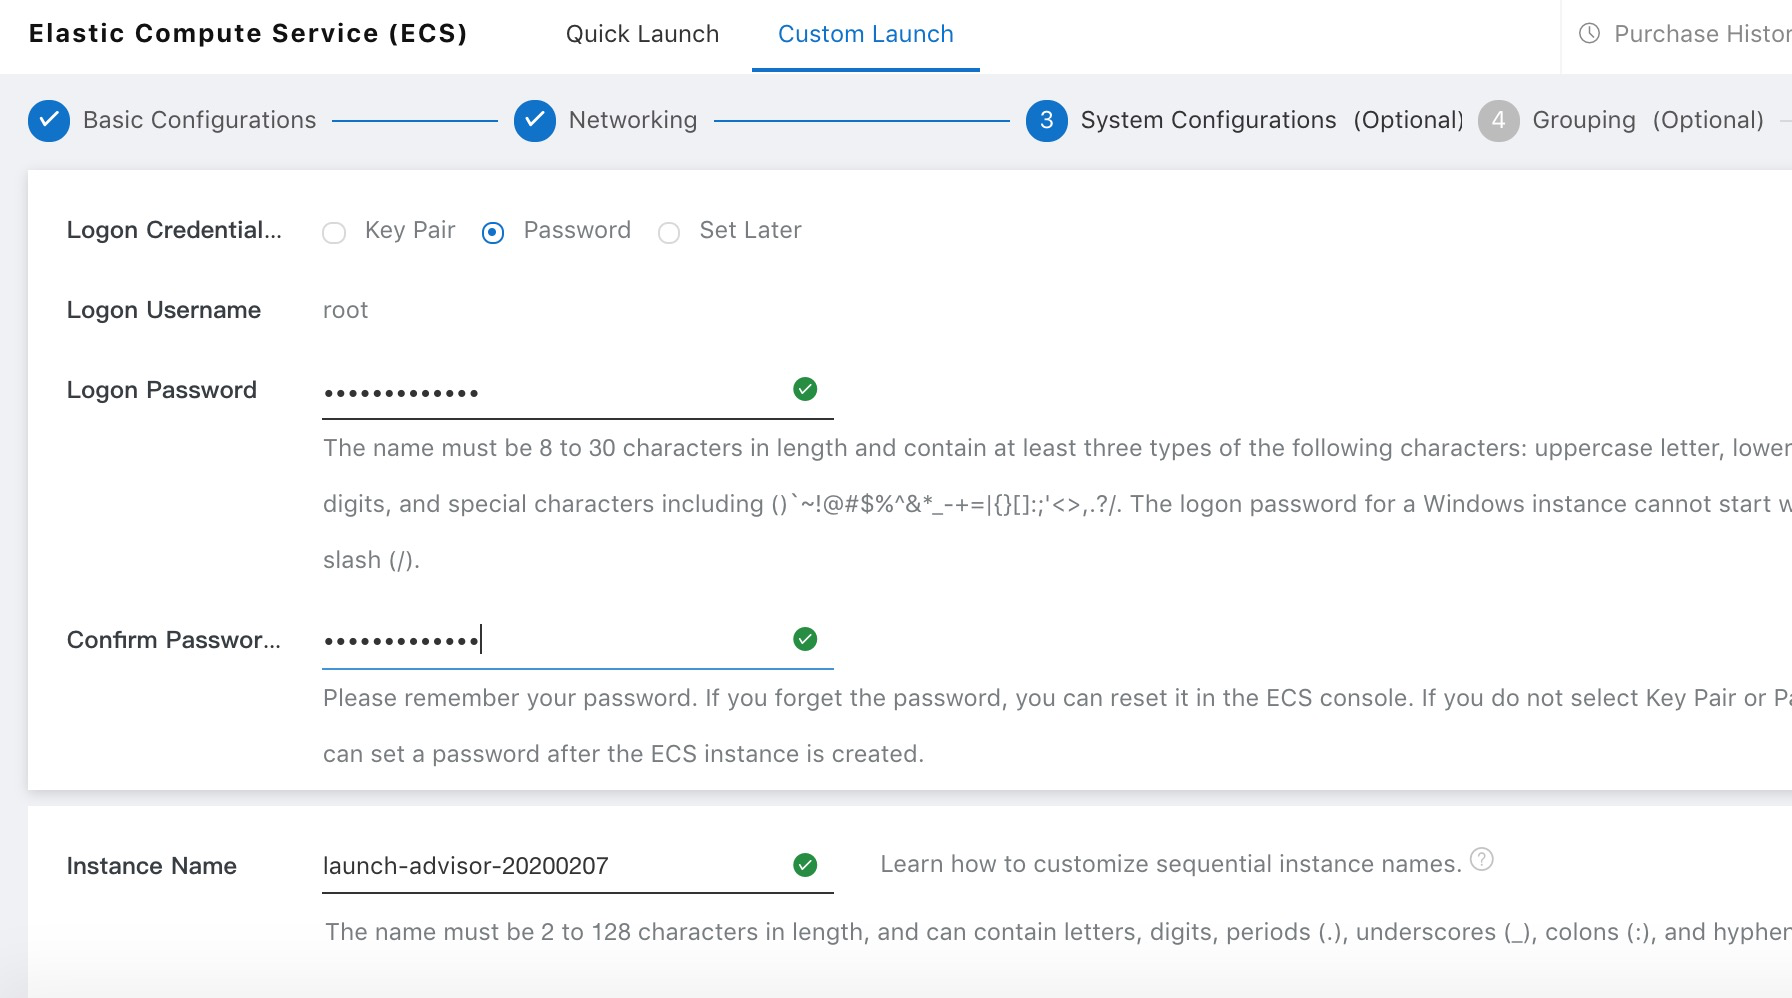
Check the configuration details, agree to the terms, and create the instance.
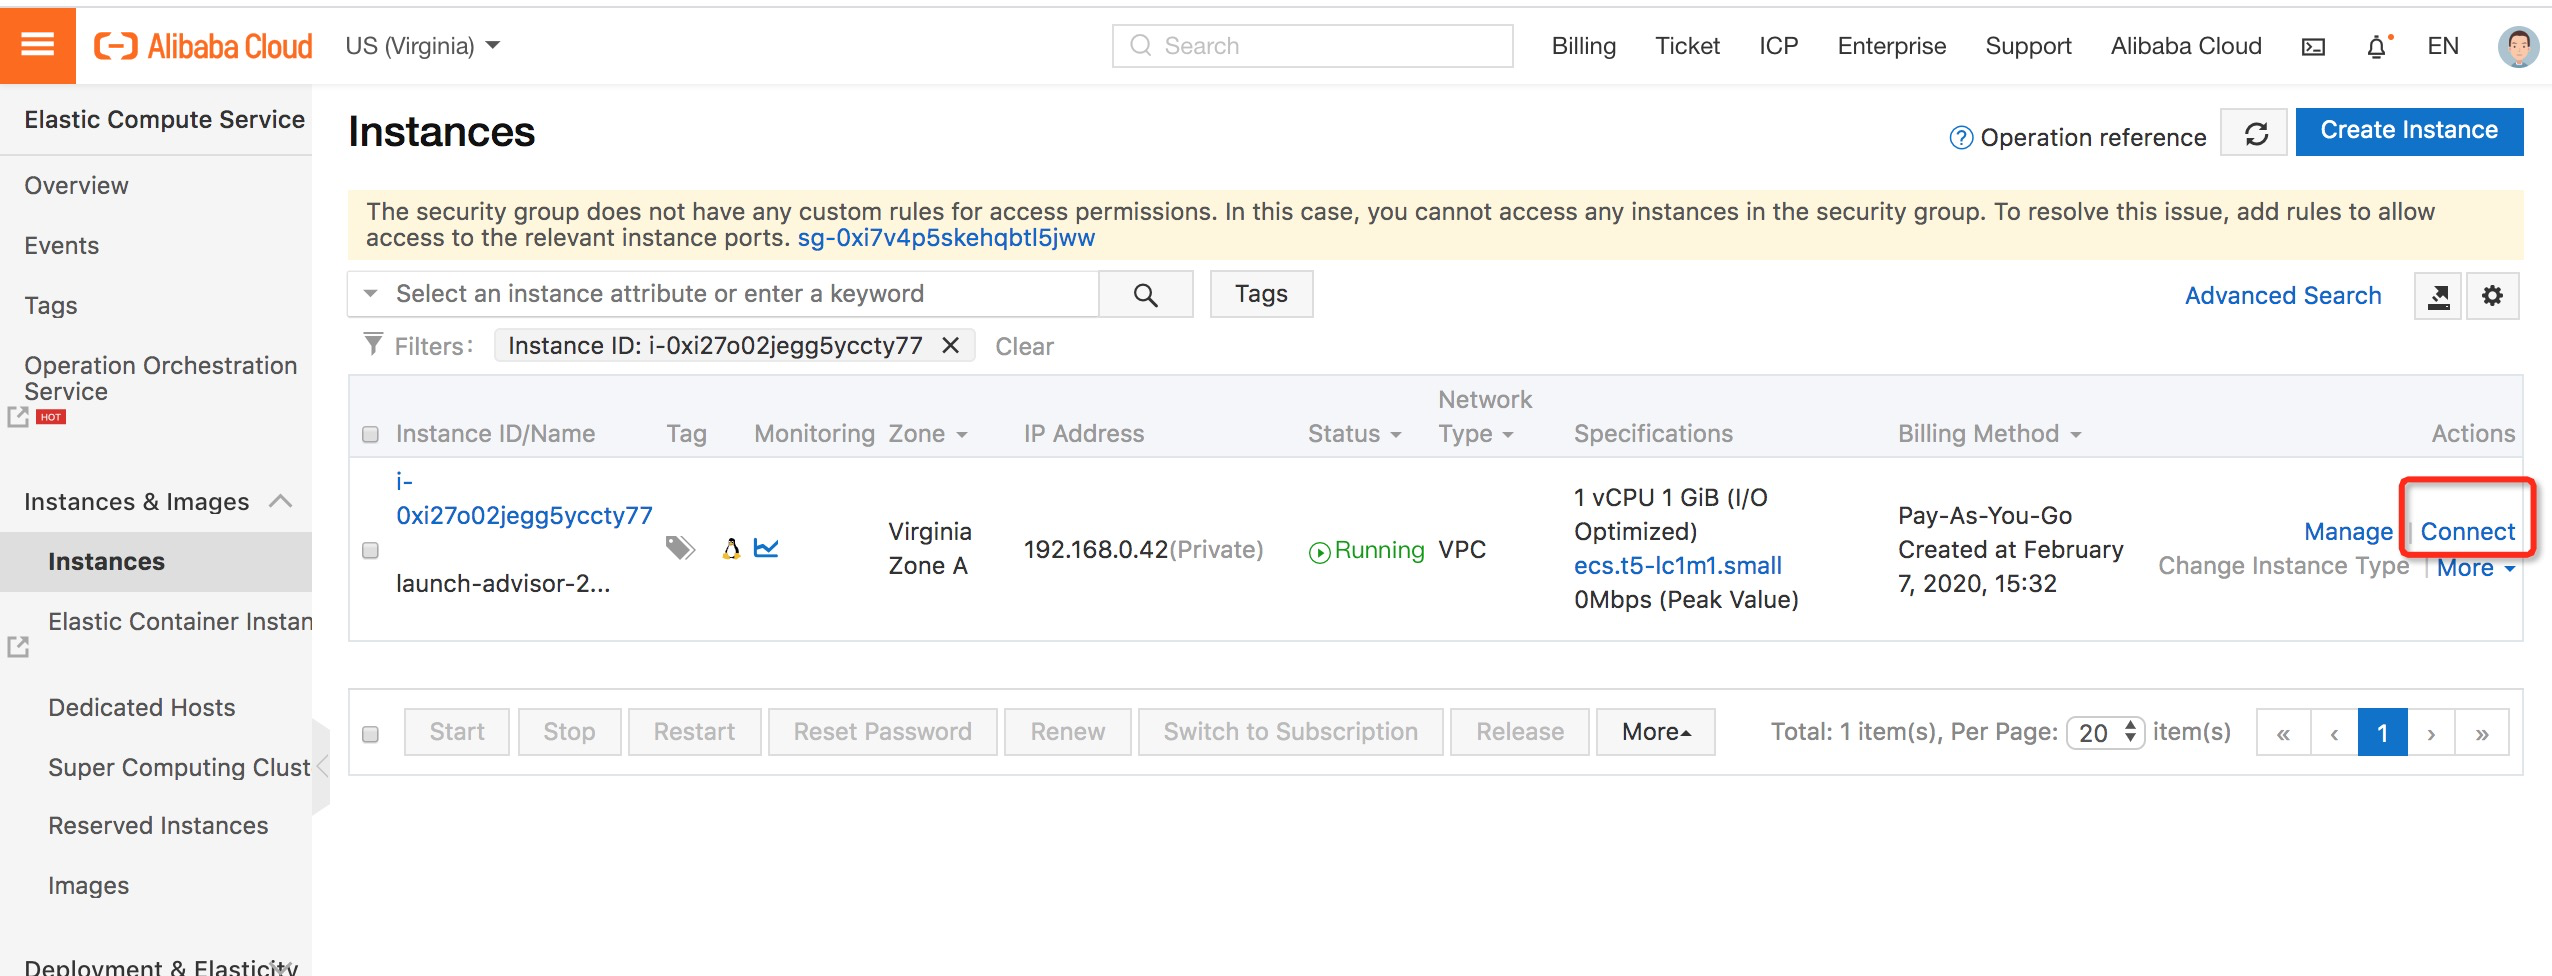
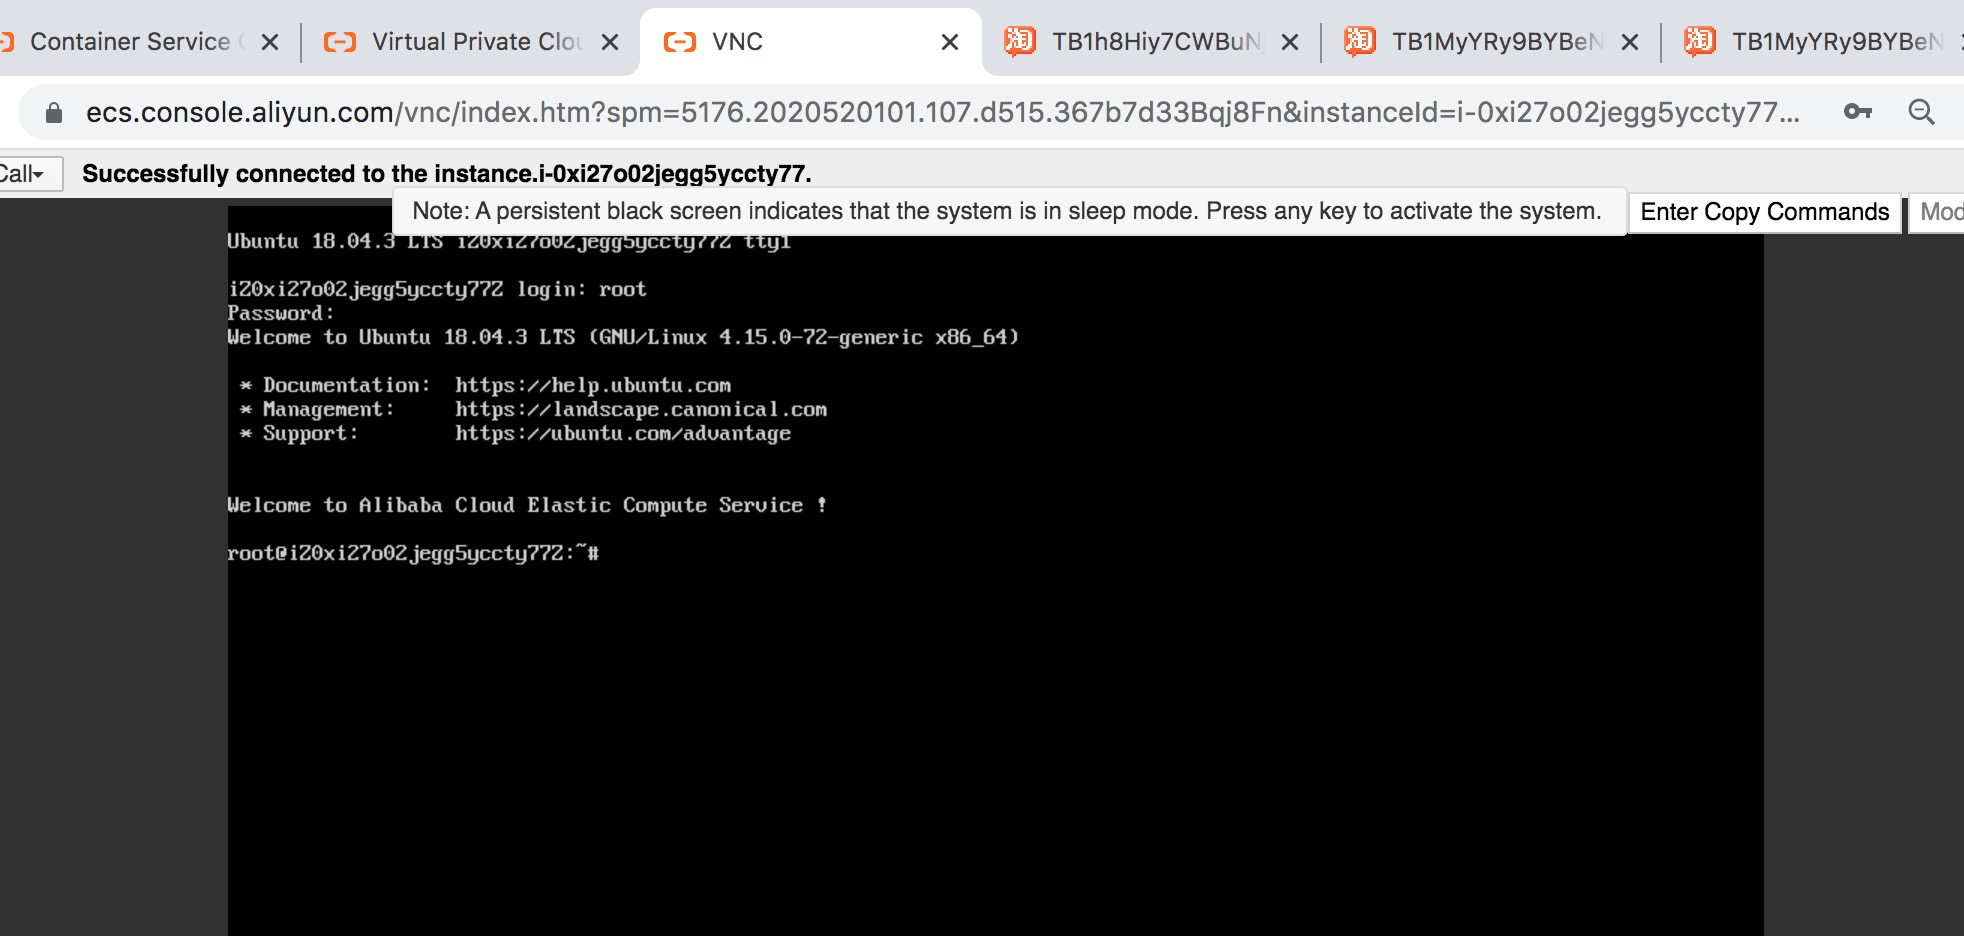
You can access the instance by binding a public IP address to the ECS, or you can access the instance directly in the Alibaba Cloud user interface. In the ECS instance details page, click Connect.
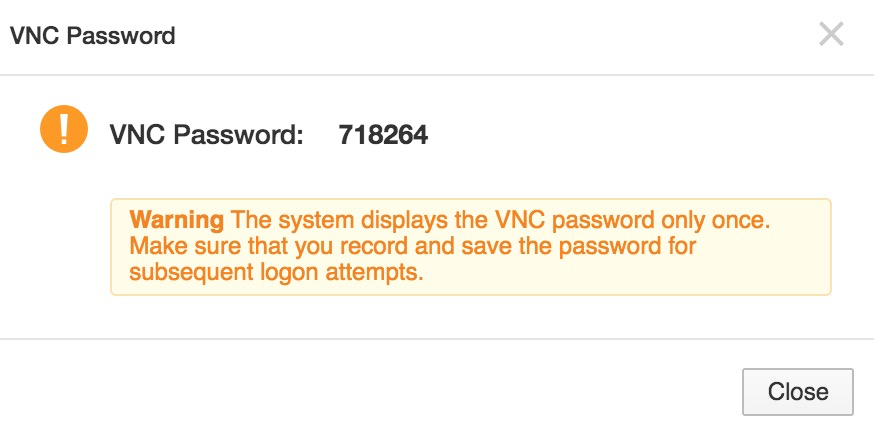
A new browser window will open, and you will see a pop-up window with your connection password. Make a note of it.
You will be prompted for the password to access the UI terminal window. Once you are in, login with the username and password you set when you created the ECS instance.
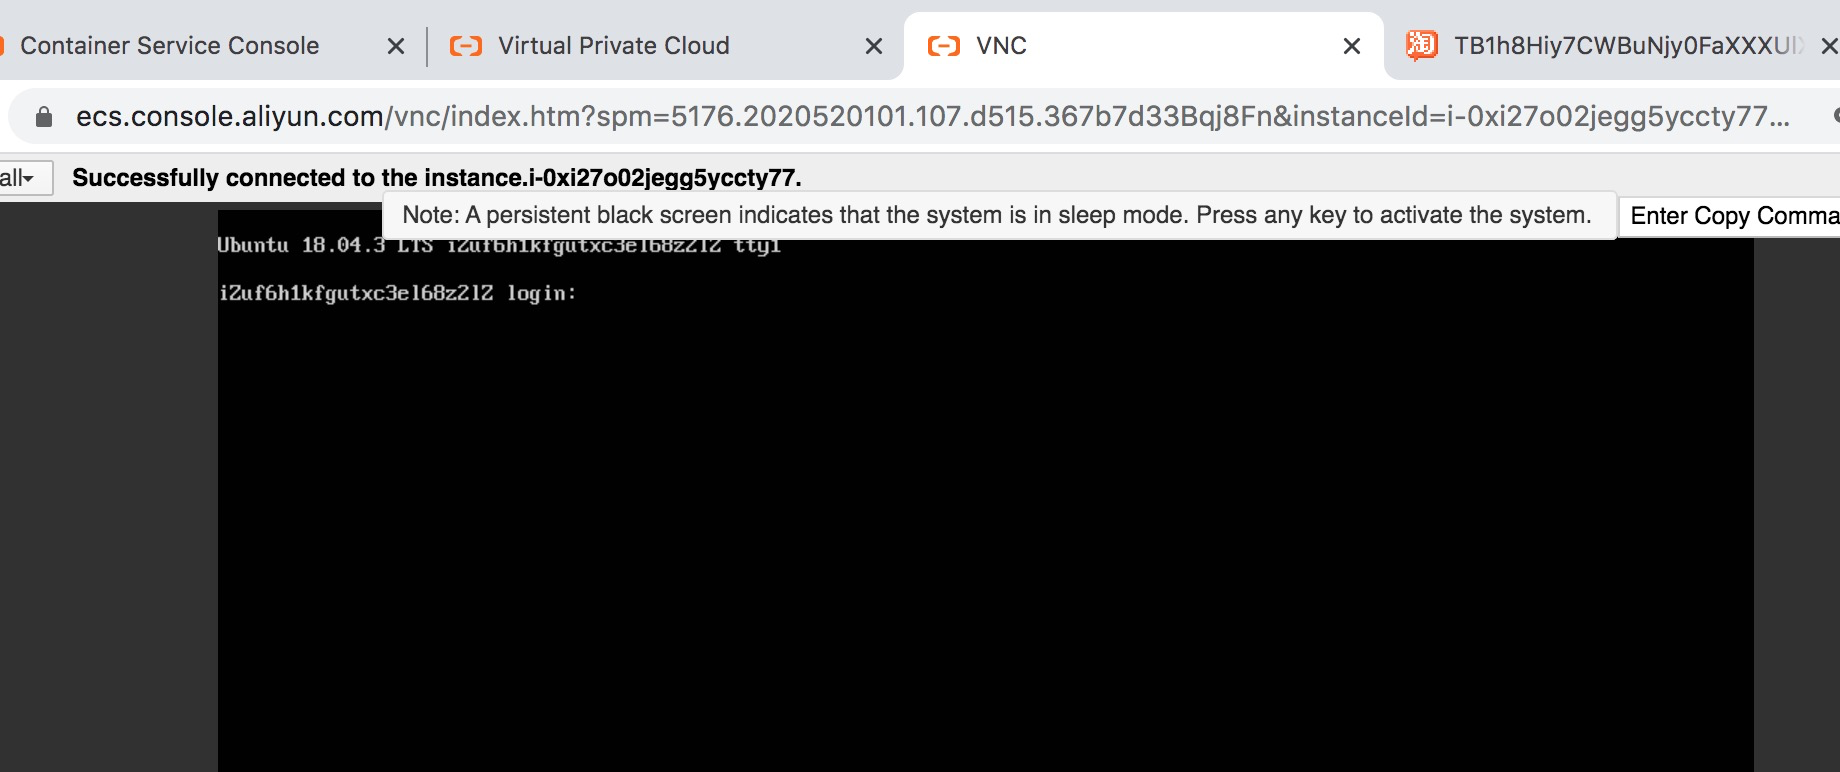
You should be successfully logged in now.
For those who find working on the Alibaba Cloud ECS UI terminal too slow, the best way to access the instance is to create a public Elastic IP (EIP) Address and bind it to the instance.
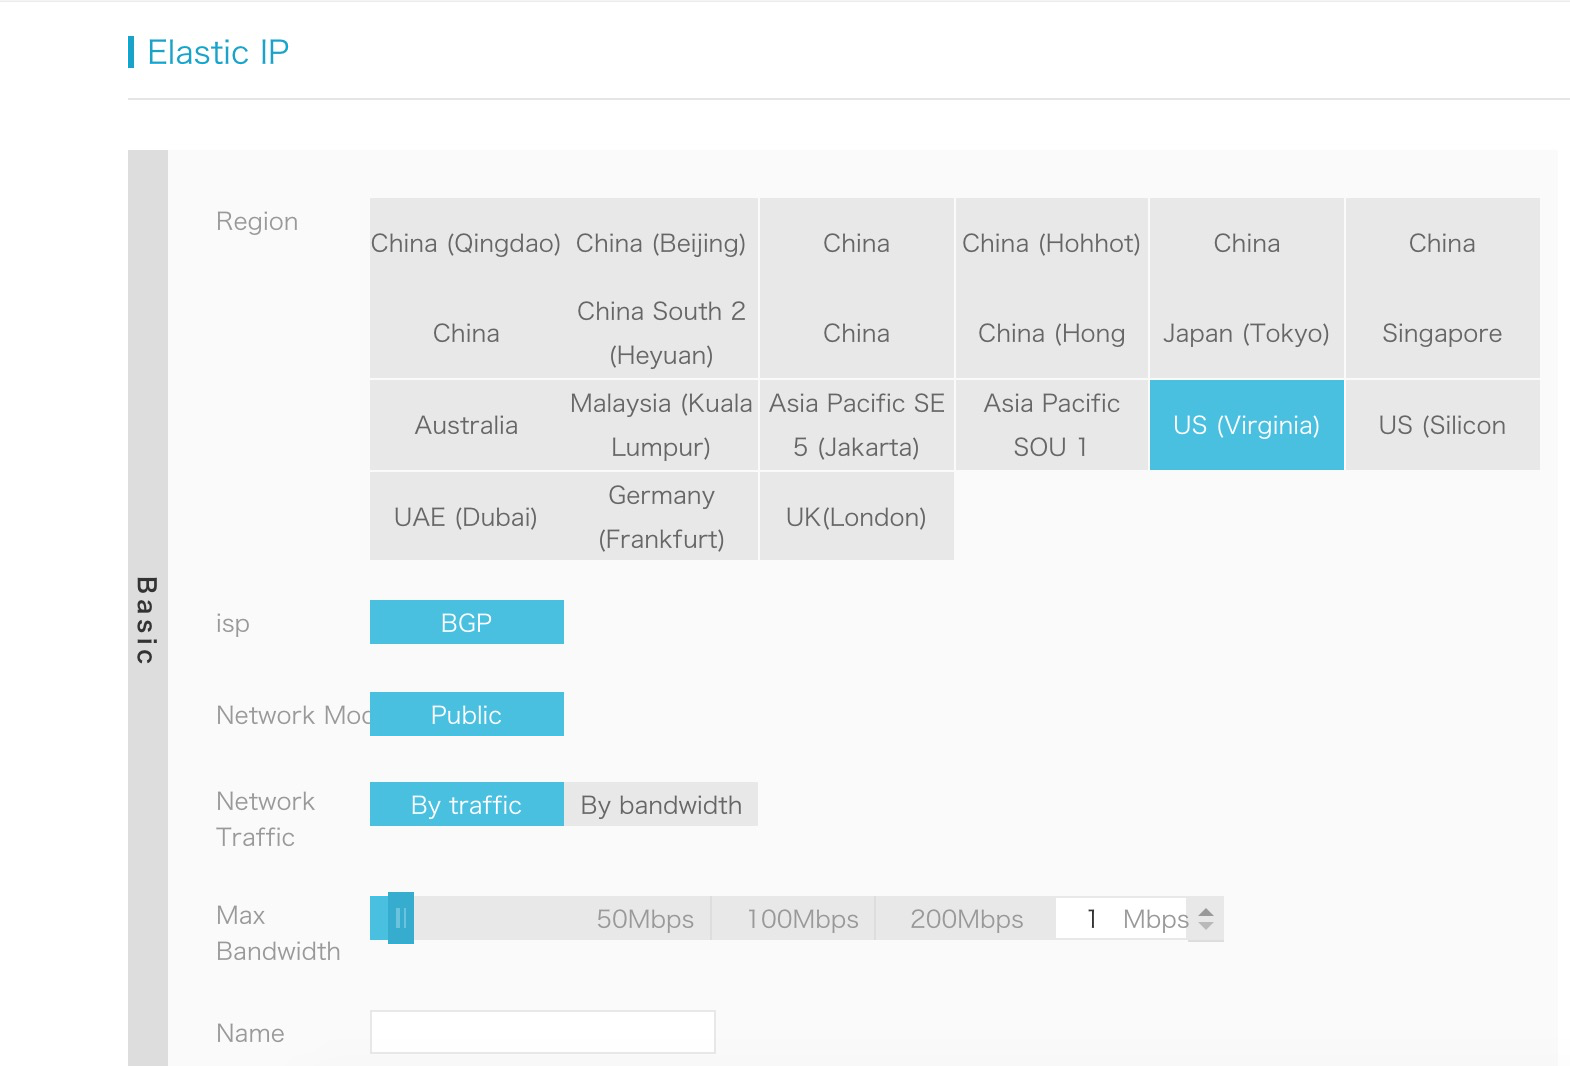
Associate the EIP to the ECS instance and make a note of the IP address. Once the EIP is bound to the ECS instance we can access it from the terminal window.
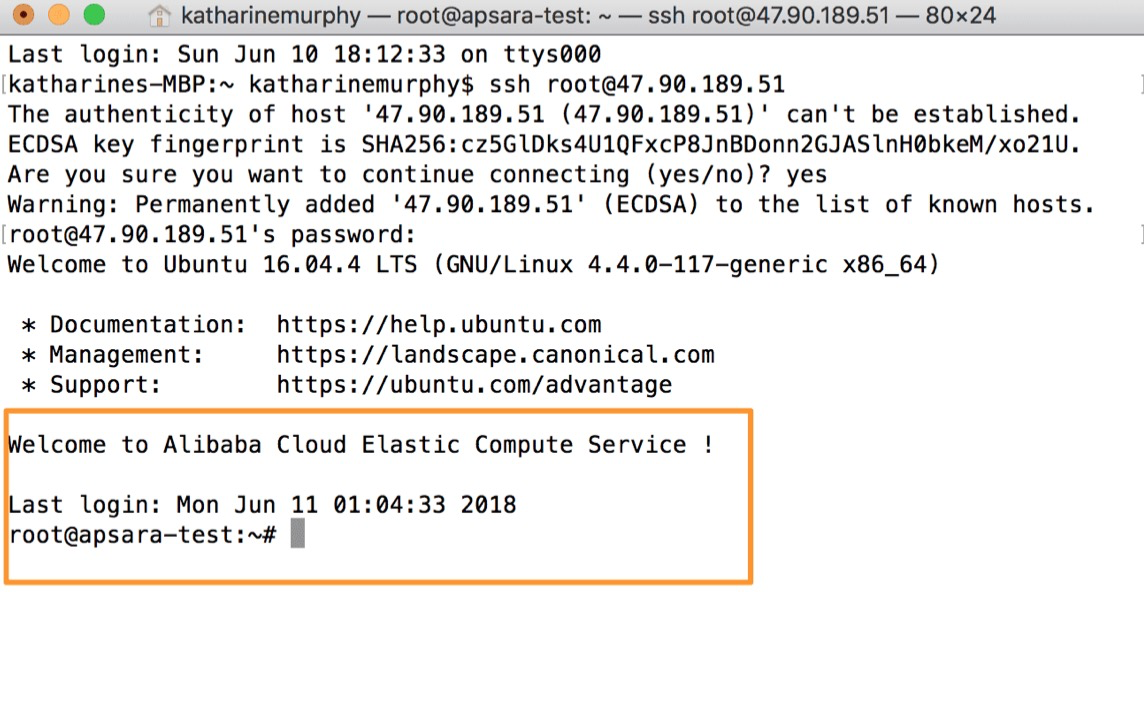
Now let's install everything we need on your ECS instance installed with Ubuntu. First, let's do the required Ubuntu OS updates:
apt-get update
apt-get upgrade
apt-get dist-upgrade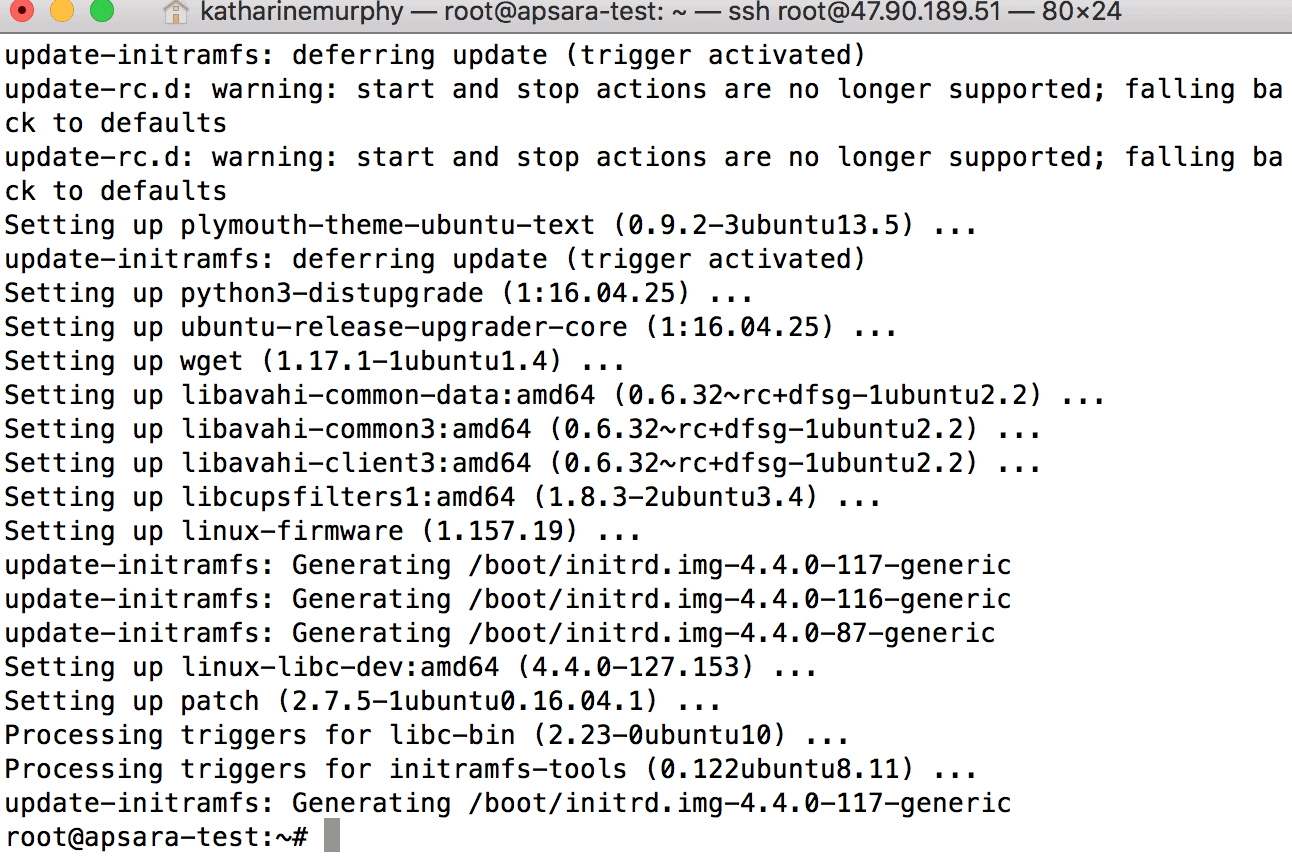
Then, let's install nodejs and npm on the ECS instance.
apt-get install nodejs
apt-get install npm
Now we can use the node package manager to install the Alibaba Cloud SKD. This simplifies things.
npm install aliyun-sdk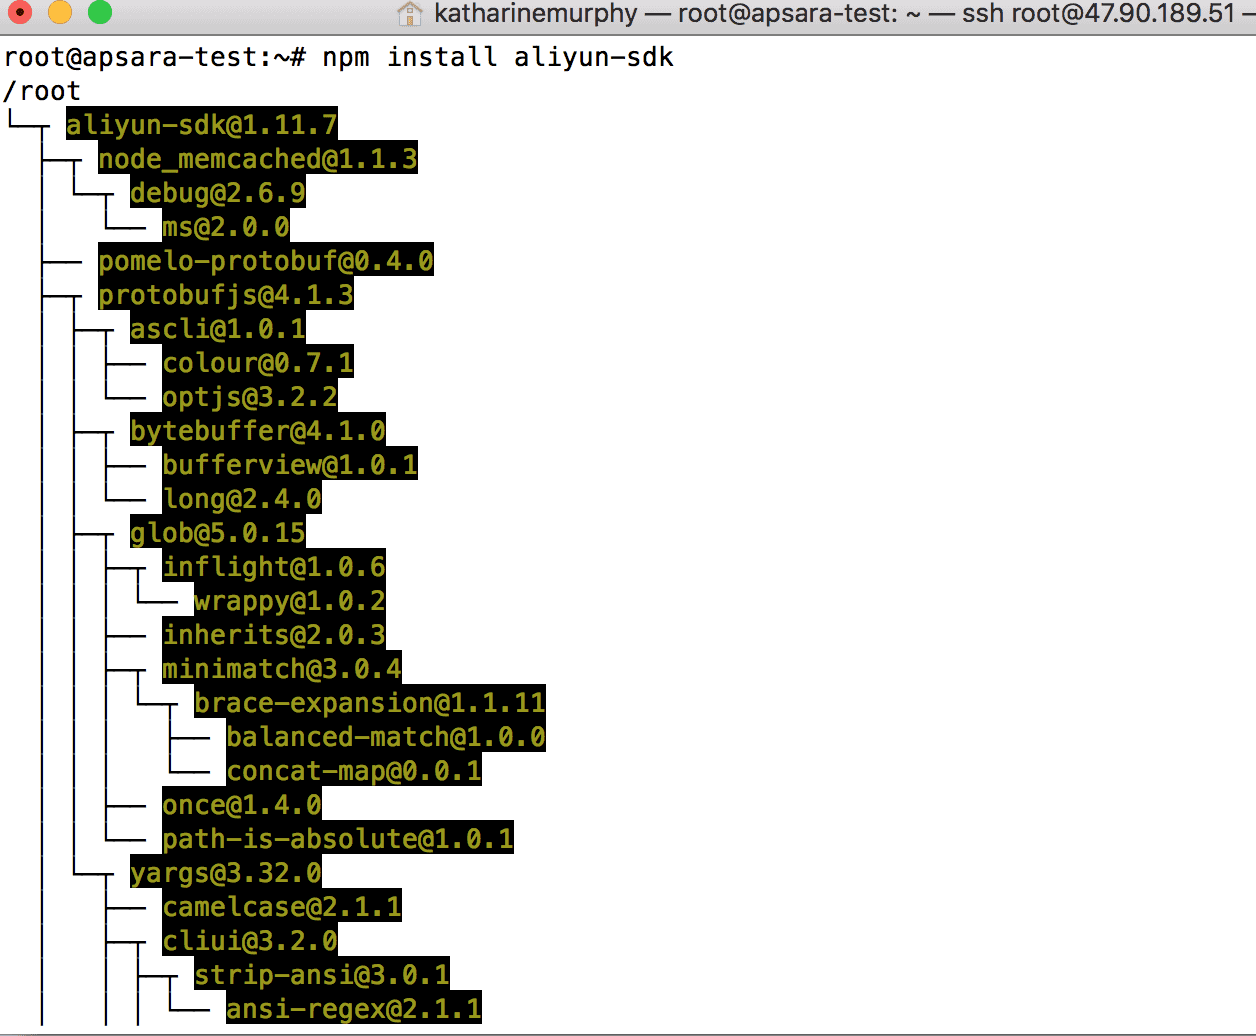
Now we're ready to set up the ApsaraDB Memcache instance on the ECS instance we have just created. Go to ApsaraDB for Memcache in the Products page.
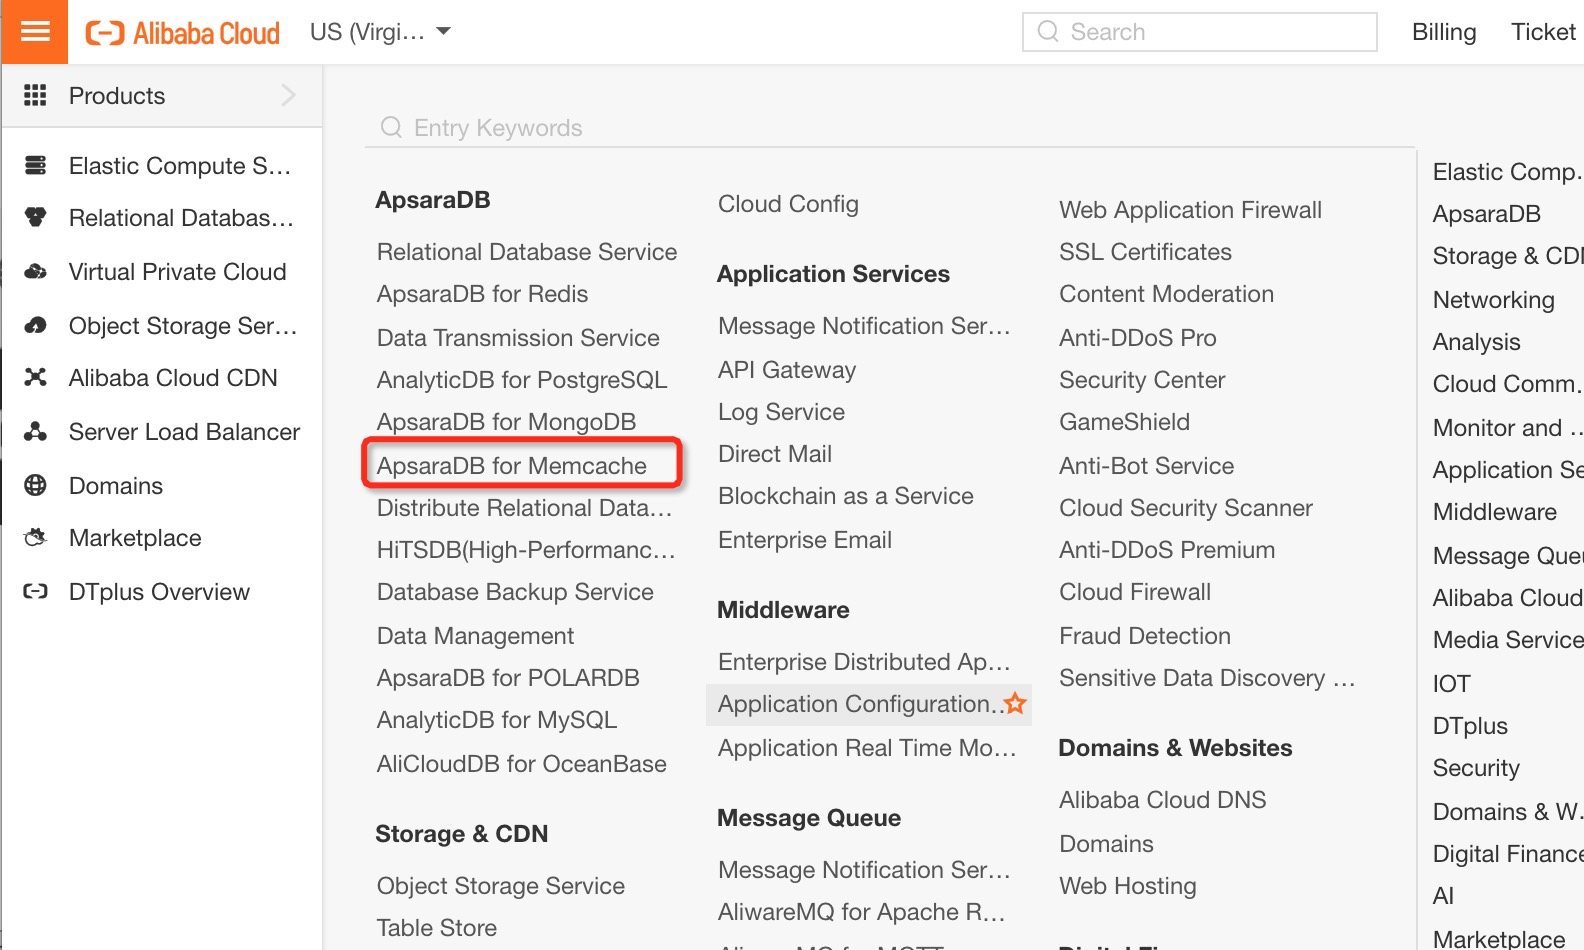
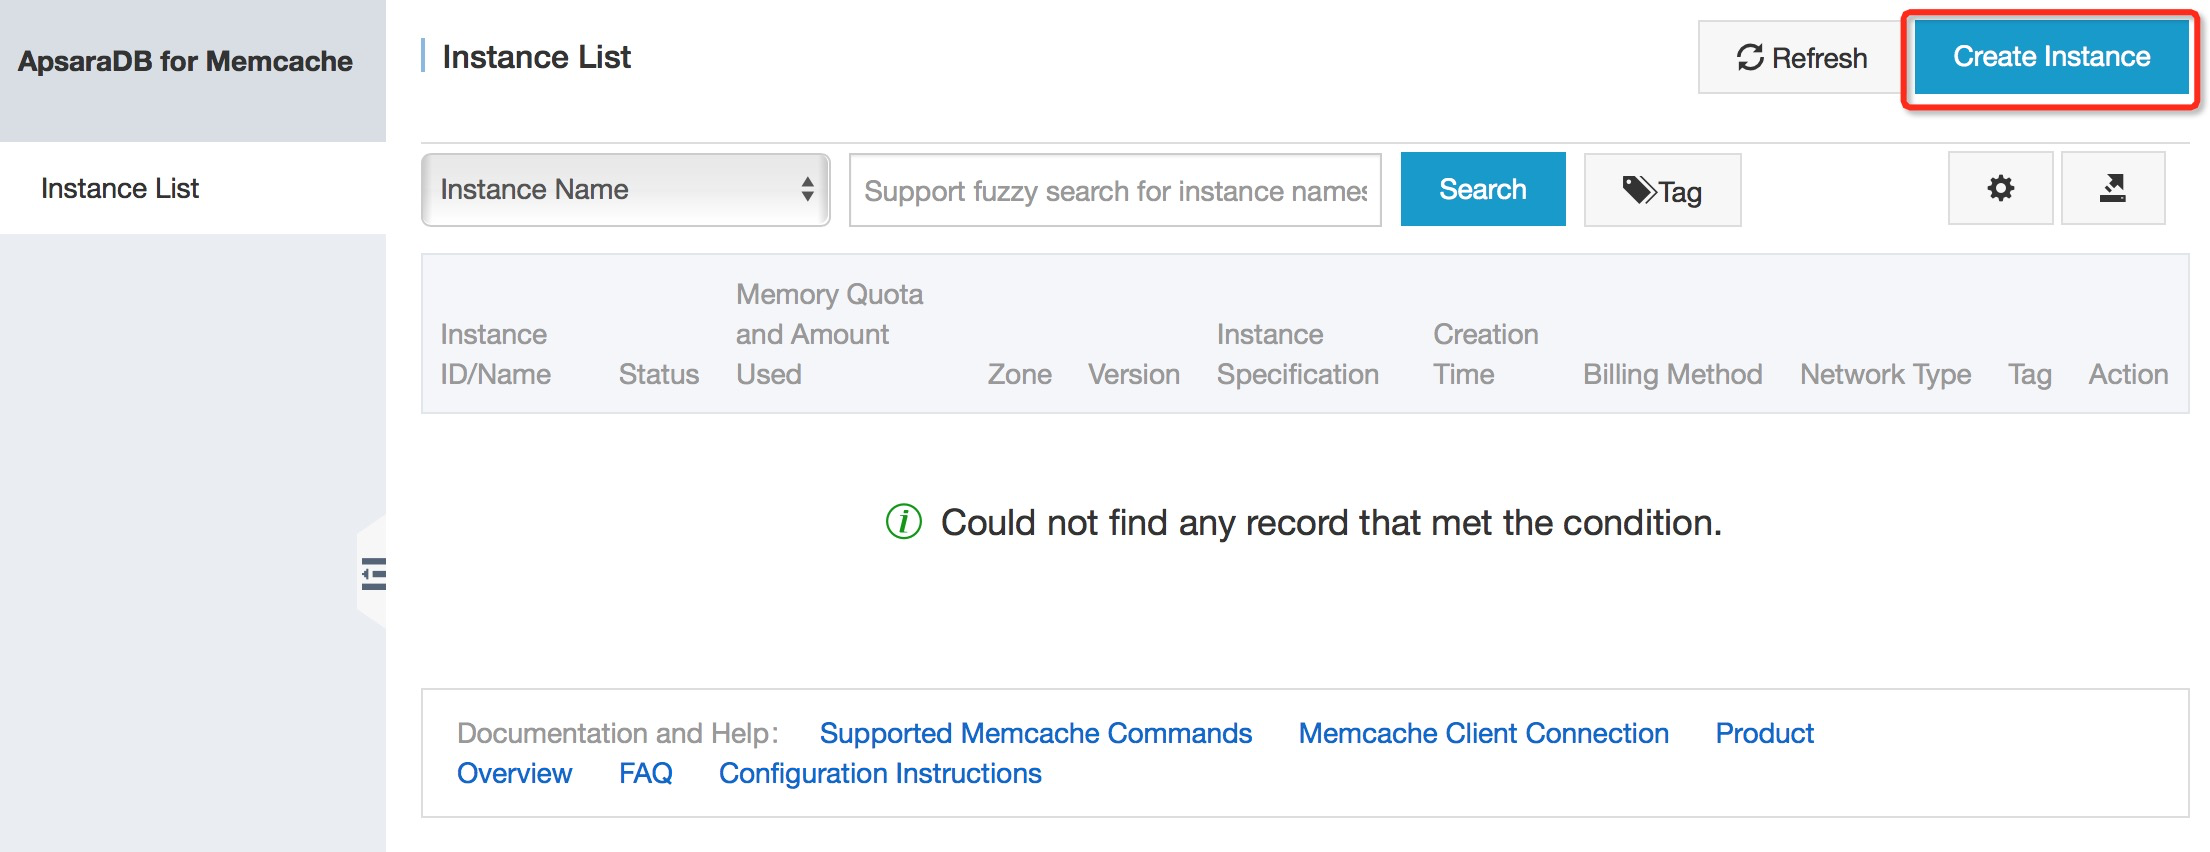
Create the Instance.
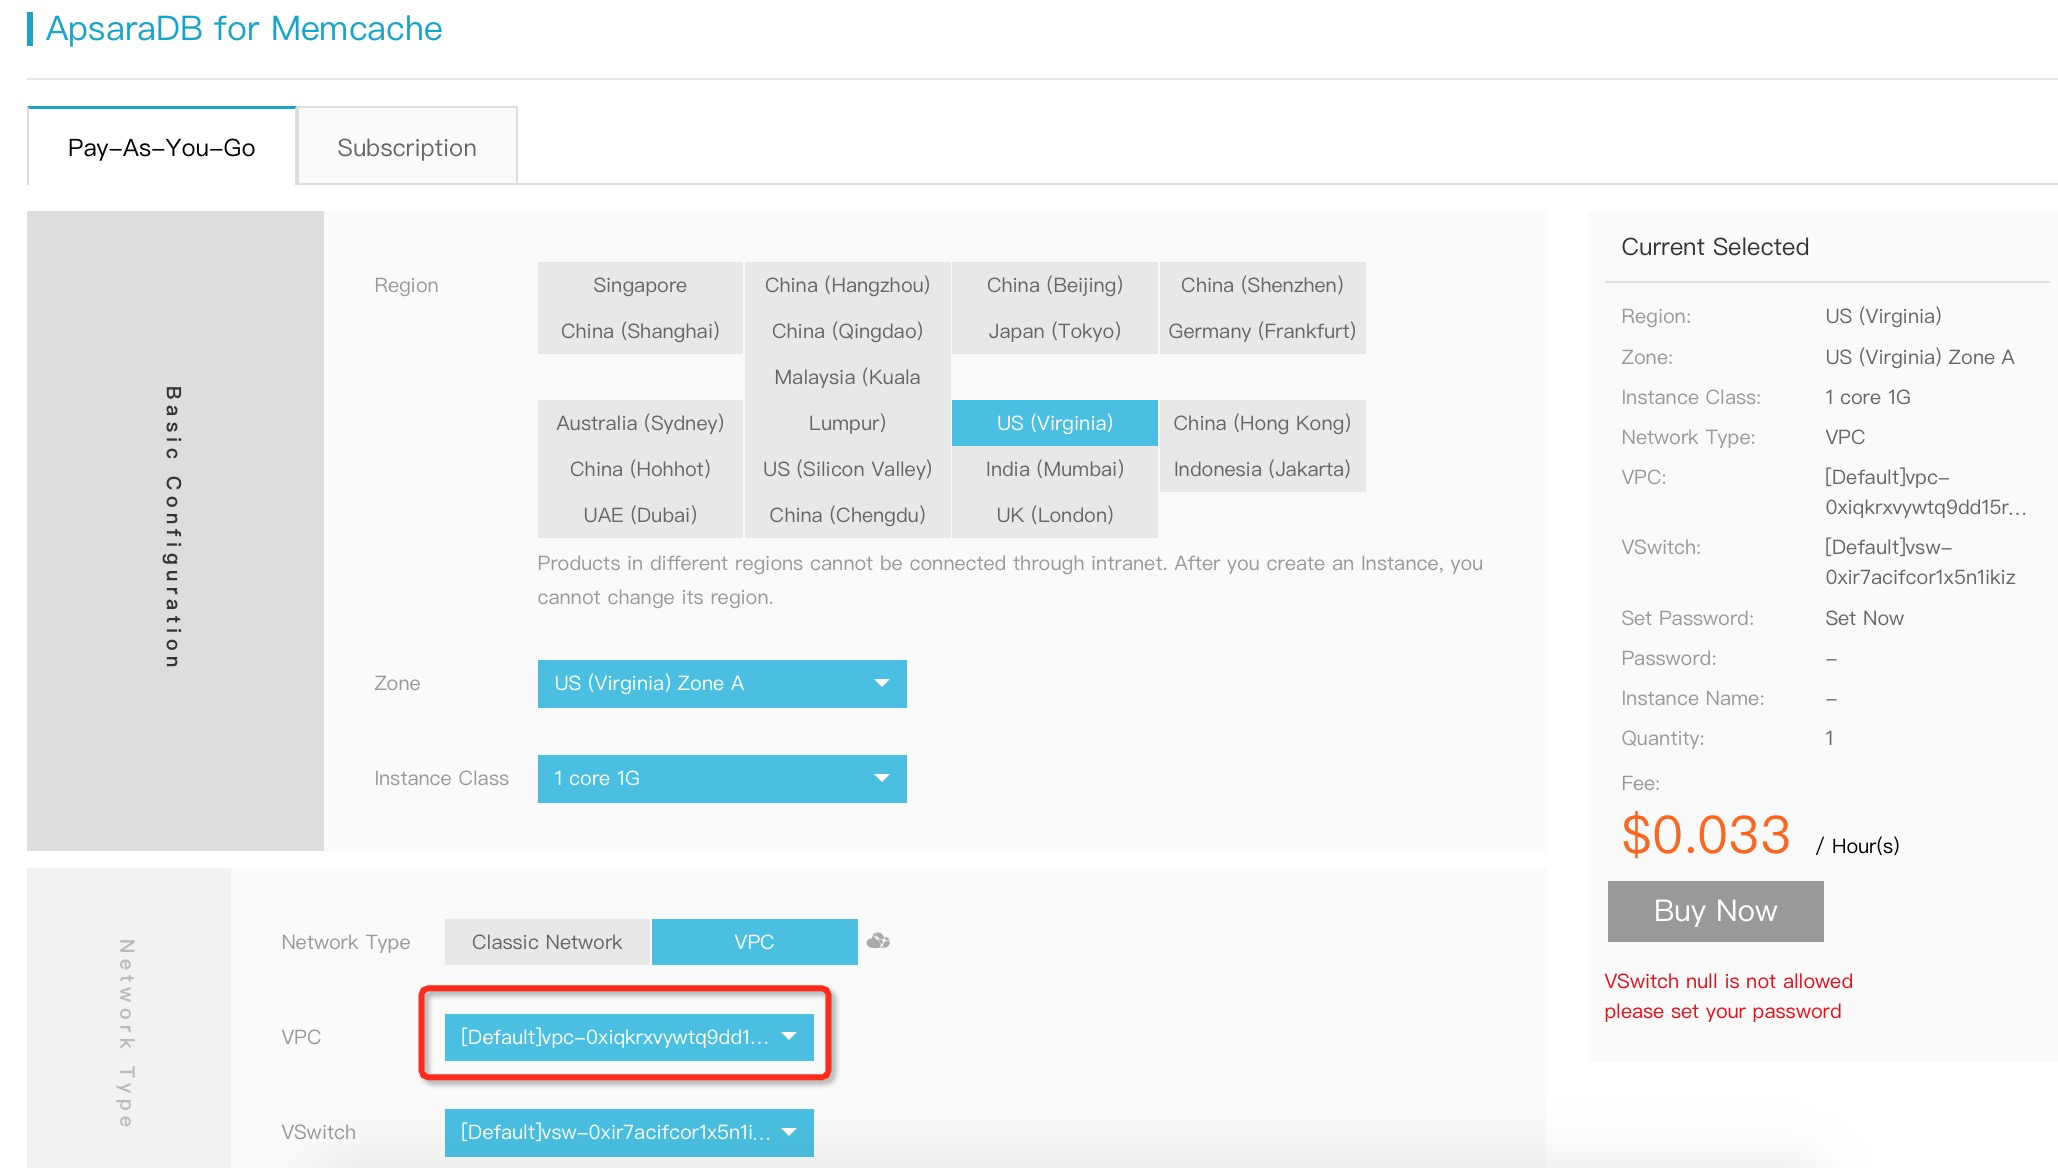
In the configuration details page, attach the instance to the VPC you created previously and click Buy Now. Agree to the terms and activate.
In the ApsaraDB for Memcache page, you will see the ApsaraDB instance being created.
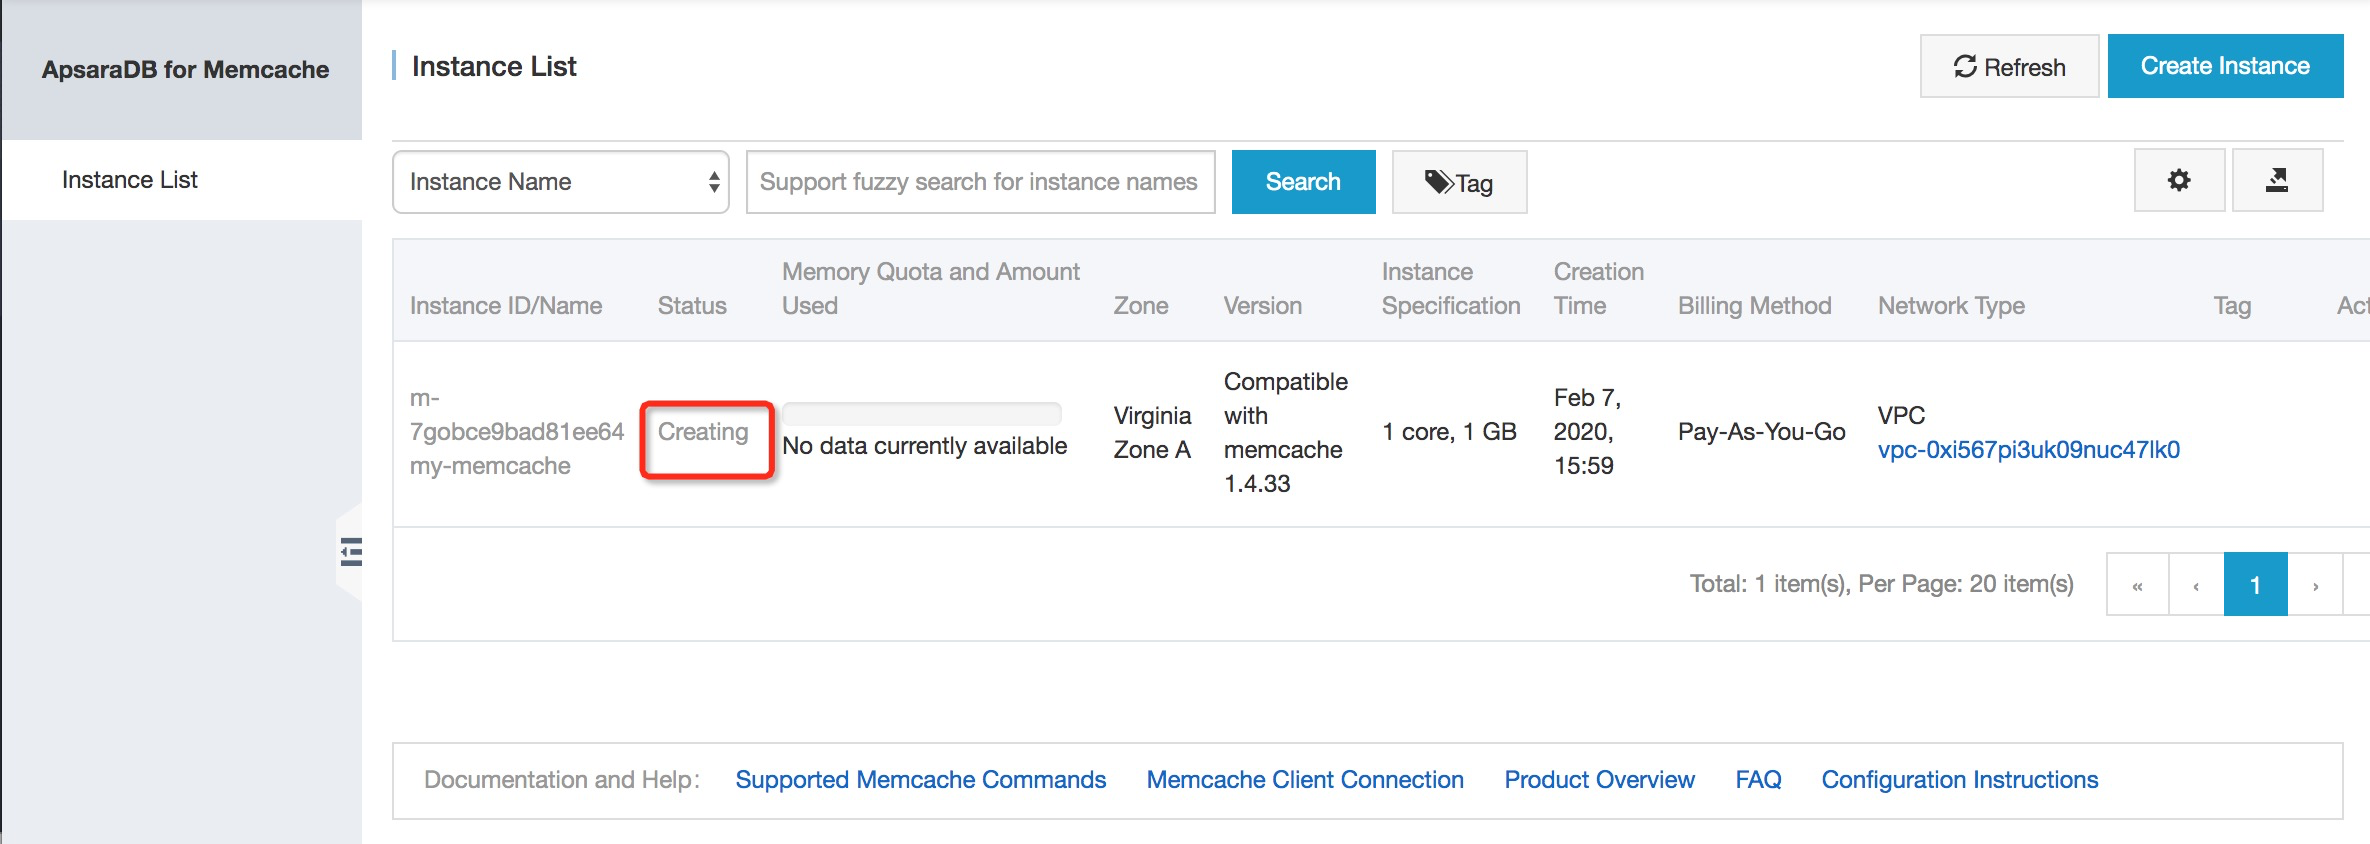
Now you have to whitelist the CIDR IP range so that you can access the Memcache application on the instance. However, for testing purposes you can whitelist all IP addresses with 0.0.0.0/0.
To specify specific IP addresses or CIDR blocks, go into the ApsaraDB instance details page, and click the instance ID/Name .

Go to Whitelist Settings.
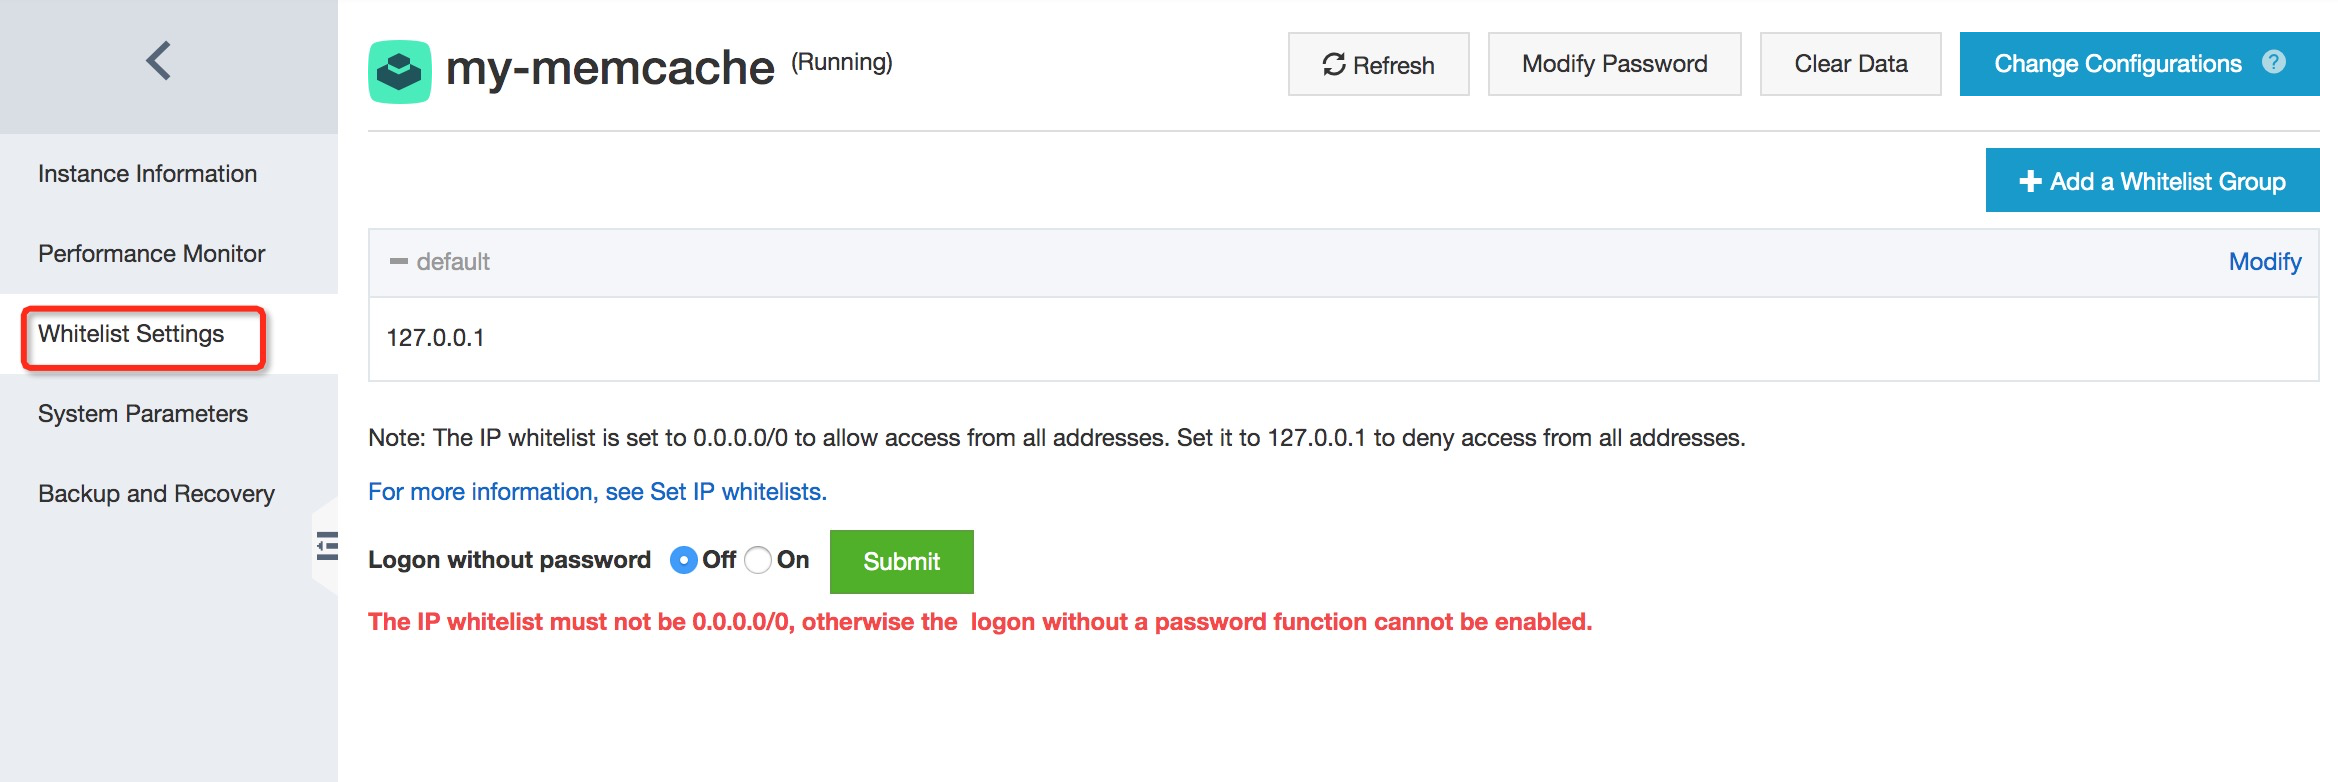
Click Add a Whitelist Group.

In the whitelist group, add the IP address or CIDR segment from the VPC.
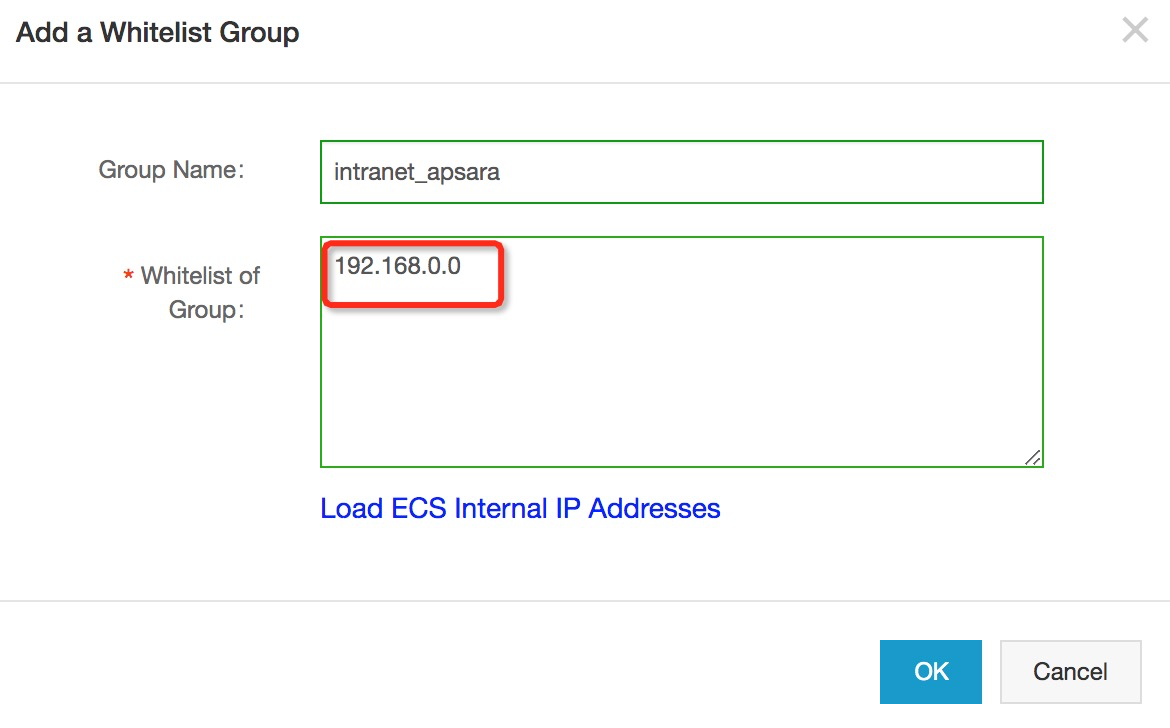
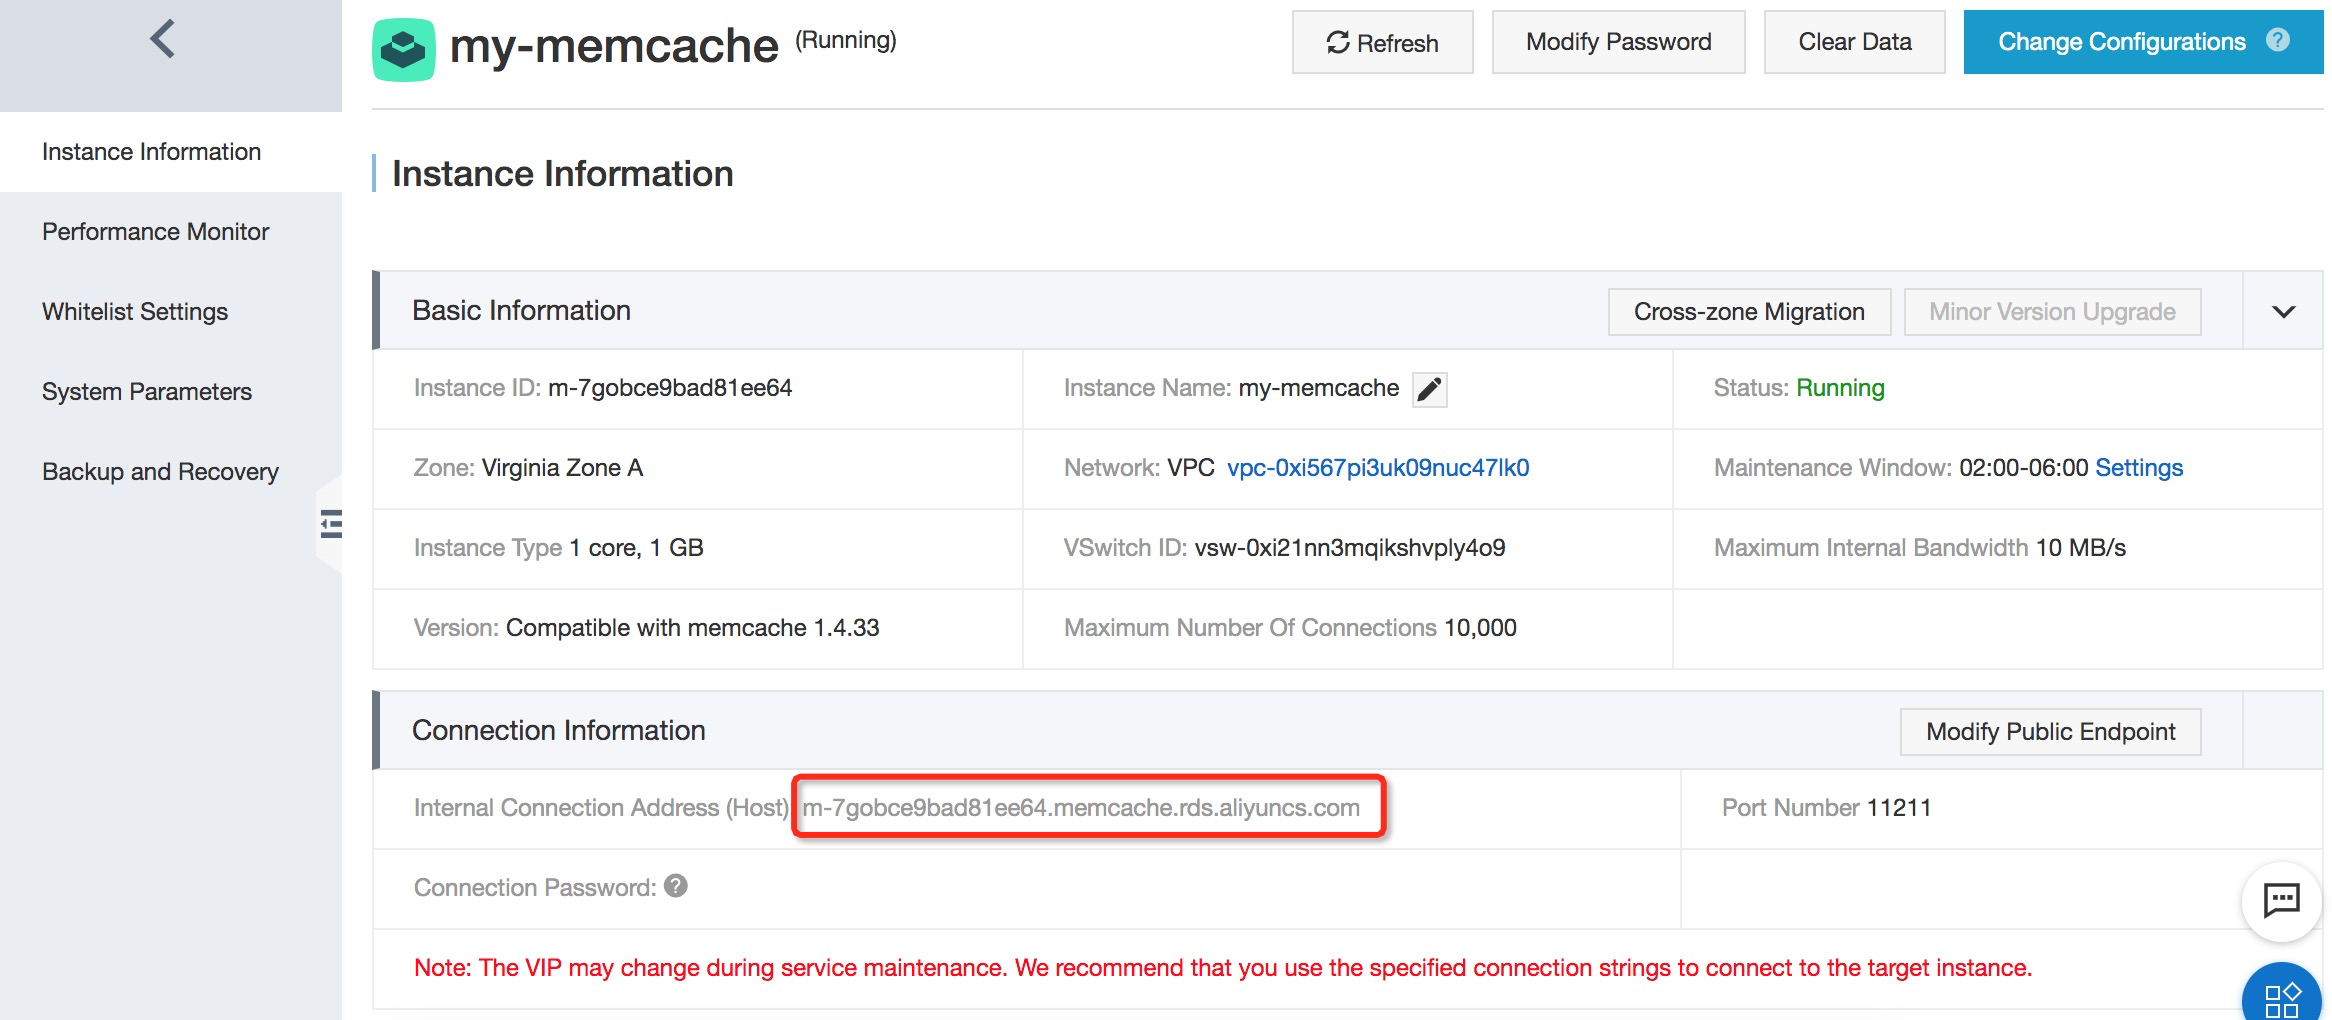
This will allow us to connect to the ApsaraDB Memcache instance running on the ECS server instance. After you click OK, you will be able to see the ApsaraDB instance Connection Information on the instance details page. Make a note of the Connection Address.
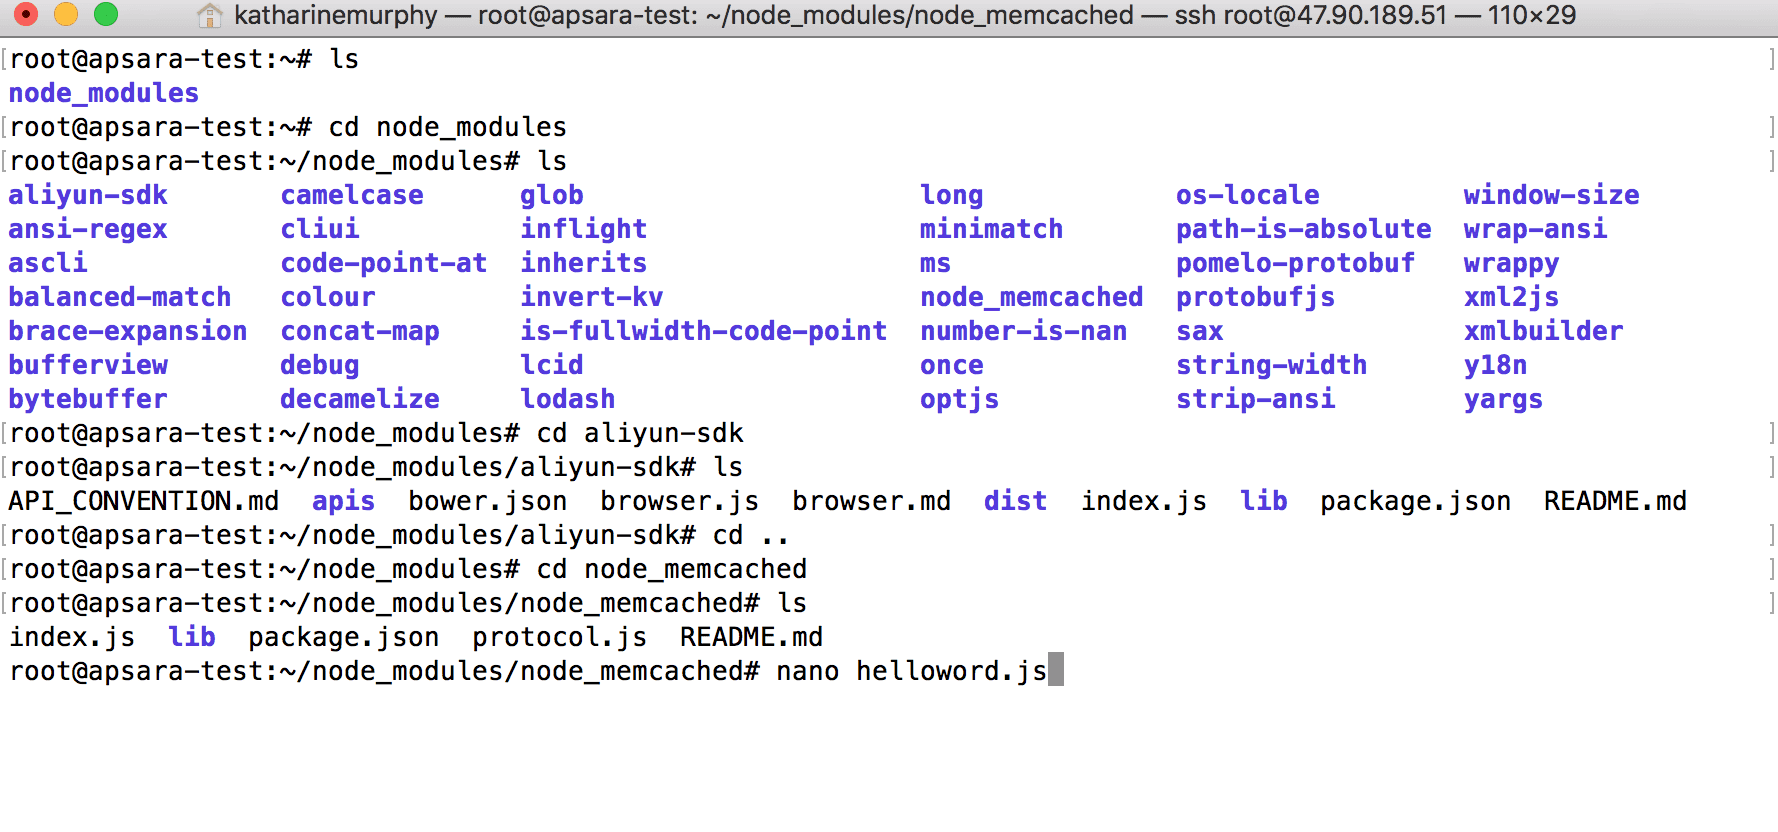
In a terminal window, cd to the node_memcached directory on the ECS instance. Create a new JavaScript file in the directly. Here, I've called the file helloworld.js.
Fill out the details.
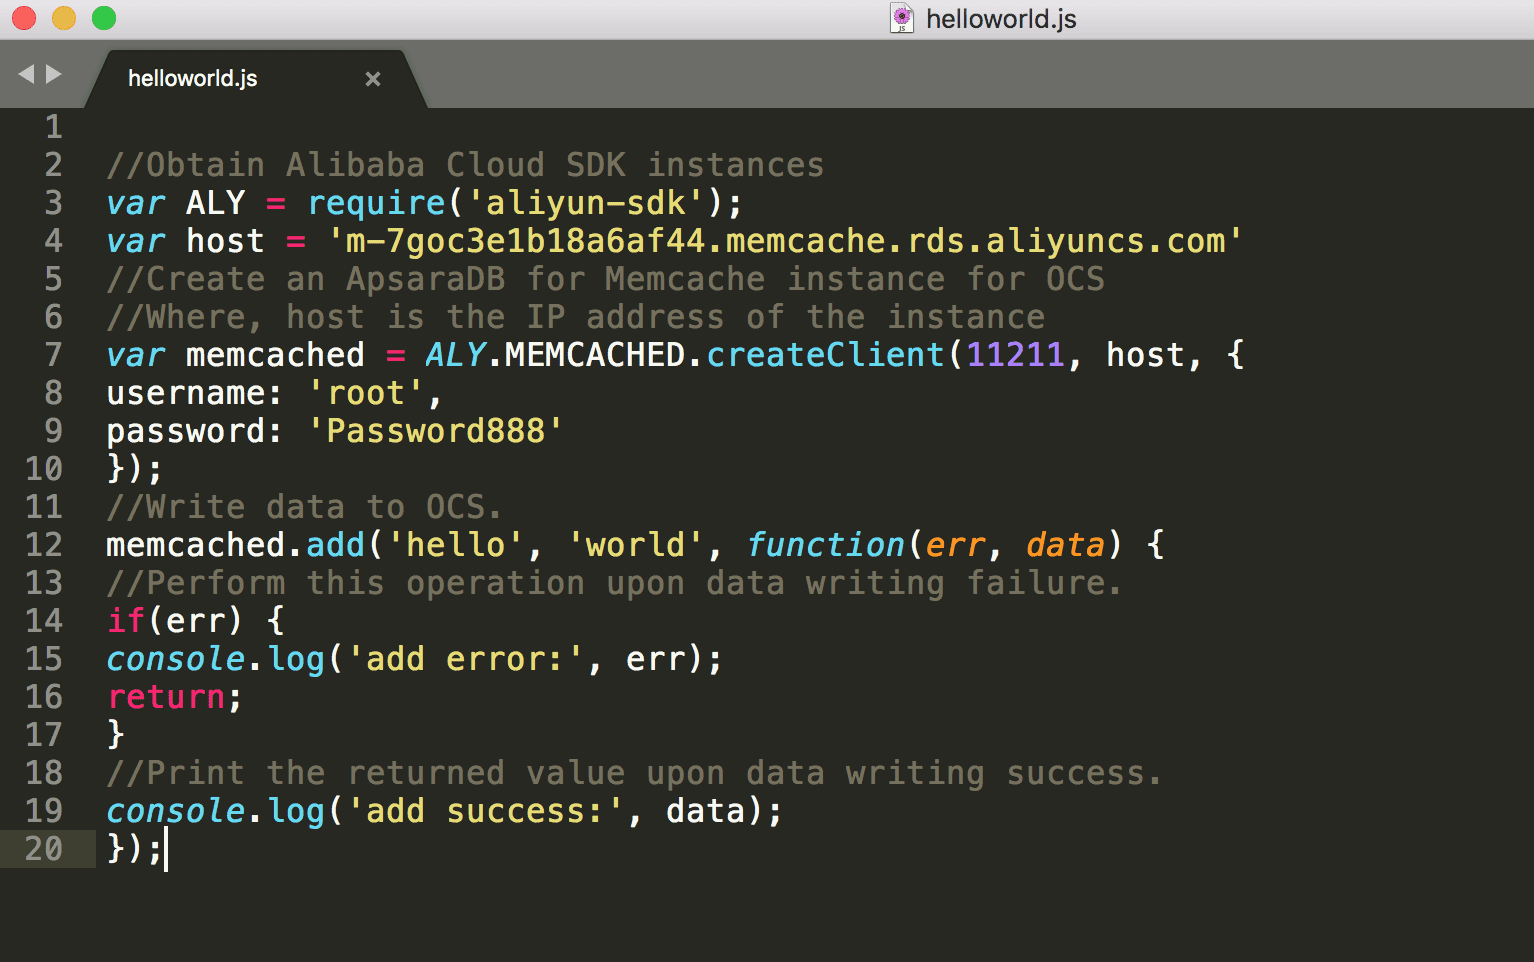
Run helloworld.js with node and note the successful addition of the key/value pair hello/world via the memcached.add function.

Check the online documentation for more information.
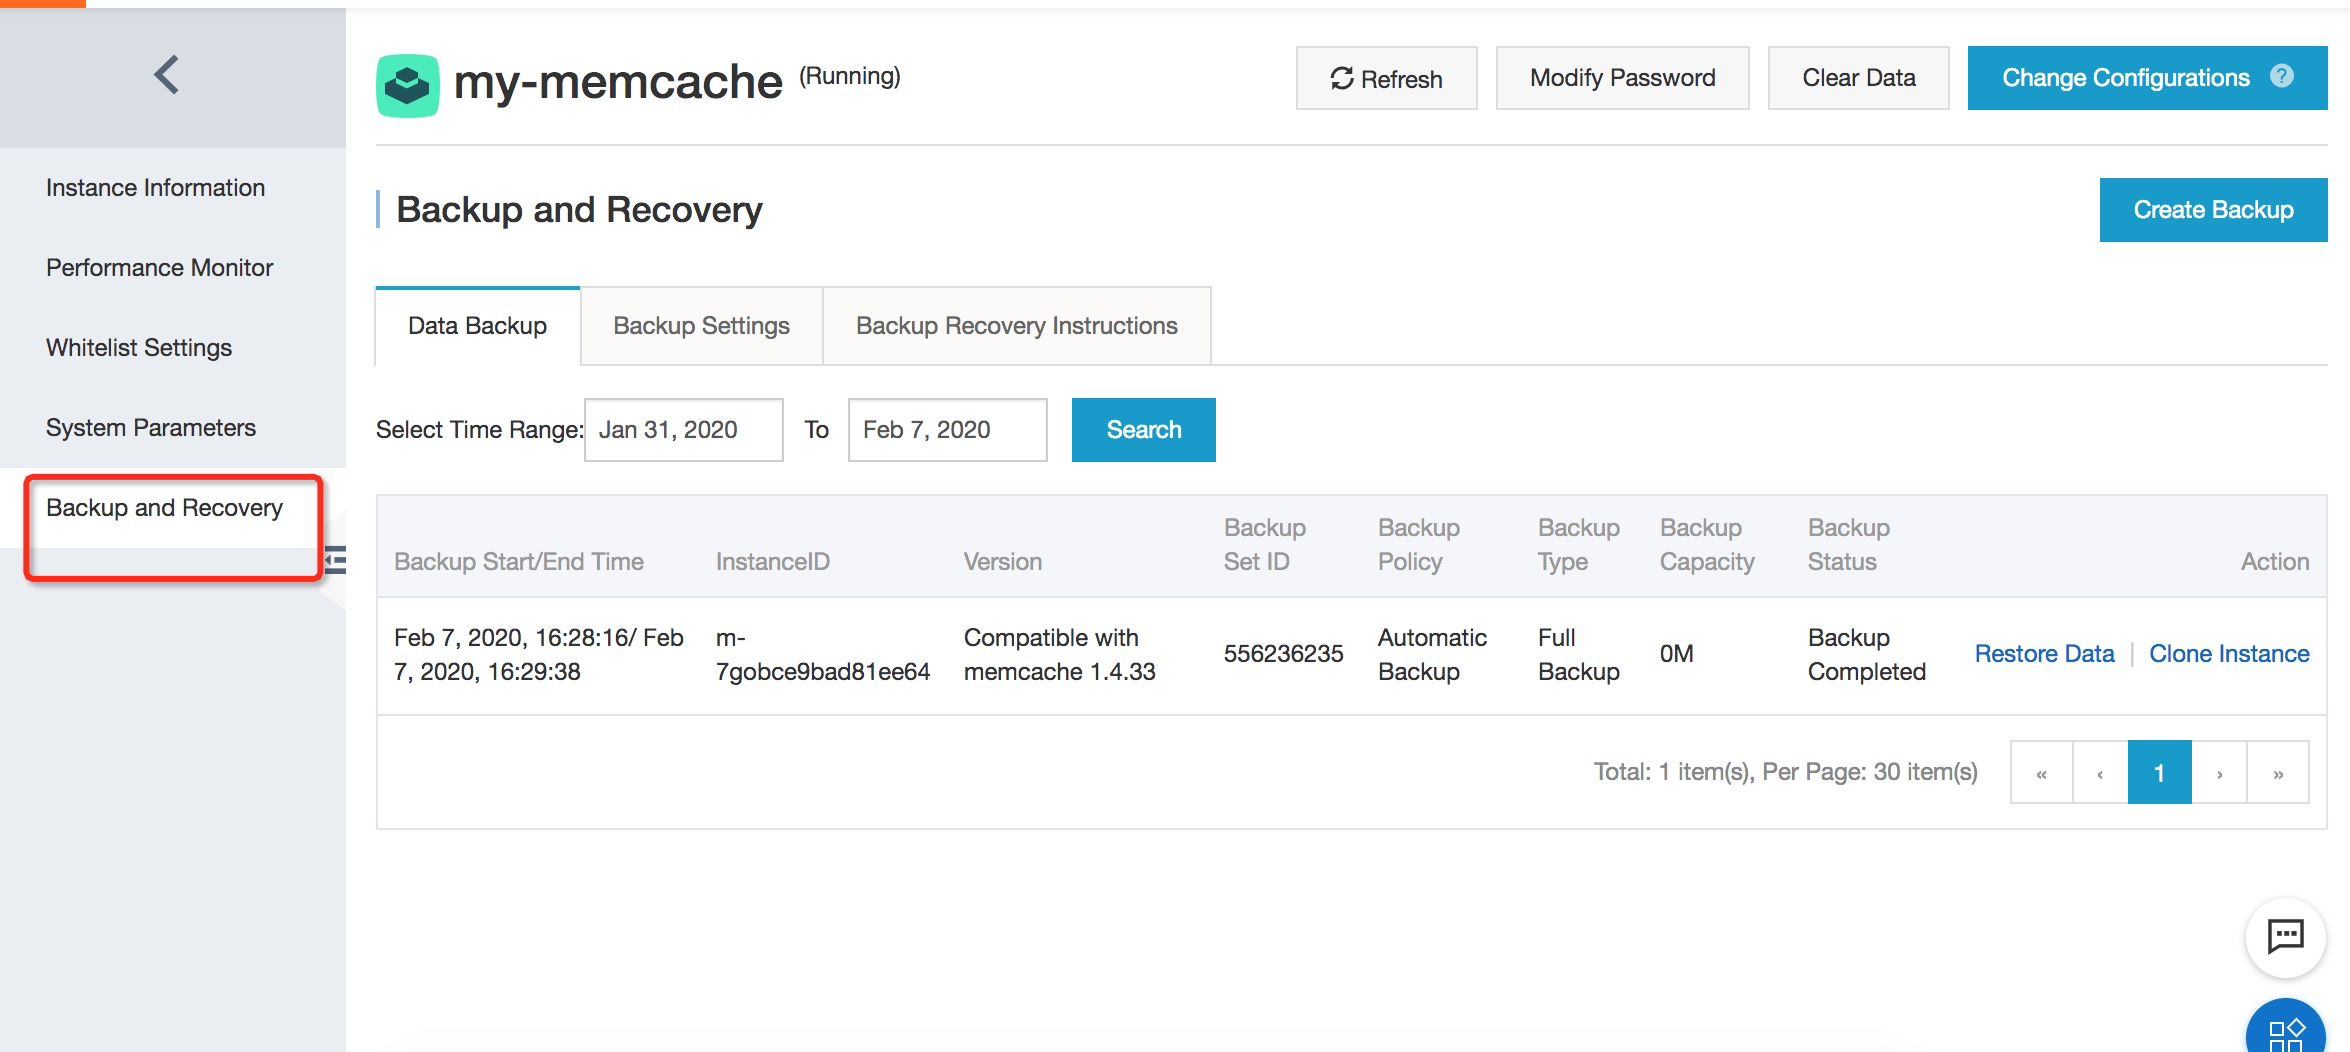
In the Alibaba Cloud ApsaraDB for Memcache instance details page, there is a tab for backing up your Memcache instances. You have the option to backup immediately by clicking Create Backup, or there are default Backup Settings, which back up your instances on a daily basis.
To sum up, we first set up a VPC and VSwitch in order to run an ECS instance. Then, we installed an ApsaraDB Memcache application on the ECS instance. The ECS instance we created was installed with Ubuntu. We were able to quickly install the relevant packages to run the Alibaba Cloud memcached_node SDK. Last, we wrote a helloworld.js that set one key/value pair and ran it.

2,593 posts | 793 followers
FollowAlibaba Clouder - September 11, 2020
Alibaba Clouder - August 20, 2020
Alibaba Clouder - February 25, 2021
Alibaba Clouder - November 27, 2019
Alibaba Clouder - August 2, 2018
Alibaba Clouder - February 14, 2020

2,593 posts | 793 followers
FollowLearn More
Learn More
 Tair (Redis® OSS-Compatible)
A key value database service that offers in-memory caching and high-speed access to applications hosted on the cloud
Learn MoreMore Posts by Alibaba Clouder