By Hitesh Jethva, Alibaba Cloud Tech Share Author. Tech Share is Alibaba Cloud's incentive program to encourage the sharing of technical knowledge and best practices within the cloud community.
Citadel is a free, open source and web-based email and groupware solution that can be used to set up and manage email servers, calendars, address books, instant messengers, and mailing lists. It is lightweight and extremely versatile collaboration suite that provides numerous front ends to present to users, such as a text-based interface, an AJAX-style web interface, and many popular PIM clients using SMTP/POP/IMAP. Citadel provides automated installation process and versatile deployment options that allow a system administrator to scale the application across multiple servers.
In this tutorial, I will walk you through the process of installing Citadel on an Alibaba Cloud Elastic Compute Service (ECS) Ubuntu 16.04 Server.
First, log in to your https://ecs.console.aliyun.com/?spm=a3c0i.o25424en.a3.13.388d499ep38szx">Alibaba Cloud ECS Console. Create a new ECS instance, choosing Ubuntu 16.04 as the operating system with at least 2GB RAM. Connect to your ECS instance and log in as the root user.
Once you are logged into your Ubuntu 16.04 instance, run the following command to update your base system with the latest available packages.
apt-get update -yBy default, Citadel groupware is available in the Ubuntu 16.04 default repository. You can install it with all the components by running the following command:
apt-get install citadel-mta citadel-suite -yThe installation process will run the configuration wizard as it shown below. You need to provide IP address that a server will listen to.
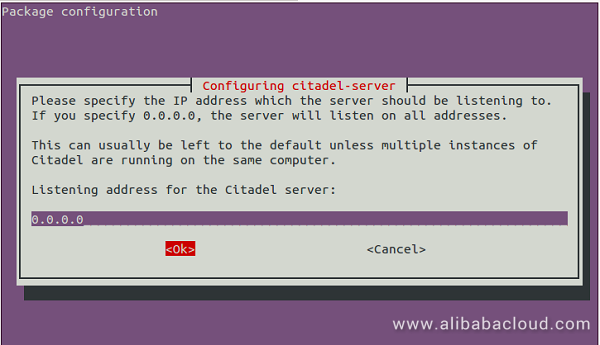
Leave the default value 0.0.0.0 and press OK button. You should see the following page:
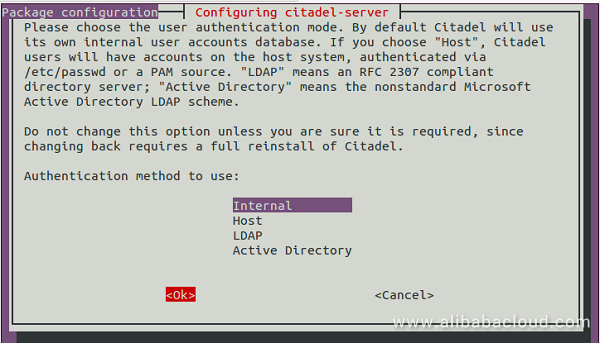
Here, choose user authentication method Internal and press on OK button. You should see the following page:
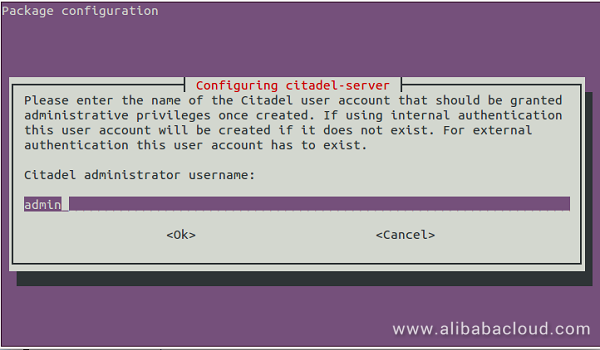
Here, enter the name of the Citadel user account that should be granted administrative privileges once created.
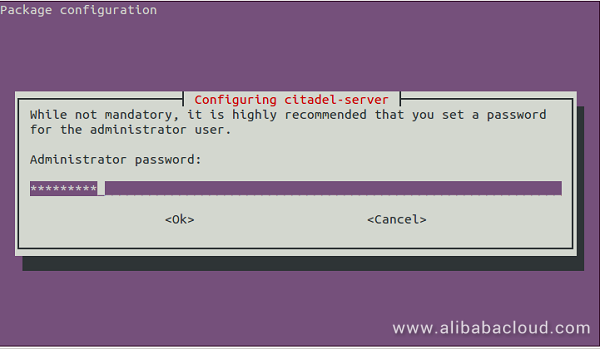
Next, enter the password of the admin account and press on OK button. You should see the following page:
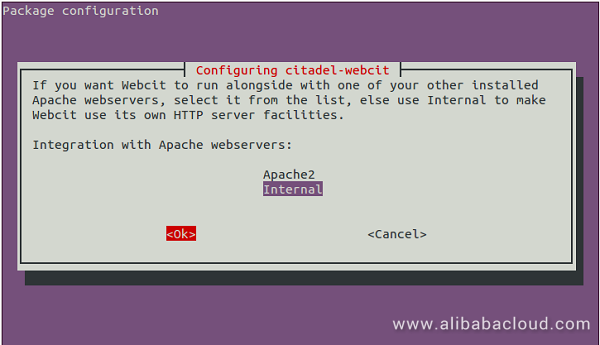
Here, Select your web server as Internal then click OK. You should see the following page:
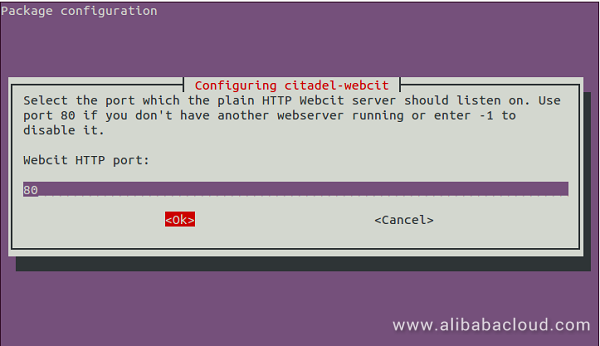
Here, choose port number 80. You will only need to specify a different port number if you are running another web server:
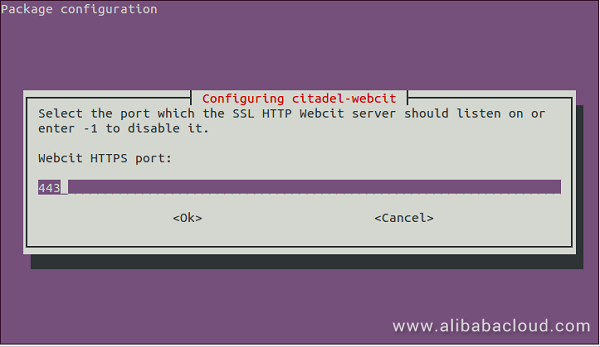
Here, provide SSL port 443 and go ahead. You should see the language selection page:
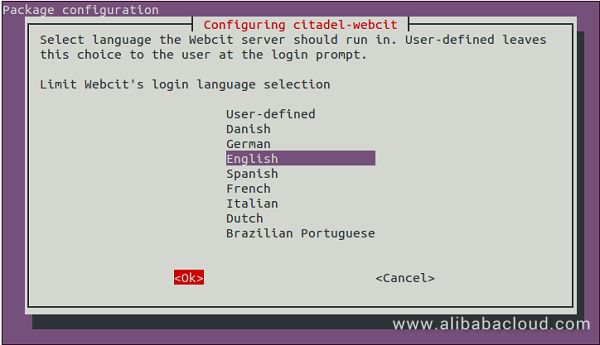
Choose the language for your Citadel server and click OK to start the installation.
Wait for few moments to finish Citadel installation. It won't take much time.
After installation is completed, check Citadel service with the following command.
service citadel statusOutput:
   citadel.service - LSB: control citadel server start at boot time
   Loaded: loaded (/etc/init.d/citadel; bad; vendor preset: enabled)
   Active: active (running) since Fri 2018-08-31 20:02:56 IST; 4min 10s ago
     Docs: man:systemd-sysv-generator(8)
   CGroup: /system.slice/citadel.service
           ├─14178 /usr/sbin/citserver -d -x3 -lmail -t/dev/null
           └─14191 /usr/sbin/citserver -d -x3 -lmail -t/dev/null

Aug 31 20:06:23 Node1 citserver[14191]: W Context: [  5]SRV[SMTP_Send] Session e
Aug 31 20:06:53 Node1 citserver[14191]: [6][admin(9)] NOOP
Aug 31 20:06:58 Node1 citserver[14191]: [3][(not logged in)(0)] MESG hello
Aug 31 20:07:02 Node1 citserver[14191]: [6][admin(9)] NOOP
Aug 31 20:07:07 Node1 citserver[14191]: Network full processing in 3356 seconds.
Aug 31 20:07:07 Node1 citserver[14191]: SMTPCQ: processing outbound queue
Aug 31 20:07:07 Node1 citserver[14191]: SMTPCQ: queue run completed; 1 messages
Aug 31 20:07:07 Node1 citserver[14191]: network: no neighbor nodes are configure
Aug 31 20:07:07 Node1 citserver[14191]: No external notifiers configured on syst
Aug 31 20:07:07 Node1 citserver[14191]: -- db checkpoint --
You can also reconfigure the Citadel server later by running the following command:
dpkg-reconfigure citadel-serverOnce you had done everything, let's access the Citadel web console.
Open your web browser and type the URL https://your-server-ip:443. You will be redirected to the Citadel log in page:
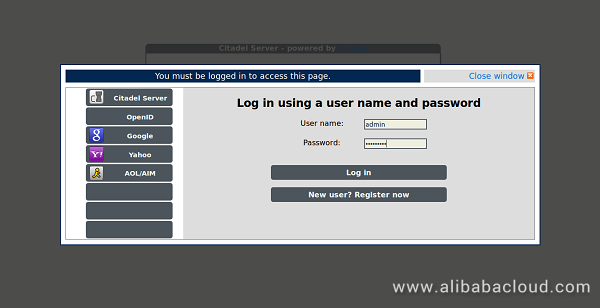
Here, provide your administrator account username and password which you have configured earlier. Then, click on the Log In button. You should see the Citadel Dashboard in the following page:
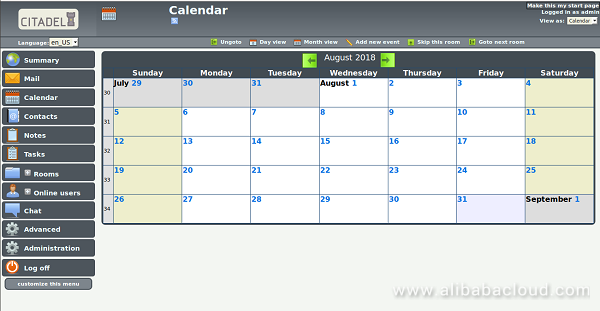
Congratulations! You have successfully installed Citadel Groupware solution on your Alibaba Cloud Elastic Compute Service (ECS) Ubuntu 16.04 server. It is one of the easiest groupware solutions and it just works out of the box.

2,593 posts | 793 followers
FollowAlibaba Clouder - February 18, 2019
Alibaba Clouder - December 26, 2018
Alibaba Clouder - January 4, 2019
francisndungu - October 19, 2018
Alibaba Clouder - February 25, 2019
Alibaba Clouder - October 19, 2018

2,593 posts | 793 followers
Follow ECS(Elastic Compute Service)
Elastic and secure virtual cloud servers to cater all your cloud hosting needs.
Learn More Message Service
A message queuing and notification service that facilitates smooth transfer of messages between applications
Learn More DirectMail
A simple and efficient email service to help you send transactional notifications and batch email
Learn MoreMore Posts by Alibaba Clouder