OpenClaw 是一個開源的個人 AI 助手平台,支援通過多種訊息渠道與 AI 互動。通過配置可接入阿里雲百鍊的千問系列模型。
OpenClaw 原名 Moltbot/Clawdbot,部分命令可能尚未完成遷移。如果在使用新命令(如 openclaw dashboard)時遇到 command not found: openclaw 的錯誤,請切換回舊命令(如 clawdbot dashboard 或 moltbot dashboard)來執行操作。
模型支援與選型
OpenClaw 通過 OpenAI 相容介面支援阿里雲百鍊的文本產生模型。支援的模型列表如下:
文本產生-千問 | |
文本產生-千問-開源版 | |
文本產生-第三方模型 |
文本產生-第三方模型僅支援北京地區,需要使用北京地區的 Base URL 和 API Key,詳情請參考3. 配置百鍊模型
如果您需要頻繁使用 OpenClaw 或希望降低使用成本,推薦訂閱以下套餐:
Coding Plan概述:固定月費訂閱模式,每月提供最多 90,000 次請求額度,適合高頻次編碼需求。
配置步驟
1. 開通阿里雲百鍊
註冊帳號:若無阿里雲帳號,需首先註冊。
如遇問題,請參見註冊阿里雲帳號。
開通阿里雲百鍊:使用阿里雲主帳號前往阿里雲百鍊大模型服務平台,閱讀並同意協議後,將自動開通阿里雲百鍊,如果未彈出服務合約,則表示您已經開通。
如果開通服務時提示"您尚未進行實名認證",請先進行實名認證。
首次開通百鍊後,您可領取新人免費額度(有效期間:百鍊開通後90天內),用於模型推理服務。免費額度領取方法和詳情,請查看新人免費額度頁面。
超出額度或期限將產生費用,開啟消費限額功能將避免此情況下產生費用,具體費用請以控制台的實際報價和最終賬單為準。
2. 安裝 OpenClaw
環境要求
OpenClaw 需要 Node.js 22 或更高版本。可通過以下命令檢查 Node.js 版本:
node --version如果未安裝或版本過低,請訪問 Node.js 官網下載安裝。
安裝方式
macOS / Linux
推薦使用官方安裝指令碼:
curl -fsSL https://openclaw.ai/install.sh | bash或通過 npm 全域安裝:
npm install -g openclaw@latestWindows
在 PowerShell 中執行:
iwr -useb https://openclaw.ai/install.ps1 | iex或通過 npm 全域安裝:
npm install -g openclaw@latest完成初始設定精靈
首次安裝後,OpenClaw 會自動啟動設定精靈,協助您快速完成初始設定。您也可以手動執行openclaw onboard命令進行配置。
配置項 | 建議配置 |
I understand this is powerful and inherently risky. Continue? | 選擇 Yes |
Onboarding mode | 選擇 QuickStart |
Model/auth provider | 選擇 Skip for now(稍後配置百鍊模型) |
Filter models by provider | 選擇 All providers |
Default model | 選擇 Keep current |
Select channel (QuickStart) | 選擇 Skip for now(稍後配置渠道) |
Configure skills now? (recommended) | 選擇 No |
Enable hooks? | 按空格鍵選中選項,按斷行符號鍵進入下一步 |
How do you want to hatch your bot? | 選擇 Do this later |
接下來,需要為 OpenClaw 配置百鍊模型以啟用 AI 對話能力。
3. 配置百鍊模型
在 OpenClaw 接入阿里雲百鍊模型服務,需要配置以下參數:
請確保 Base URL 、API Key、模型都歸屬於同一地區下。
Base URL | 按地區區分:
|
API Key | 百鍊訪問憑證,用於身分識別驗證和計費,請前往密鑰管理(北京)或密鑰管理(新加坡)或密鑰管理(維吉尼亞)頁面擷取。 |
模型 ID | 指定接入的模型,如 不同地區支援的模型有所差異,如美國(維吉尼亞)地區暫不支援 |
配置參數時需要關閉思考模式("reasoning": false),否則會導致回複內容為空白。
OpenClaw 提供了兩種配置方式,推薦使用 Web 控制台配置。
方式一:Web 控制台配置
OpenClaw 提供了基於 Web 的編輯器來修改 openclaw.json 設定檔。
啟動 Web 控制台
在終端中運行以下命令:
openclaw dashboard瀏覽器會自動開啟 OpenClaw 的控制台頁面(通常是
http://127.0.0.1:18789)。如果瀏覽器沒有自動開啟,請手動訪問該地址。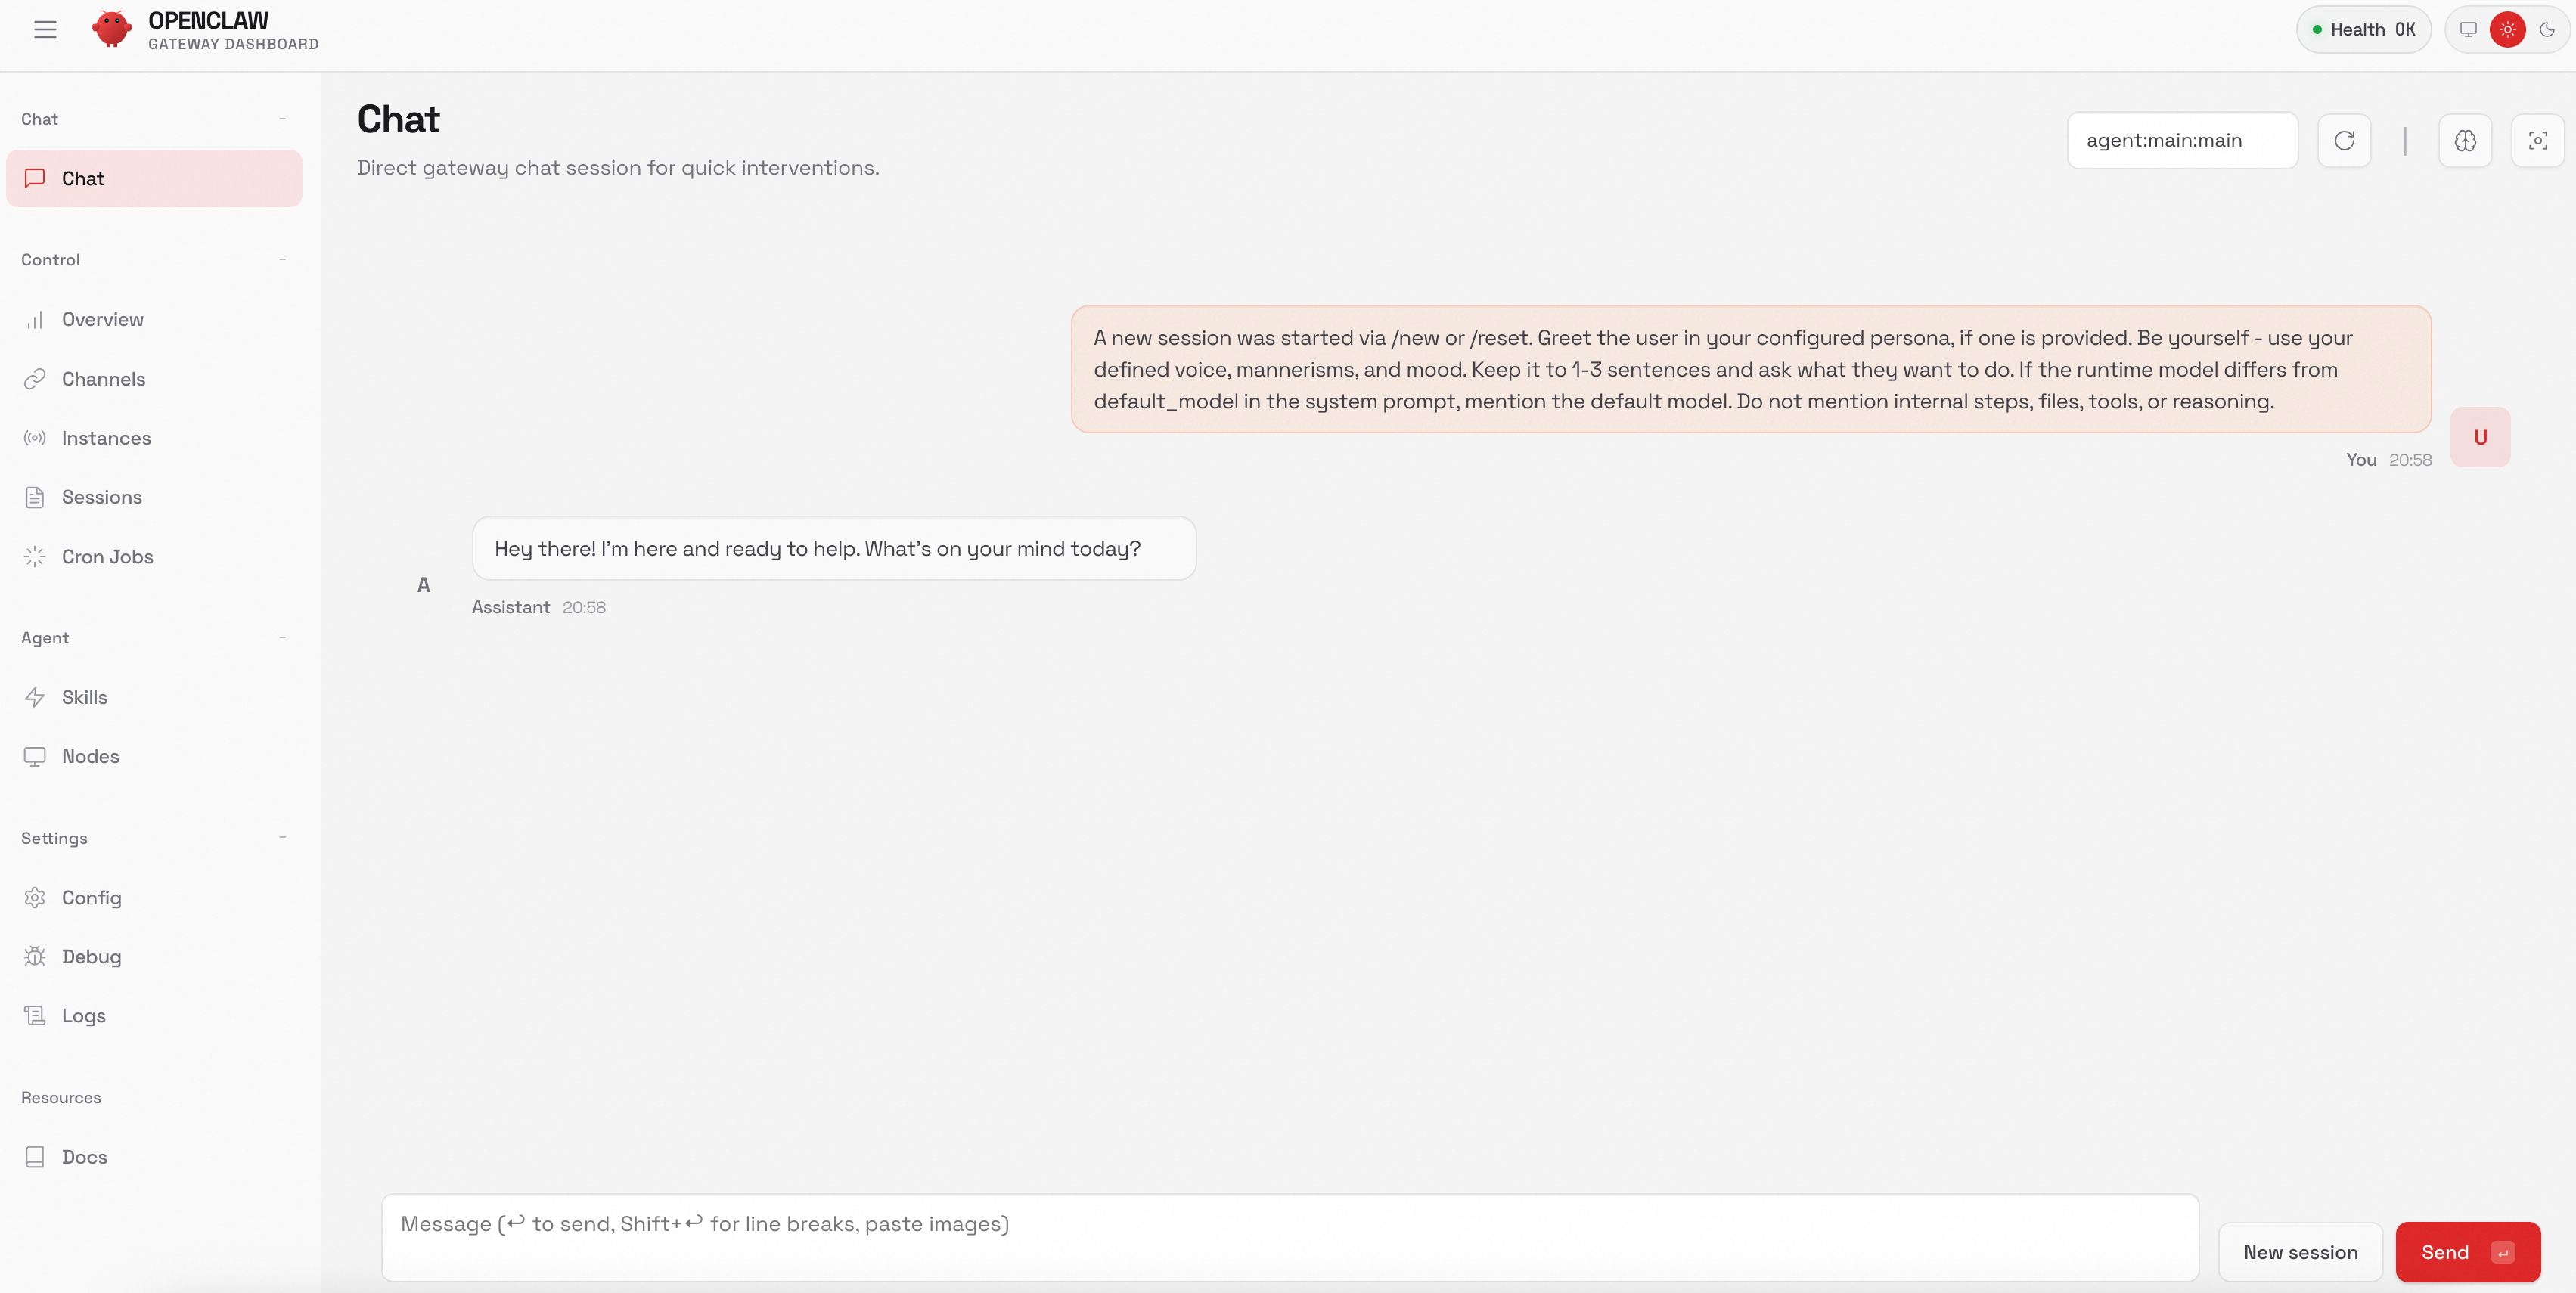
進入配置頁面
在左側功能表列中依次選擇:配置 > RAW(或Config > RAW)。
添加百鍊配置
複製以下配置資訊,替換原
"agents": {...},部分,並將DASHSCOPE_API_KEY替換為您的百鍊 API Key。重要本文檔僅適用於隨用隨付模式,Coding Plan 需要使用專屬 Base URL 和 API Key 接入,且僅支援特定的模型,詳情請參考OpenClaw Coding Plan說明文檔進行配置。
以下配置使用新加坡地區的
qwen3.5-plus和qwen3-coder-next模型,請確保 Base URL 和 API Key 地區一致。如需使用其他模型,請在
providers.bailian.models中添加模型定義(reasoning參數需設為false),在agents.defaults.models中添加"bailian/模型ID": {}條目。隨用隨付模式下各地區支援的模型,請參見模型列表。"models": { "mode": "merge", "providers": { "bailian": { "baseUrl": "https://dashscope-intl.aliyuncs.com/compatible-mode/v1", "apiKey": "DASHSCOPE_API_KEY", "api": "openai-completions", "models": [ { "id": "qwen3.5-plus", "name": "qwen3.5-plus", "reasoning": false, "input": ["text", "image"], "contextWindow": 1000000, "maxTokens": 65536 }, { "id": "qwen3-coder-next", "name": "qwen3-coder-next", "reasoning": false, "input": ["text"], "contextWindow": 262144, "maxTokens": 65536 } ] } } }, "agents": { "defaults": { "model": { "primary": "bailian/qwen3.5-plus" }, "models": { "bailian/qwen3.5-plus": {}, "bailian/qwen3-coder-next": {} } } },儲存並應用配置
配置完成後,單擊右上方 Save 儲存配置,單擊 Update。
方式二:編輯設定檔
如果您更習慣直接編輯設定檔,可以按以下步驟操作。設定檔位於 ~/.openclaw/openclaw.json,OpenClaw 啟動時會自動讀取。
開啟設定檔
使用文字編輯器開啟設定檔。如果檔案不存在,編輯器會自動建立:
# 您也可以使用其他編輯器,如vim。
# vim ~/.openclaw/openclaw.json
nano ~/.openclaw/openclaw.json
添加百鍊配置
複製並粘貼以下配置內容,將
DASHSCOPE_API_KEY替換為百鍊 API Key:重要本文檔僅適用於隨用隨付模式,Coding Plan 需要使用專屬 Base URL 和 API Key 接入,且僅支援特定的模型,詳情請參考OpenClaw Coding Plan說明文檔進行配置。
以下配置使用新加坡地區的
qwen3.5-plus和qwen3-coder-next模型,請確保 Base URL 和 API Key 地區一致。如需使用其他模型,請在
providers.bailian.models中添加模型定義(reasoning參數需設為false),在agents.defaults.models中添加"bailian/模型ID": {}條目。隨用隨付模式下各地區支援的模型,請參見模型列表。{ "meta": { "lastTouchedVersion": "2026.2.1", "lastTouchedAt": "2026-02-03T08:20:00.000Z" }, "models": { "mode": "merge", "providers": { "bailian": { "baseUrl": "https://dashscope-intl.aliyuncs.com/compatible-mode/v1", "apiKey": "DASHSCOPE_API_KEY", "api": "openai-completions", "models": [ { "id": "qwen3.5-plus", "name": "qwen3.5-plus", "reasoning": false, "input": ["text", "image"], "contextWindow": 1000000, "maxTokens": 65536 }, { "id": "qwen3-coder-next", "name": "qwen3-coder-next", "reasoning": false, "input": ["text"], "contextWindow": 262144, "maxTokens": 65536 } ] } } }, "agents": { "defaults": { "model": { "primary": "bailian/qwen3.5-plus" }, "models": { "bailian/qwen3.5-plus": {}, "bailian/qwen3-coder-next": {} } } }, "gateway": { "mode": "local", "auth": { "mode": "token", "token": "test123" } } }儲存設定檔
如果使用 nano 編輯器:
按
Ctrl+X退出編輯器。提示儲存時按
Y確認。按
Enter確認檔案名稱。
如果使用 vim 編輯器:
按
Esc確保退出插入模式。輸入
:wq並按Enter儲存並退出。
驗證配置
可以使用以下命令查看設定檔內容,確認配置正確:
cat ~/.openclaw/openclaw.json
4. 開始對話
命令列
請在雲端服務器或本地終端中執行以下命令,即可通過命令列的方式開始對話。
openclaw tui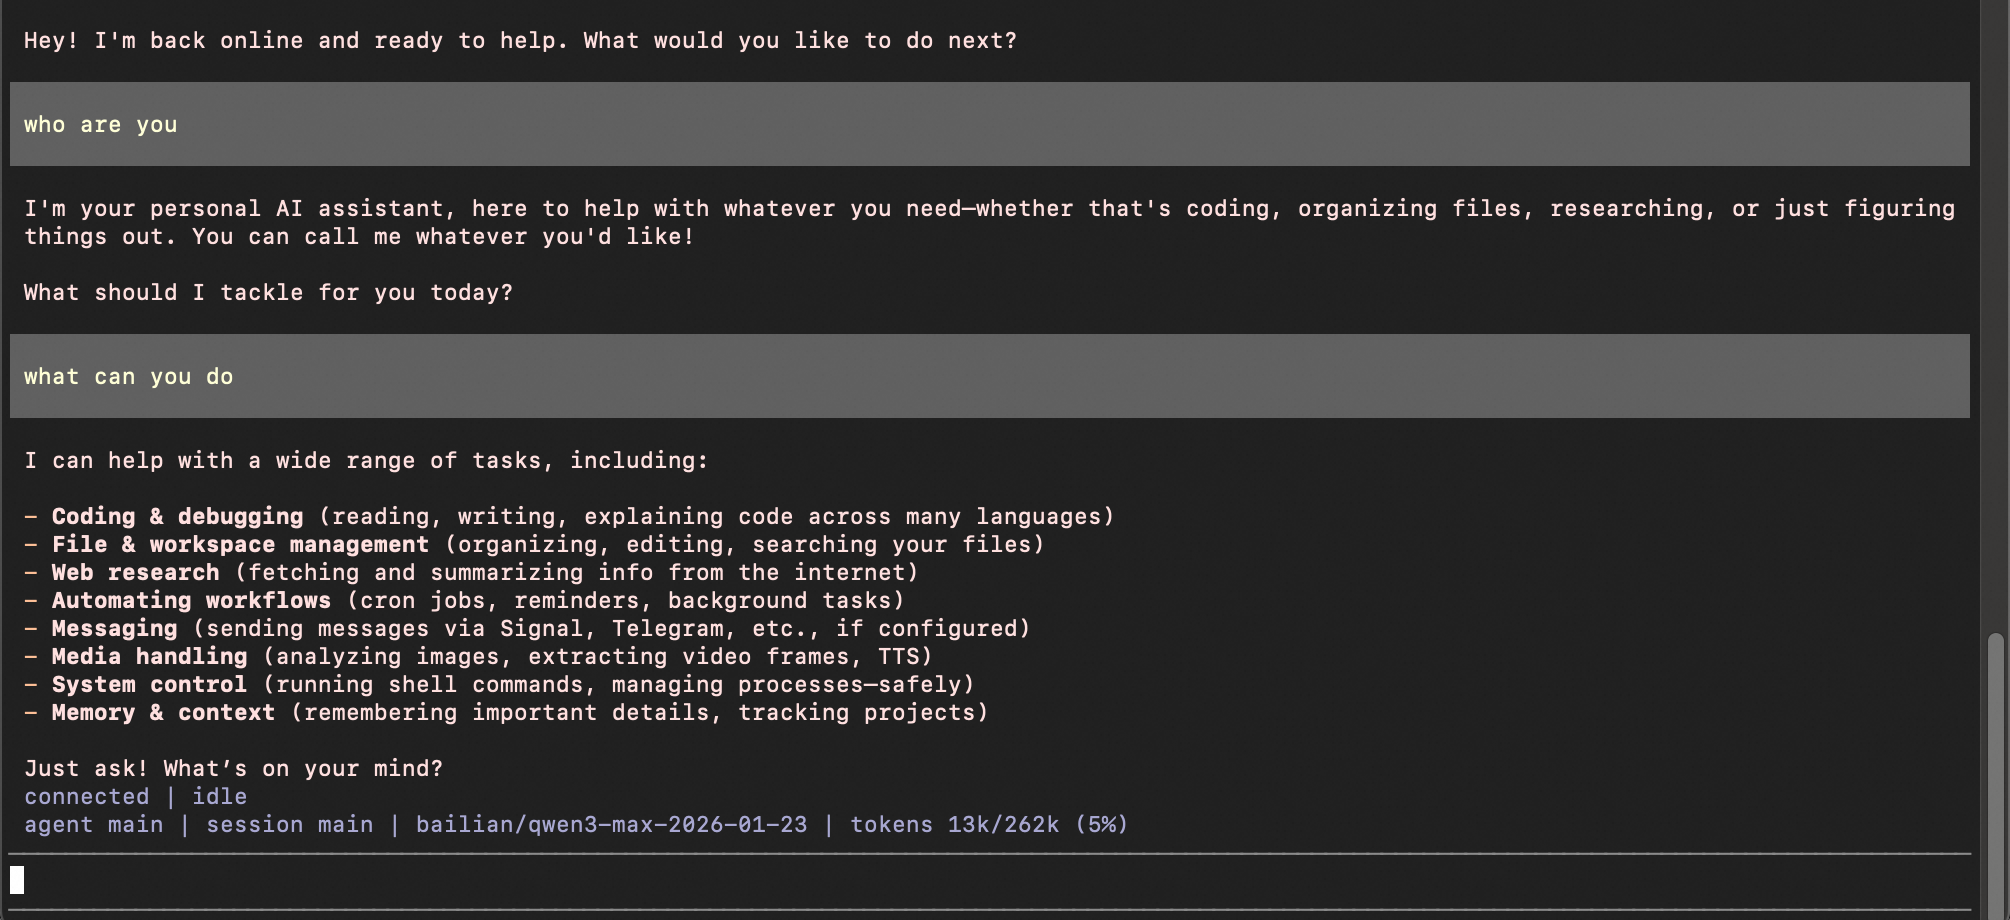
Web 介面
請在雲端服務器或本地終端中執行以下命令,即可通過 Web 介面的方式開始對話。
openclaw dashboard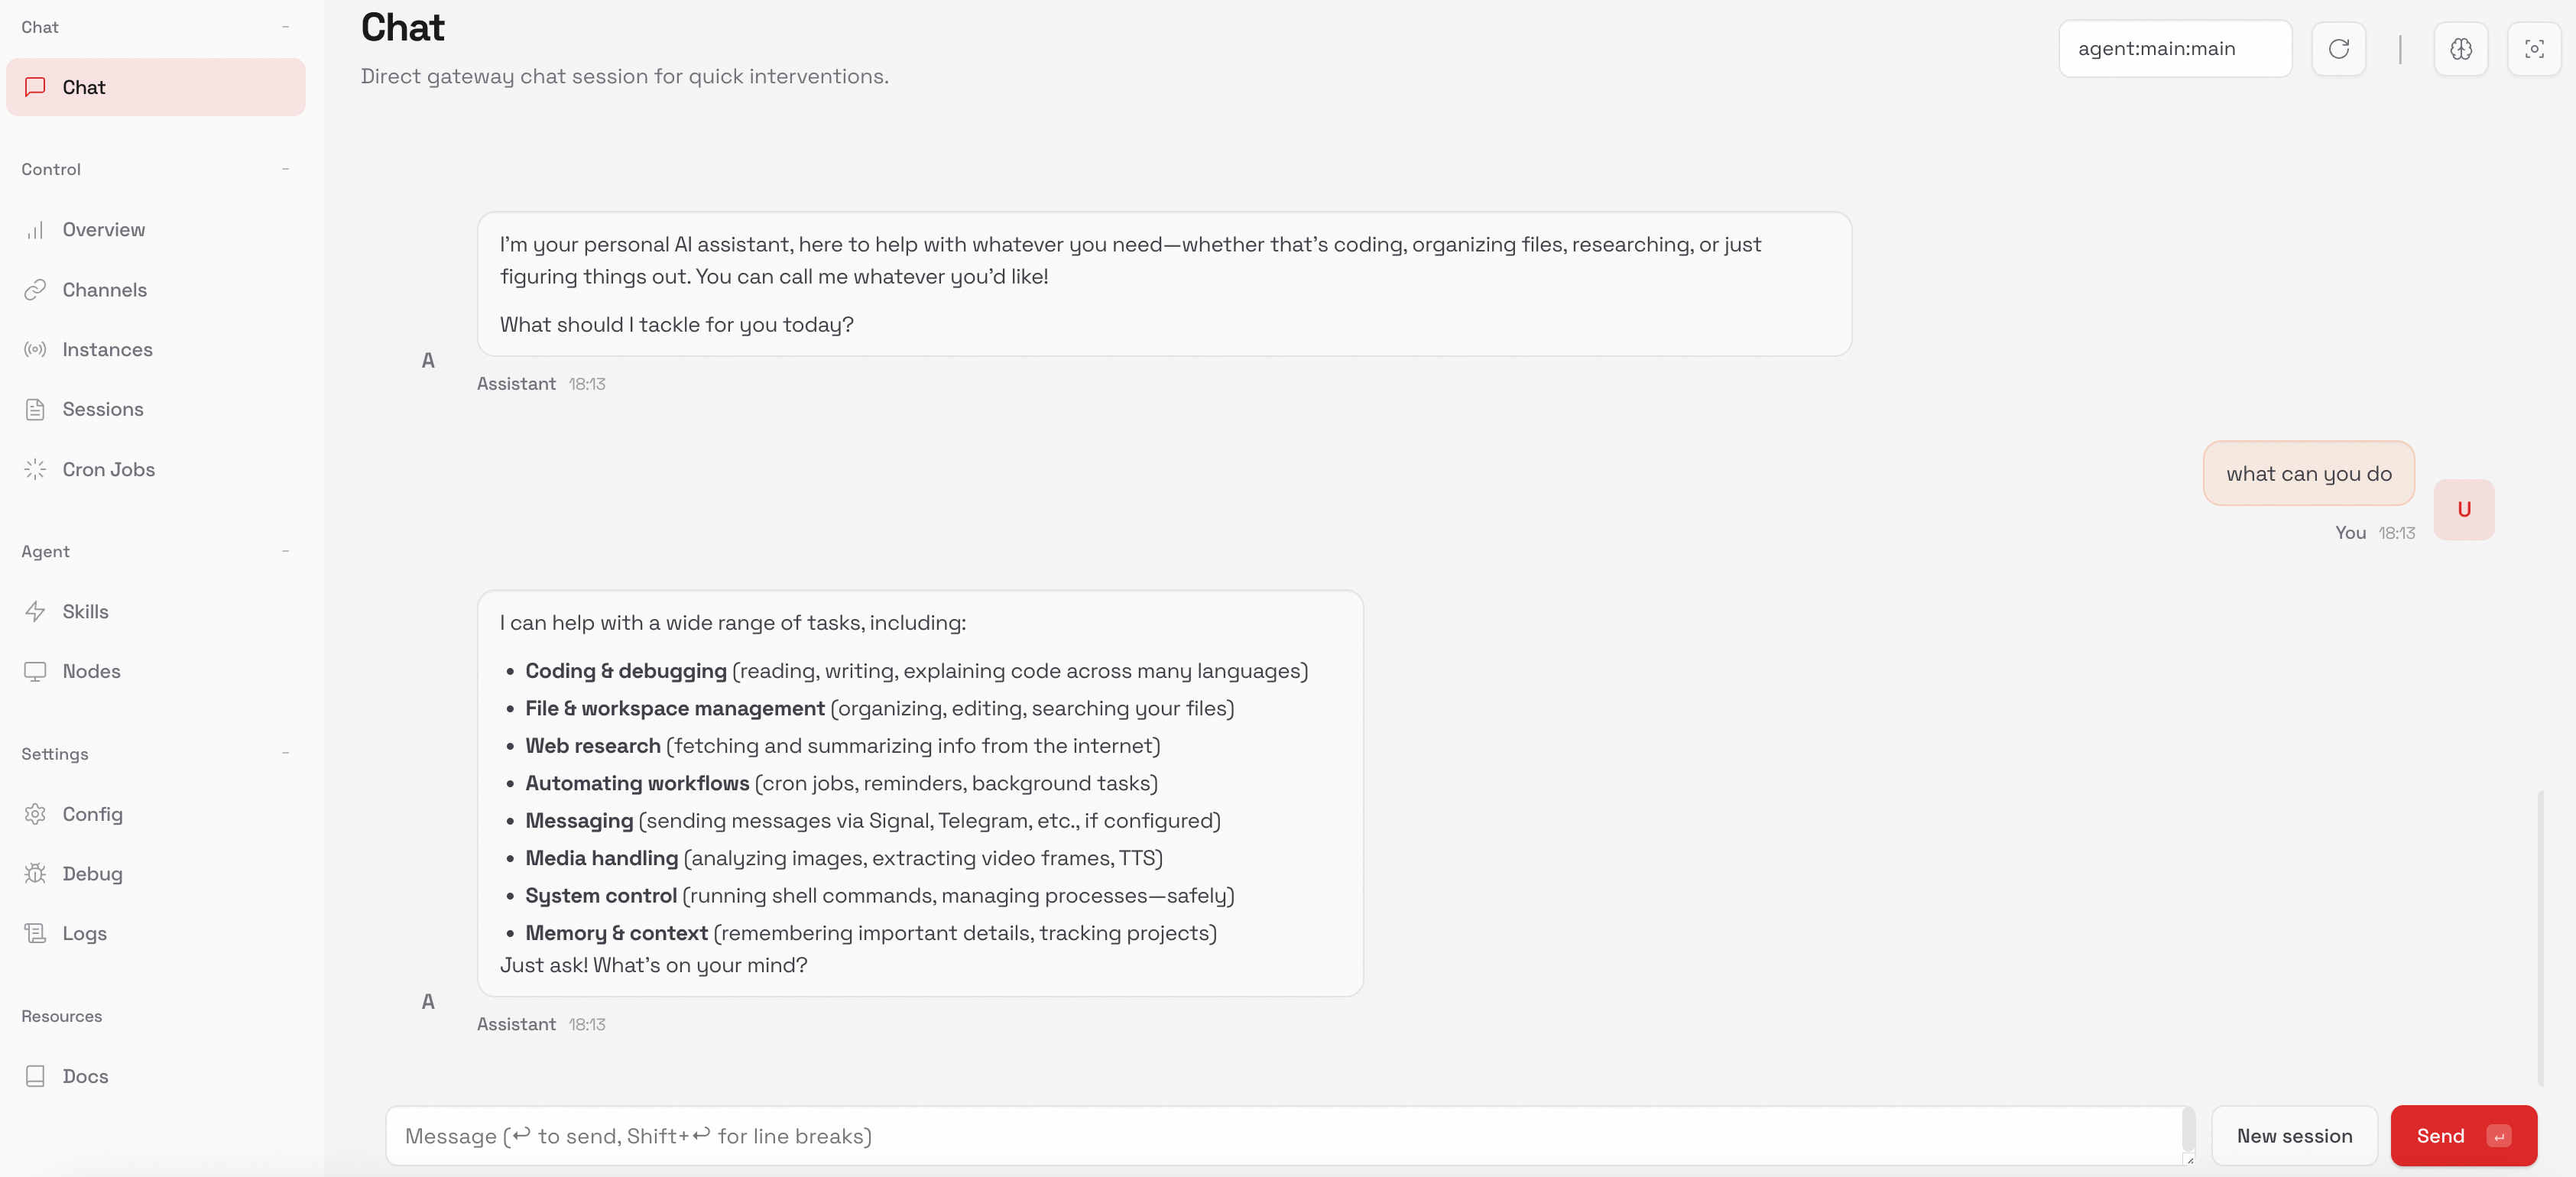
切換模型
在當前會話切換模型(臨時有效)
在終端輸入
openclaw tui,進入 TUI 介面,使用/model <模型名稱>在當前會話中切換模型。/model qwen3-coder-next介面返回提示"model set to qwen3-coder-next" 即表示生效。
切換預設模型(永久有效)
如需在每次新會話中使用指定模型,修改
agents.defaults.model.primary欄位為目標模型。{ "agents": { "defaults": { "model": { "primary": "bailian/qwen3.5-plus" } } } }
常見問題
問題 1:提示找不到模型或回複為空白
請確認:
模型 ID 拼字正確。
配置中的
provider名稱與引用時一致(如配置中是bailian,引用時應為bailian/qwen3.5-plus)。配置中的
reasoning參數必須設定為false。
問題 2:執行 openclaw 命令時提示 "command not found"
可能是以下原因導致的:
OpenClaw 安裝沒有成功。請在雲端服務器或本地終端執行
openclaw --version,若輸出版本號碼證明安裝成功。OpenClaw 更名過程中部分命令尚未完全遷移。可以嘗試:
使用舊命令
moltbot或clawdbot替代。重新安裝最新版本:
npm install -g openclaw@latest。