Terraform は、クラウドインフラストラクチャおよびリソースを安全かつ効率的にプレビュー、プロビジョニング、管理できるオープンソースツールです。本トピックでは、Terraform を使用して Simple Log Service のアラートルールを作成する方法を説明します。
このチュートリアルのサンプルコードは、ワンクリックで実行できます。サンプルコードを実行
前提条件
Simple Log Service が有効になっています。詳細については、「リソース管理の概要」をご参照ください。
セキュリティリスクを低減するため、本チュートリアルを完了するために必要な最小限の権限を持つ RAM ユーザーを使用してください。RAM ユーザーの作成および権限付与の詳細については、「RAM ユーザーの作成」および「RAM ユーザーへの権限付与」をご参照ください。以下のポリシーを RAM ユーザーにアタッチしてください。
{
  "Version": "1",
  "Statement": [
    {
      "Effect": "Allow",
      "Action": [
        "log:GetProject",
        "log:ListProject",
        "log:CreateProject",
        "log:DeleteProject",
        "log:UpdateProject",
        "log:GetLogStore",
        "log:GetLogStoreLogs",
        "log:GetLogStoreMeteringMode",
        "log:ListLogStores",
        "log:CreateLogStore",
        "log:PostLogStoreLogs",
        "log:UpdateLogStore",
        "log:GetDashboard",
        "log:CreateDashboard",
        "log:UpdateDashboard",
        "log:ListDashboard",
        "log:ListTagResources",
        "log:ListShards",
        "log:GetJob",
        "log:UpdateJob"
      ],
      "Resource": "*"
    },
    {
      "Effect": "Allow",
      "Action": [
        "log:GetProjectPolicy",
        "log:DeleteJob",
        "log:DeleteLogStore",
        "log:CreateJob"
      ],
      "Resource": "*"
    }
  ]
}
Terraform 環境を準備してください。Terraform の実行には、以下のいずれかの方法を使用できます。
Terraform Explorer での Terraform の使用:Alibaba Cloud は Terraform を実行するためのオンライン環境を提供しています。Terraform をインストールする必要はありません。ログインしてオンラインで Terraform を使用・試用できます。この方法は、コストをかけずに Terraform を手軽かつ迅速に試用・デバッグしたい場合に適しています。
Cloud Shell:Alibaba Cloud Cloud Shell には Terraform コンポーネントがプリインストール済みで、認証情報も設定されています。Cloud Shell で直接 Terraform コマンドを実行できます。この方法は、低コストで Terraform にすばやく簡単にアクセス・使用したい場合に適しています。
ローカルマシンへの Terraform のインストールと構成:ネットワーク接続が不安定な場合やカスタム開発環境が必要な場合に適しています。
本チュートリアルで使用する一部のリソースには料金が発生します。予期しない課金を回避するため、不要になったらリソースをクリーンアップしてください。
ステップ 1:プロジェクトおよび Logstore の作成
作業ディレクトリを作成し、その中に main.tf という名前のファイルを作成します。main.tf ファイルに以下のコードをコピーします。
variable "region" {
  default = "cn-hangzhou"
}

variable "email_list" {
  type        = list(string)
  description = "The recipients of alert notifications."
  default     = ["ali***@alibaba-inc.com", "tf-example@123.com"]
}

provider "alicloud" {
  region = var.region
}

resource "random_integer" "default" {
  min = 10000
  max = 99999
}

# A project.
resource "alicloud_log_project" "example" {
  project_name = "project-name-${random_integer.default.result}"
  description  = "tf actiontrail example"
}

# A Logstore.
resource "alicloud_log_store" "example" {
  project_name     = alicloud_log_project.example.project_name
  logstore_name    = "logstore_example_${random_integer.default.result}"
  retention_period = 3
}
以下のコマンドを実行して、Terraform 実行環境を初期化します。
terraform init以下の出力が表示されれば、初期化が成功しています。
Terraform has been successfully initialized!

You may now begin working with Terraform. Try running "terraform plan" to see
any changes that are required for your infrastructure. All Terraform commands
should now work.

If you ever set or change modules or backend configuration for Terraform,
rerun this command to reinitialize your working directory. If you forget, other
commands will detect it and remind you to do so if necessary.
以下のコマンドを実行して、構成を適用します。
terraform apply確認のプロンプトが表示されたら、
yesと入力し、Enter キーを押します。以下の出力が表示されれば、Terraform によってリソースが作成されたことを示します。You can apply this plan to save these new output values to the Terraform state, without changing any real infrastructure. Do you want to perform these actions? Terraform will perform the actions described above. Only 'yes' will be accepted to approve. Enter a value: yes Apply complete! Resources: 3 added, 0 changed, 0 destroyed.結果を確認します。
コマンドライン
作業ディレクトリで以下のコマンドを実行し、作成されたリソースの詳細を表示します。
terraform show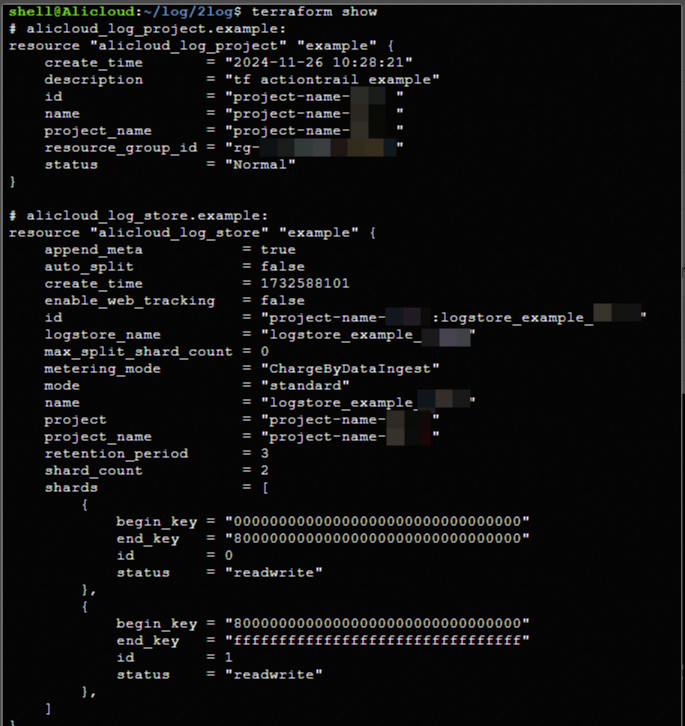
コンソール
Simple Log Service コンソールにログインし、作成されたプロジェクトを確認します。
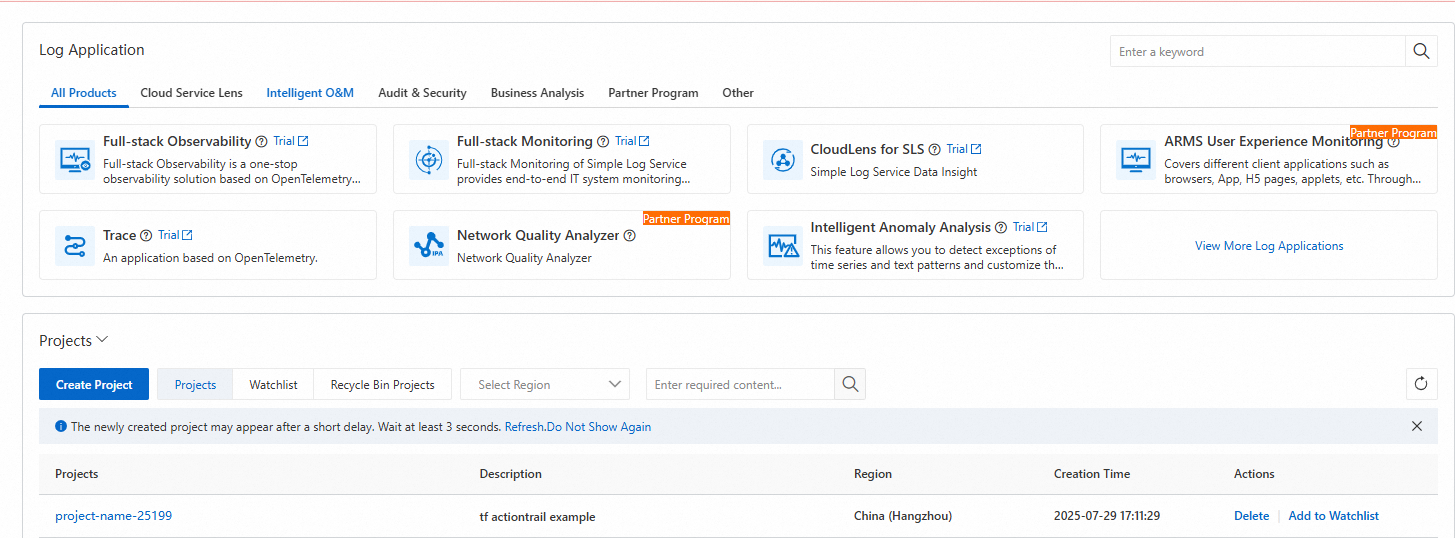
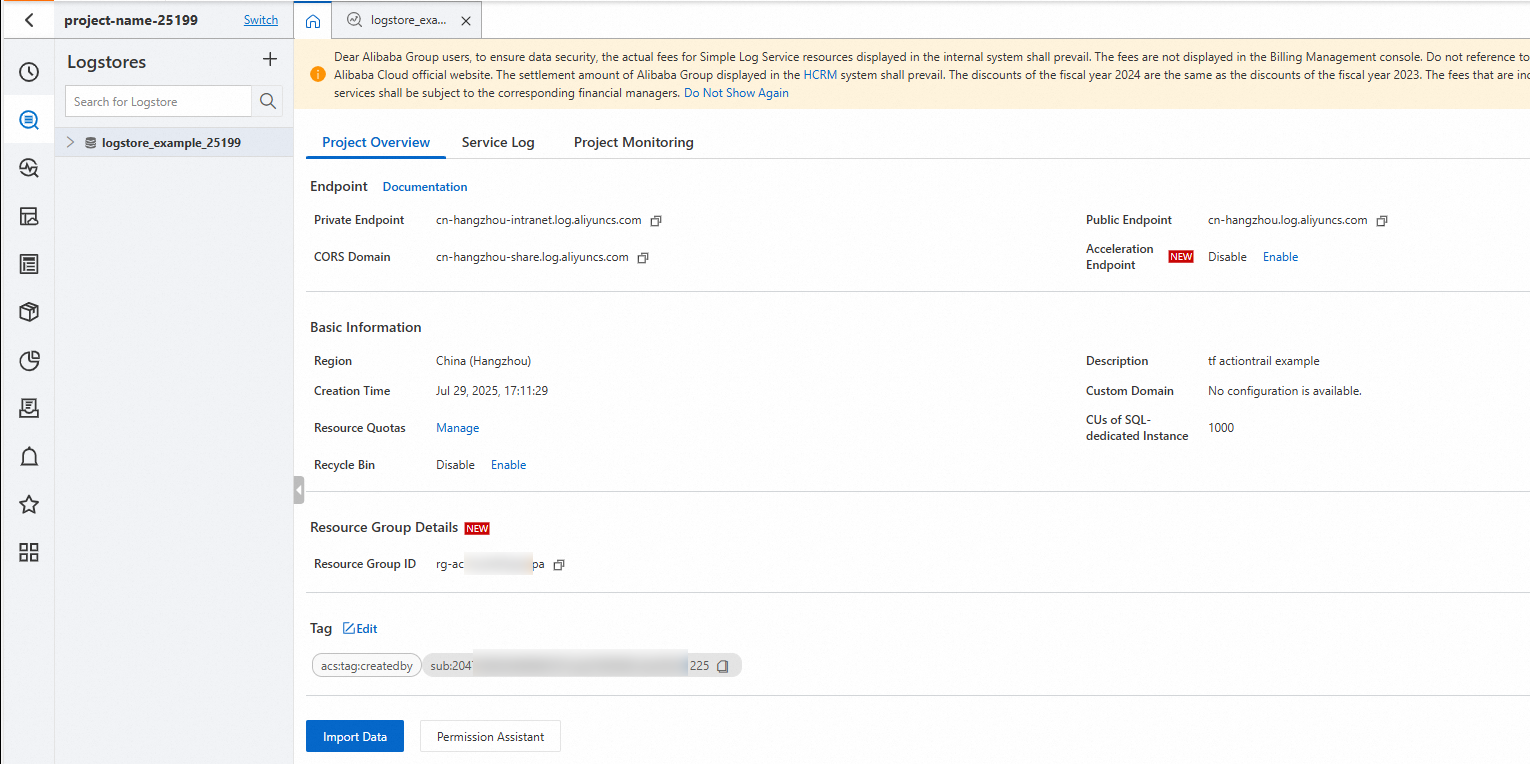
プロジェクト一覧で作成したプロジェクトの名前をクリックし、ログ管理 をクリックして、作成された Logstore を確認します。
ステップ 2:アラートルールの作成
main.tfファイルに以下のコードを追加します。# An alert rule. resource "alicloud_log_alert" "example" { project_name = alicloud_log_project.example.name alert_name = "alert_name_${random_integer.default.result}" alert_displayname = "alert_displayname_${random_integer.default.result}" condition = "count> 100" dashboard = "example-dashboard" schedule { type = "FixedRate" interval = "5m" hour = 0 day_of_week = 0 delay = 0 run_immediately = false } query_list { logstore = alicloud_log_store.example.name chart_title = "chart_title" start = "-60s" end = "20s" query = "* AND aliyun" } notification_list { type = "Email" email_list = var.email_list content = "alert content" } }変更内容をプレビューするための実行計画を生成します。
terraform plan以下のコマンドを実行して、変更を適用します。
terraform apply確認のプロンプトが表示されたら、
yesと入力し、Enter キーを押します。以下の出力が表示されれば、アラートルールが作成されたことを示します。Apply complete! Resources: 1 added, 0 changed, 0 destroyed.結果を確認します。
コマンドライン
作業ディレクトリで以下のコマンドを実行し、作成されたリソースの詳細を表示します。
terraform show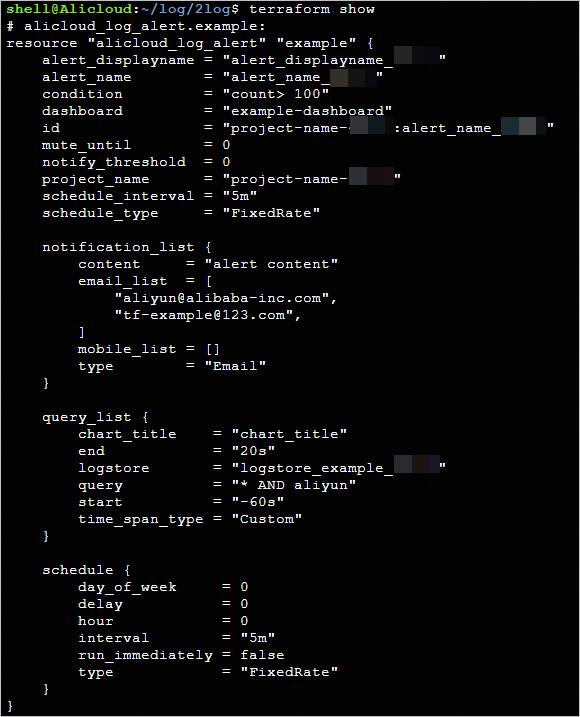
コンソール
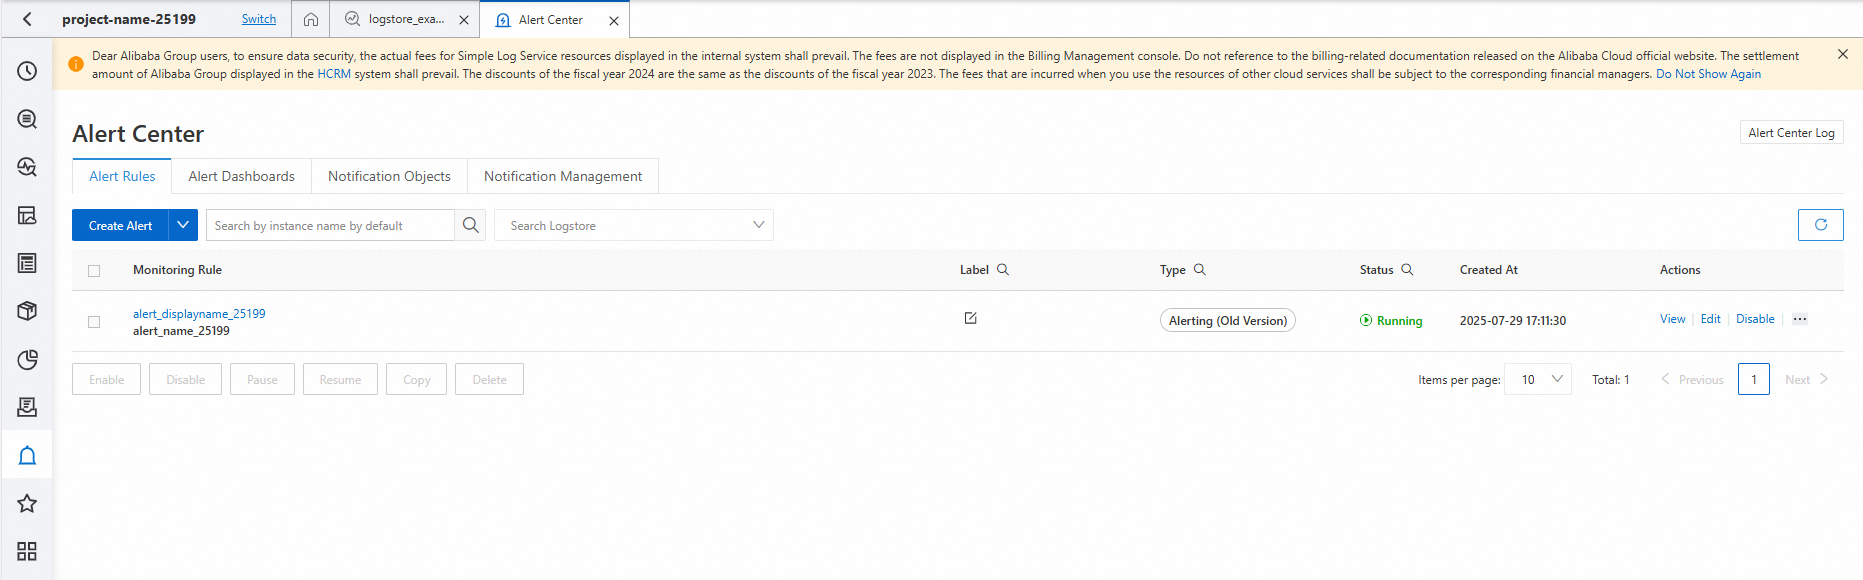
Simple Log Service コンソールにログインします。プロジェクト一覧で作成したプロジェクトの名前をクリックし、アラート をクリックして、作成されたアラートルールを確認します。
リソースのクリーンアップ
リソースが不要になったら、以下のコマンドを実行して削除してください。terraform destroy コマンドの詳細については、「一般的なコマンド」をご参照ください。
terraform destroy完全なサンプル
このチュートリアルのサンプルコードは、ワンクリックで実行できます。サンプルコードを実行
サンプルコード
その他の例については、GitHub の「Log Service (SLS) の例」をご参照ください。
関連ドキュメント
Terraform について詳しく知るには、「Alibaba Cloud 上の Terraform とは」をご参照ください。