Terraform is an open-source tool that provisions and manages cloud infrastructure as code. Tablestore is integrated with Terraform, so you can create and manage Tablestore instances through configuration files.
Run the sample code with a single click. Run now
Prerequisites
-
For security, use a RAM user with minimum permissions (Create a RAM user, Grant permissions to a RAM user). Minimum required policy:
{ "Version": "1", "Statement": [ { "Effect": "Allow", "Action": [ "ots:GetInstance", "ots:BindInstance2Vpc", "ots:ListVpcInfoByInstance", "ots:UnbindInstance2Vpc", "ots:DeleteInstance", "ots:InsertInstance", "ots:UpdateInstance", "ots:ListInstance" ], "Resource": "*" } ] } -
Prepare a Terraform environment using one of the following methods:
-
Explorer: An online Terraform environment. No installation required. Free.
-
Use Terraform to quickly create resources: Terraform is preinstalled in Cloud Shell with pre-configured credentials. Run commands directly without setup.
-
Install and configure Terraform: Best for restricted networks or custom development environments.
-
Resources used
-
alicloud_ots_instance: a Tablestore instance.
Create a Tablestore instance
-
Create a working directory with a file named main.tf, then add the following code to main.tf.
variable "name" { default = "tf-example" } variable "region" { default = "cn-hangzhou" } provider "alicloud" { region = var.region } resource "random_integer" "default" { min = 10000 max = 99999 } # Tablestore instance resource "alicloud_ots_instance" "default" { name = "${var.name}-${random_integer.default.result}" # Instance name description = var.name # Instance description accessed_by = "Vpc" # Network type for instance access tags = { # Instance tags Created = "TF" For = "Building table" } } -
Initialize Terraform.
terraform initExpected output on success:
Terraform has been successfully initialized! You may now begin working with Terraform. Try running "terraform plan" to see any changes that are required for your infrastructure. All Terraform commands should now work. If you ever set or change modules or backend configuration for Terraform, rerun this command to reinitialize your working directory. If you forget, other commands will detect it and remind you to do so if necessary. -
Apply the configuration.
terraform applyType
yeswhen prompted and press Enter. Expected output on success:You can apply this plan to save these new output values to the Terraform state, without changing any real infrastructure. Do you want to perform these actions? Terraform will perform the actions described above. Only 'yes' will be accepted to approve. Enter a value: yes Apply complete! Resources: 2 added, 0 changed, 0 destroyed. -
Verify the result.
Terraform show
Run this command to view the created resources:
terraform show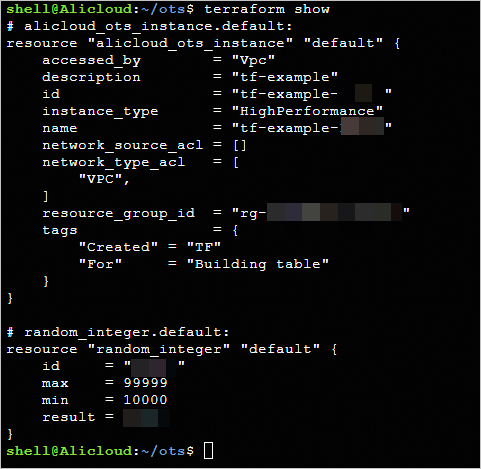
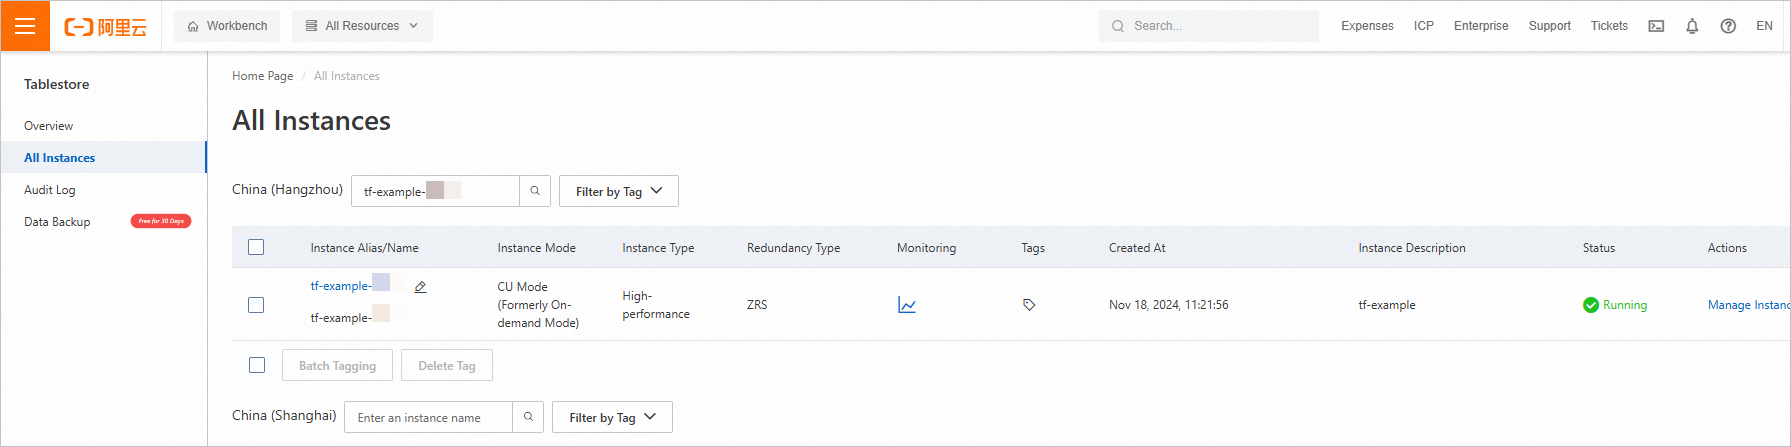
Tablestore console
Log on to the Tablestore console. On the page, verify that your instance appears.
Release resources
To delete resources you no longer need, run terraform destroy (Common commands).
terraform destroyType yes when prompted and press Enter. Expected output on success:
Plan: 0 to add, 0 to change, 2 to destroy.

Do you really want to destroy all resources?
  Terraform will destroy all your managed infrastructure, as shown above.
  There is no undo. Only 'yes' will be accepted to confirm.

  Enter a value: yes
  ...
  Destroy complete! Resources: 2 destroyed.
Complete example
Run the sample code with a single click. Run now
Sample code
Find additional examples in the More Complete Examples repository.
FAQ
-
How can I improve the efficiency of creating and deleting Tablestore instances when provisioning multiple cloud services with Terraform?
-
Use case: A workflow creates a Tablestore instance but fails on a subsequent resource. On rollback and retry, the instance name is still occupied because deletion takes time and names must be unique within a region.
-
Solution: Append a random suffix or auto-incrementing ID to the instance name. Each execution uses a unique name, so retries proceed immediately without waiting for deletion.