This topic describes how to develop UniApp MiniApps.
1. Prerequisites
Before starting development, ensure the following preparations are completed:
You have an existing native app project.
The MiniApp container has been integrated into the native app:
For Android integration steps, see Integrate a MiniApp container into a native app.
For iOS integration steps, see Integrate a MiniApp container into a native app.
UniApp MiniApps can only be loaded and run in a native app that has successfully integrated the MiniApp container.
Before developing a MiniApp, ensure that at least one app has been created and configured as the deployment host (also known as the carrier app).
The UniApp framework is disabled by default. You must enable it in App Settings before creating a UniApp miniapp.
2. Process Overview
The complete development process for UniApp MiniApps involves two roles: Native App Developer and UniApp MiniApp Developer. This guide is primarily intended for UniApp MiniApp Developers, covering the full lifecycle from project creation to release.
Role | Responsibilities |
Native App Developer | Integrates SuperApp solutions (e.g., MiniApp container) into the native app |
UniApp MiniApp Developer | Uses the scaffolding tool to quickly create projects and completes MiniApp development, debugging, and publishing |
The basic operation process is as follows:

3. Detailed Steps
Step 1: Create an app
In the SuperApp Business Application Platform , create an app and obtain the app ID. This ID is required to configure your UniApp MiniApp and integrate it into SuperApp. Once integrated, you can use the platform to build, package, and publish the MiniApp. For more information, see Create an app.
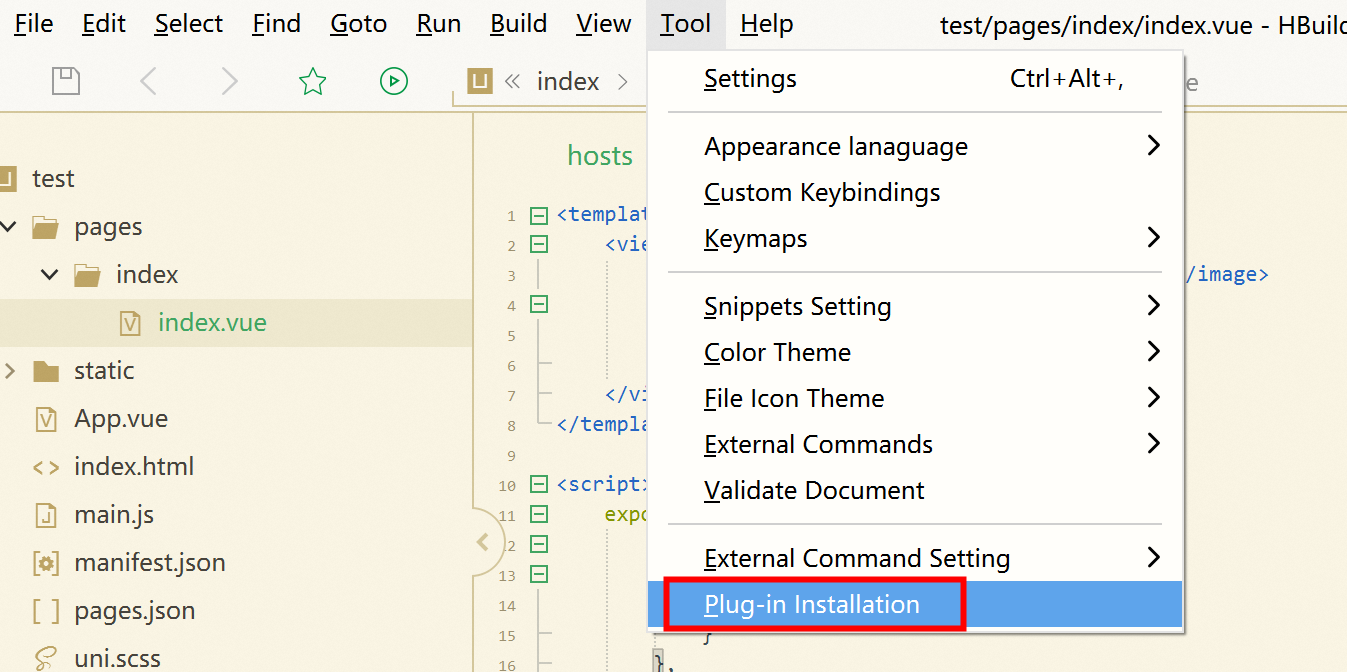
Step 2: Install and Configure the HBuilderX Extension
Install the HBuilderX extension offline. After installation and configuration, you can publish the UniApp MiniApp directly from HBuilderX, and the MiniApp artifact will be synchronized automatically to the Application Open Platform. For more information, see Install and configure the HBuilderX extension.
Step 3: Debug the UniApp project
After running the UniApp project, click the debug ![]() icon in the upper-right corner or select "Debug" from the menu to start debugging the project. For more information, see Debugging.
icon in the upper-right corner or select "Debug" from the menu to start debugging the project. For more information, see Debugging.

Step 4: Build, Package, and Publish the MiniApp
After debugging is complete, you can package the UniApp project into a UniApp MiniApp and synchronize the built artifact to the Application Open Platform. Alternatively, you can manually upload a locally built MiniApp package to the Application Open Platform, or package the UniApp project as a native app with an integrated MiniApp container. For more information, see Build, package, and publish a MiniApp.

Step 5: Perform a Canary Release
In the Application Open Platform, create a canary release for the approved MiniApp version to gradually roll it out to a targeted user group. For more information, see Publish a version.
Step 6: Publish the MiniApp
After successful validation of the canary release, publish the MiniApp version to all users via the Application Open Platform. For more information, see Publish a version.

Step 7: Preview the MiniApp
After the MiniApp is published, a QR code is generated for the MiniApp. You can use Superapp to scan the QR code to preview the MiniApp.

References
For more information about UniApp, see official UniApp documentation.