Simple Log Service provides the reindexing feature that you can use to configure or modify indexes for historical data. You can reindex the logs of a specified time range in a Logstore based on the most recent indexing rules. This topic describes how to reindex data in the Simple Log Service console.
Prerequisites
The indexing feature is enabled. For more information, see Create indexes.
Limits
You can reindex only the data that is generated within 15 minutes to 30 days earlier than the current time.
You can create up to 10 reindexing tasks.
Only one reindexing task can run at a time.
Billing
If the current Logstore uses the pay-by-ingested-data billing mode, you are not charged for reindexing data. For more information, see Pay-by-ingested-data.
If the current Logstore uses the pay-by-feature billing mode, you are charged for reindexing data based on the index traffic and storage. Index traffic fees are generated only once, and storage fees are generated on an hourly basis. The unit prices of the billable items are the same regardless of whether you create indexes or reindex data. For more information, see Billable items of pay-by-feature.
After you delete a reindexing task, the new indexes are also deleted. You are no longer charged for storing the indexes.
Procedure
Log on to the Simple Log Service console.
In the Projects section, click the one you want.

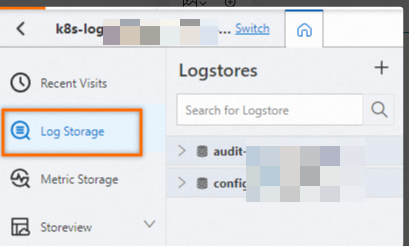
On the tab, click the logstore you want.
-
Click .
-
In the Reindex panel, click Create Task.
-
Configure the Task Name, Start At, and End Time, and then click OK.
The Start At and End Time parameters specify a time range based on the server time of data ingestion. The time range must be between 15 minutes and 30 days ago.
After the task is created, you can monitor its progress. The reindex is complete when the progress reaches 100%. If the progress remains at 0%, click Refresh in the upper-right corner of the Reindex panel to update the status.
ImportantIf historical data already has indexes, the new indexes overwrite the original indexes.
What to do next
After you create a reindexing task, you can perform the following operations:
-
Stop the reindexing task.
In the Reindex panel, click Stop to halt the running task.
WarningAfter you stop a reindexing task, you can delete the task but cannot start it again. Proceed with caution.
-
Delete the reindexing task.
In the Reindex panel, click Delete for the desired task.
WarningAfter you delete a reindexing task, the new indexes are also deleted. Proceed with caution.