Overview
In daily data analysis, in addition to the overall data analysis, you also need to view the data that is drilled down to other analysis dimensions. If you want to analyze the dashboard in more detail, you can create a resident filter configuration and add it to the dashboard.
Resident filtering supports time filtering, attribute filtering, and crowd filtering. When you access a visual dashboard, the system automatically triggers resident filtering conditions. For example, when you view PVs, you can view different data results under the resident filter conditions.
Operation Description
1. Feature path
Behavior analysis-> Statistics-> Visual Kanban-> Top function area-> Kanban editing and management 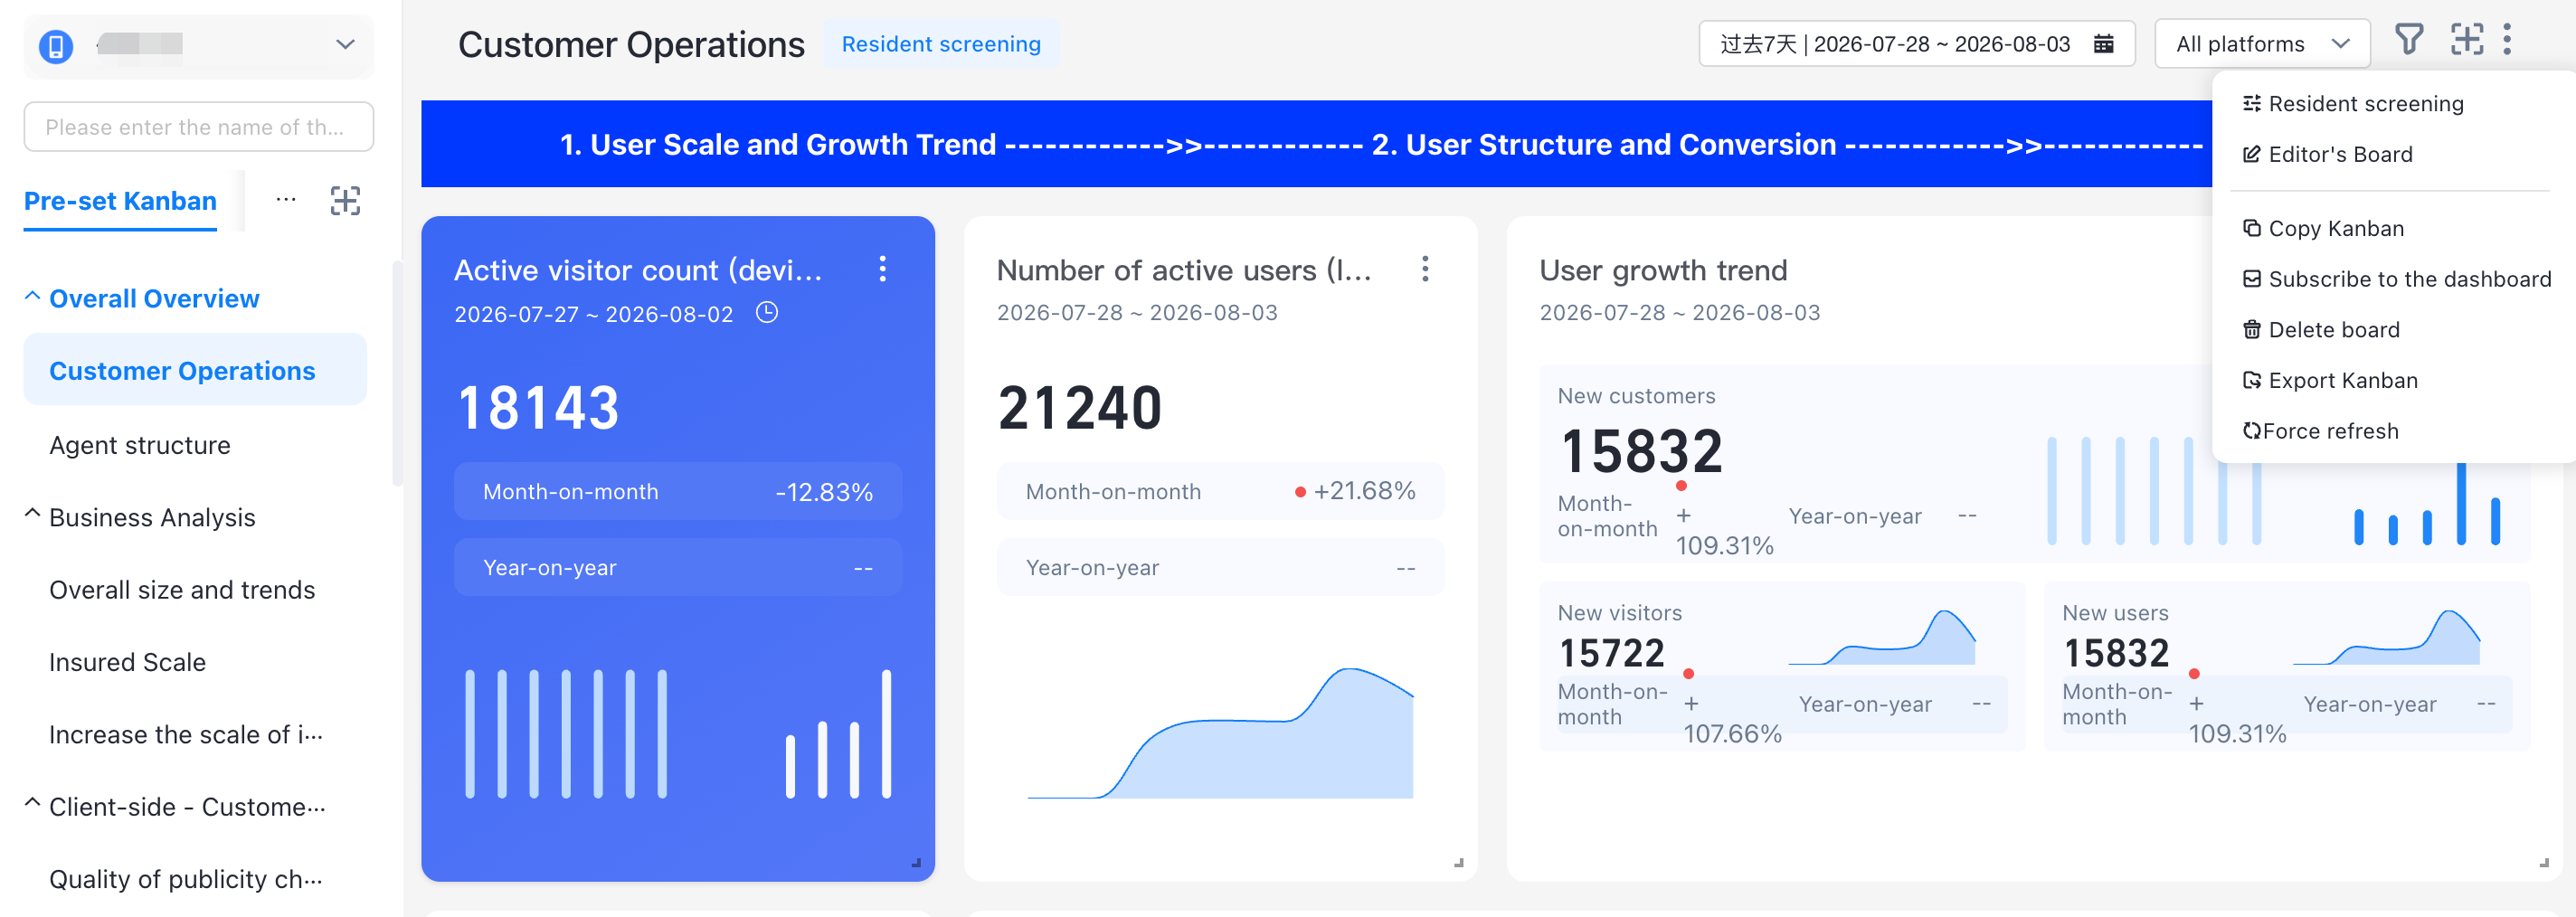
2. Functional operation
Create Resident Filter
Click the "kanban editing and management" option, pop-up function menu, choose "resident filter".
Click the "resident filter" button, will pop up the new resident filter letter page, resident filter support "time filter", "attribute filter" and "crowd filter"
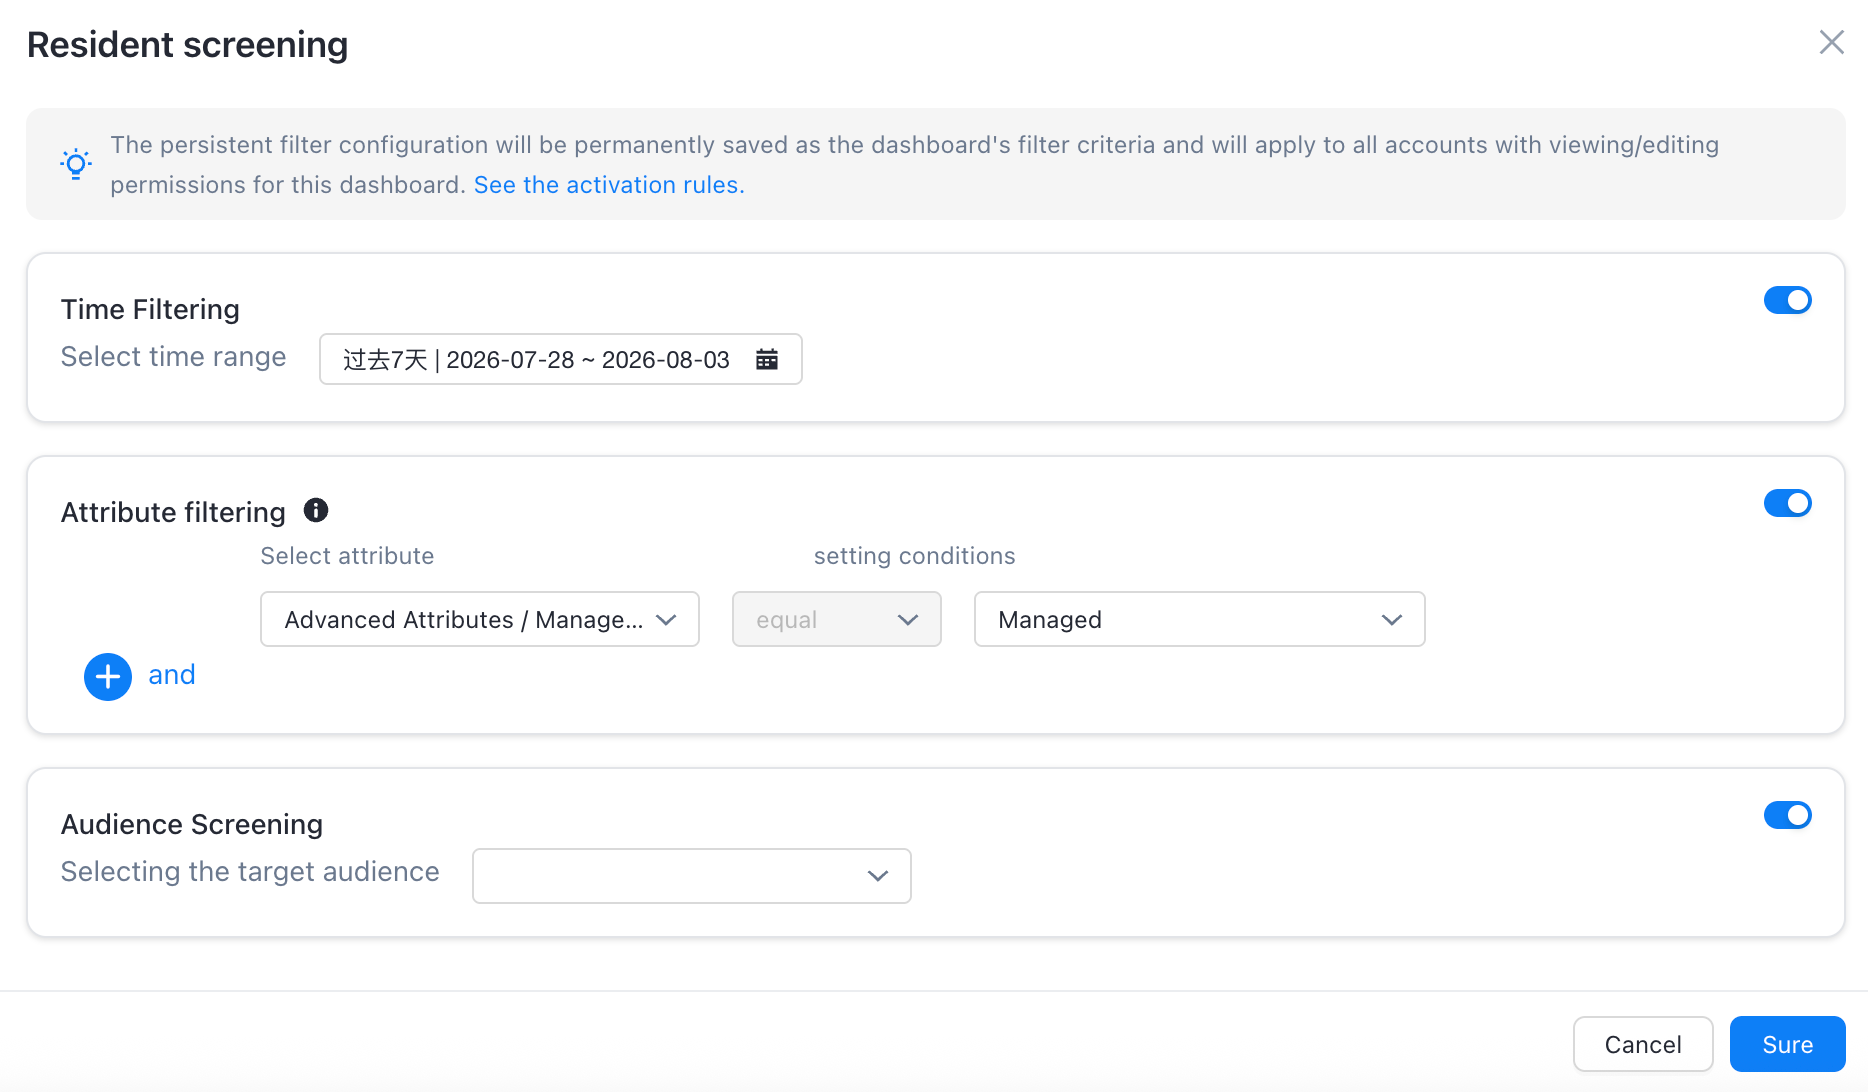
Attribute filtering description:
1. When "event attribute" is filtered, if there is an event that does not manage this attribute among the events involved in the metrics in the kanban, the filtering query will automatically become invalid for this part of the time, and only the events that have this event attribute managed are filtered and calculated.
2. If the Kanban board refers to the Attribute Analysis metric report, only the User Attributes filter will take effect for it.
3. If the Kanban board refers to the User Groups metric report, any filter criteria will not be determined to take effect.
The following table describes the priorities of the resident filter and the filter at the top of the kanban.
"Global Filter": The effective relationship with the filter condition at the top of the kanban is "and".
Time Filter: The time filter at the top of the kanban has a higher priority than the resident filter. After the kanban is refreshed, the time range is reset to the time range configured for resident filtering.
"Crowd Filter": the effective relationship with the filter condition of "and" at the top of the kanban.
After all the preceding resident filter conditions are set, the resident filter configuration is permanently saved as a kanban filter condition, which takes effect on all accounts that have the permission to view or edit the kanban.
3. Application scenarios and examples
Resident Filter Function
Visualized Kanban-The top function of the Kanban group is displayed on the right side of the group name. 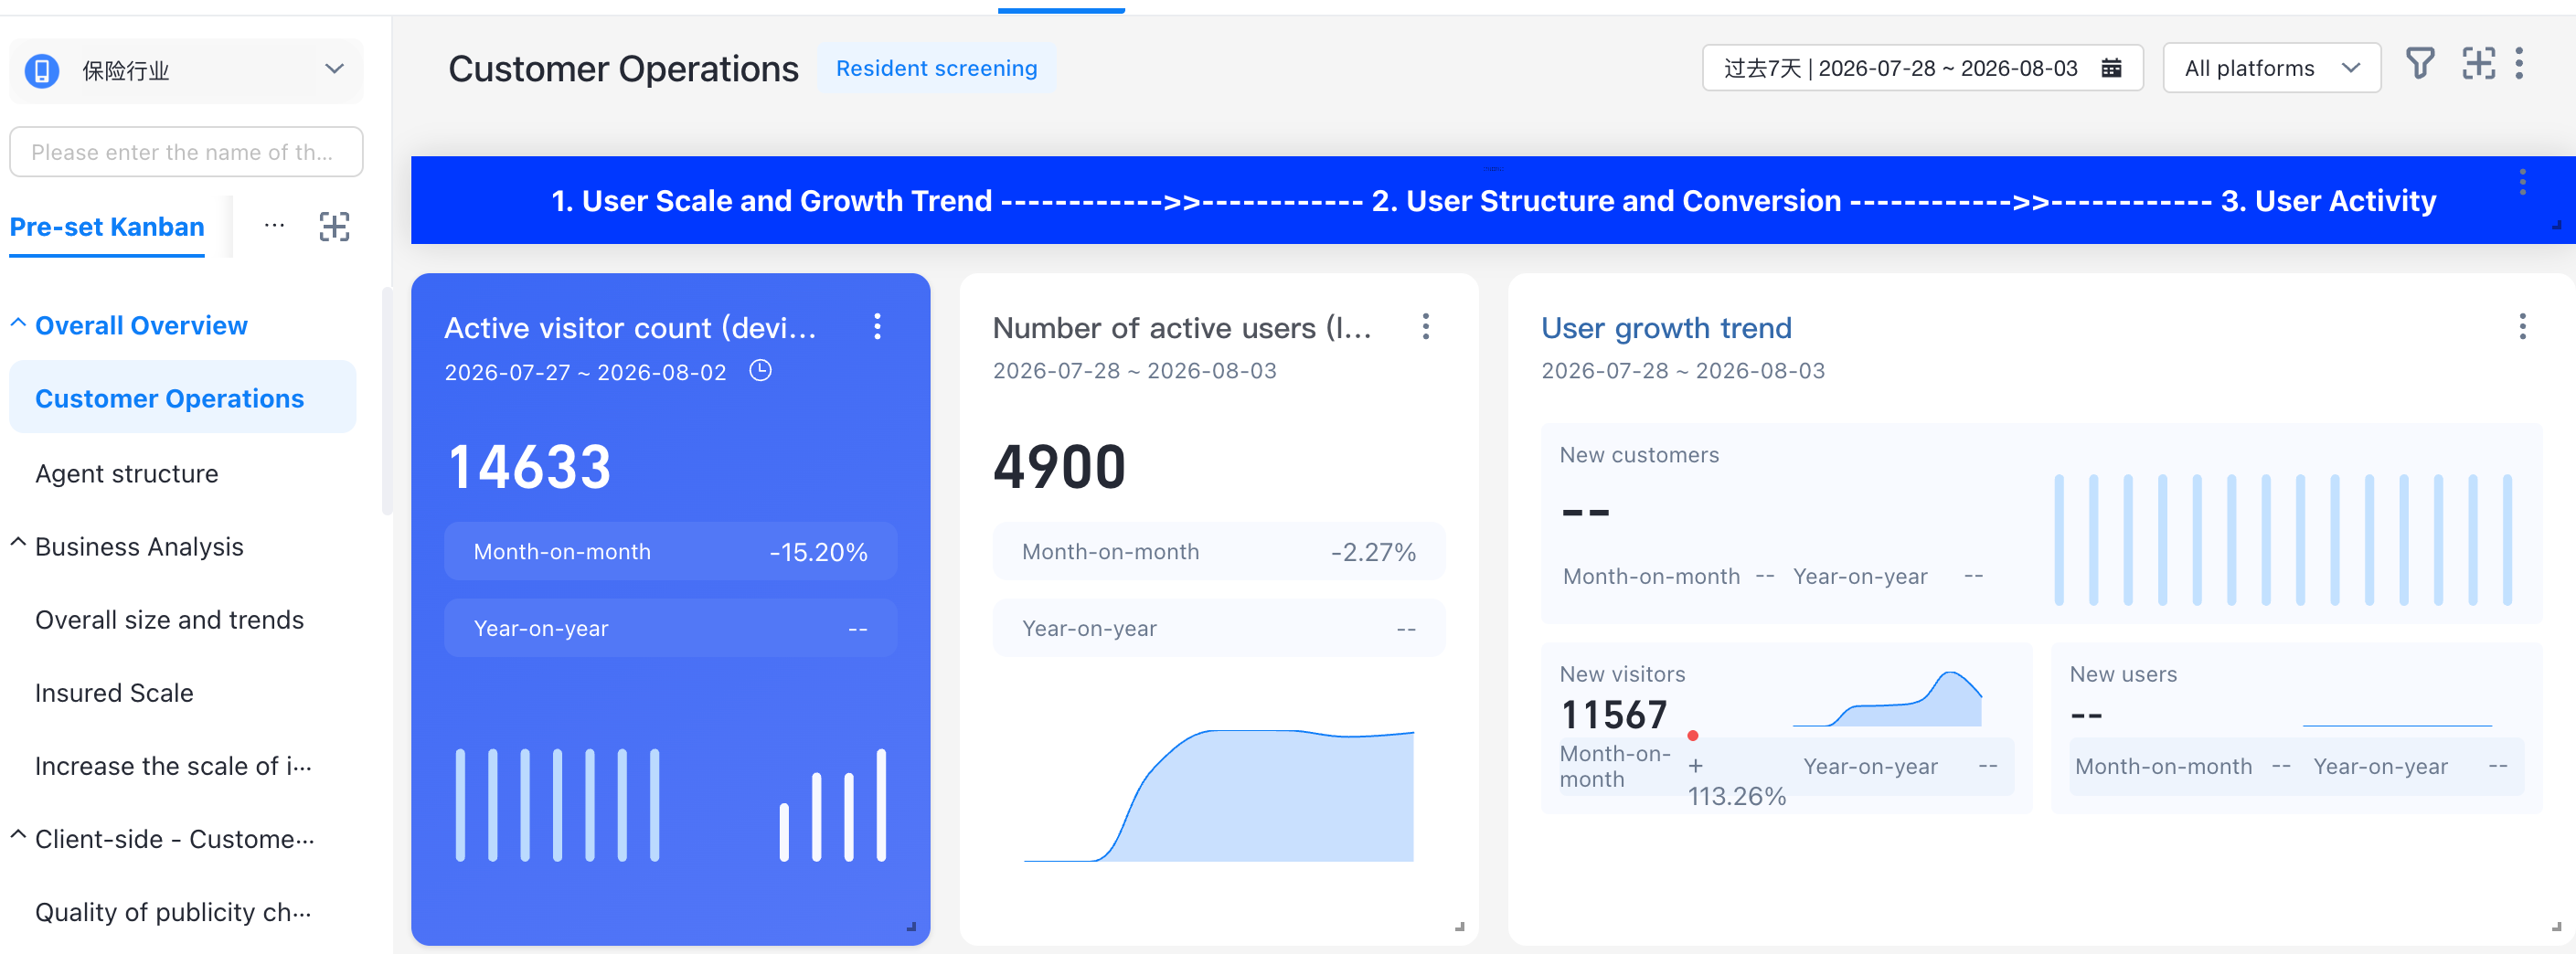
Application Scenario
During the process of building a kanban, kanban boards with many similar indicators need to be built one by one. You can use the Resident Filter and Copy Kanban features to select and copy Kanban boards with similar metrics. After you set Resident Filter for the copied Kanban boards, you can quickly build a Kanban board.
For example, if you want to build a kanban for only Beijing, perform the following steps:
Step 1. Create a new Kanban group
Click the "new" button to select "new group" to create a new indicator group.
Step 2. Select and Copy Kanban
In the created kanban, find the kanban group that is similar to the kanban metrics that you want to build next. Click Edit and Manage kanban and choose Copy kanban. The Save as kanban page 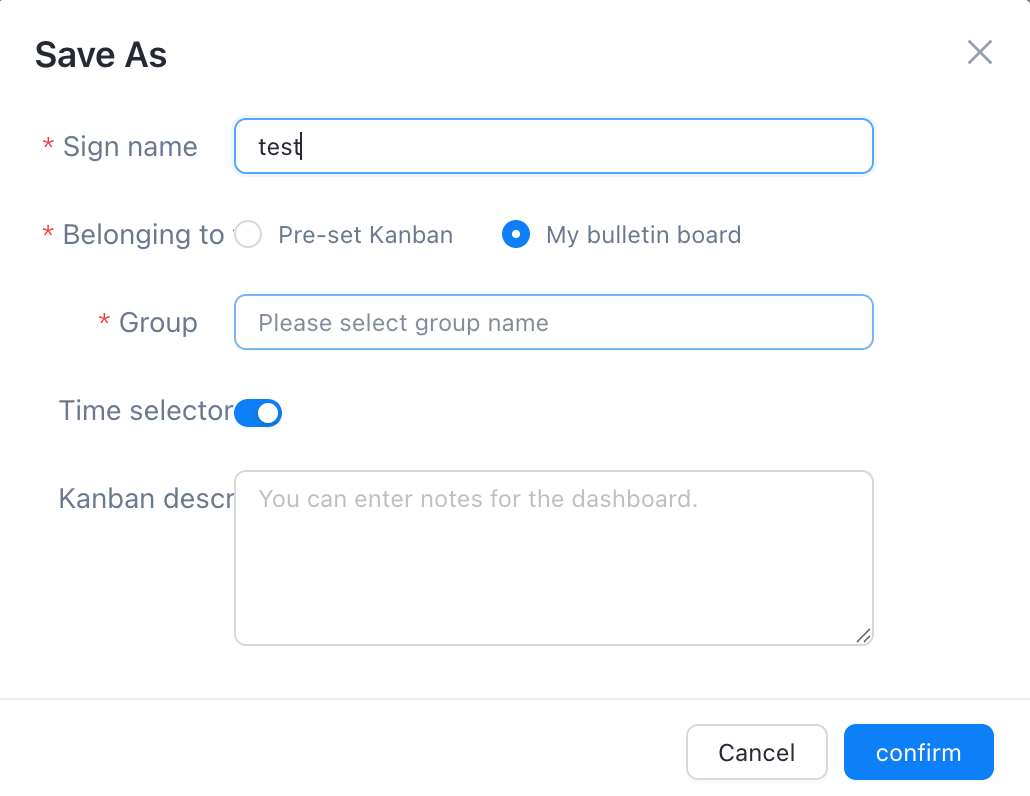 appears.
Kanban Name: You can specify this parameter based on the indicator name of the Kanban.
Group: Select the group created in the previous step.
After completing the preceding operations, click Confirm to copy the dashboard to the new group.
Step 3. Resident Filter Settings
In the new group kanban, click the top ribbon-"kanban edit and manage" button, choose the "resident filter" button. Because the kanban we want to build is only the user data kanban of Beijing city, so in the resident filter, select "attribute filter" according to "system attribute /city" equal to Beijing, click OK 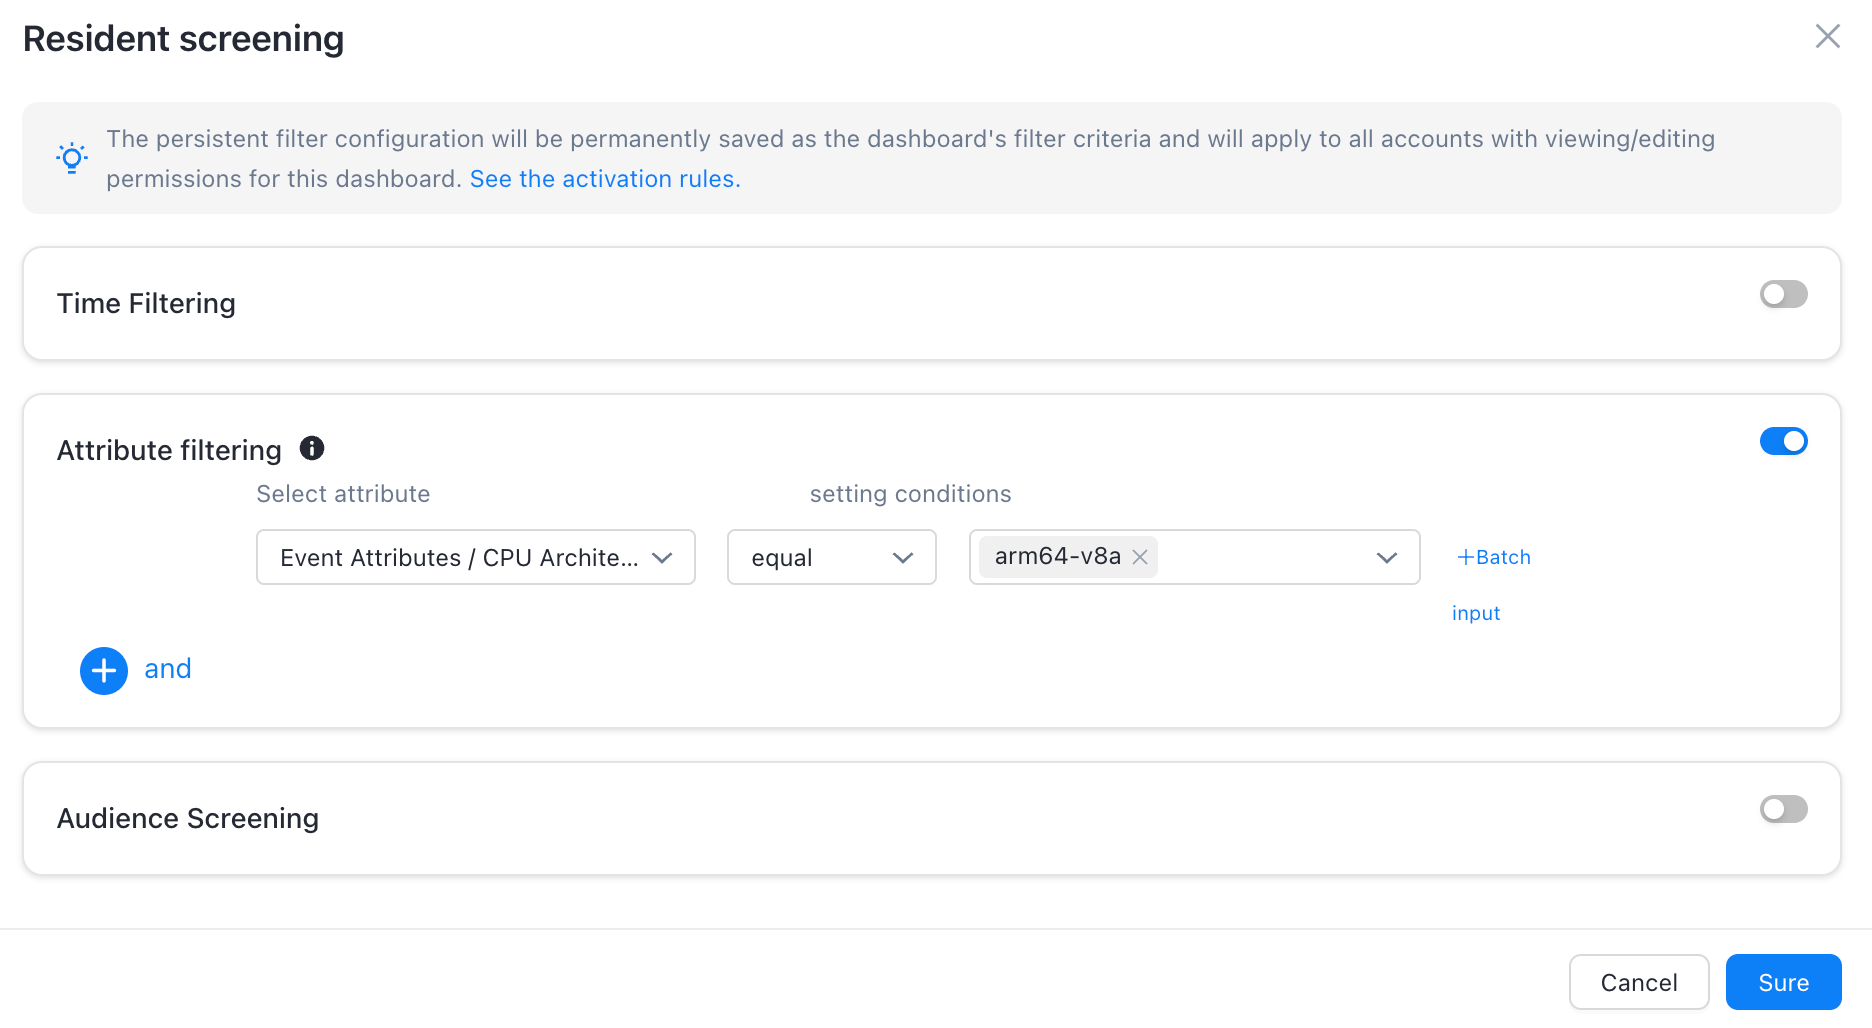
After a resident filter is created, the data displayed in the current group kanban is the data calculated in the resident filter.