All of the following operations are required to use the SDK. Skipping any operation may cause data loss.
1. Basic SDK information
|
File Name |
Version number |
md5 |
|
QTForPC.dll |
1.0.0.0 |
32 : 6 important |
|
64 : 8254 |
||
|
UTDID.dll |
1.0.0.1 |
32 : 39 to |
|
64 : to |
||
|
wtnet.dll |
3.1.14.7 |
32:4e8a4fa0758d730735f5b077adc60337 |
|
64:1fa74359bf445093798eea74416954dc |
||
|
zlib1.dll |
1.2.7.0 |
32:6094af9aadbed77d042b1009a807a3da |
|
64:c6c4d64d406efcb235e11a8f81003a87 |
||
|
zlibwapi.dll |
1.0.0.0 |
32:d5c16da55774777e4fb5558c1145171e |
|
64:959553f1592e6e1522a13544d4f41785 |
||
|
QTForPC.h |
1.0.0.0 |
7217bbd6cd5d581e6fcd9b869d470c25 |
|
QTForPCHelper.h |
1.0.0.0 |
8d11dc71c7ba9d47baf4d08479fed6c6 |
Currently, the Windows C++ SDK only supports offline access. To obtain the offline package, click 25.11.07C++SDK.zip
2. Quick integration
Quick Tracking generates dedicated integration code for each application. Follow the in-product guidance to complete integration.
2.1 product path
In the Quick Tracking console, go to "Home" > "Management Console". On the "Management Console" page, find the target organization in the "Organization List", and click "Manage Applications". On the "Application Management" page, find your application and click "Integrate".
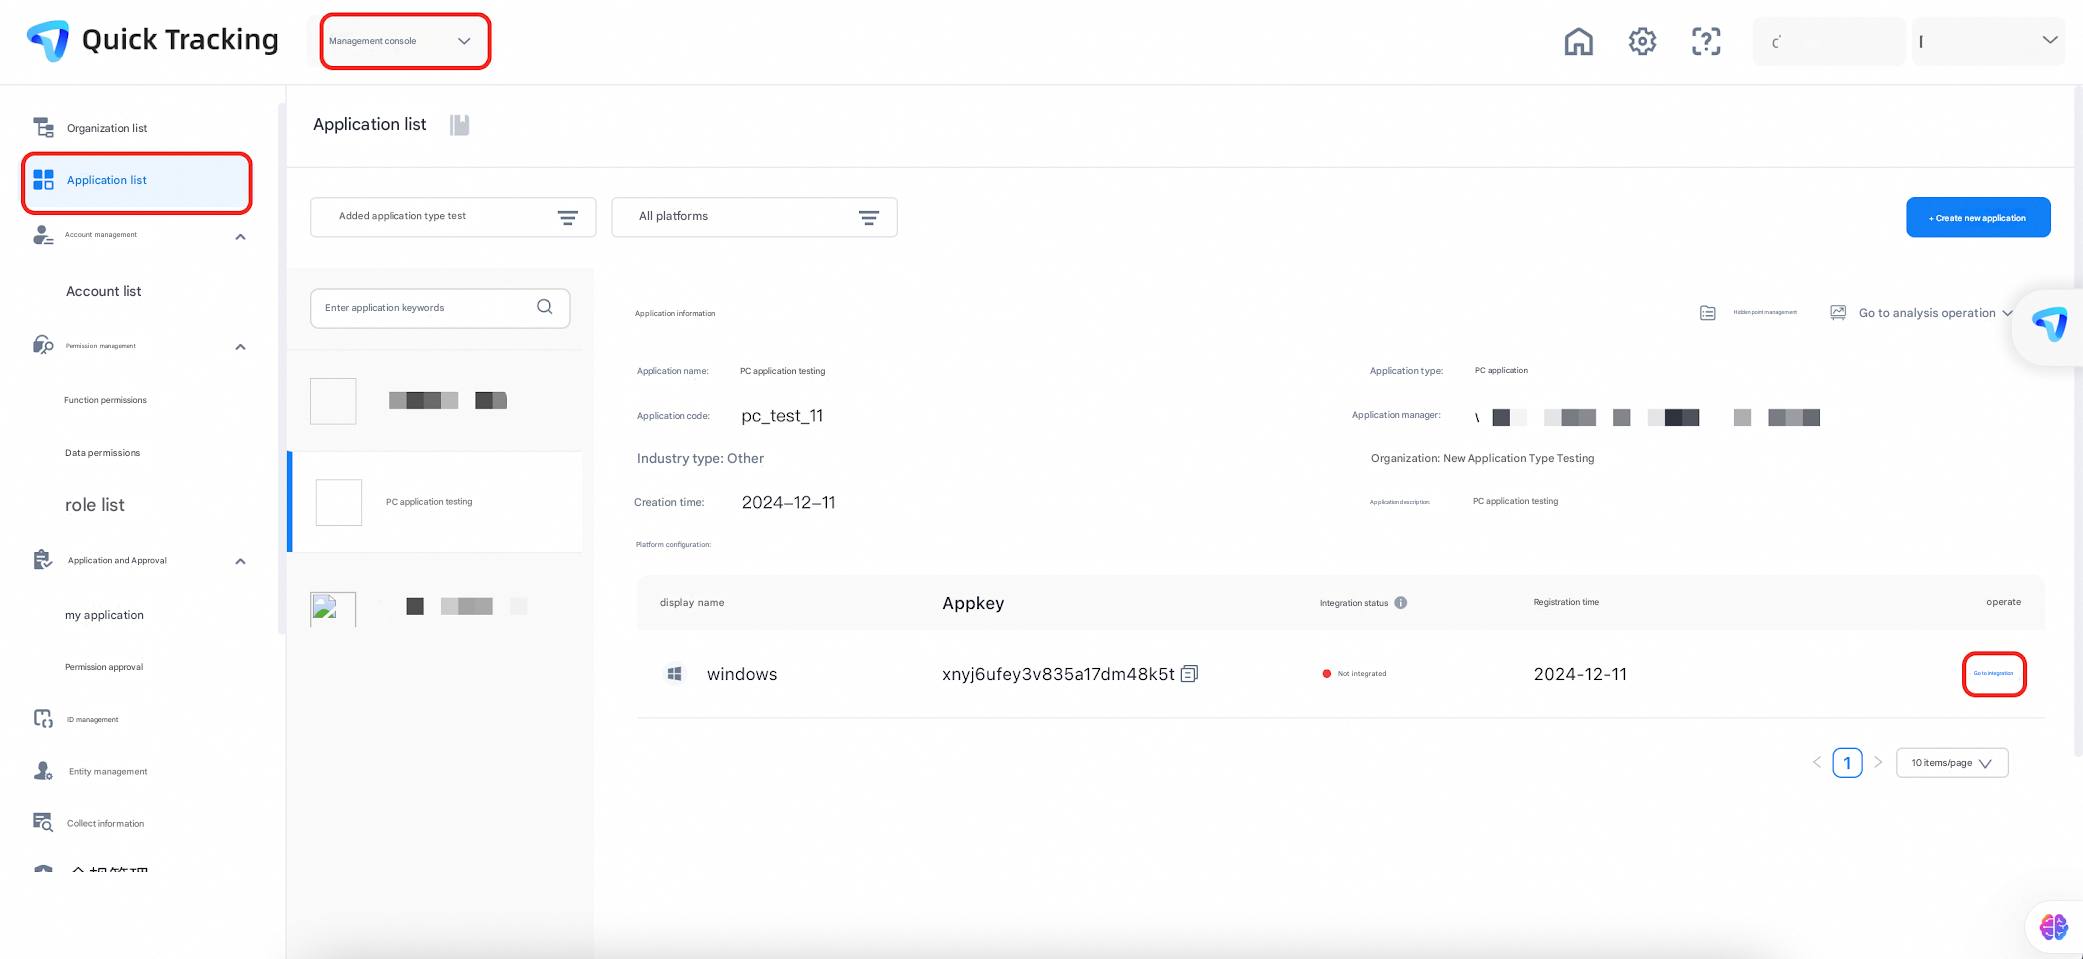
Click "Integrate" to view the dedicated integration code. Click "Next" to go to the "Integration Verification" page, where you can call the verification API to check whether the integration is successful.
3. Integration code details
If you cannot access the Quick Tracking console, follow these steps to integrate the SDK manually:
3.1 Parameter Preparation
appkey: obtained from the application list
Domain Name: Obtain the domain name from the Collection Information section of the Management Console.
3.2 manual integration
-
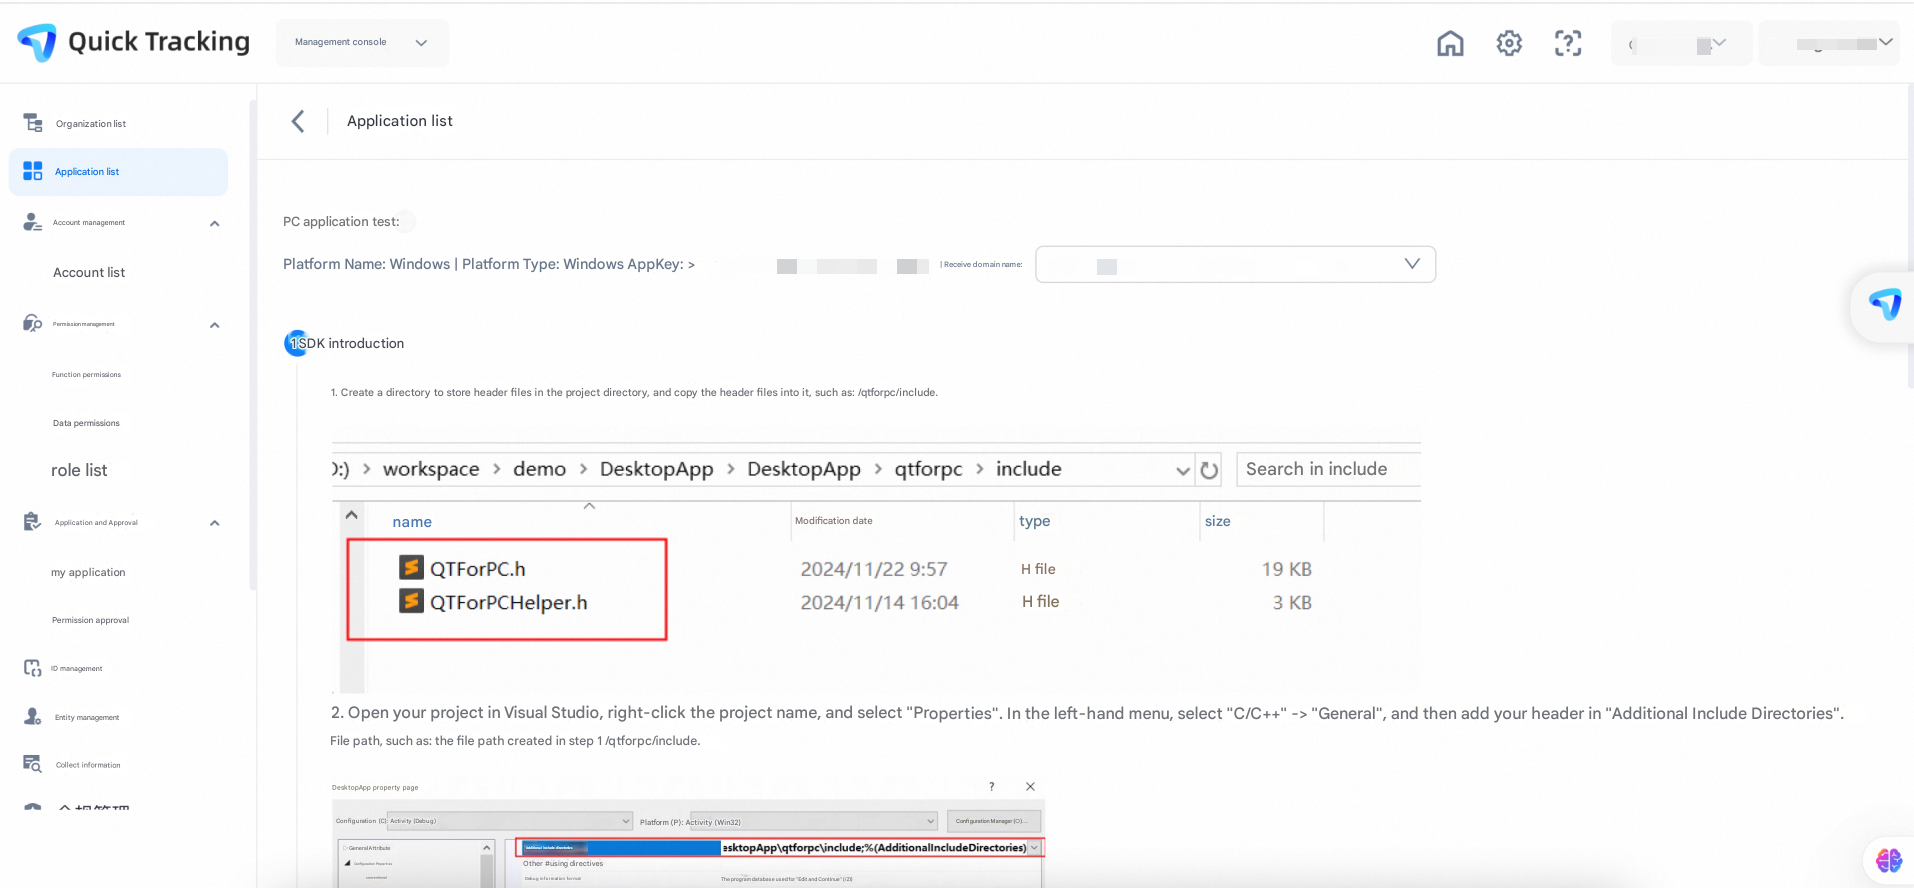
Create a directory for storing header files in the project directory and copy the header files to it, such as /qtforpc/include.

-
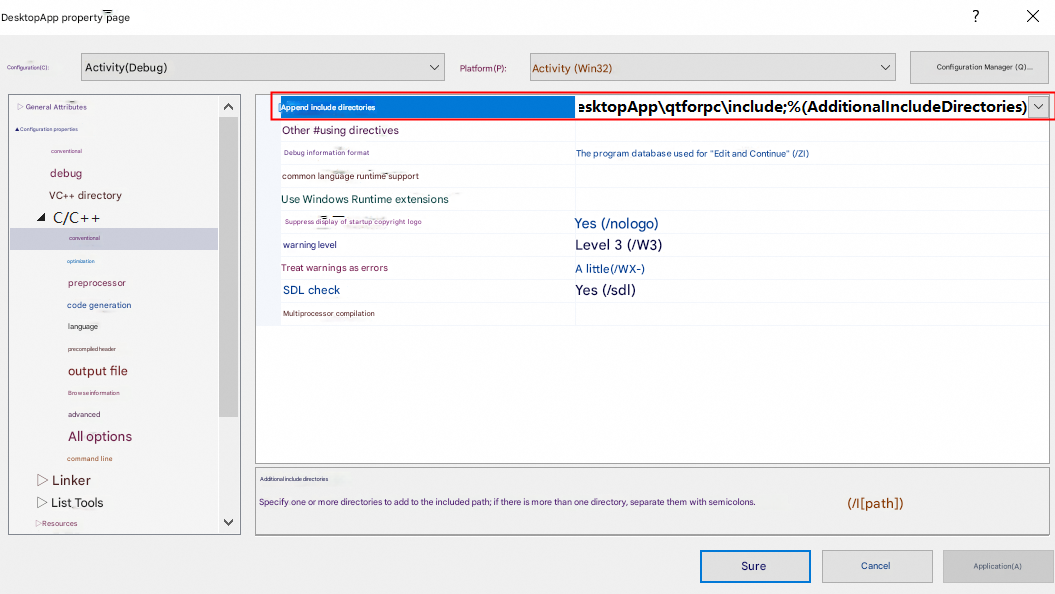
Open your project with VisaulStudio, right-click on the project name, and select Properties. In the left menu, select "C/C++"-> "General" (General), then add your header file path in "Additional Include Directories" (Additional Include Directories), as /qtforpc/include in the file path created in step 1.
-
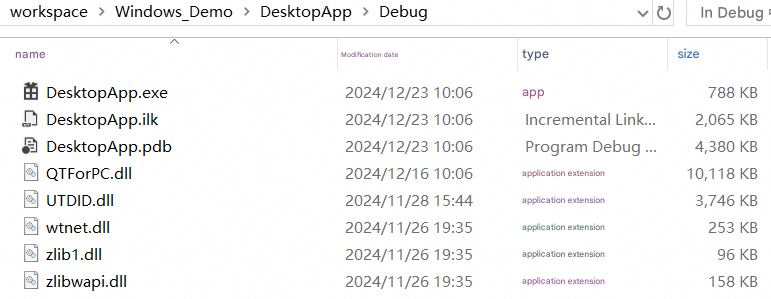
Copy the DLL file to the same directory as the corresponding platform executable file (QTOrPC. dll, UTDID.dll, wtnet.dll, zlib1.dll, zlibwapi.dll). For example, the 32-bit Release version DLL file needs to be copied to the executable file directory corresponding to the 32-bit Release version of the application so that the DLL can be found run time.
As shown in the following figure:
Place the integration file in the same directory as DesktopApp.exe
-
Include header files in your code, for example:
#include "qtforpc\include\QTForPC.h". Ensure that the API provided by the DLL is called correctly.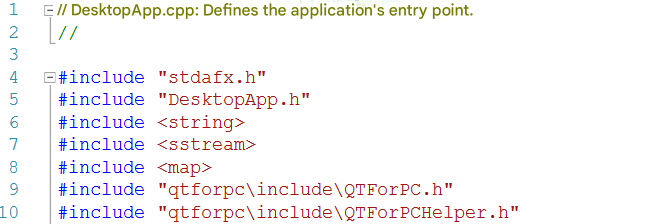
-
Compile your project and run the test. The following figure shows the console print for successful initialization.
